My 986 suddenly started performing poorly — overheating, smoking, and a liquid that smelled like coolant was dripping out of the exhaust. I checked the oil and, sure enough, the dipstick was coated with a milky froth — oil and coolant mixed. I haven't done a compression test, but the symptoms pointed to a cracked cylinder or something equally unwanted.
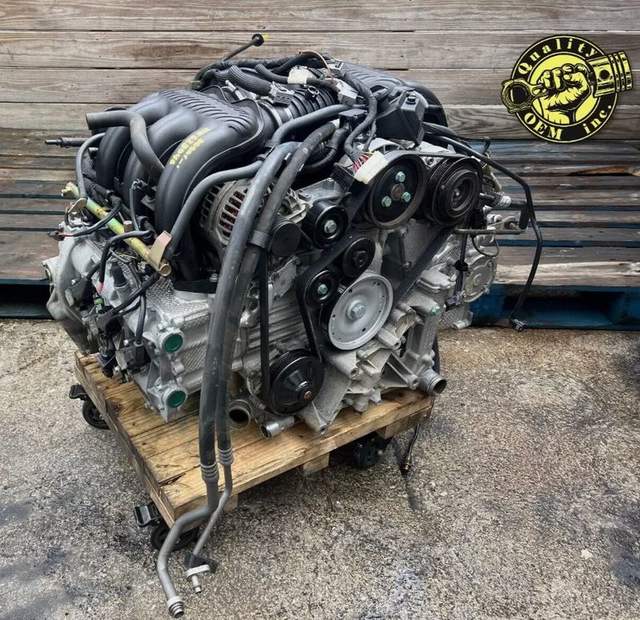
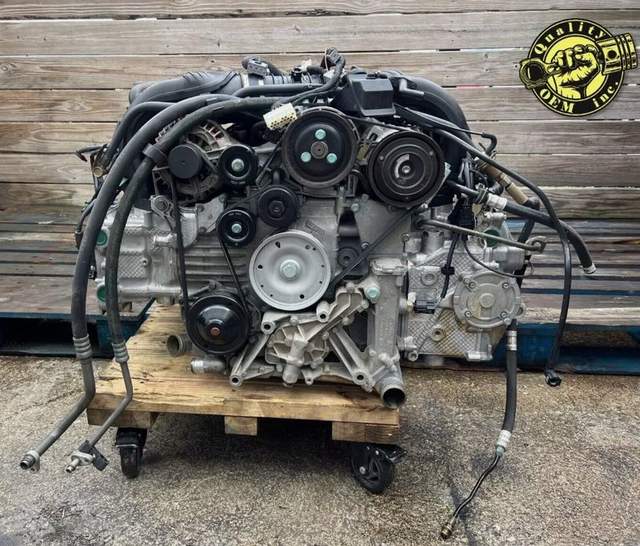
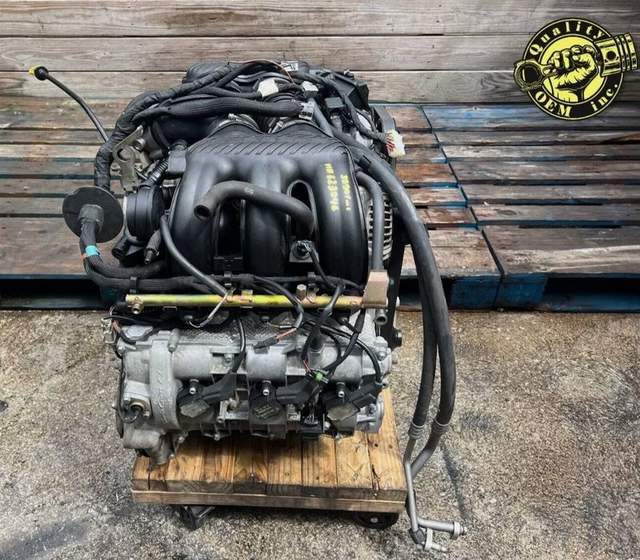
Accordingly, I bought a replacement engine on eBay, another 2.7L M96, with 39,901 miles on it. The engine I'm replacing has clocked over 155,000 miles. The replacement cost me $4200 including shipping from Florida. I bought the car for $5000, and I've spent a little over $800 on a new water pump, heater core, ignition switch, light switch, and like-new drivers seat. With the engine swap the outlay will come in around ten grand, not a bad price for a clean 986 with relatively low miles on its engine.
I will be chronicling the swap in this thread. In the meantime have a look at my new engine.


 Threaded Mode


