Hello fellow Boxster enthusiasts,
I have a 2004 Boxster S with 79k miles. I've done all maintenance on the car myself including alternator, water pump, front and rear control arms/track arms, exhaust mount repair, and oil changes every 3-5k miles including filter inspection. My car has been on four 6 ton jack stands for the last month as I’ve slowly worked on my clutch and transmission during the busy holiday season and a week vacation. So far I’ve spent about 12 hours on the project and I’m basically finished as I wait for 1 quart of transmission oil to top it off and reinstall the muffler, bumper, etc.
The clutch was not slipping but there was chatter all the time when pulling away or reversing into a parking spot. I conducted a few road tests to detect slipping but it never occurred but I’ve read others say their worn clutches never slipped. Once the weather cooled here in Houston I set out to inspect and possibly replace my clutch. While I was in there I planned to possibly replace a leaking gear selector bushing (996-303-515-00-OEM) and seal (996-303-517-00-OEM) that allowed a minuscule but continuous drip of tranny oil onto the rear sway bar.
Using numerous sources including Pelican, Pedro’s, Youtube vids, Porsche service manual, etc, I was confident I could tackle the clutch but the transmission gear selector seal replacement was risky because not much info is on the web other than that found here:
Transmission case separation?
Here are a few pointers and lessons learned:
Raising Boxster for Transmission Removal
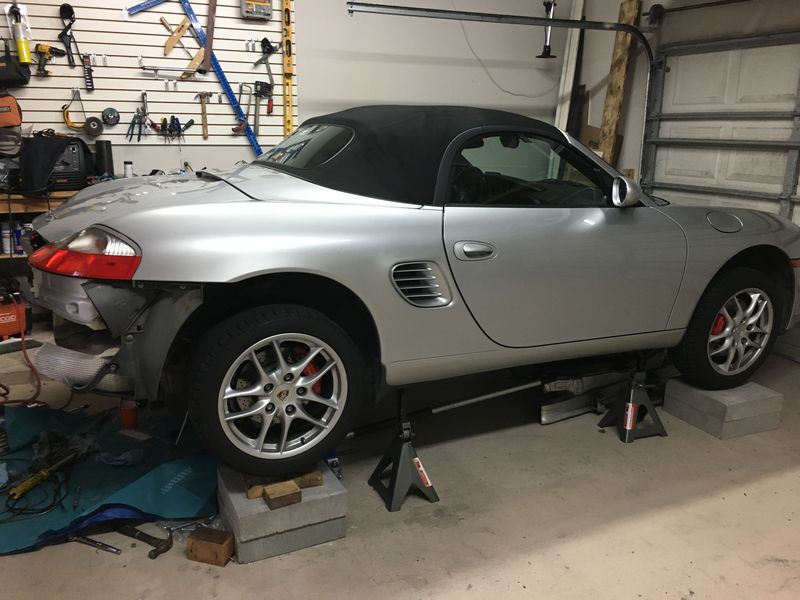
I supported the car 20” off the ground using 6-ton harbor freight jack stands. First, I raised the car one wheel at a time onto solid 6” tall cement blocks, then repeated the process getting all tires 1’ off the ground before raising the car onto jacks stands at the jack points using a 3-ton hydraulic jack. The hydraulic jack point for the front was under the front lower control arm (tuning fork shaped part)-to-body bolt and for the rear it was under the diagonal brace to subframe bolts. I’ve used these points confidently for many repairs but I always have a jack stand under the factory jack points and they are holding the vehicle weight while the hydraulic jack is only applying light pressure on the car and is secondary emergency support. My hydraulic jack has rubber pads at the jack point but I usually add a square piece of wood 2x4 for weight distribution. Because the car was already elevated, i used a 4x4 for additional height because the hydraulic jack reached its limit before I could get the jack in place at the height I wanted. I raised the front first then the rear; if rear raised first the car could potentially roll forward. Make sure the e-brake is engaged when jacking up the car.
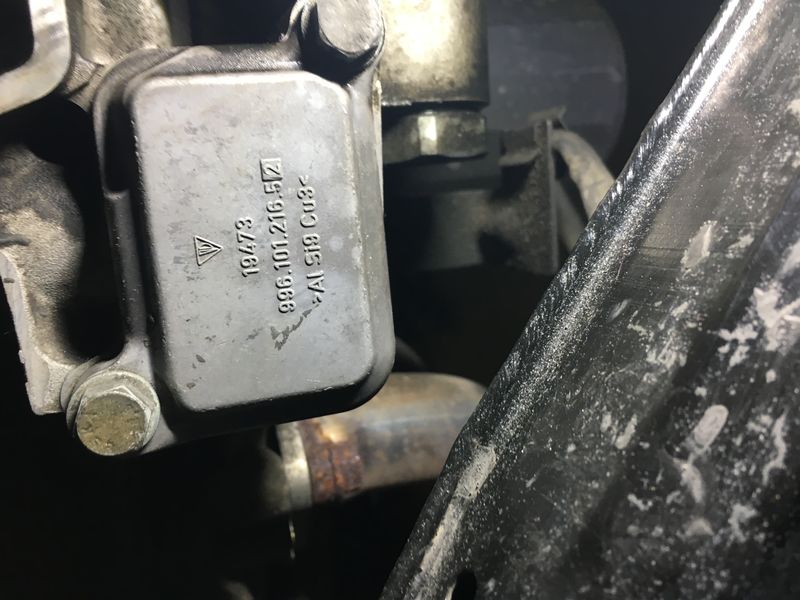
 Boxster Transmission Mount Replacement using modified 993 part
While removing the transmission mounts I learned that my right transmission mount was almost shot as it had little resistance to movement compared to the left side. I used a 993 mount (993-375-049-09-M963) to save some money but the stud needs to be cut which I accomplished angle grinder with metal cutting wheel. I used the original mount as reference before cutting.
RMS and IMS inspection and coolant cover seal
Once the transmission and clutch was removed I cleaned the area to inspect the RMS and IMS cover for leaks. Neither showed any indication of a problem so I left both alone as well as the transmission input shaft seal. Some may argue that I should have replaced these parts but I’ve decided only to address failed parts during this project. Given that many original IMS bearings that are removed are in great condition and I’ve never detected any debris within my oil filter I decided to continue to monitor, just as you would even if you had replaced the bearing with a new one as apparently even these are not failure proof. The only active leak I found was from a cover for the cooling system to the left of the flywheel. To repair the leak I had to drain the coolant and applied coolant system/water pump rtv sealant to seal the cover. The cover has not leaked since this repair.
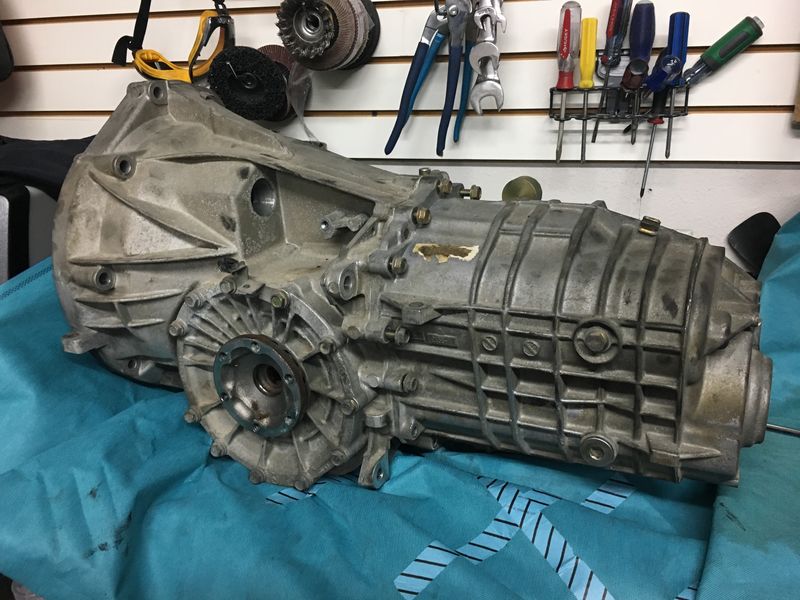
 Opening Transmission Cover and Gear selector bushing and seal Replacement
Drain the transmission oil before opening the rear cover. The transmission weighs around 80lbs and was difficult to raise onto a bench but I was able on my own. I opened the cover while the transmission was horizontal and in neutral. Get familiar with manually operating the gears before opening so you can test function after reassembly. I recommend elevating the rear cover off of the surface to make removal easier but also support front housing. I struggled with this and understand why a horizontal stand would be useful. Perhaps using a tie down over the bell housing with a wedge under the diff housing would be sufficient to elevate the rear cover from the table top. After removing the cover’s 12 bolts, loosening the gear selector detent bolt almost completely, and removing reverse switch (not sure if this is completely necessary), I used a block of wood and hammer to separate the rear cover from front housing at a few points that protruded. The two pieces will separate but only less than an 3/4” before the gear selector (external) must be rotated out of its connection to the gear selector rod; this is only possible with detent screw almost fully unscrewed. If the detent screw completely removed detent will fall into case which happened to me. This is not an issue if transmission is horizontal but if vertical you can possibly but unlikely end up with the detent roller in the differential housing which would require further unnecessary disassembly; only one passage at bottom of transmission meant for oil flow into diff housing but it’s large enough for this roller to fit. Once the cover gets past this initial gear selector snag it should pull out completely without any other parts falling or separating. Once the cover is off make sure you don’t drop and lose the detent or roller. This is a good time to clean everything including the magnet with shop towels.
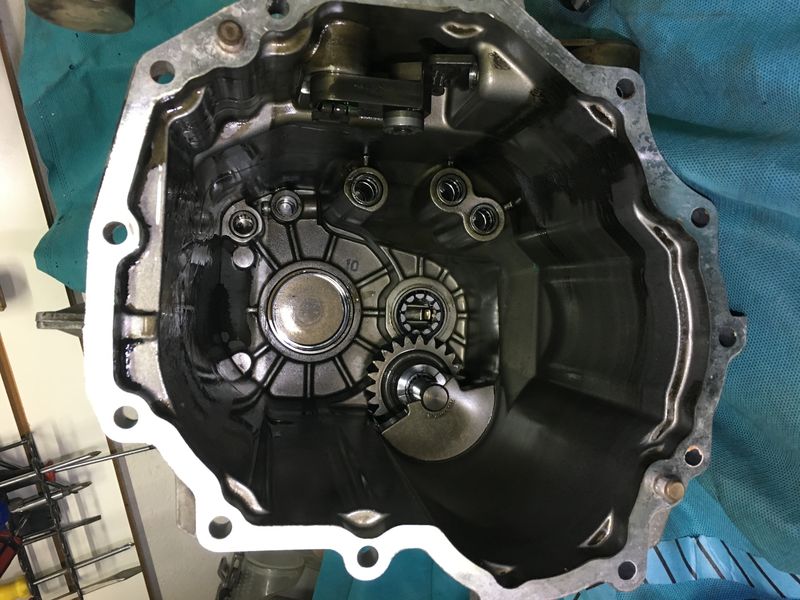
Removal of the gear selector is simple at this point so I won’t elaborate. The bore for the gear selector shaft has TWO bushings. I had only ordered one so needed to order an additional bushing; I ordered 2 more just in case. I removed the shaft seal with a narrow flat head but I recommend trying a pick first as the screwdriver left a small scratch. I removed the two brass bushings with a small flat tipped round chisel. I tapped the inside bushing out first then the outside bushing. Moderate heat from a torch was helpful. The original inside bushing was inset info the cover by around 4mm but when I reinstalled the new bushing I could only get it flush with the cover on both sides. I used the bottom side of a suitable socket as a flat surface to hammer them in. Moderate heat also used during installation. The seal was tapped in using a socket of suitable size.
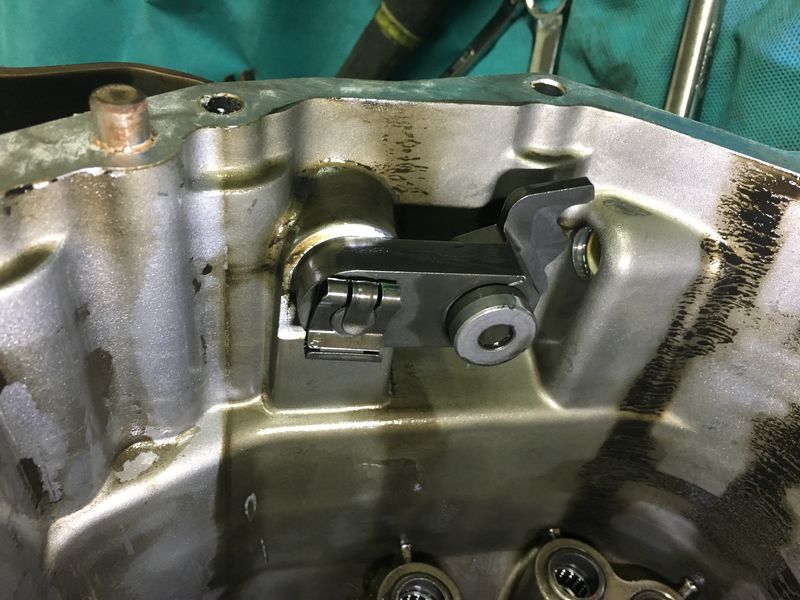
While you have access to the internals you can manually push the shift forks up to change gears from neutral. I don’t recommend moving the gears this way unless absolutely necessary and if you must, move them back to the original position for reassembly. The only reason I had to do this is because I made the mistake of fiddling with the smaller gear selector lever and pulled out the shift rod (98630302100) which has 4 small rollers that can fall out if this shift rod is pulled out too far. After figuring out how to move the gears with the shift forks to create clearance for removal of this shift rod, I used a magnet to pull the small rollers from the recess that the rod sits in.
I reinstalled the cover with the transmission vertical. For reinstallation of the cover, four shift rods need to be stabilized and aligned with each other. I used a zip tie to accomplish this and removed it before closing the cover. See attached pic for proper alignment and zip tie method. I oiled all shaft ends to ease cover alignment and installation and used a thin layer of rtv black on the diff housing side of the interface. Don’t forget to install the magnet! With the zip tie stabilization the cover slid on without an issue up to 3/4” closed. Remove the zip tie now. At this point you’ll need to peek into the remaining opening to align the detent roller and the shift rod, then the cover will shut completely with very slight force which is due to the detent. Tighten the detent screw and reinstall reverse switch. After lightly tightening the 12 rear cover screws I allowed the rtv to sit for around an hour before final torquing. I used blue locktite on all screws.
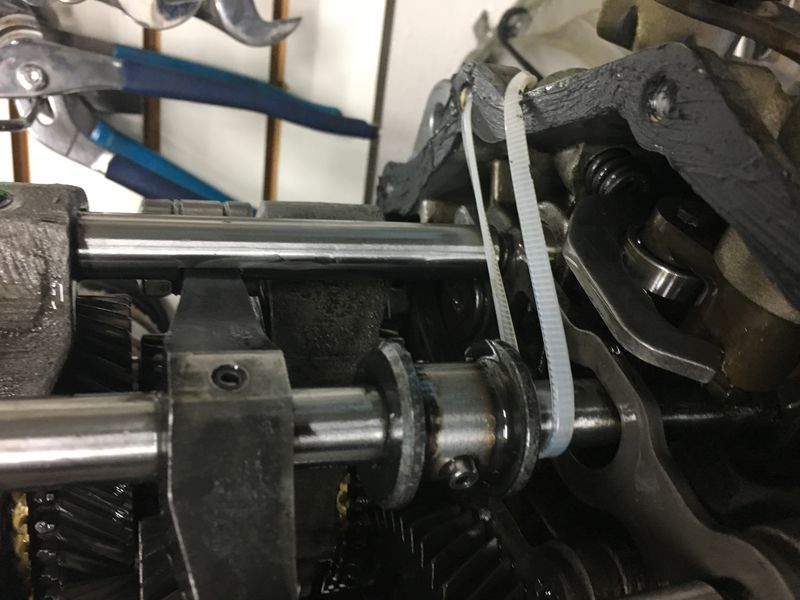
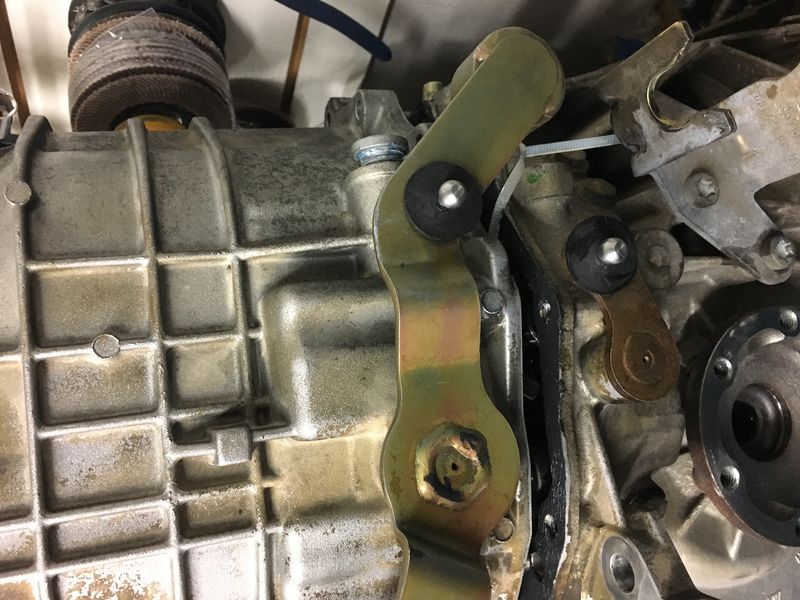
Once all was reassembled I tested shift action through all gears and the gearbox was functional. I checked the gear selector shaft for play and there was minimal however evident play similar to original bushings. The bushings do not seal the shaft however I believe this play will lead to accelerated seal wear and failure. If I had known this would be the result I would have only replaced the seal but the project was a fun learning experience and the parts were less than a few dollars each.