 07-05-2019, 05:32 AM
|
#1
|
|
Registered User
Join Date: Jun 2014
Location: LB, Germany
Posts: 1,526
|
Hi,
have you measured the cylinder heads to be absolutely flat? Most times it's needed to plan the surface, because they aren't 100% flat at all. And if the surface isn't absolutely flat you'll run into problems with leaking cylinder heads (oil and water). So all the effort will be worth nothing if you miss this step.
Regards from Germany,
Markus
__________________
My Porsche keyfob, instrument cluster and alarm ecu repair service: https://sportwagendoktor.de
|

|

|
|
07-05-2019, 02:33 PM
|
#2
|
|
Registered User
Join Date: Oct 2018
Location: North Cali
Posts: 857
|
Hi Markus,
No, I haven`t yet, but I was gonna drop it off at some machine shop to have it checked. Or I`ll just place it down on a glass table and meaure the gaps all around with a feeler gauge. I`m kind of far from that stage yet though.
Best,
Greg
Quote:
Originally Posted by Smallblock454

Hi,
have you measured the cylinder heads to be absolutely flat? Most times it's needed to plan the surface, because they aren't 100% flat at all. And if the surface isn't absolutely flat you'll run into problems with leaking cylinder heads (oil and water). So all the effort will be worth nothing if you miss this step.
Regards from Germany,
Markus
|
|
|
|
|
|
07-07-2019, 11:32 AM
|
#3
|
|
Registered User
Join Date: Jun 2014
Location: LB, Germany
Posts: 1,526
|
Quote:
Originally Posted by Homeoboxter
Hi Markus,
No, I haven`t yet, but I was gonna drop it off at some machine shop to have it checked. Or I`ll just place it down on a glass table and meaure the gaps all around with a feeler gauge. I`m kind of far from that stage yet though.
Best,
Greg
|
Hi Greg,
first step is always to measure all parts, especially the cylinder heads. Because this is an full alloy engine you have to check for flatness, warps and if anything is straight.
You can check the head surface by using a steel ruler. Put the ruler on the head and put a torch behind the ruler so it shines in your direction. If you can see light come through between the head surface and the ruler, in general the head needs to be resurfaced.
Now it depends how much material needs to be machined from the head and if the head is warped in any way. Most time you can compensate with a thicker cylinder head seal, but if not the struggle begins, because than you have to reseat the valves, sometimes adjust the valve length and so on. Good thing on a M96 engine is that you can adjust the cam position / timing.
So before doing anything else first step is to do measurements and check if everything is straight. 
Hope this is helpful.
Regards, Markus
__________________
My Porsche keyfob, instrument cluster and alarm ecu repair service: https://sportwagendoktor.de
|
|
|
|
|
07-08-2019, 02:32 PM
|
#4
|
|
Registered User
Join Date: Oct 2018
Location: North Cali
Posts: 857
|
Quote:
Originally Posted by Smallblock454
Hi Greg,
first step is always to measure all parts, especially the cylinder heads. Because this is an full alloy engine you have to check for flatness, warps and if anything is straight.
You can check the head surface by using a steel ruler. Put the ruler on the head and put a torch behind the ruler so it shines in your direction. If you can see light come through between the head surface and the ruler, in general the head needs to be resurfaced.
Now it depends how much material needs to be machined from the head and if the head is warped in any way. Most time you can compensate with a thicker cylinder head seal, but if not the struggle begins, because than you have to reseat the valves, sometimes adjust the valve length and so on. Good thing on a M96 engine is that you can adjust the cam position / timing.
So before doing anything else first step is to do measurements and check if everything is straight.
Hope this is helpful.
Regards, Markus |
Hey Markus, thanks for the useful tips, I`ll do the measurements soon.
Best,
Greg
|
|
|
|
|
08-12-2019, 10:11 PM
|
#5
|
|
Registered User
Join Date: Oct 2018
Location: North Cali
Posts: 857
|
|
|
|
|
|
08-13-2019, 02:07 AM
|
#6
|
|
Custom User Title Here
Join Date: Mar 2012
Location: Ft. Leonard Wood
Posts: 6,169
|
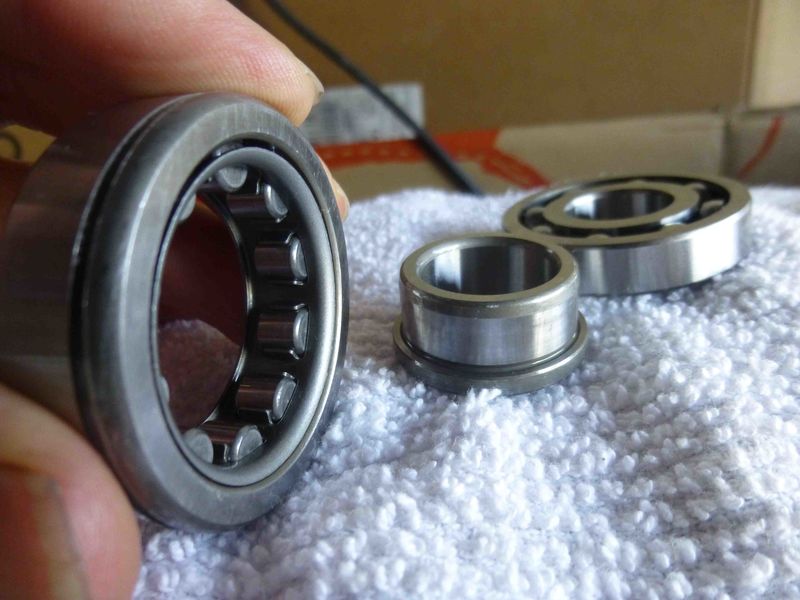
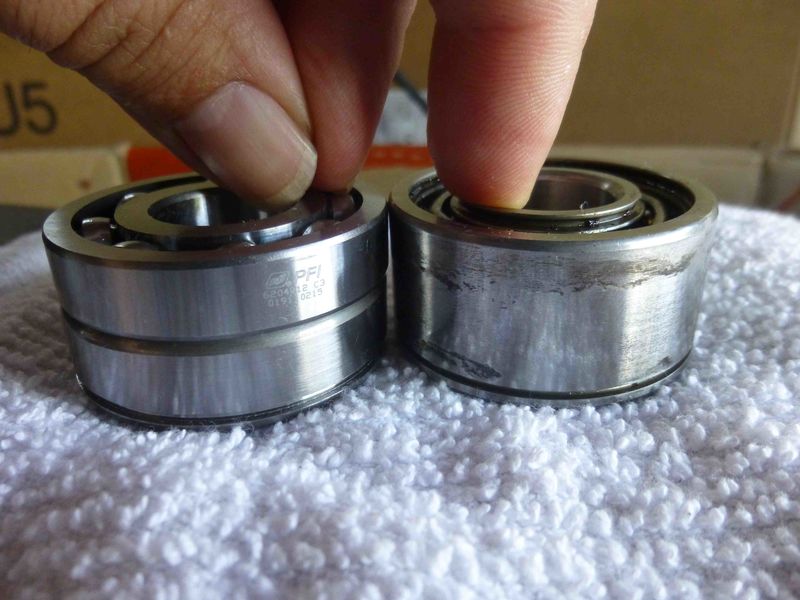
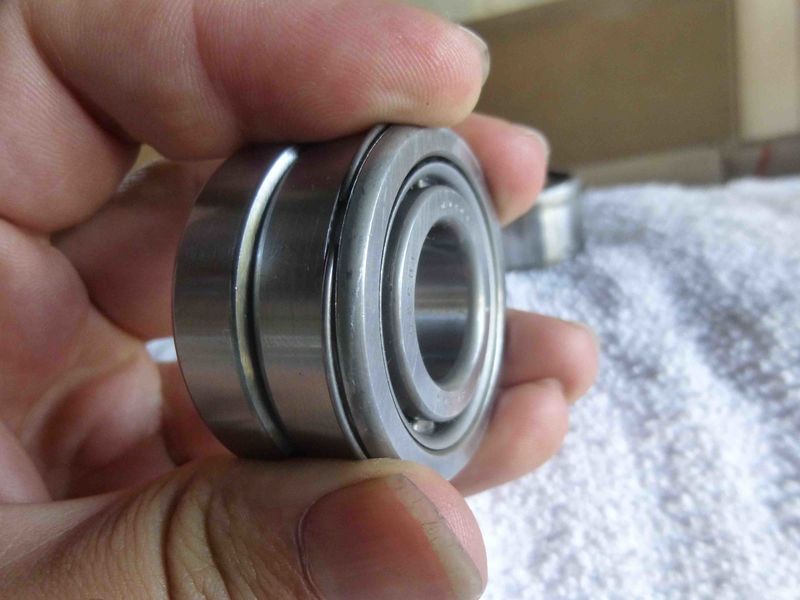
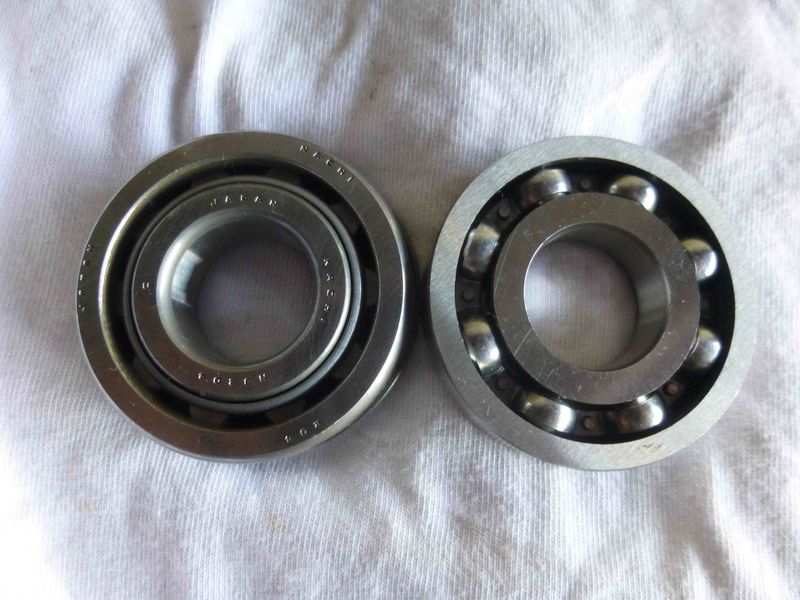
It’s always great to see people try new things. Can’t say I agree with using two different bearings (as an engineer, I see many issues with this...a larger roller bearing seems better to me as thrust forces in this application should be minimal), but I am interested to see how your oil gallery works out.
Of course, it will take at least a few years and tens of thousands of miles, plus pulling the bearings for inspection for a definitive answer, but I hope to be around for that.
Very innovative. I will be watching with interest.
I hope your theory pans out 
Last edited by particlewave; 08-13-2019 at 02:12 AM.
|
|
|
|
|
08-13-2019, 08:30 AM
|
#7
|
|
Registered User
Join Date: Oct 2018
Location: North Cali
Posts: 857
|
Quote:
Originally Posted by particlewave
Its always great to see people try new things. Cant say I agree with using two different bearings (as an engineer, I see many issues with this...a larger roller bearing seems better to me as thrust forces in this application should be minimal), but I am interested to see how your oil gallery works out.
Of course, it will take at least a few years and tens of thousands of miles, plus pulling the bearings for inspection for a definitive answer, but I hope to be around for that.
Very innovative. I will be watching with interest.
I hope your theory pans out |
Thanks! I think I will have to replace the DMF in about 5-10k miles, so I`ll have a chance to inspect the bearings as well. Hopefully it won`t fall apart before that 
|
|
|
|
|
01-08-2020, 11:03 PM
|
#8
|
|
Registered User
Join Date: Oct 2018
Location: North Cali
Posts: 857
|
|
|
|
|
|
01-11-2020, 04:02 PM
|
#9
|
|
Registered User
Join Date: Oct 2015
Location: IN
Posts: 16
|
Back to work!
Glad to see an update. I was wondering what was going on.
|
|
|
|
|
01-14-2020, 04:49 PM
|
#10
|
|
Registered User
Join Date: Oct 2018
Location: North Cali
Posts: 857
|
Yeah, every project is getting delayed since the little one arrived. Hopefully the Boxster will run at least when he gets the license Thanks for keeping track of the progress!
Quote:
Originally Posted by Hirsch990
Glad to see an update. I was wondering what was going on.
|
|
|
|
|
|
02-20-2020, 05:49 AM
|
#11
|
|
Who's askin'?
Join Date: Mar 2018
Location: Utah
Posts: 2,448
|
Dood.... making me itch!
Nice work. I enjoy following. I'm not sure of there's any moment quite so satisfying as firing up a motor that you've had down to its nuthin's.
Keep posting!
Sent from my SM-G970U using Tapatalk
|
|
|
|
|
02-20-2020, 07:15 AM
|
#12
|
|
Registered User
Join Date: Mar 2017
Location: Los Angeles
Posts: 356
|
Great thread! Very impressed with your level of detail, as I had no idea what is required to do this job correctly. I now know enough to drive my Indy crazy next time I bring him my car. Keep us posted, please.
|
|
|
|
|
02-20-2020, 10:17 AM
|
#13
|
|
Registered User
Join Date: Oct 2018
Location: North Cali
Posts: 857
|
Quote:
Originally Posted by maytag
Dood.... making me itch!
Nice work. I enjoy following. I'm not sure of there's any moment quite so satisfying as firing up a motor that you've had down to its nuthin's.
Keep posting!
Sent from my SM-G970U using Tapatalk
|
Unless the moment when you drive a Porsche for the first time ever
|
|
|
|
|
02-23-2020, 04:43 AM
|
#14
|
|
Registered User
Join Date: Feb 2020
Location: Sweden
Posts: 7
|
Very impressive work! Great thread!
|
|
|
|
|
02-25-2020, 11:34 PM
|
#15
|
|
Registered User
Join Date: Oct 2018
Location: North Cali
Posts: 857
|
Quote:
Originally Posted by Mhunter
Very impressive work! Great thread!
|
Thanks! 
|
|
|
|
|
02-26-2020, 12:06 AM
|
#16
|
|
Registered User
Join Date: Oct 2018
Location: North Cali
Posts: 857
|
Little progress since last time. New timing chains ready for assembly.
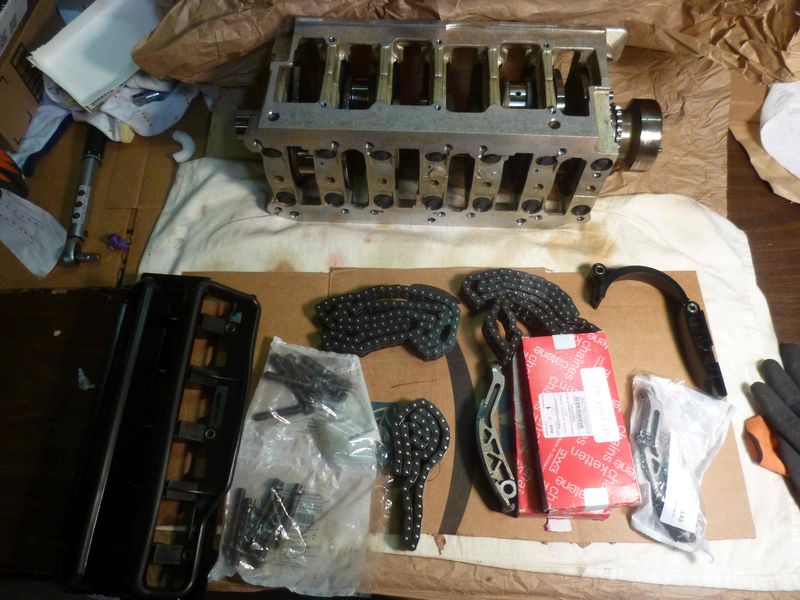
Old vs. new chain tensioner.
Old vs new timing chain lined up. Not a super precise way to tell, but I can`t see any obvious sign of stretch.


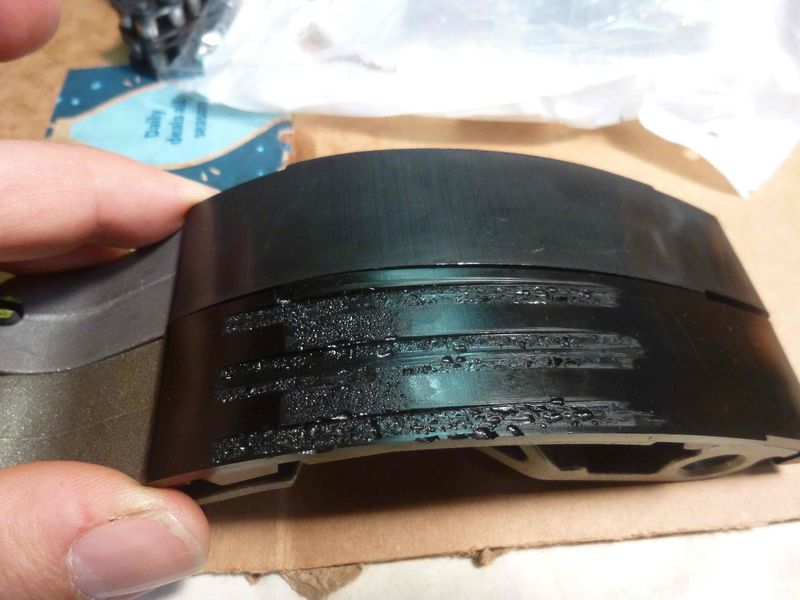
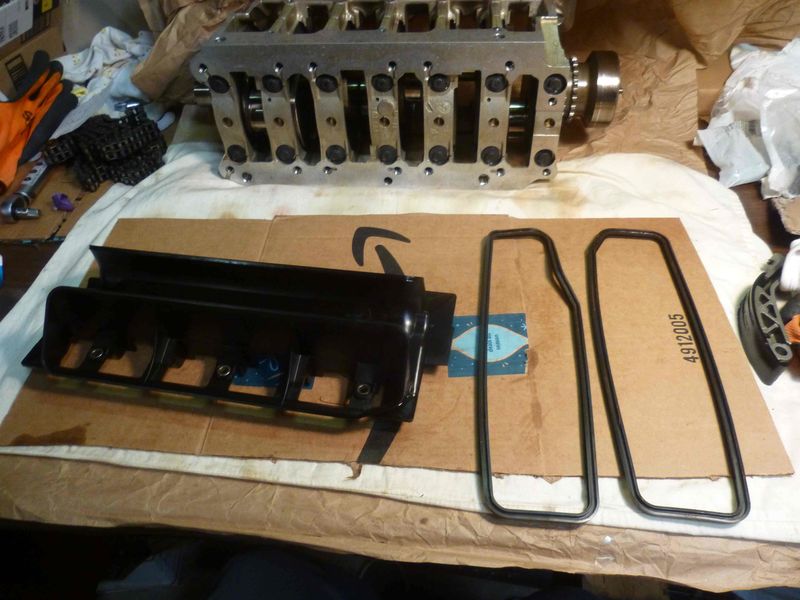
I put a small amount of sealant onto the gasket lips for the plastic oil scraper (?) to hold it in place during assembly. They put sealant there in the factory as well.
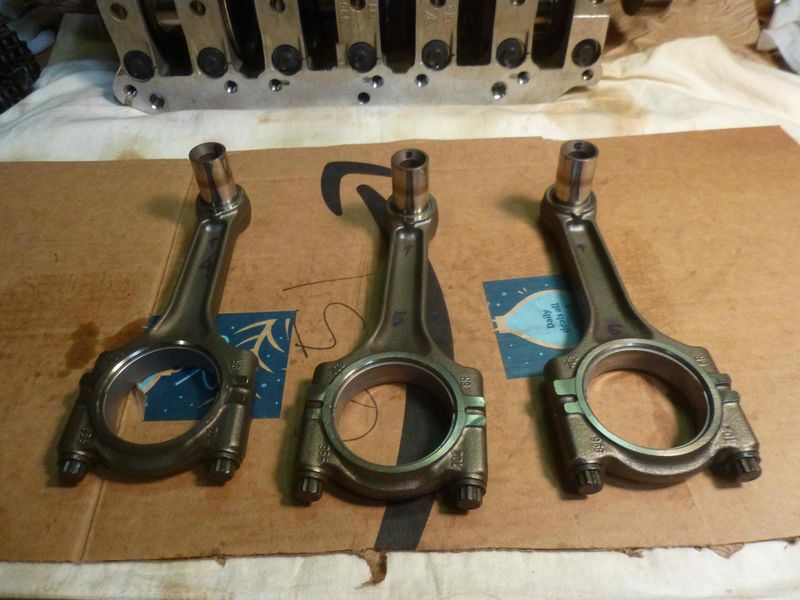
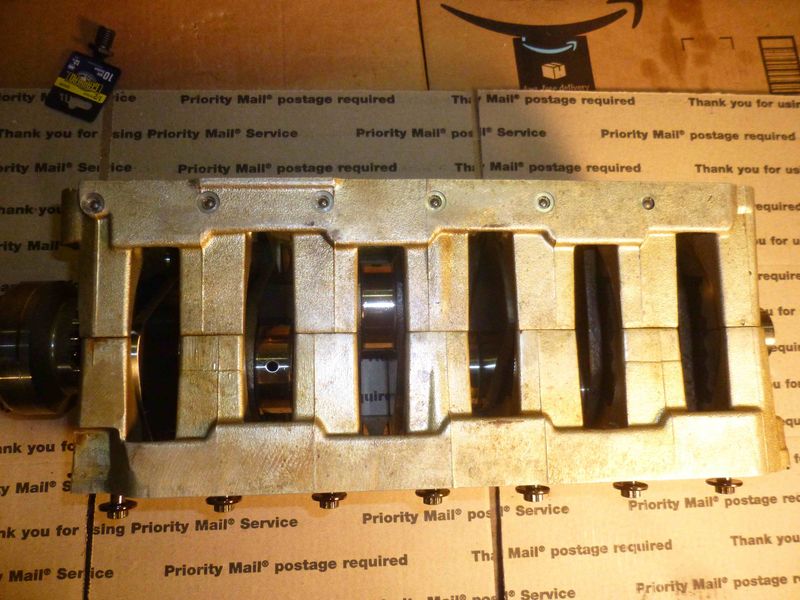
I spent about a good two hours closely looking at the pictures I made during disassembly to find out which rod goes with which piston, which cylinder and in what orientation. I marked everything, but that was 1.5 years ago and of course I couldn`t figure out what I meant by my markings back then  So I remarked everything and they are good to go.
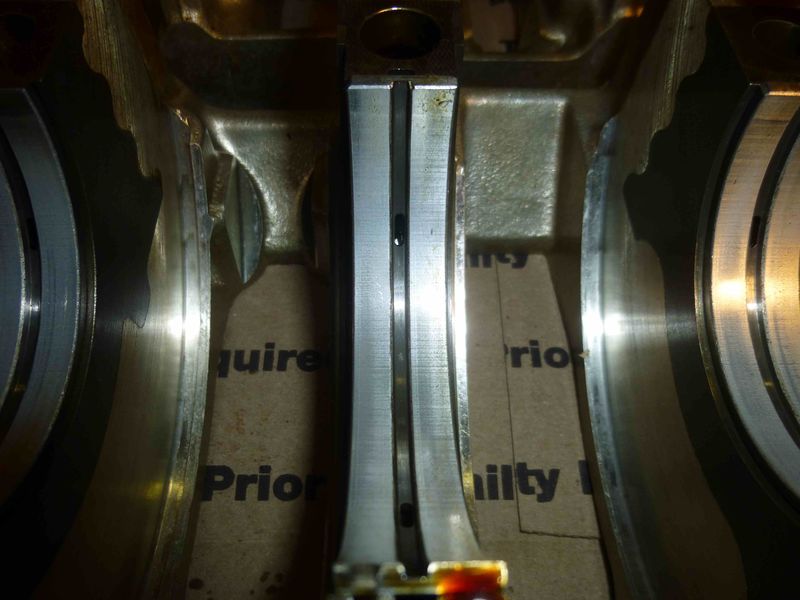
Rod bolts, new vs old.

Rod bolts torqued to 20 Nm followed by an additional 90 degree turn. Hopefully that`s fine, as the respective line on the torque settings chart was a bit confusing.

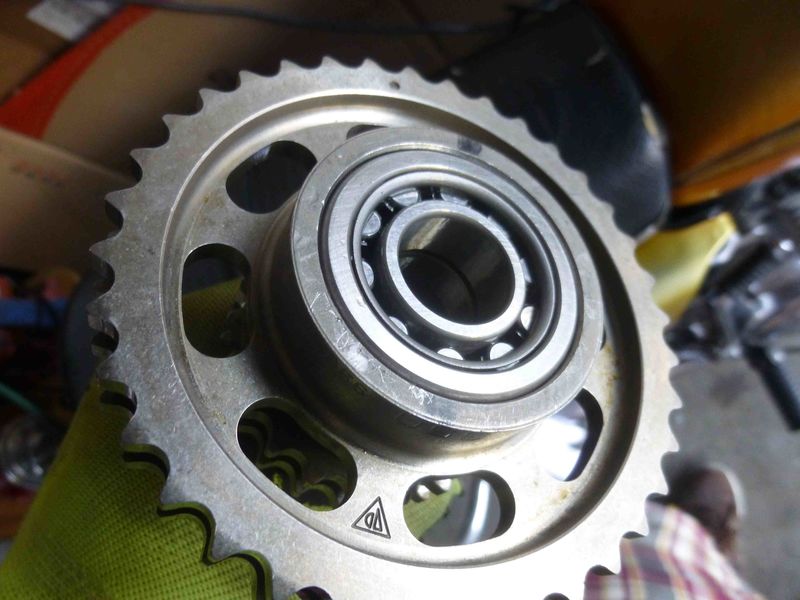
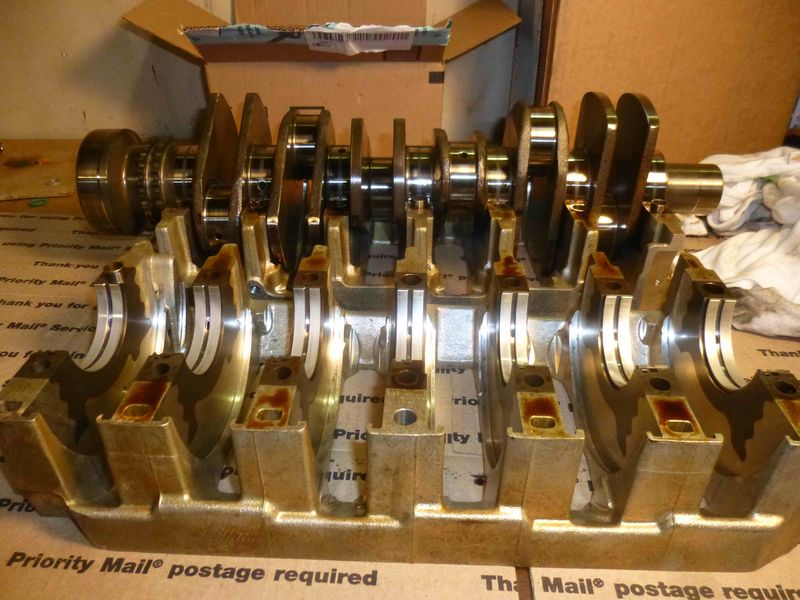
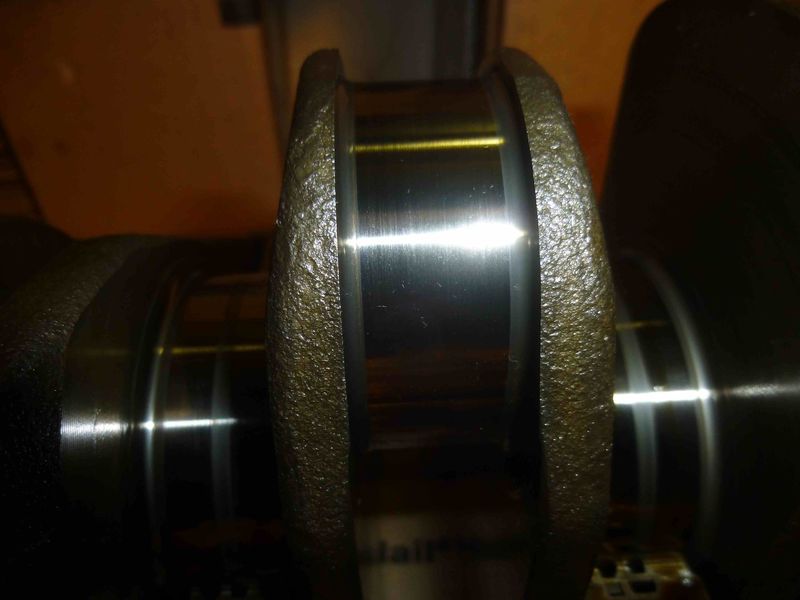
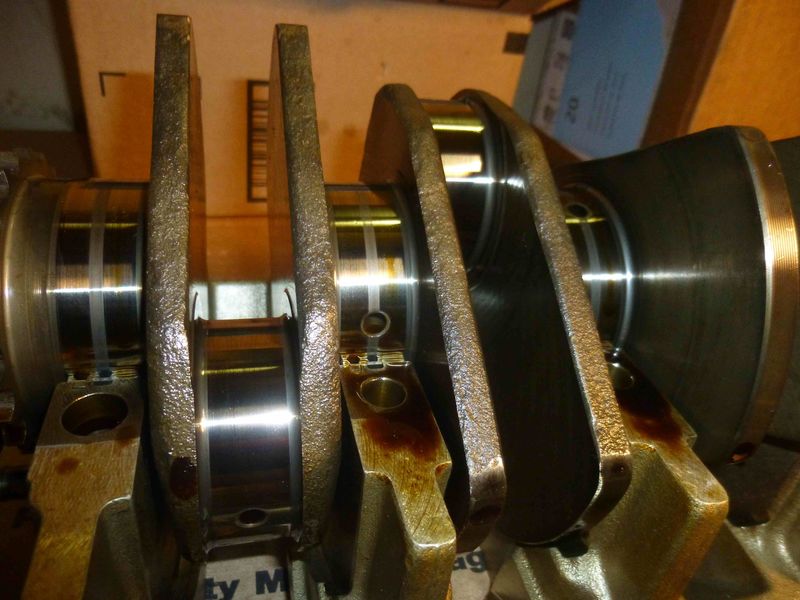
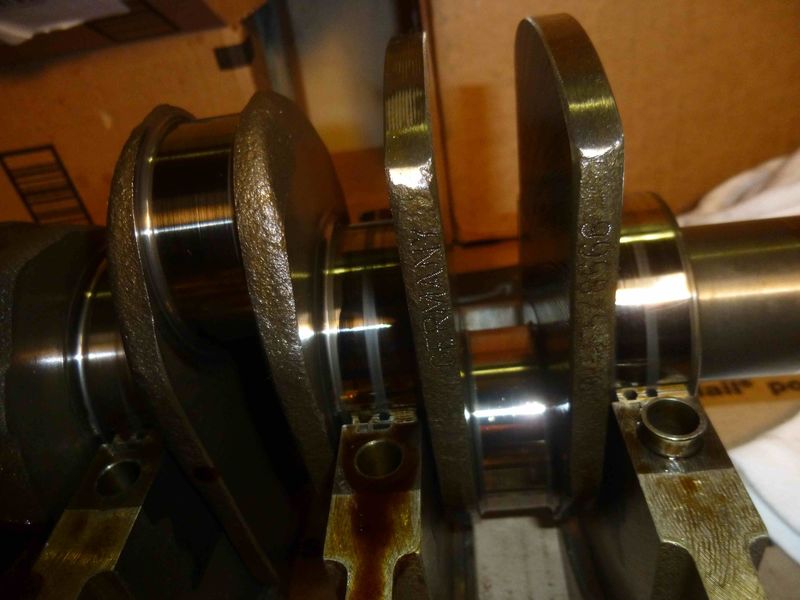
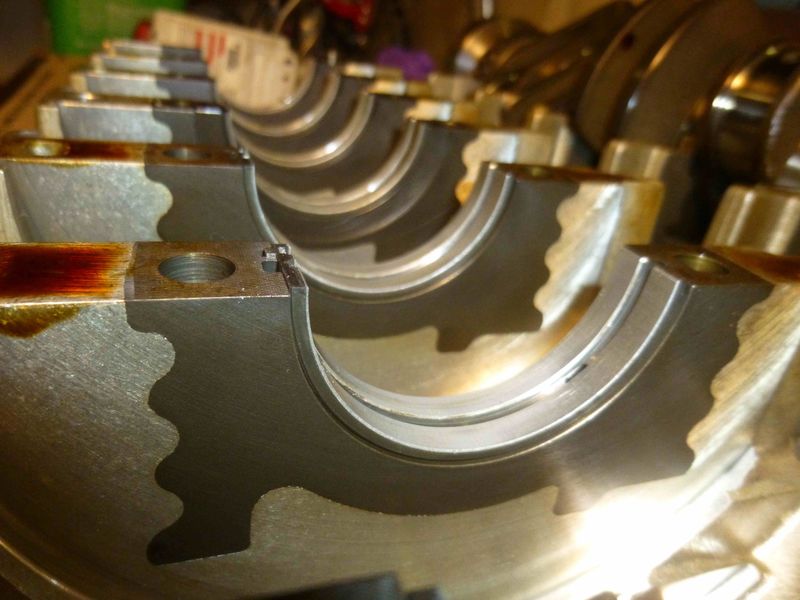
IMS and chains joined again with the crankshaft. More tomorrow.

|
|
|
|
|
03-01-2020, 05:19 PM
|
#17
|
|
Who's askin'?
Join Date: Mar 2018
Location: Utah
Posts: 2,448
|
I really love this thread. I really love when guys do this in their garage.... and all the people who say that Porsche motors are assembled with unicorn dust just go silent.
Good work! Keep the pic's coming. It's the best porn.
Oh, and while im thinking about it, when you get to that point: will you please settle once and for all the question about oil level in the sump in relation to the IMSB? (I am of the opinion that when the oil level is full, with the motor off, that the oil level is still below the bearing. I get this idea from looking at photos and diagrams. And from laying on my back staring up into the dark cavities of the motor when the sump is open.... trying to imagine 8 qts of oil volume.... but i'd like to see something empirical.)
Again: good work. Well done.
Last edited by maytag; 03-01-2020 at 05:29 PM.
|
|
|
|
|
03-01-2020, 07:13 PM
|
#18
|
|
Registered User
Join Date: Oct 2018
Location: North Cali
Posts: 857
|
Quote:
Originally Posted by maytag
I really love this thread. I really love when guys do this in their garage.... and all the people who say that Porsche motors are assembled with unicorn dust just go silent.
Good work! Keep the pic's coming. It's the best porn.
Oh, and while im thinking about it, when you get to that point: will you please settle once and for all the question about oil level in the sump in relation to the IMSB? (I am of the opinion that when the oil level is full, with the motor off, that the oil level is still below the bearing. I get this idea from looking at photos and diagrams. And from laying on my back staring up into the dark cavities of the motor when the sump is open.... trying to imagine 8 qts of oil volume.... but i'd like to see something empirical.)
Again: good work. Well done.
|
Thanks, I`m glad you enjoy the build, so do I, it`s just taking a bit too long now so I`m trying not to get stuck at every single detail for weeks.
Yeah, in general, this engine is not really different than any European or Japanese engine, and I don`t think it requires more knowledge or experience than a Subaru boxer or a motorcycle engine with similar complexity. If you overlook something or you are not careful, it will blow up, but that`s true for all the others, you need to use common sense. That`s part of the game, that`s what makes it exciting. It`s very annoying though that there`s no shop manual for the engine and I have to find out everything myself. Thankfully, there`s tons of information on this forum and rennlist, just you need to filter out what`s useful.
As for the oil level, if you go a few pages back in this thread, I`m showing that when the oil level is at MIN on the dipstick the IMS is submerged into oil about halfway. At MAX, IMS is nearly completely submerged in oil.
|
|
|
|
|
03-02-2020, 07:56 AM
|
#19
|
|
Registered User
Join Date: Sep 2016
Location: Central PA
Posts: 76
|
Thanks for the update. I had to reread the whole story again. Awesome details and pictures. The head in the sink is my favorite so far, my wife doesn't like new car parts in the house.��
__________________
2001 Seal Grey Boxster Base
|
|
|
|
|
03-02-2020, 10:03 AM
|
#20
|
|
Registered User
Join Date: Jul 2019
Location: Finland
Posts: 354
|
Fantastic thread! Thanks for sharing this project with us
__________________
2001 996 C2 Manual
|

|
|
| Thread Tools |
|
|
| Display Modes |
 Hybrid Mode Hybrid Mode
|
 Posting Rules
|
You may not post new threads
You may not post replies
You may not post attachments
You may not edit your posts
HTML code is Off
|
|
|
All times are GMT -8. The time now is 04:22 AM.
| |


 Boxster


 2017
2017  Box
Box SX4
SX4


