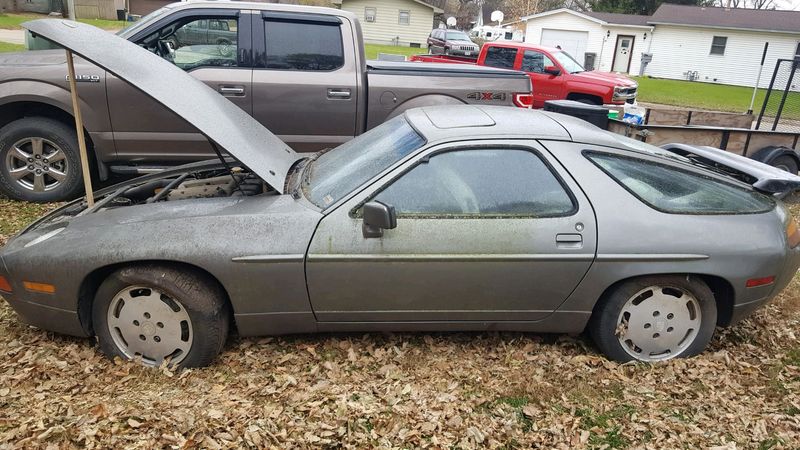
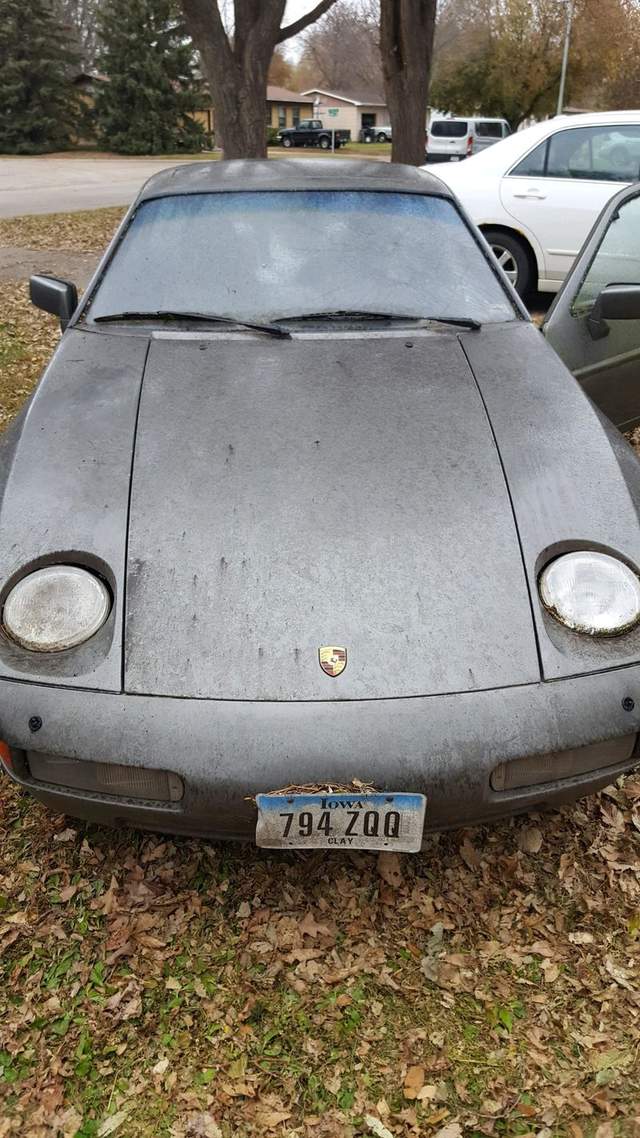
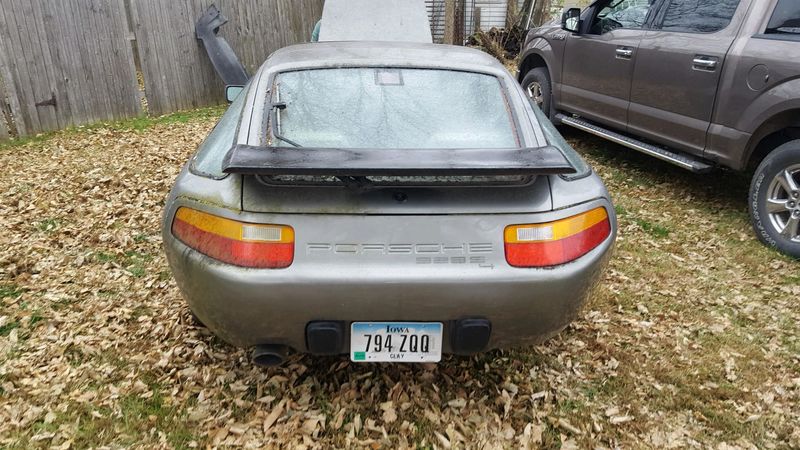
I just bought an 87 928 S4. It hasn't been driven for 7 yrs (maybe less). The owner recently passed away and the estate wanted the car gone. I love a good adventure, so a friend and I drove 3 hrs with a U-Haul truck and trailer to go get it.
Tale of the tape:
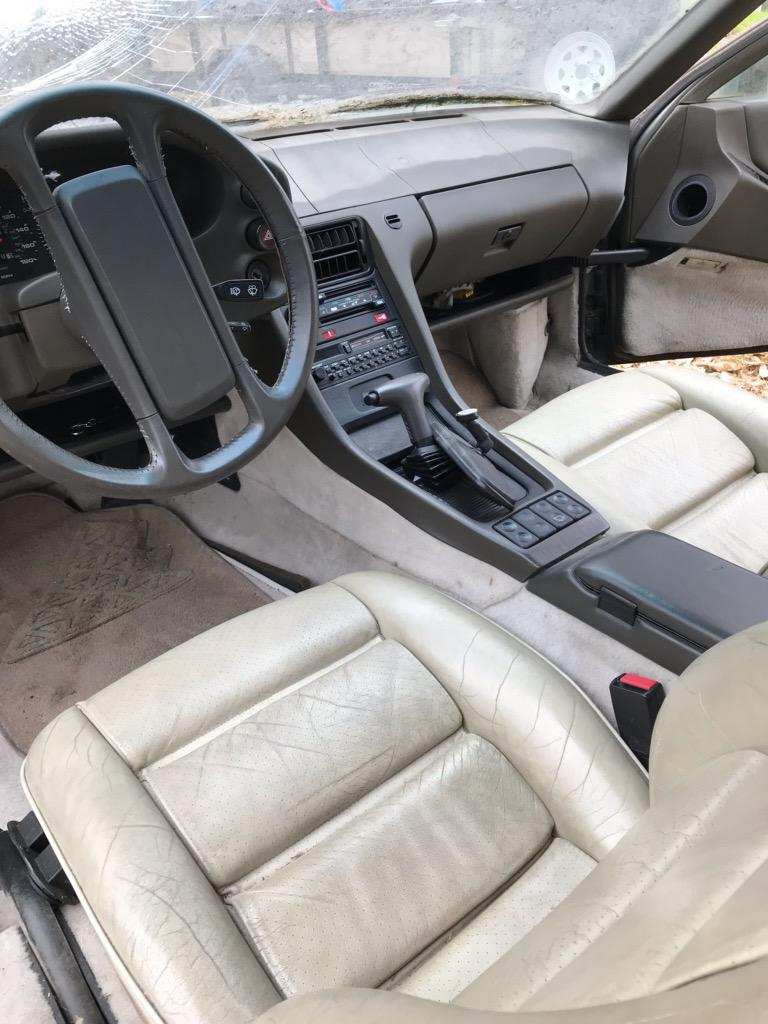
81K mi
automatic
started life in CA with stops in IL, IN, and finally IA. no rust
amazingly CarFax goes back to 1991 and 30K - no accidents listed
it has been repainted
seats are in surprisingly good shape
cracked dash
It is a cat in the sack, as I don't know if the engine runs but is has good oil in the block. The plan is to get it running and cleaned up (should double in value at that point). Then I'll access what needs fixing - headlights, sunroof, etc, fixing what I can to make it more valuable. If that goes well and I feel really adventurous, I may tackle the timing belt & water pump. But that's quite a ways down the road. I plan to sell it in some sort of running state as a project for the next owner.
So to get it running, I'll pull the gas tank and have it cleaned. Should I blow out the gas lines or replace them? Once the fuel delivery is good to go, anything else I should check before trying to start?
While I had it on the trailer, I stopped at a car wash and got the leaves and pollen off. These pics are prior to the wash. My brother says I'm crazy. We'll see. Should make a nice winter project.


 Threaded Mode


