This is going to be a real time thread so it will be slow when progress is slow, or more to the point, when I am. I am not a mechanic, I'm an engineer. That may make this whole process a whole lot more entertaining to watch. Comments are welcome from all corners as that's part of the fun. Just know I give as good as I get, maybe better. Here is my favorite picture of my boxster. I did not post it on the my favorite picture string because I'b be mistaken for a troll, well maybe not mistaken.
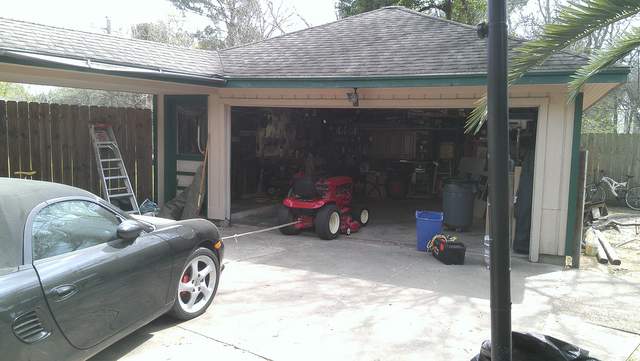
Oh yeah, that's my new tractor pulling the Box, a 1979 8 speed Wheel Horse with 14hp cast iron Kohler. It was a uniform shade of rust when I bought it - nice ride.


 Threaded Mode


