I just completed an IMS bearing replacement today on my '03 Boxster S. I followed the Pelican Parts DIY using the set-screws to hold the IMS in place. No cam lock tools, as I didn't think they were required using the set screws. I pulled the cam caps and marked the position of the cams on all four, as well as the crank prior to removing the tensioners and IMS bearing flange.
When I removed the cylinder head chain tensioner, I heard a pop and the tensioner sprung out with some force behind it. I didn't think much of it at the time since this was the first time I've done this job. I pulled the bearing flange, replaced the bearing, then reassembled the flange and torqued everything.
I reinstalled the tensioners and rotated the engine 720deg and then checked my markings on the cams. Both passenger side cams look like they are both out a tooth on the chain sprocket.
That pop I left was definitely the timing chain jumping a tooth on the intermediate shaft as a result of the chain being loaded up by the cams. I realized at this point how valuable the cam lock tools are and am kicking myself for not taking the time to get the tools.
So I've been searching for info on how I can correct this. I am familiar with the chain configuration of the 5-chain engine, and how you could correct this issue by re-indexing the cam drive plate behind the oil scavenge pump. But I don't think that will work on my 3-chain engine, or at best, would only re-time the exhaust cam.
My thinking is that I have to remove the chain tensioner, pull the valve cover, and try to get the cams back on the correct sprocket location, either by removing the cams, or by trying to get the chain to jump a single link.
I'm afraid I'll have to pull the engine though. That would suck.
Any information on how to correct this is appreciated.
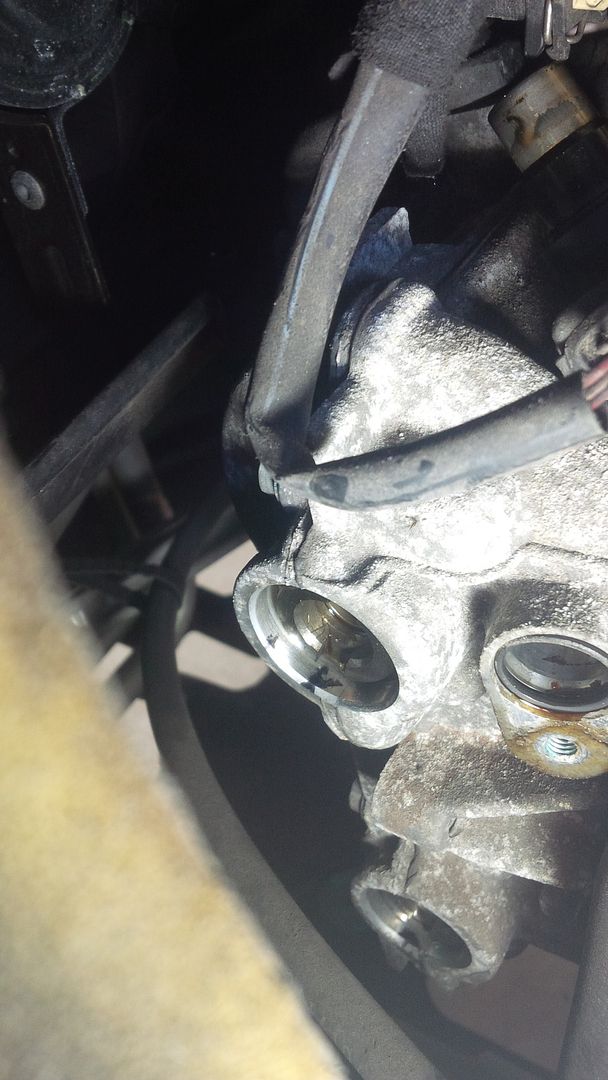
Before:
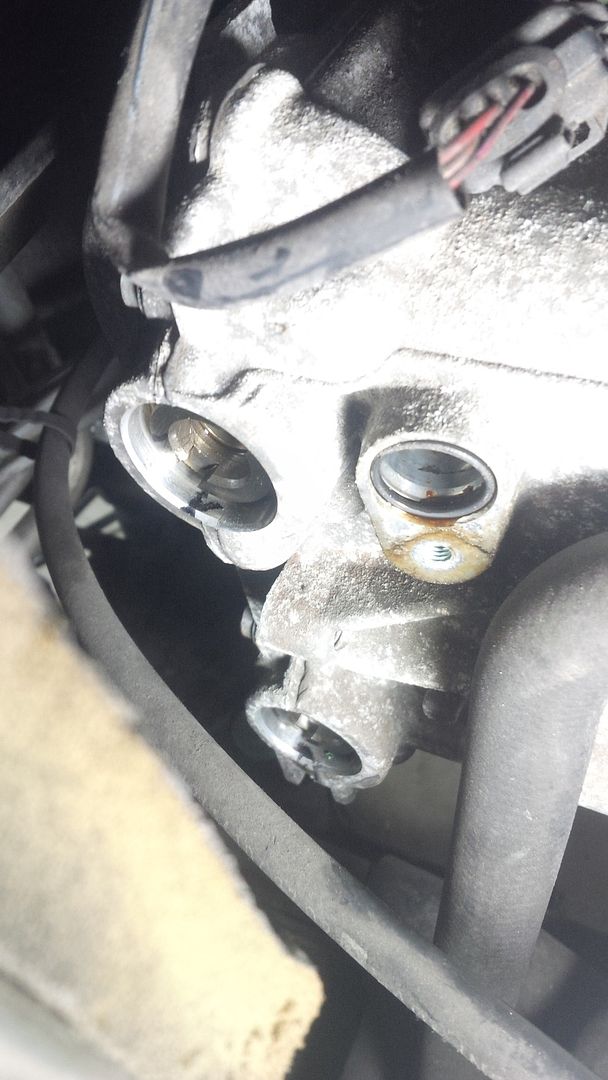
After:


 Threaded Mode


