Go Back   986 Forum - The Community for Porsche Boxster & Cayman Owners > Porsche Boxster & Cayman Forums > DIY Project Guides

Post Reply
 
LinkBack Thread Tools Display Modes
Old 12-27-2015, 04:18 AM   #1
Registered User
 
jc986's Avatar
 
Join Date: Jan 2014
Location: FL
Posts: 65
Still holding up well

Hi guys, sorry, haven't been on here for a while. Just got back from a trip to Asia. Well, the seats are still in good shape, but now having a problem with the convertible top mechanism, haha. Always something to work on.
__________________
97 Boxster 2.5L
07 Mercedes C230 Sport
jc986 is offline   Reply With Quote
Old 12-27-2015, 05:59 AM   #2
1999 base
 
Meir's Avatar
 
Join Date: Dec 2011
Location: Coral Springs FL
Posts: 1,617
Garage
Quote:
Originally Posted by jc986 View Post
Hi guys, sorry, haven't been on here for a while. Just got back from a trip to Asia. Well, the seats are still in good shape, but now having a problem with the convertible top mechanism, haha. Always something to work on.
I'll tell you what.
Post some pics and I'll help you fix the top
Unfortunately, I become an expert on that.
Meir is offline   Reply With Quote
Old 12-31-2015, 06:42 AM   #3
2003 Base 5-speed
 
grc0456's Avatar
 
Join Date: Jul 2015
Location: Stoneham, MA
Posts: 949
Garage
Leather Magic results

I purchased the Leather Magic Deluxe Repair Kit and reconditioned the seats in my 2003 Box.

https://leathermagic.com/leather-repair-kits/#!/Deluxe-Leather-Repair-Kit/p/49974297/category=13262202

I have no affiliation with them whatsoever, but am satisfied with the results. Basically you clean the leather, prep the leather, clean again, sand, fill, sand, fill again, sand and clean a final time. Dry with a blow dryer after each cleaning. Then you apply the coloring agent (the Deluxe kit has the pre-mixed Porsche factory colors - Savanna Beige for me) with a foam brush into the nooks and crannies. Dry with a hair dryer. Then apply VERY light coats with the aerosol sprayer. This was a little tricky. I found short, quick bursts worked better then a continual side to side method. You should practice a little before this step. Light spray, blow dry, repeat. I did "re-perforate" with a small nail some of the perforated holes that were covered where I sprayed a little too heavily - fixed 'em nicely.

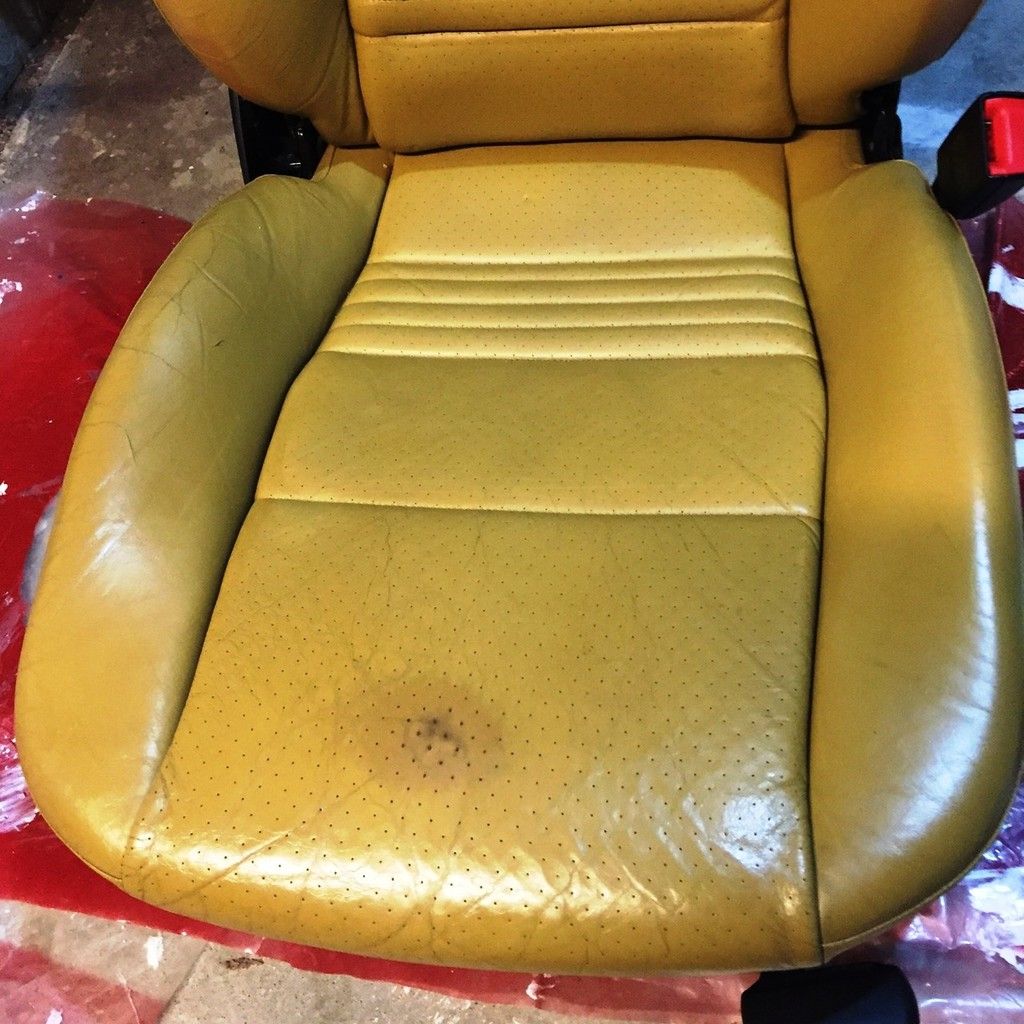
Here is the passenger side before (note the nasty spot which was caused by yours truly when I over-rubbed some cleaner trying to get a small spot removed):


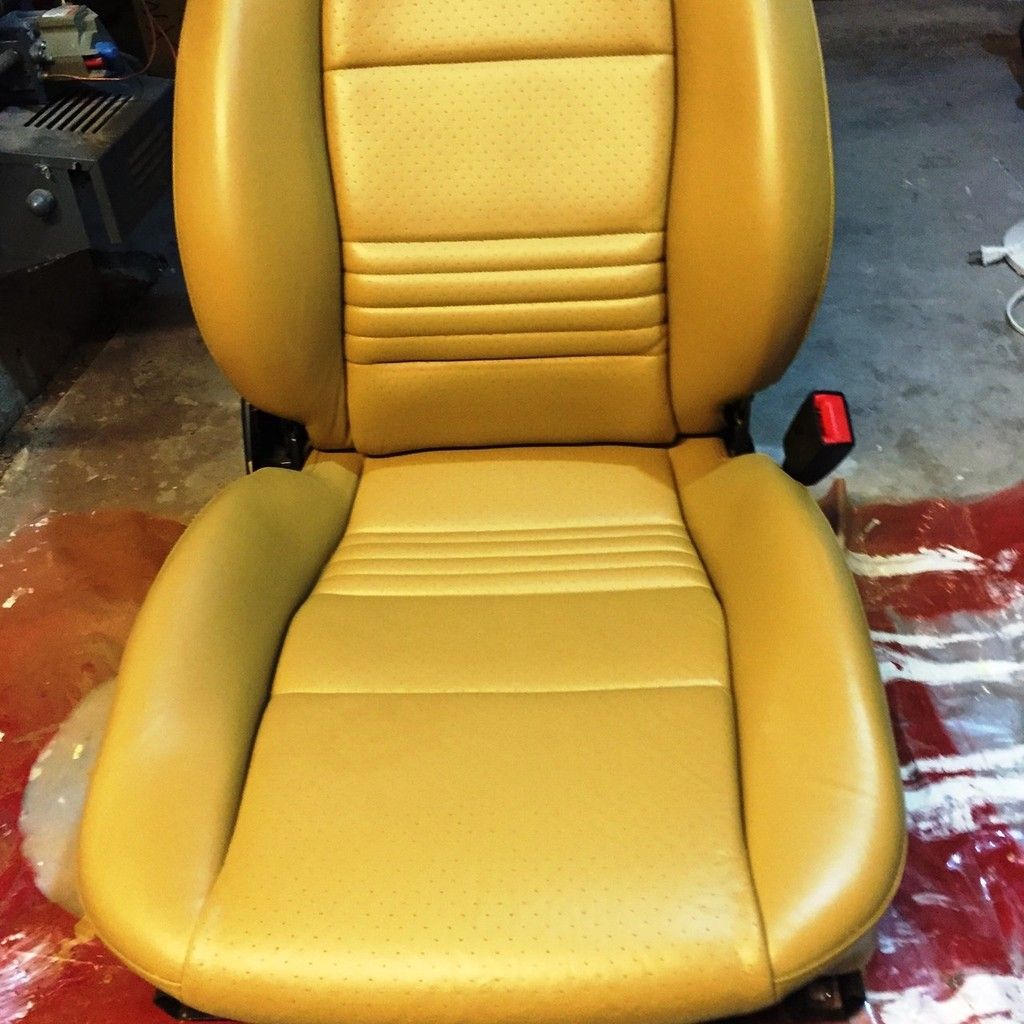
Here is the passenger side after:


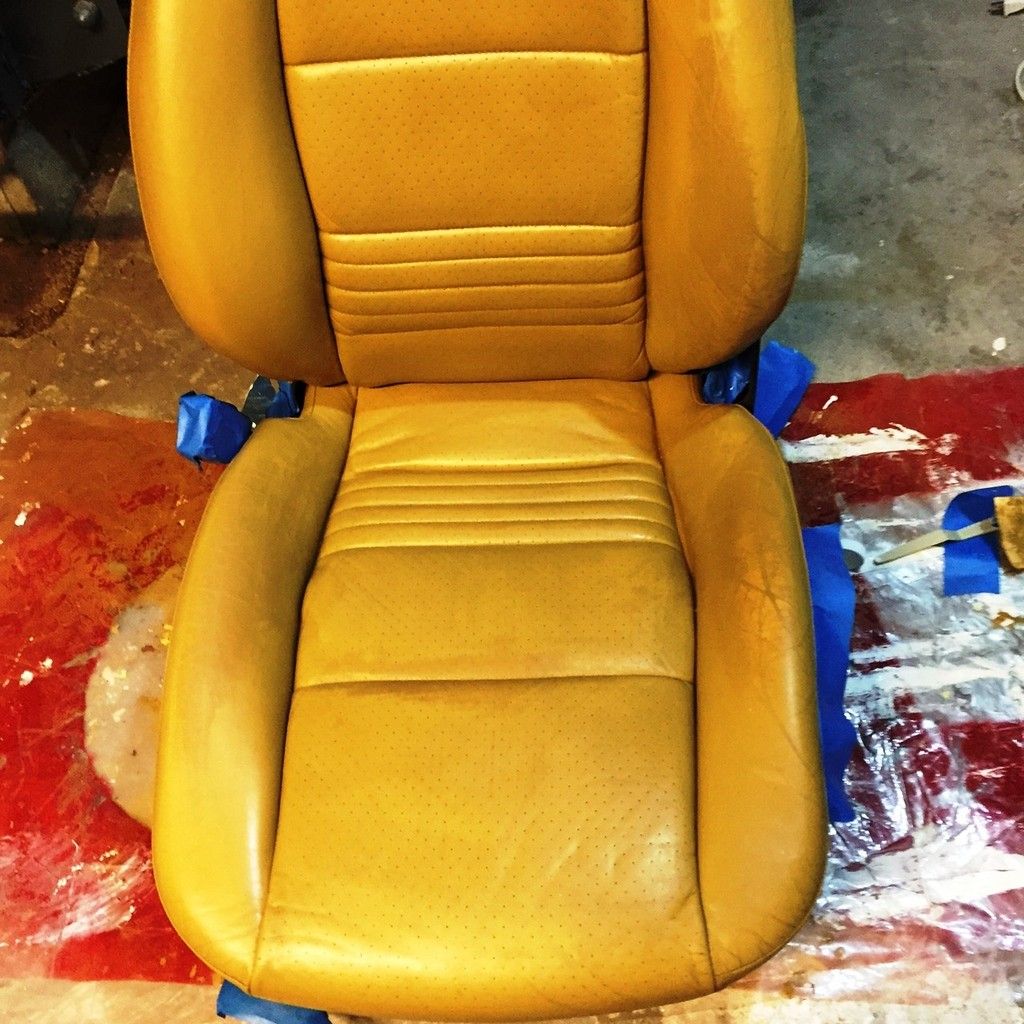
Drivers side before (note this was after the "leather prep" stage - it wasn't quite this bad to start, but the prep stage does remove some original color and makes one think "there is no turning back now"):
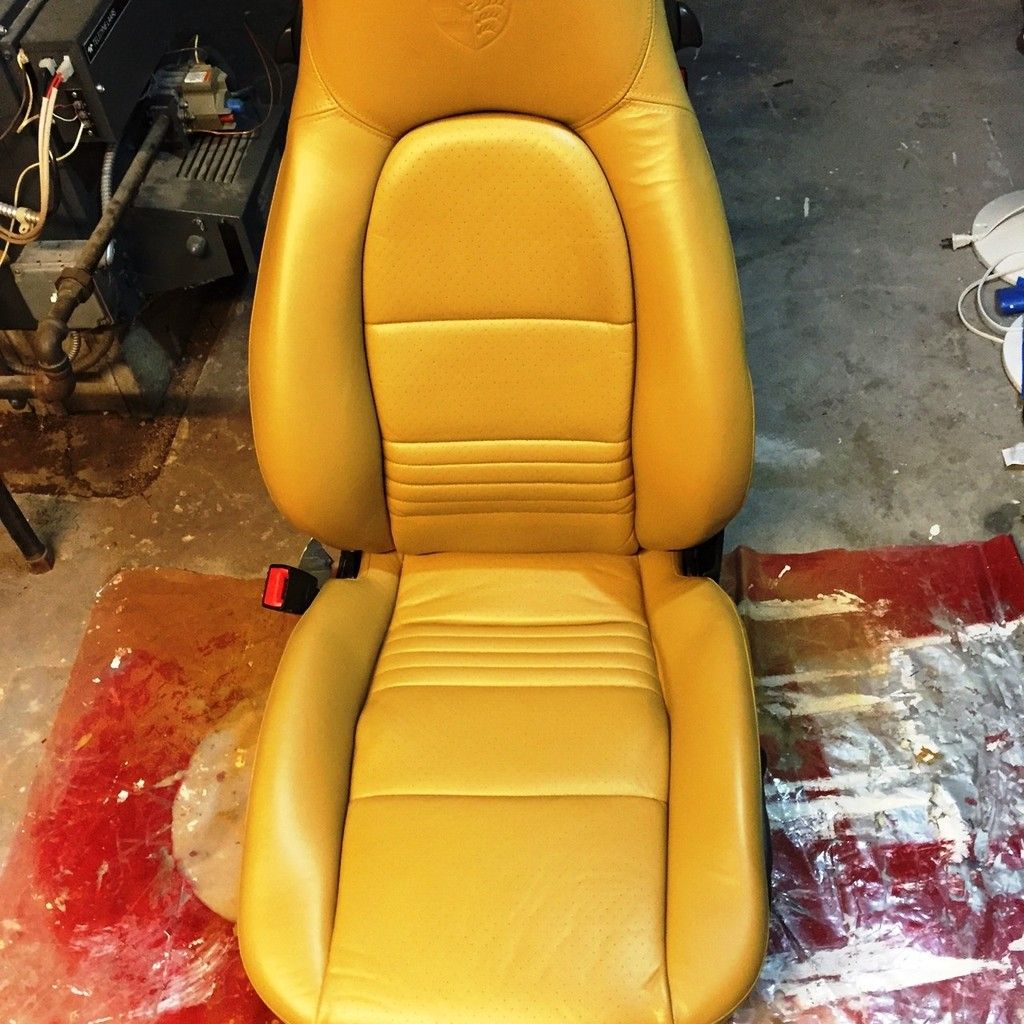


Drivers side after:


I am going to let them cure for 48 hours (as recommended) and then apply the conditioner to soften them up a bit.

Not perfect, but I think they came out great and I can live with this - provided they hold up. Only time will tell!

Last edited by grc0456; 12-31-2015 at 07:12 PM.
grc0456 is offline   Reply With Quote
Post Reply


Thread Tools
Display Modes

Posting Rules
You may not post new threads
You may not post replies
You may not post attachments
You may not edit your posts

BB code is On
Smilies are On
[IMG] code is On
HTML code is On
Trackbacks are On
Pingbacks are On
Refbacks are On


All times are GMT -8. The time now is 09:00 PM.


Powered by vBulletin® Version 3.8.7
Copyright ©2000 - 2025, vBulletin Solutions, Inc.
Content Relevant URLs by vBSEO 3.6.0
Copyright 2025 Pelican Parts, LLC - Posts may be archived for display on the Pelican Parts Website -    DMCA Registered Agent Contact Page