I am currently designing a set of Porsche headlights for my guard red boxster 986 and thought it would be cool to share with other members as I go along with the built.
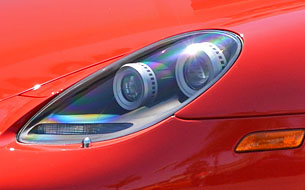
I will be using the famous clear BOSCH headlights found on most Porsche Boxster 986 year 2002-2004. P/N: 986 631 131 14 and 986 631 132 14. I've ordered a spanking NEW set of those and likely to receive them this Thursday (if FedEx is not lying to me).
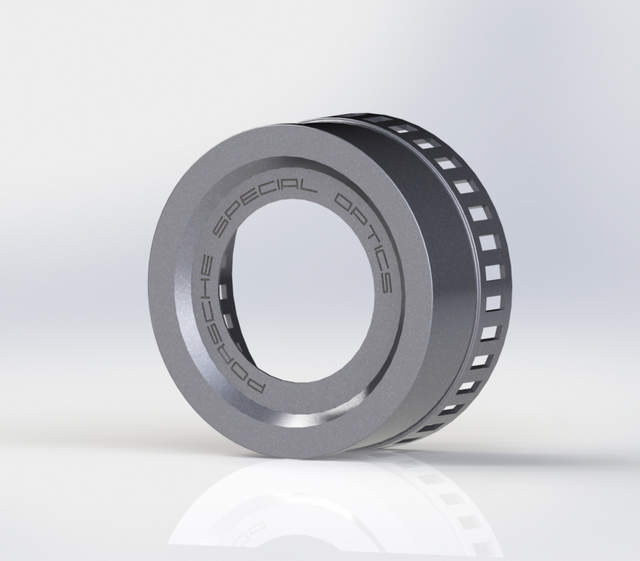
The first step is to design a custom projector shroud (aluminum) for the aftermarket bi-xenon projectors that I got. Next will be to make a sleeve (1mm PVC cylinder) that goes from the shroud down to the stock reflector. The goal with this design is to ensure that there is no light or any glare coming out from the back of the headlight. I need 1 (one) source of light coming from the projector lens alone. In other words, I am after a quality beam of light.
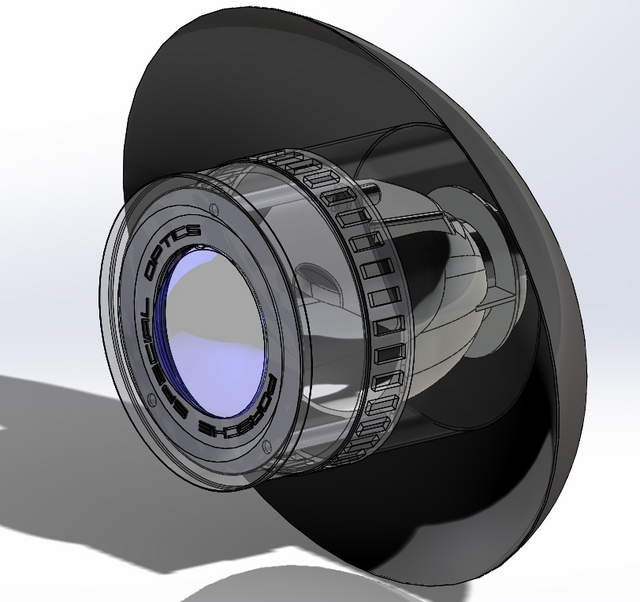
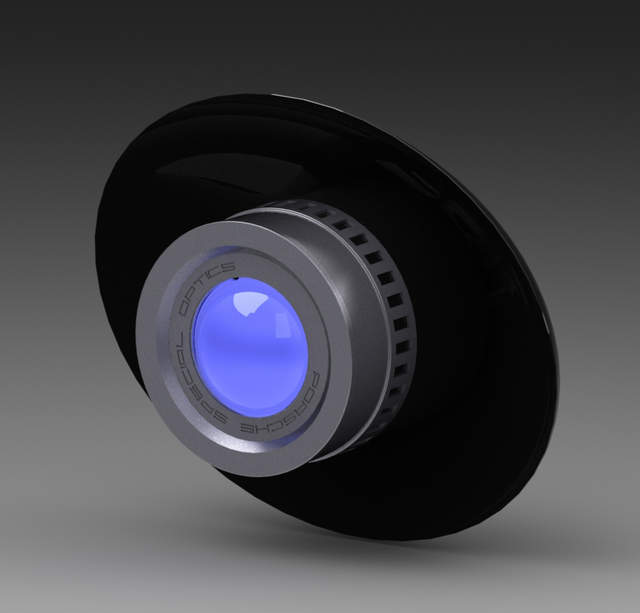
As you can see from my initial CAD design, I am borrowing the Carrera GT headlight style for the projector's shroud design, but using a 2.5" lens instead of the stock GT Carrera huge 3.5".
I'll post more pictures and what I am doing soon enough. I'll be turning the stock aluminum in the lathe and carry out 4-axis CNC operations on the shrouds as soon as this coming weekend.
Below is the initial CAD work. The black dish holding the whole assembly is the OEM chrome reflector found in the BOSCH headlight (to be soon painted in matte black). It will look better when all assembled in the headlight no worries!


 Threaded Mode


