Just got mine yesterday and they look awesome on my black Boxster!
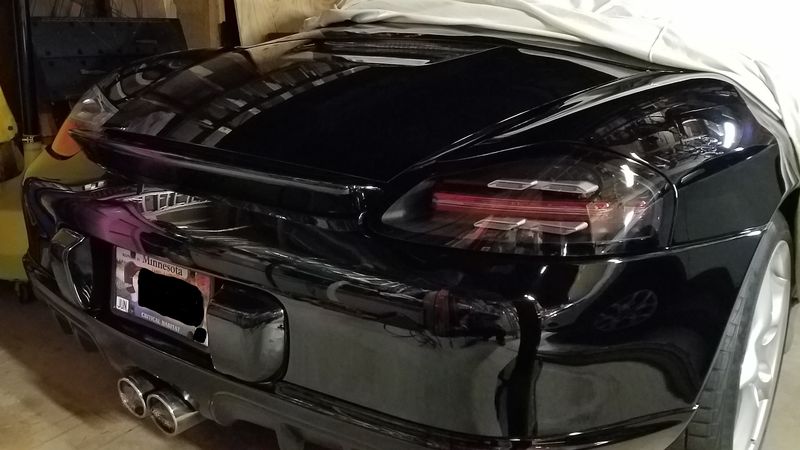
Fit and gaps/lines are pretty good, not quite OEM but close. One light has a little extra black sealant showing under the lens but not too noticeable. I'll adjust the fit a little when it's above freezing, and I cannot wait until the snow melts and I can get it out in the sun to really see them.
Here is a pic of the right unit installed.


 2002 Porsche Boxster


 Threaded Mode


