So the Bentley Manual is really lacking so I will add to it:
FWIW: My car is a 99
* Before you disconnect your battery park your windshield wipers so that they are straight up.
* Disconnect battery, negative side.
* Remove drivers seat. Funky ass plug...pull out two blue pins, then you slide the center section of the switch back, then it pulls in two pieces.
* Remove trunk lever assembly. Loosen the three allen bolts a few turns. Don't take bolts out. Pull up entire two handle assembly. It can't go far because of cables
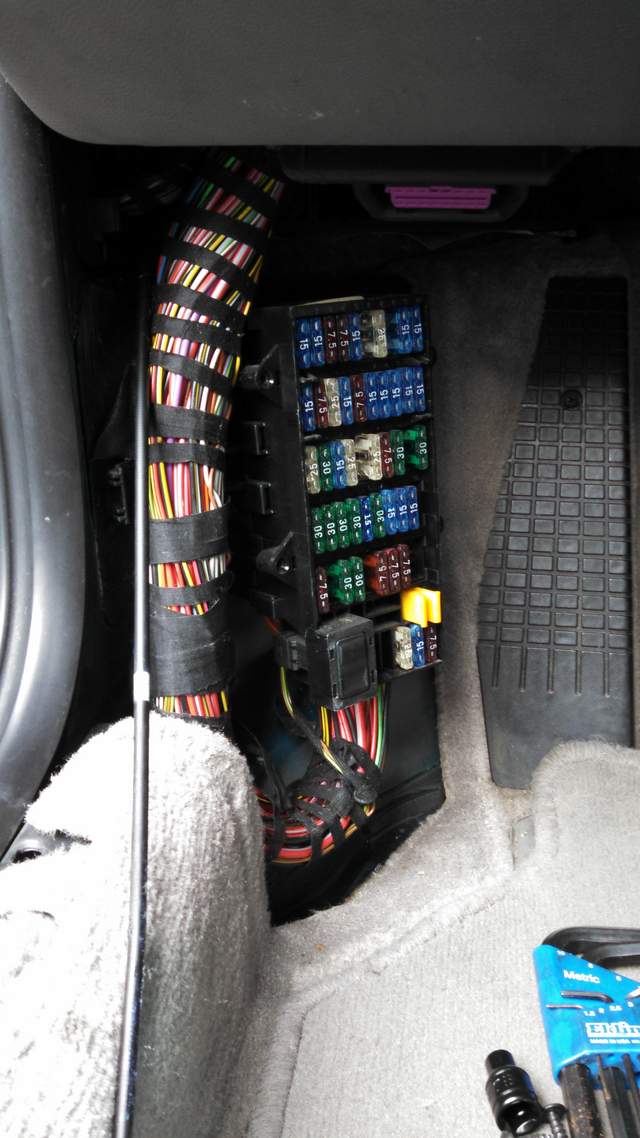
* Remove fuse panel cover. See this picture. To do this pull off the smaller cover by hand and then remove the 4 Phillips screws and pull off the big cover.
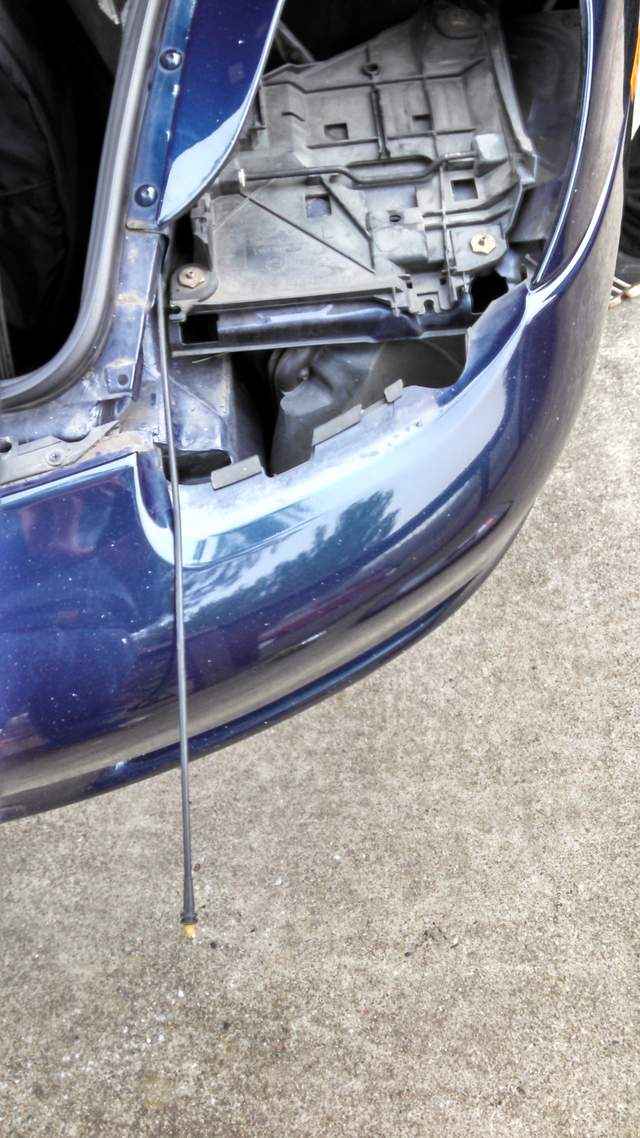
* Disconnect the cable from handle and pull the cable forward.


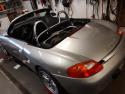 2001 Porsche Boxster S
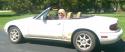 1995 Mazda Miata
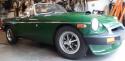 1978 MG MGB
 Big Bad Green AMX
 2002 Chevrolet Corvette
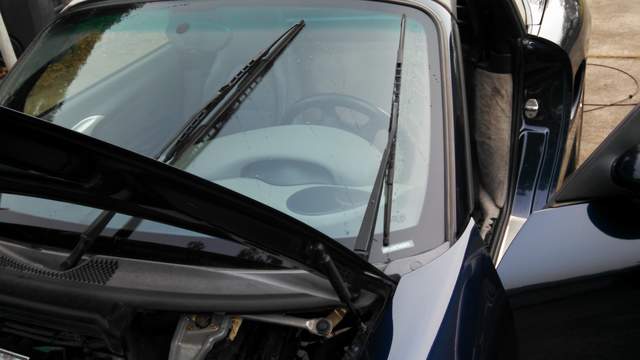

 Hybrid Mode


