 12-15-2016, 12:16 PM
|
#1
|
|
Custom User Title Here
Join Date: Mar 2012
Location: Ft. Leonard Wood
Posts: 6,164
|
Quote:
Originally Posted by Meir

|
Haha! Nah, that's me. I like to troll the 996 forum looking for fights.  :troll:
|

|

|
|
12-22-2016, 09:50 PM
|
#2
|
|
Registered User
Join Date: Sep 2012
Location: Sydney
Posts: 347
|
I bought some LED lights off eBay to stick on my 98 Box. They definitely make my car look a lot more modern than it is 

__________________
1998 Porsche Boxster 986 Convertible.
|
|
|
|
|
12-14-2016, 09:20 PM
|
#3
|
|
Registered User
Join Date: May 2008
Location: MN
Posts: 327
|
Quote:
Originally Posted by particlewave
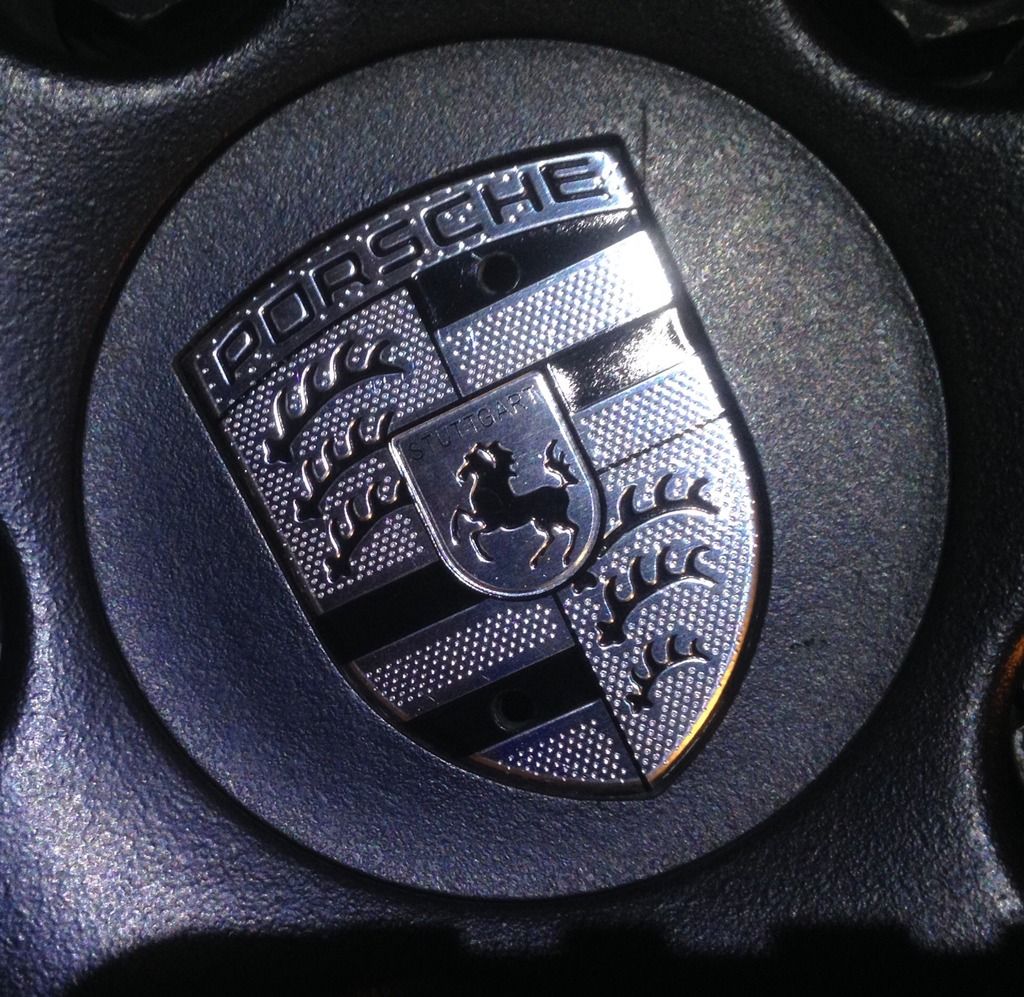
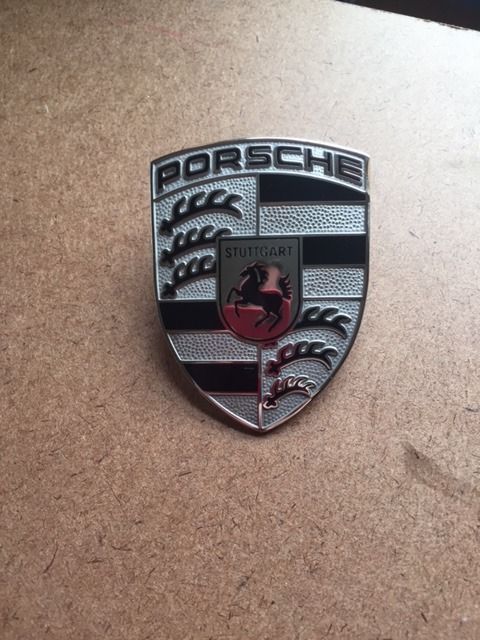
Switched out my scratched gold airbag crest for a silver one. Silver hood crest is on the way. 
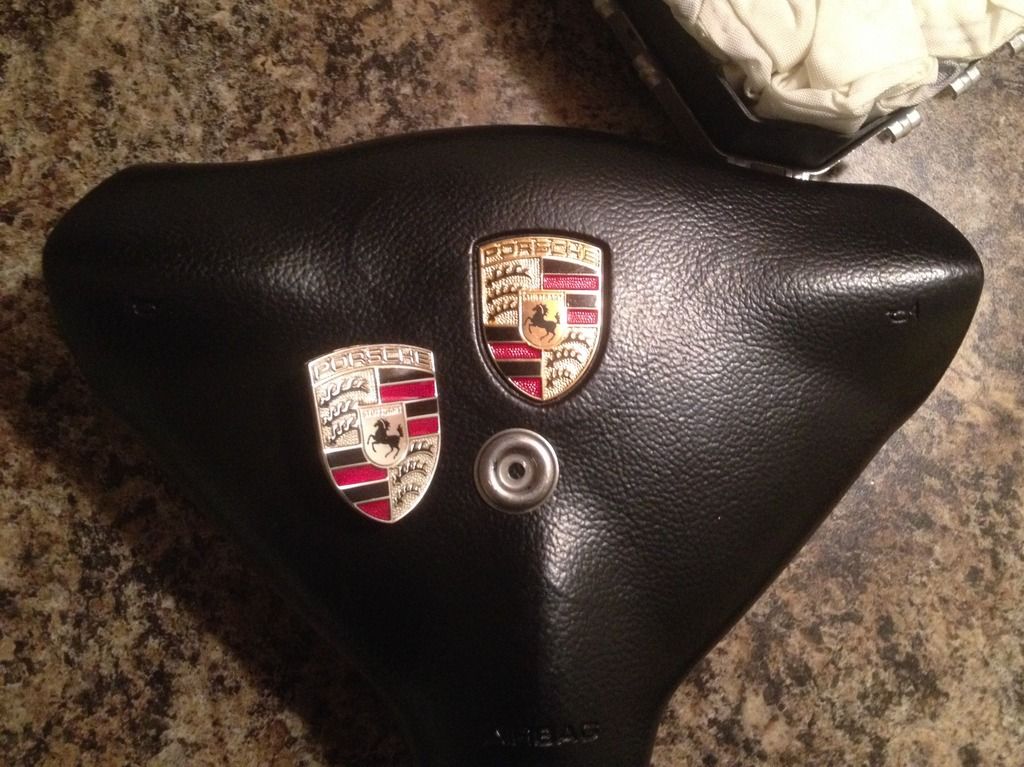
Old scratched crest:
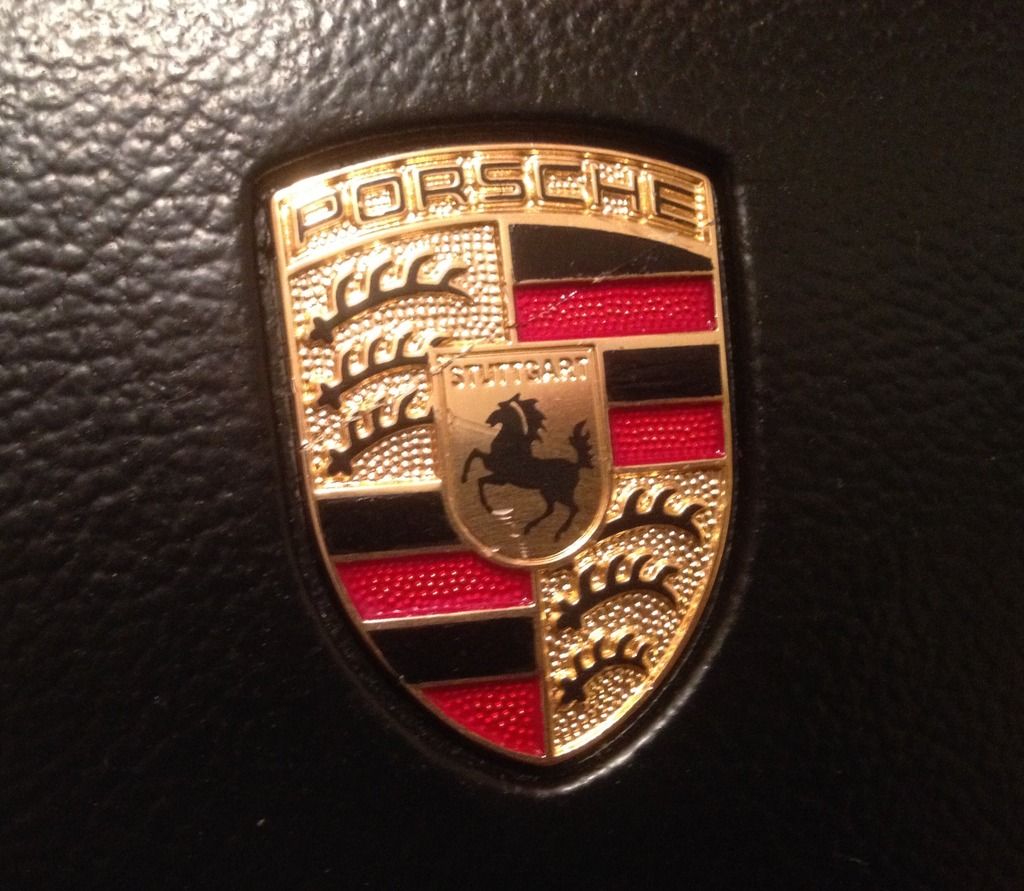
New crest:
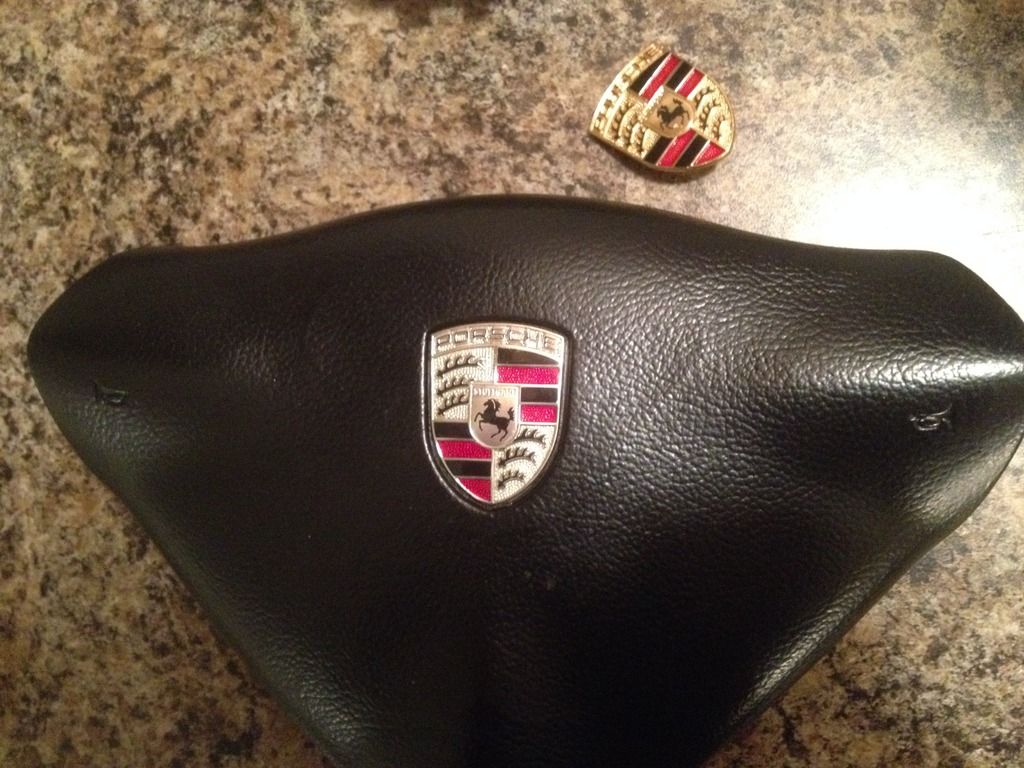
Done right: 
Thanks again for the replacement crest, Woody!!! |
I did the silver hood crest a few years ago and love how it looks. Where did you get the silver airbag crest and how do you swap it?
|
|
|
|
|
12-14-2016, 09:53 PM
|
#4
|
|
Custom User Title Here
Join Date: Mar 2012
Location: Ft. Leonard Wood
Posts: 6,164
|
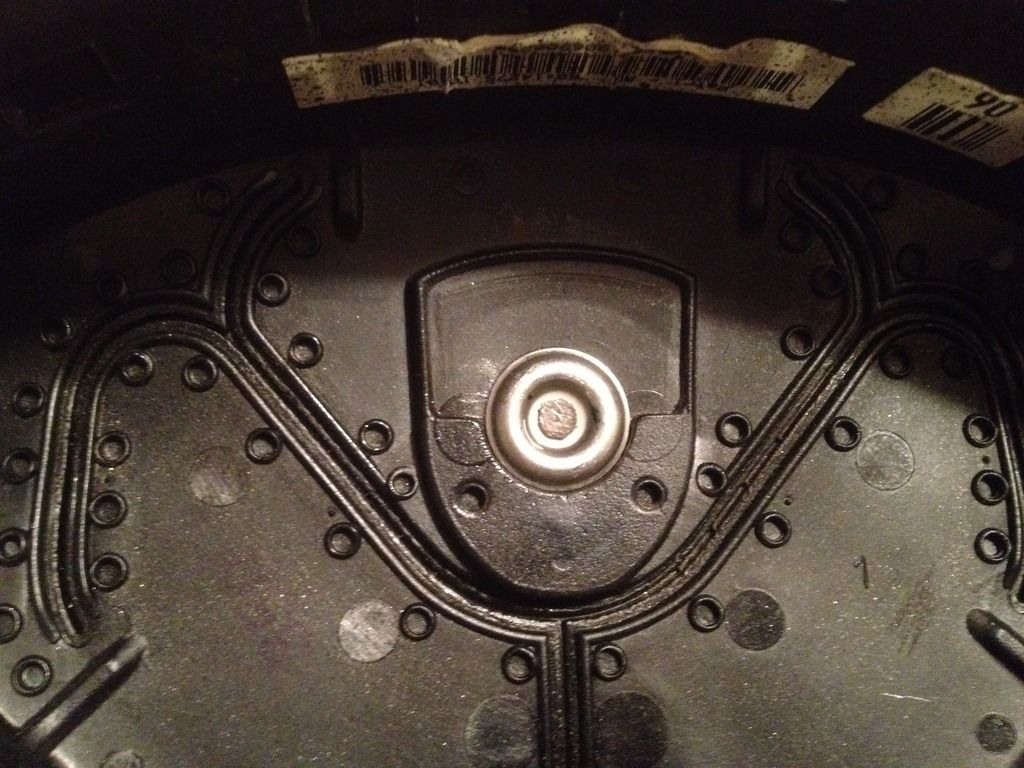
I guess I should have said "new used crest". I'm not even sure if they can be found new...didn't even look. 
I got it from Woody. It came from a car that had been in an accident with airbags deployed, so he just cut off the flap with the crest on it and sent it to me. After removing the rest of the old flap, I was able to slide the retaining washer down the post to get better acces to the flattened tip in order to squeeze it back into round.
I did this by carefully heating up just the tip with a small butane torch and squeezing it little by little with a pair of pliers. Once round, I could then slide the washer off.
To remove the old crest, I just used a Dremel to cut off the flattened end. Put the replacement crest in, washer on, then re-flattened the exposed end of the post. To protect the new crest, I laid 2 thick pieces of leather down, placed the airbag cover on them face down and slowly flattened the post (rivet) down with many moderate taps with a small hammer.
Getting the cover off the airbag requires removal of the airbag.
Disconnect the battery and wait a few minutes with the ignition in acc position to ensure all power is out of the system. Remove airbag (T30 Torx). Remove charge (4 x 10mm hex) and place in a safe location away from metal and other possible sources of static, then it's safe to remove the cover.
Last edited by particlewave; 12-15-2016 at 12:34 AM.
|
|
|
|
|
12-21-2016, 03:13 PM
|
#5
|
|
Custom User Title Here
Join Date: Mar 2012
Location: Ft. Leonard Wood
Posts: 6,164
|
Dave: yep, that's the one. I have no idea, but I assume anything other than gold was an added expense option. I've seen them on eBay from time to time (complete airbag), but 3 spoke airbags are expensive and I don't want to buy another if I can avoid it.
I wanted black and silver for both the airbag and hood crest to match my wheel center caps, but the custom hood crest is also expensive at $225.
My current wheel center caps (terrible picture):
And the custom hood crest from porschecrests@gmail.com:
I'd LOVE to have all of them in this monochrome style to match the black and white look of my car, but that may be a pipe dream for now. I was looking at OEM silver (with red) hood crests when my lady told me not to buy one, so she kind of gave away that I'm getting one for Christmas.
Last edited by particlewave; 12-21-2016 at 03:17 PM.
|
|
|
|
|
12-21-2016, 05:20 PM
|
#6
|
|
Registered User
Join Date: Sep 2016
Location: Maryland
Posts: 102
|
__________________
2002 Boxster S
2001 911 race car
Gone:
Spec Boxster #714, 2006 Cayman S, 2006 911 S, 2016 Cayenne GTS
|
|
|
|
|
12-21-2016, 06:12 PM
|
#7
|
|
"50 Years of 550 Spyder"
Join Date: Jun 2015
Location: The Road
Posts: 958
|
Bird console...
....found the Bird console on Ebay. Dumb luck.
__________________
550 SE #310---"It's more fun to drive a slow car fast, than a fast car slow."
|
|
|
|
|
12-21-2016, 07:44 PM
|
#8
|
|
Registered User
Join Date: Aug 2016
Location: Illinois
Posts: 26
|
It was 48 degrees in Central Illinois today. So, I had to drive it. Now, I have clean it, again. The picture is from a slightly warmer day!

|
|
|
|
|
12-22-2016, 05:28 AM
|
#9
|
|
"50 Years of 550 Spyder"
Join Date: Jun 2015
Location: The Road
Posts: 958
|
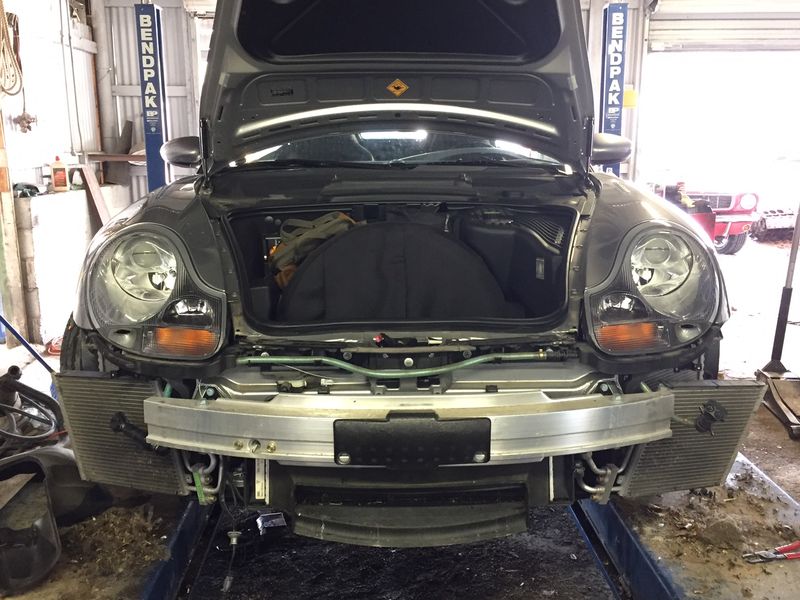
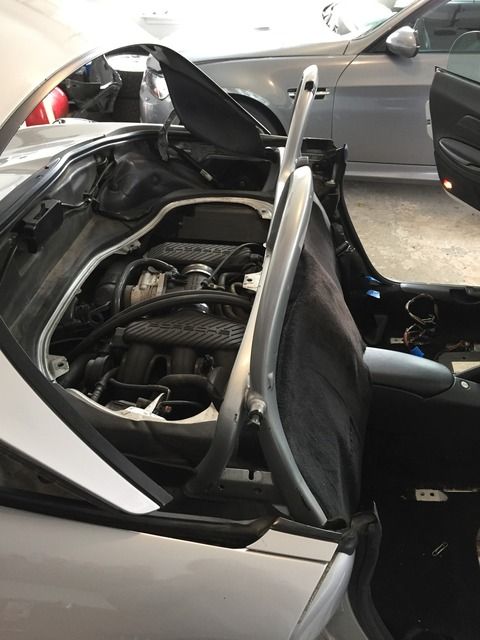
Horn failed....Time to install new ones...
Installed new horns.
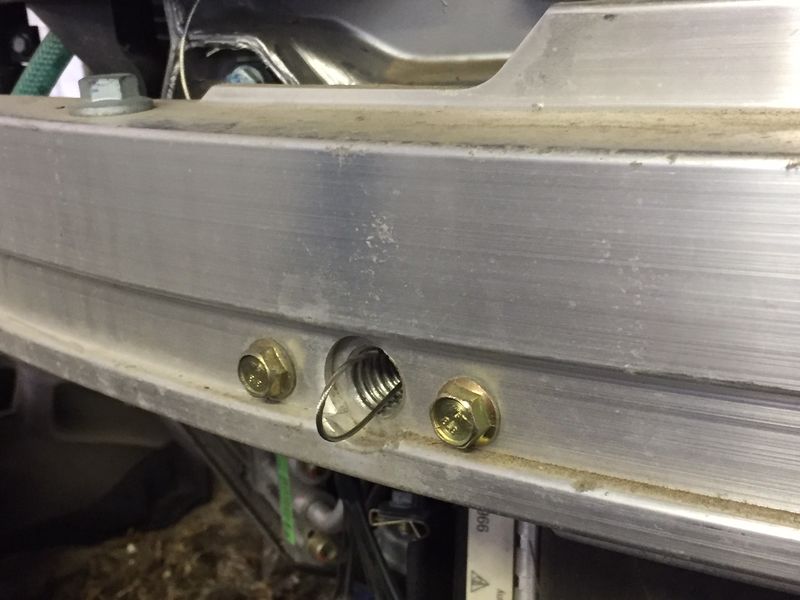
Relocated Frunk release cable to tow hook opening.
Cleaned between condensers and radiators.


__________________
550 SE #310---"It's more fun to drive a slow car fast, than a fast car slow."
|
|
|
|
|
12-22-2016, 06:13 AM
|
#10
|
|
2003 Base 5-speed
Join Date: Jul 2015
Location: Stoneham, MA
Posts: 949
|
Not pretty in there, huh? Mine were similar. Prompted me to install some mesh screens.
Sent from my iPad using Tapatalk
|
|
|
|
|
12-22-2016, 07:52 AM
|
#11
|
|
Registered User
Join Date: Sep 2009
Location: Noblesville, Indiana
Posts: 53
|
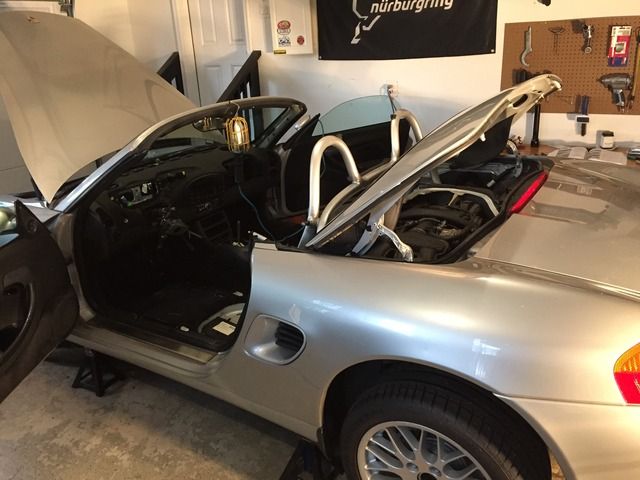
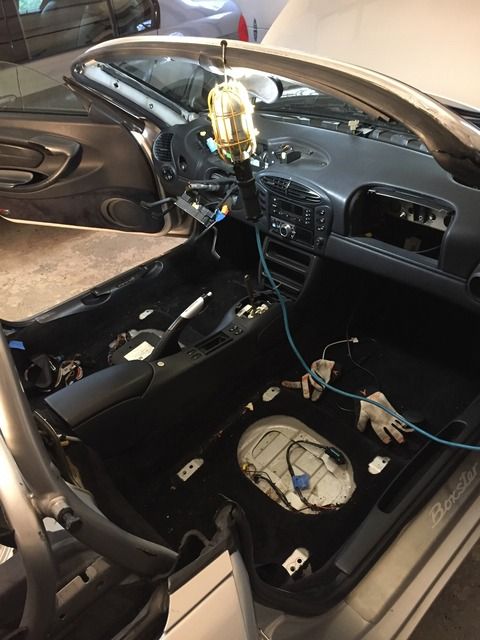
Instrument cluster
a few weeks ago I was cleaning my 02 and changing the oil, getting it ready for a long winters nap. As I was wiping down the dash area the cloth caught the knob that adjusts the dimmer of the console lights and snapped the stem that goes into the cluster. You can imagine my reaction.
I was able to locate the guy in Canada who has manufactured a replacement part, with a search on this forum and others. I also was able to locate a used cluster for sale at a reasonable price. So for the price of two stems from Canada, I purchased the used cluster. This way I could practice on taking one apart, before I did mine.
I stayed home from work today and decided to see what these things look like inside. With patience and going slow, and following steps posted online I was surprised at how simple it was to take it apart.

This is one of the pieces that broke. You have to split the cluster to replace as they install from the back side of the face.
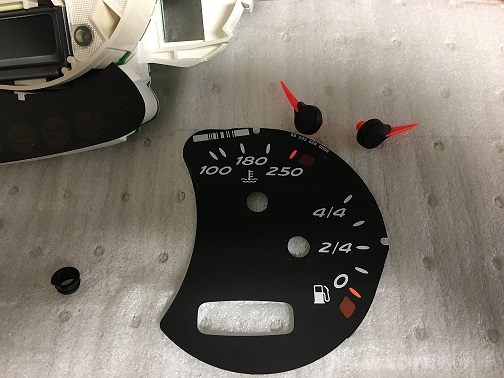
I also decided to take one of the face dials off, I used a plastic picnic fork inserted under the indicator and with a small flat bladed screwdriver popped the dial off using gentle pressure.
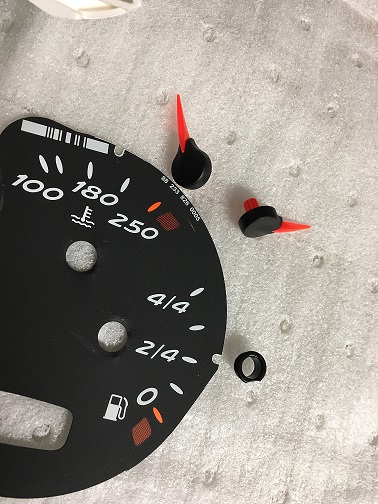
The tricky part was the small plastic retaining piece that inserts into the hole and holds the face dial in place, see object to the right of the dial. I did this with a small screwdriver form underneath the dial, gently prying it up. As you can see a small piece of the edge did break off, the material is very brittle. I think it will still do the job it was intended for and cosmetically will be under the indicator needle when reinstalled.
So now I wonder if anyone has painted the face dials or changed them to a different color. One project leads to another. My car is speed yellow and adding a bit of color to a black interior would be nice.
|
|
|
|
|
01-05-2017, 01:00 PM
|
#12
|
|
07 Carrera S Cab
Join Date: Nov 2005
Location: New Jersey
Posts: 2,273
|
I know a Boxster owner who installed a yellow tach in the center, and kept the other dials black, like how Ferrari does it. Looked kinda cool.
Quote:
Originally Posted by cribfiller
So now I wonder if anyone has painted the face dials or changed them to a different color. One project leads to another. My car is speed yellow and adding a bit of color to a black interior would be nice.
|
__________________
Current: 07 Carrera S Cab in Midnight Blue
Previous: 01 Boxster in Arctic Silver, 86 944 in Guards Red
|
|
|
|
|
01-05-2017, 07:12 PM
|
#13
|
|
Registered User
Join Date: Sep 2013
Location: Chandler, AZ
Posts: 1,796
|
Hey Boxstaboy, I like your knobs and eject button. We're did you find them? Thanks.
__________________
03 Carrera
02 Boxster S Guards Red, black interior with matching hardtop
89 Carrera 4
89 944 S2
78 911SC
|
|
|
|
|
01-06-2017, 03:37 AM
|
#14
|
|
07 Carrera S Cab
Join Date: Nov 2005
Location: New Jersey
Posts: 2,273
|
Quote:
Originally Posted by Porsche9
Hey Boxstaboy, I like your knobs and eject button. We're did you find them? Thanks.
|
Eject button:
EJECT BUTTON!!! 12-volt / Lighter Insert Aluminum Faux Ejection Seat Button Red Eject Button****-****Mitsubishi 3000GT****/****Dodge Stealth Parts
The knobs are from the Becker radio that is factory installed in the Chrysler Crossfire. I was tired of the cheap looking black knobs, and while I don't own a Crossfire, it looked like they would fit our radio, and it does. You can get them from Beckeraudio on EBay. Just search for Becker radio knobs and it should pop up. If you paint your current knobs, you should try to use flexible paint or it'll crack. These knobs, you can squeeze em without worry of the paint cracking, and they look better than the black stock ones.

__________________
Current: 07 Carrera S Cab in Midnight Blue
Previous: 01 Boxster in Arctic Silver, 86 944 in Guards Red
|
|
|
|
|
12-22-2016, 07:30 AM
|
#15
|
|
Registered User
Join Date: Dec 2013
Location: Greenville, S.C.
Posts: 2,670
|
@andys320
My 2000 has the silver badge. I assumed that a previous owner changed it to better match the yellow exterior. That's awesome if it's a sort of special feature for the year.
|
|
|
|
|
12-23-2016, 08:53 AM
|
#16
|
|
Registered User
Join Date: Jun 2014
Posts: 37
|
Quote:
Originally Posted by BIGJake111
@andys320
My 2000 has the silver badge. I assumed that a previous owner changed it to better match the yellow exterior. That's awesome if it's a sort of special feature for the year.
|
Hi Jake
Pretty sure I have read this somewhere, typically cannot now find a definitive reference, sorry.
|
|
|
|
|
01-02-2017, 08:25 PM
|
#17
|
|
Registered User
Join Date: Oct 2016
Location: Central Valley
Posts: 6
|
So the past two days i installed a new joying single din android stereo and added a backup camera. No holes drilled!!

|
|
|
|
|
12-22-2016, 07:53 AM
|
#18
|
|
Registered User
Join Date: Dec 2012
Location: FL
Posts: 4,144
|
My 2000 has a silver steering wheel badge.
|
|
|
|
|
12-22-2016, 08:00 AM
|
#19
|
|
Registered User
Join Date: Sep 2016
Location: Stow, MA
Posts: 918
|
Bought a play mate for FunToy
I would swear I already posted this, but I don't see it anywhere in the thread.
Bought a playmate for the Boxster. They both speak German. 2009 Mercedes Benz CLK 350 convertible.

__________________
2004 Boxster S Silver - FUNTOY
2002 Boxster Base Guardsy Red - FUNBOX
1987 Caterham Super 7 1700 Supersprint
2009 Mercedes Benz CLK 350 convertible
1941 Dodge Luxury Liner Coupe
|
|
|
|
|
12-22-2016, 10:07 AM
|
#20
|
|
2003 Base 5-speed
Join Date: Jul 2015
Location: Stoneham, MA
Posts: 949
|
Nice, Anker.
Sent from my iPad using Tapatalk
|
|
|
|
 Posting Rules
|
You may not post new threads
You may not post replies
You may not post attachments
You may not edit your posts
HTML code is On
|
|
|
All times are GMT -8. The time now is 07:11 AM.
| |


 2002 Porsche Boxster
 Blue Box
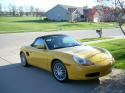 2002 Porsche Boxster
 2001 Porsche Boxster
 2007 Carrera S Cabriolet
 Molly
Molly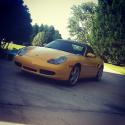 Yellowbird
 FunToy
 Hybrid Mode


