 02-23-2020, 04:43 AM
|
#101
|
|
Registered User
Join Date: Feb 2020
Location: Sweden
Posts: 7
|
Very impressive work! Great thread!
|

|

|
 02-25-2020, 11:34 PM
|
#102
|
|
Registered User
Join Date: Oct 2018
Location: North Cali
Posts: 858
|
Quote:
Originally Posted by Mhunter

Very impressive work! Great thread!
|
Thanks! 
|

|

|
 02-26-2020, 12:06 AM
|
#103
|
|
Registered User
Join Date: Oct 2018
Location: North Cali
Posts: 858
|
Little progress since last time. New timing chains ready for assembly.
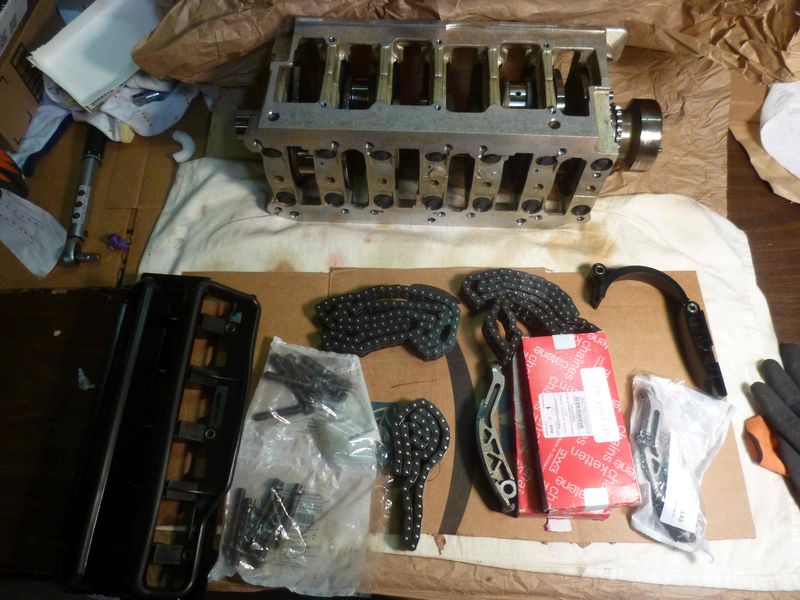
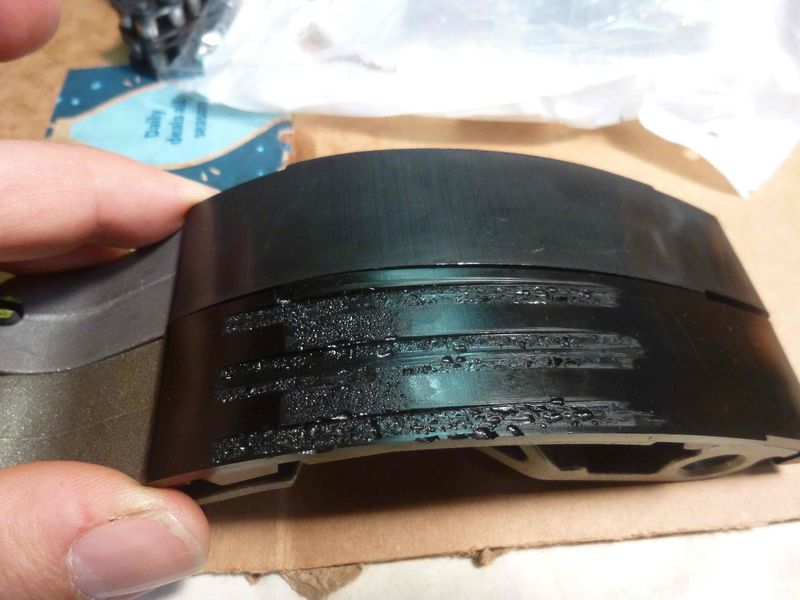
Old vs. new chain tensioner.
Old vs new timing chain lined up. Not a super precise way to tell, but I can`t see any obvious sign of stretch.


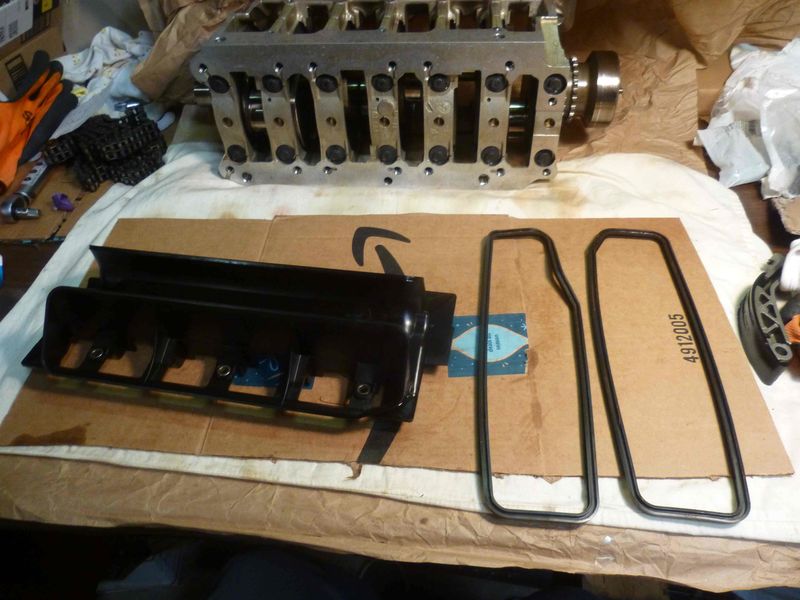
I put a small amount of sealant onto the gasket lips for the plastic oil scraper (?) to hold it in place during assembly. They put sealant there in the factory as well.
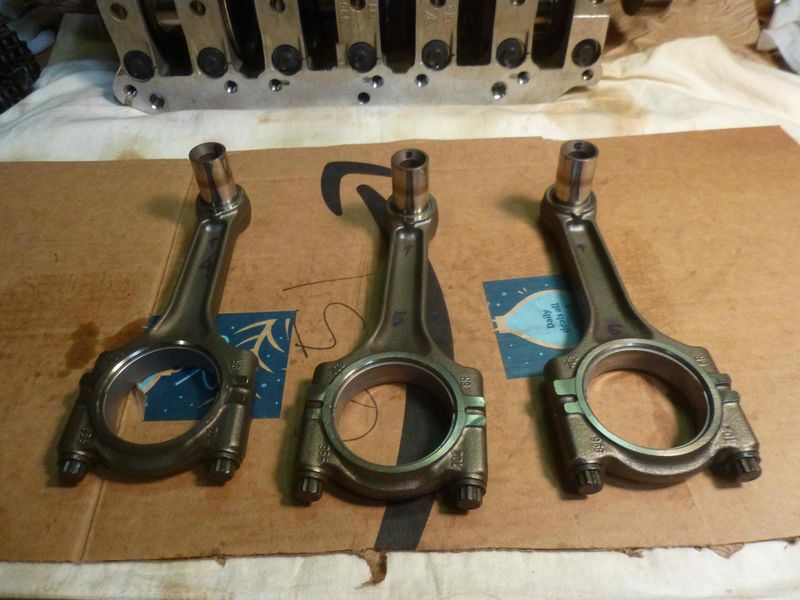
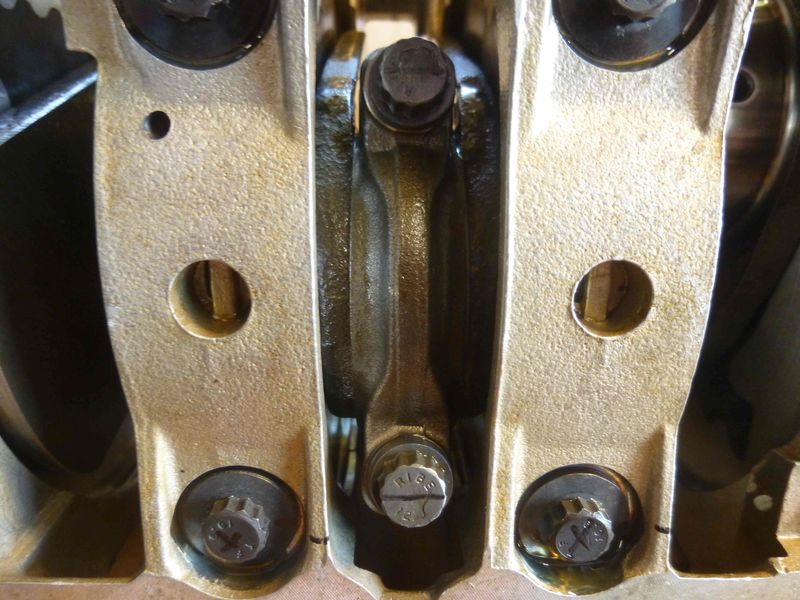
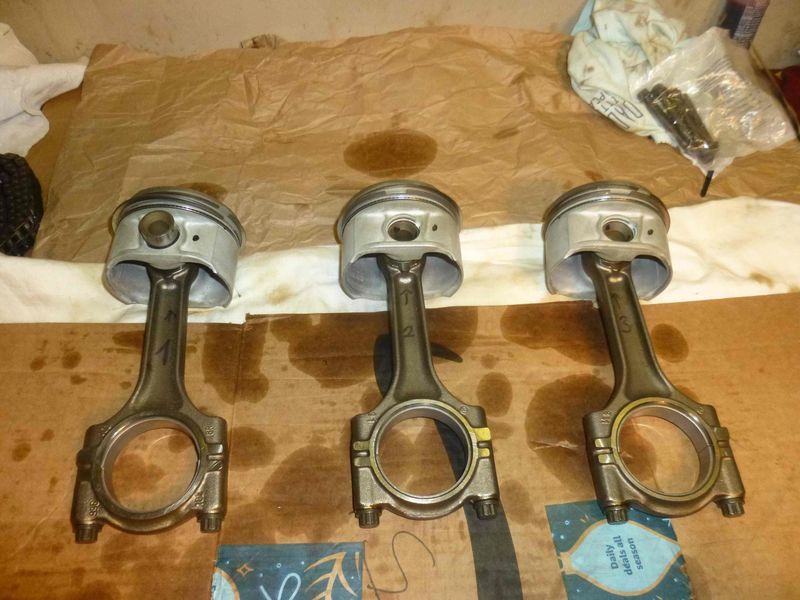
I spent about a good two hours closely looking at the pictures I made during disassembly to find out which rod goes with which piston, which cylinder and in what orientation. I marked everything, but that was 1.5 years ago and of course I couldn`t figure out what I meant by my markings back then  So I remarked everything and they are good to go.
Rod bolts, new vs old.

Rod bolts torqued to 20 Nm followed by an additional 90 degree turn. Hopefully that`s fine, as the respective line on the torque settings chart was a bit confusing.
IMS and chains joined again with the crankshaft. More tomorrow.

|

|

|
 03-01-2020, 12:05 PM
|
#104
|
|
Registered User
Join Date: Oct 2018
Location: North Cali
Posts: 858
|
Bearing carrier should be sitting in the engine case on two dowel pins. I managed to find the missing one in one of the boxes.
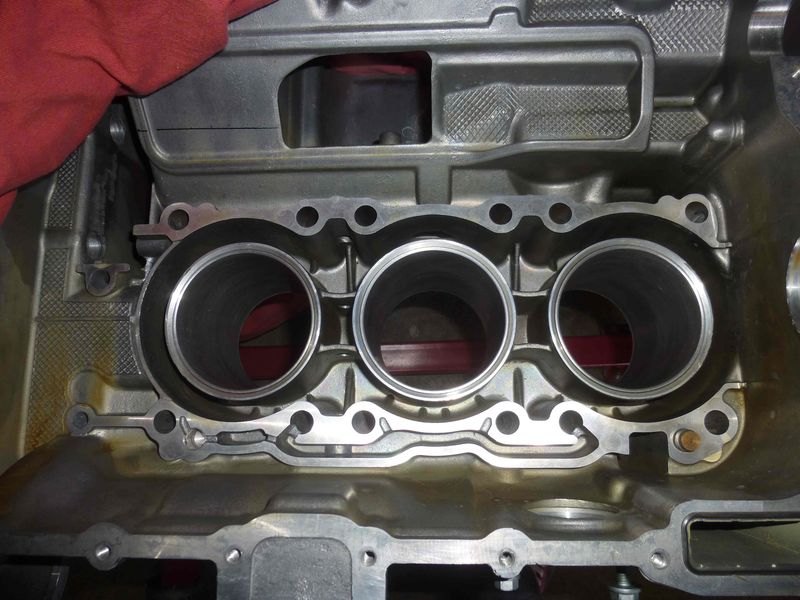
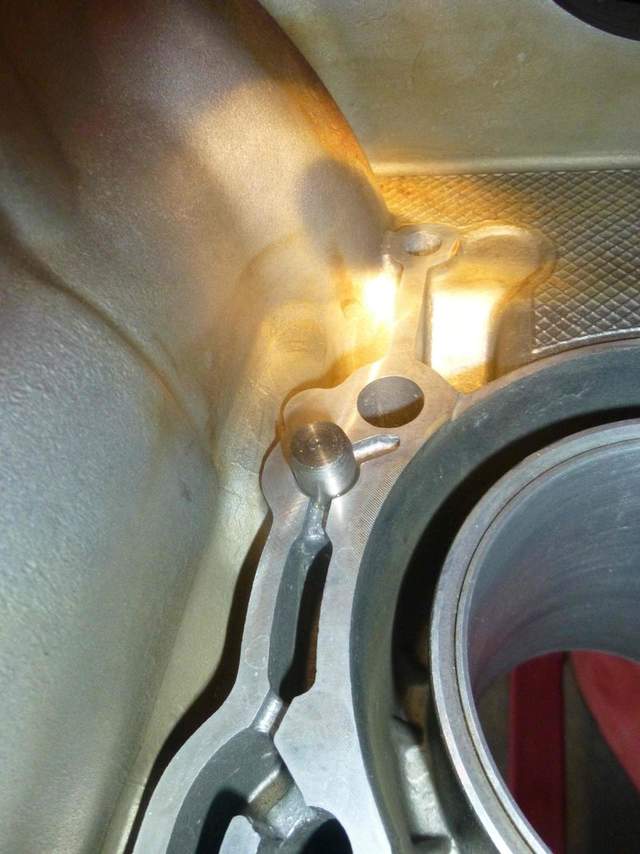
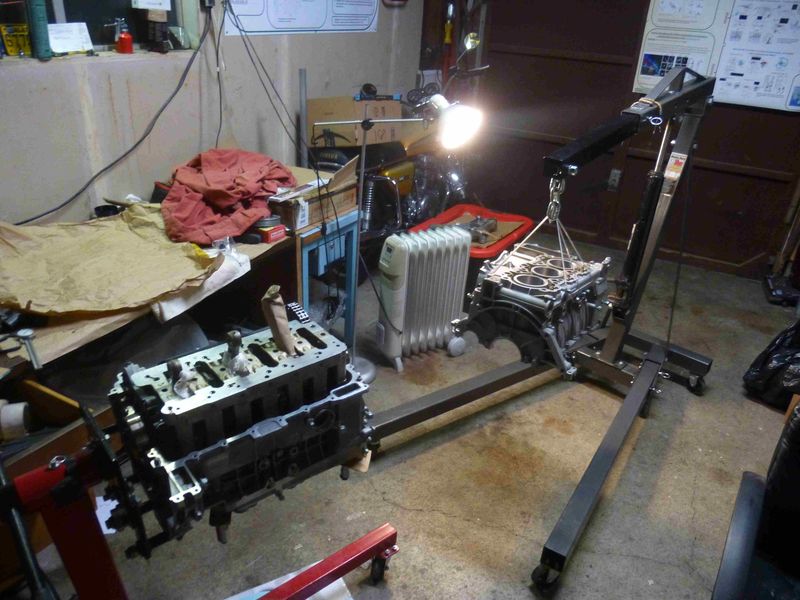
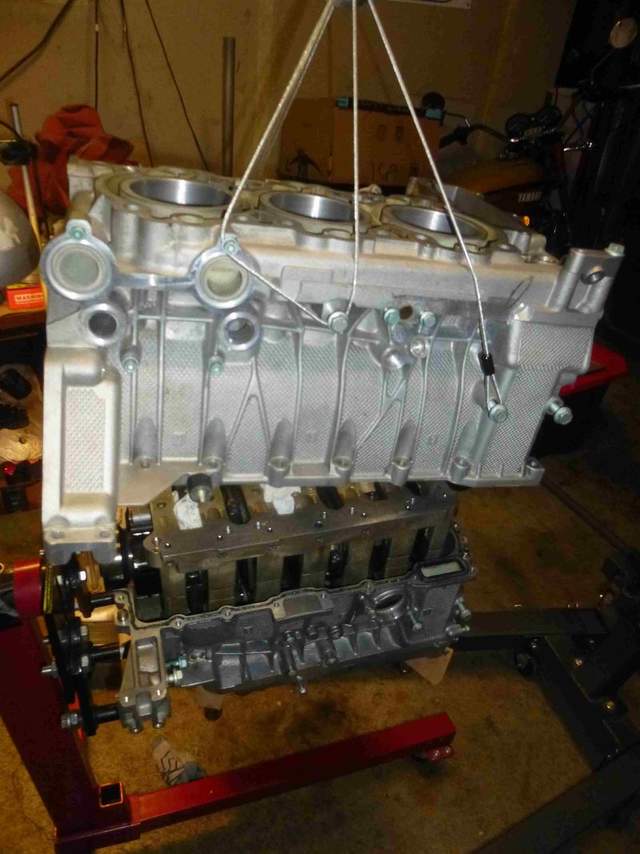
This thing here is quite heavy, so I assembled the engine hoist that`s been sitting in the corner for a while.
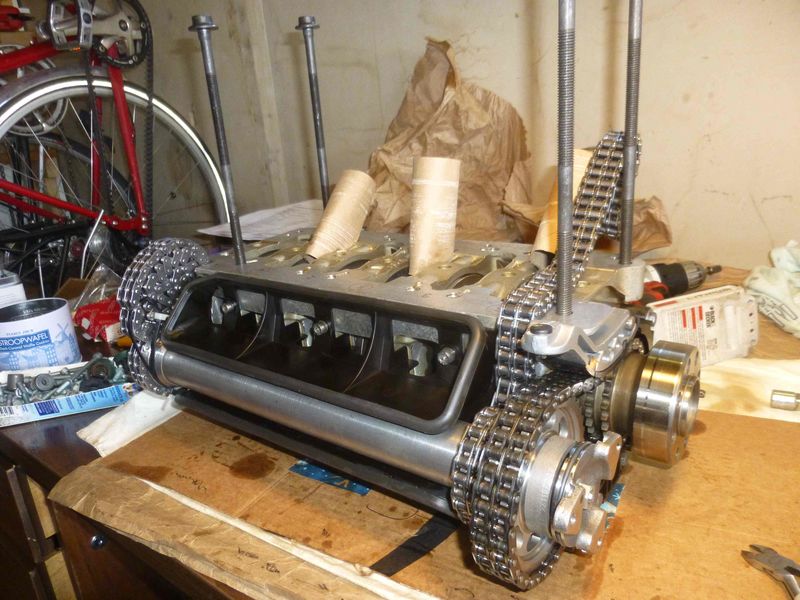
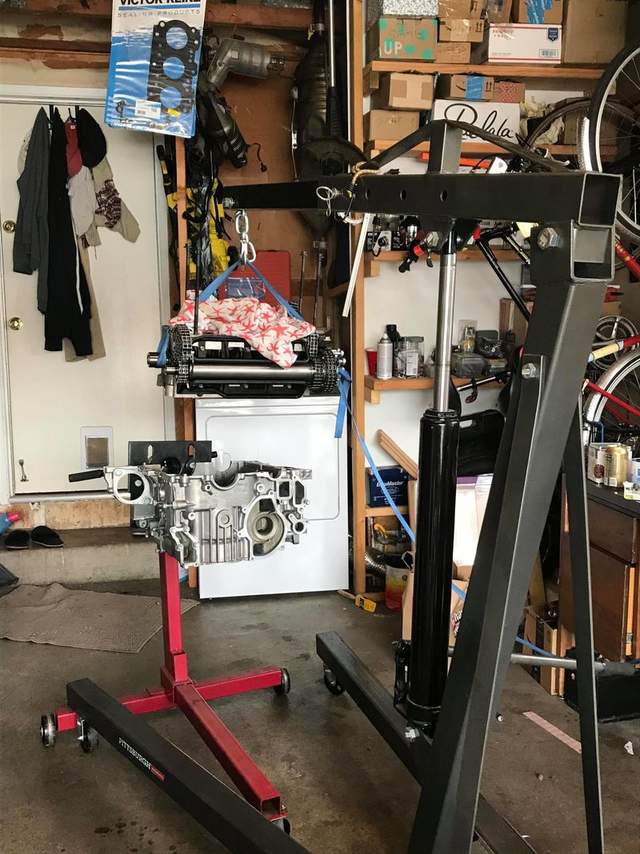
Lowered into the engine half.
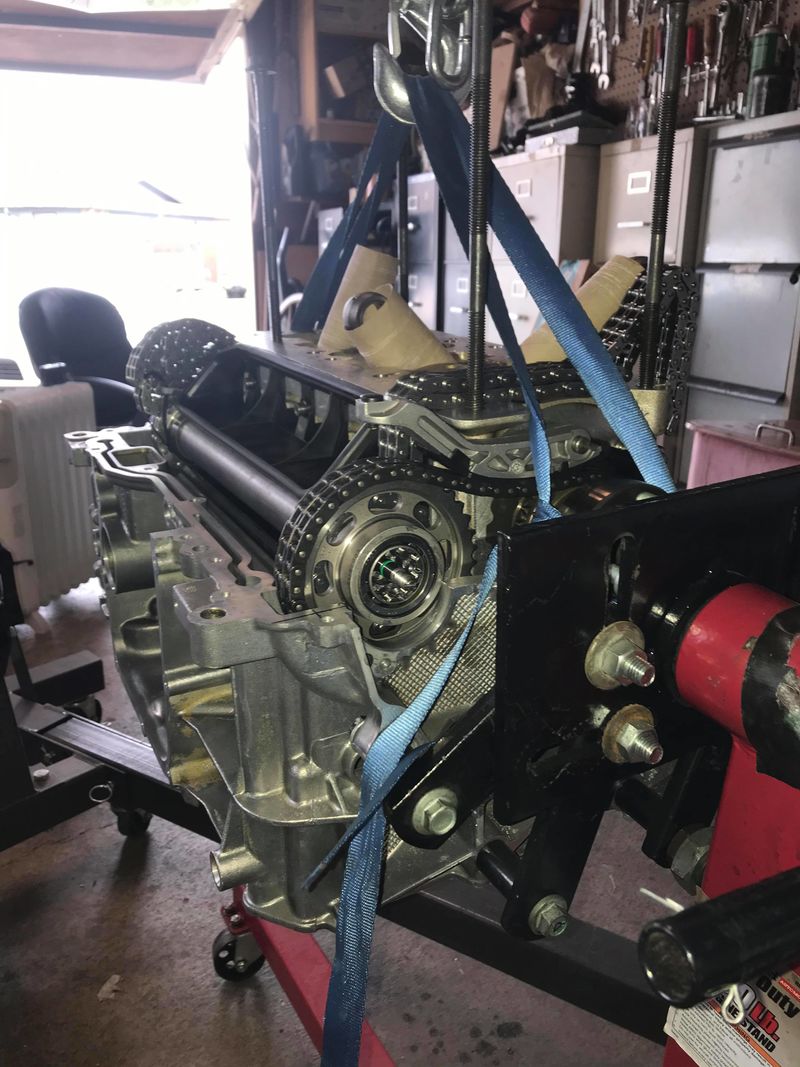
Upside down.
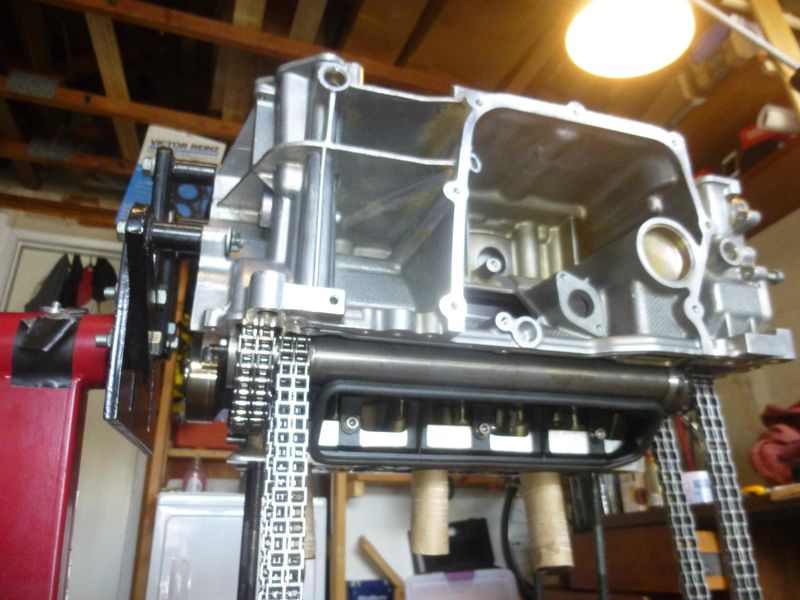
I can`t locate the washer and circlip that locks the chain tensioner, I just put it out here so I remember not to put the cases together before I fix this, that would suck...

The crank assembly is bolted into the case using four of the head bolts.
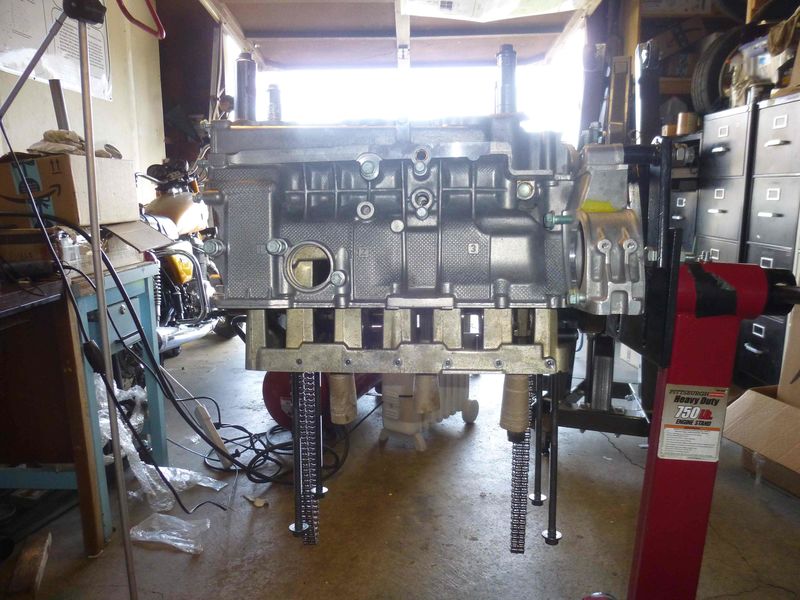
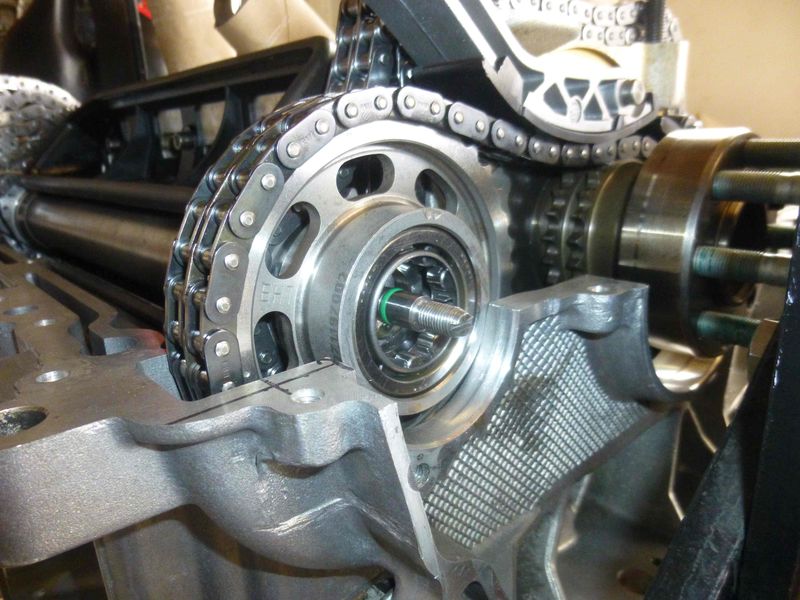
These guys are coming next.
|

|

|
 03-01-2020, 05:19 PM
|
#105
|
|
Who's askin'?
Join Date: Mar 2018
Location: Utah
Posts: 2,448
|
I really love this thread. I really love when guys do this in their garage.... and all the people who say that Porsche motors are assembled with unicorn dust just go silent.
Good work! Keep the pic's coming. It's the best porn.
Oh, and while im thinking about it, when you get to that point: will you please settle once and for all the question about oil level in the sump in relation to the IMSB? (I am of the opinion that when the oil level is full, with the motor off, that the oil level is still below the bearing. I get this idea from looking at photos and diagrams. And from laying on my back staring up into the dark cavities of the motor when the sump is open.... trying to imagine 8 qts of oil volume.... but i'd like to see something empirical.)
Again: good work. Well done.
Last edited by maytag; 03-01-2020 at 05:29 PM.
|

|

|
 03-01-2020, 07:13 PM
|
#106
|
|
Registered User
Join Date: Oct 2018
Location: North Cali
Posts: 858
|
Quote:
Originally Posted by maytag

I really love this thread. I really love when guys do this in their garage.... and all the people who say that Porsche motors are assembled with unicorn dust just go silent.
Good work! Keep the pic's coming. It's the best porn.
Oh, and while im thinking about it, when you get to that point: will you please settle once and for all the question about oil level in the sump in relation to the IMSB? (I am of the opinion that when the oil level is full, with the motor off, that the oil level is still below the bearing. I get this idea from looking at photos and diagrams. And from laying on my back staring up into the dark cavities of the motor when the sump is open.... trying to imagine 8 qts of oil volume.... but i'd like to see something empirical.)
Again: good work. Well done.
|
Thanks, I`m glad you enjoy the build, so do I, it`s just taking a bit too long now so I`m trying not to get stuck at every single detail for weeks.
Yeah, in general, this engine is not really different than any European or Japanese engine, and I don`t think it requires more knowledge or experience than a Subaru boxer or a motorcycle engine with similar complexity. If you overlook something or you are not careful, it will blow up, but that`s true for all the others, you need to use common sense. That`s part of the game, that`s what makes it exciting. It`s very annoying though that there`s no shop manual for the engine and I have to find out everything myself. Thankfully, there`s tons of information on this forum and rennlist, just you need to filter out what`s useful.
As for the oil level, if you go a few pages back in this thread, I`m showing that when the oil level is at MIN on the dipstick the IMS is submerged into oil about halfway. At MAX, IMS is nearly completely submerged in oil.
|

|

|
 03-02-2020, 07:56 AM
|
#107
|
|
Registered User
Join Date: Sep 2016
Location: Central PA
Posts: 76
|
Thanks for the update. I had to reread the whole story again. Awesome details and pictures. The head in the sink is my favorite so far, my wife doesn't like new car parts in the house.��
__________________
2001 Seal Grey Boxster Base
|

|

|
 03-02-2020, 10:03 AM
|
#108
|
|
Registered User
Join Date: Jul 2019
Location: Finland
Posts: 356
|
Fantastic thread! Thanks for sharing this project with us 
__________________
2001 996 C2 Manual
|

|

|
 03-04-2020, 10:49 PM
|
#109
|
|
Registered User
Join Date: Oct 2018
Location: North Cali
Posts: 858
|
Thanks for the interest and encouragement!
For pistons 1-2-3 I could have used some conventional tool as they go into the cylinders like on any average engine. But, since I already have the Porsche-specific toolset for pistons 4-5-6, I just used that.
Here`s what it looks like:
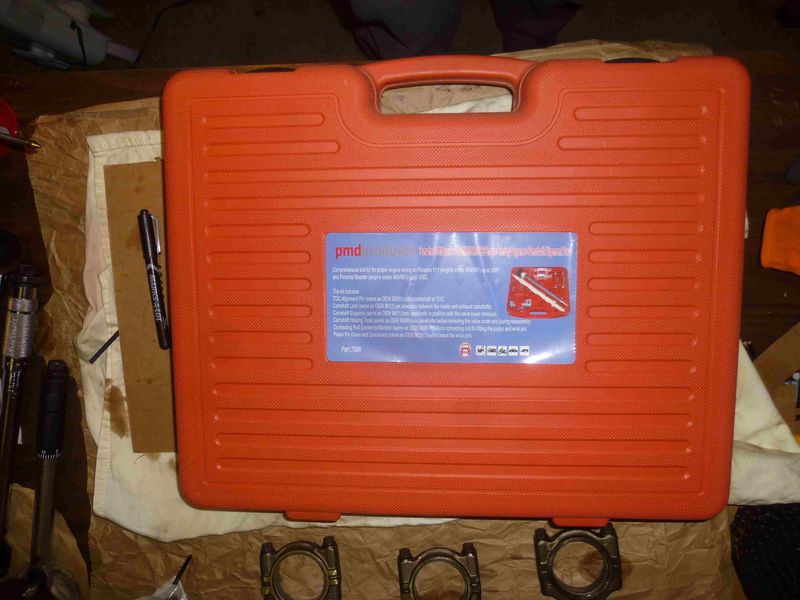
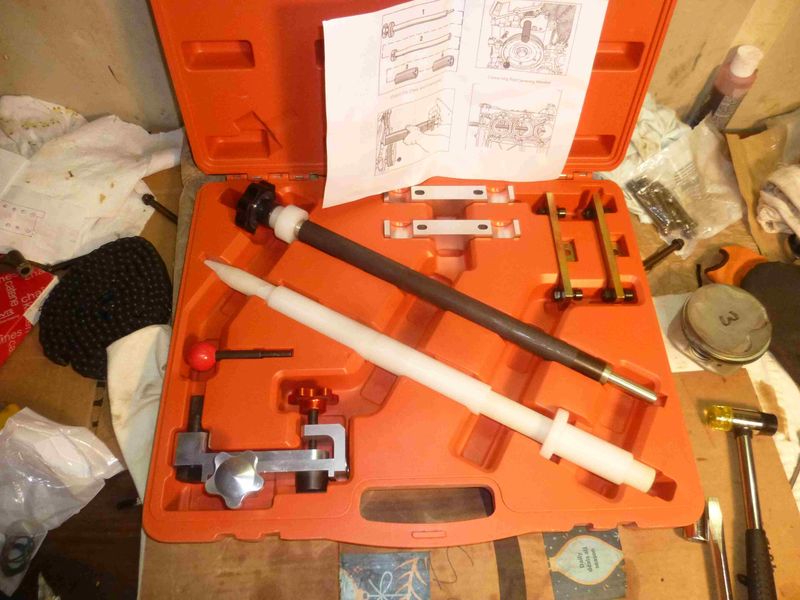
It was something like $80 on Amazon and probably it`s made in China 
Everything prepared for the procedure:

Circlip inserted into the tool. Some builders use an extra tool to compress the ring so they can insert it into the tool, I just forced it in with my fingers.
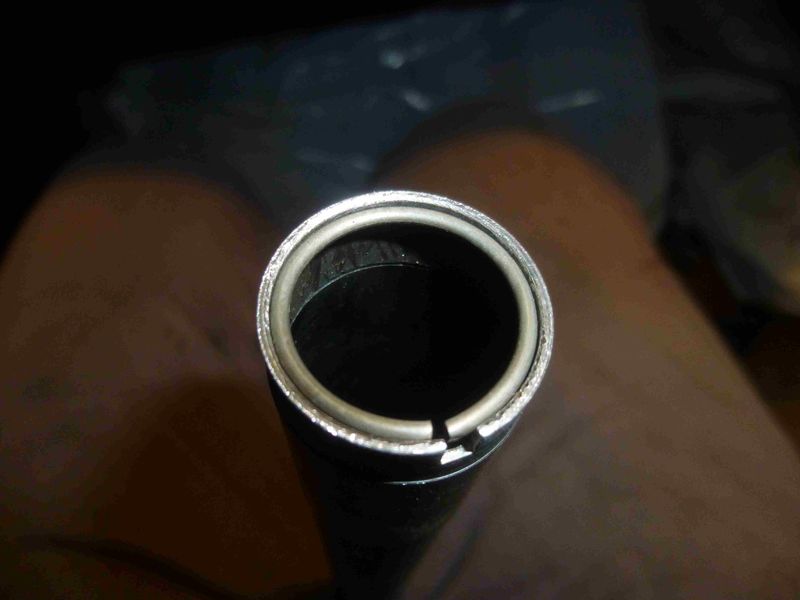
It`s in. I didn`t make pictures of the failed attempts, there were many though. Then I realized I have to hit the slider in the tube quite strongly to smash the circlip into the groove.
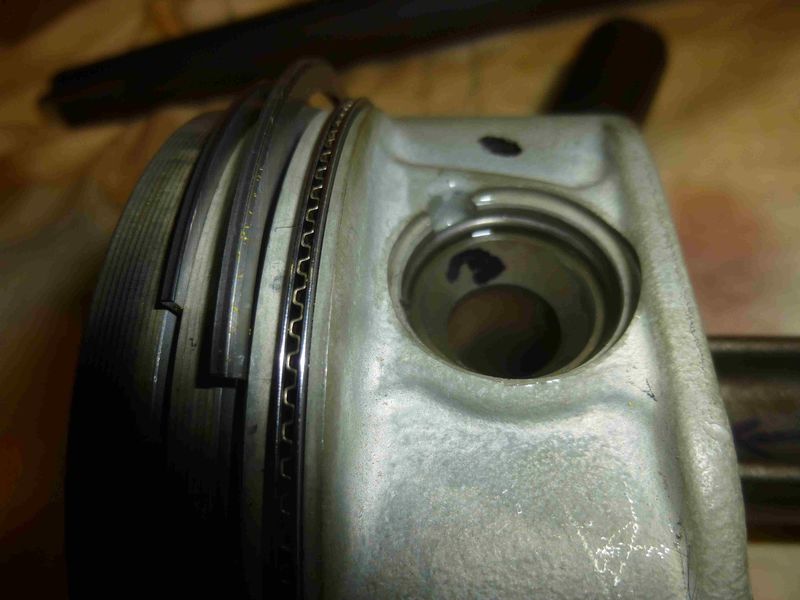
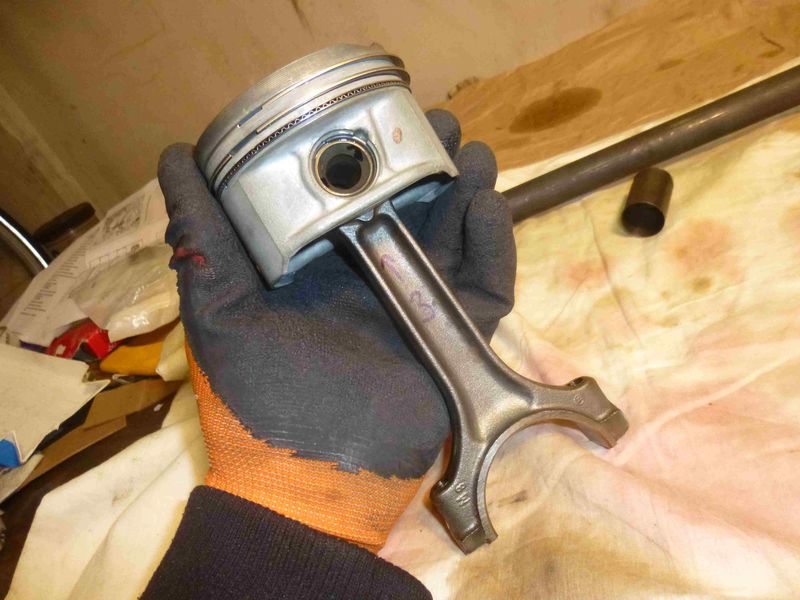
Ring compressor. If you don`t want to buy it, you can rent one for free at Autozone.
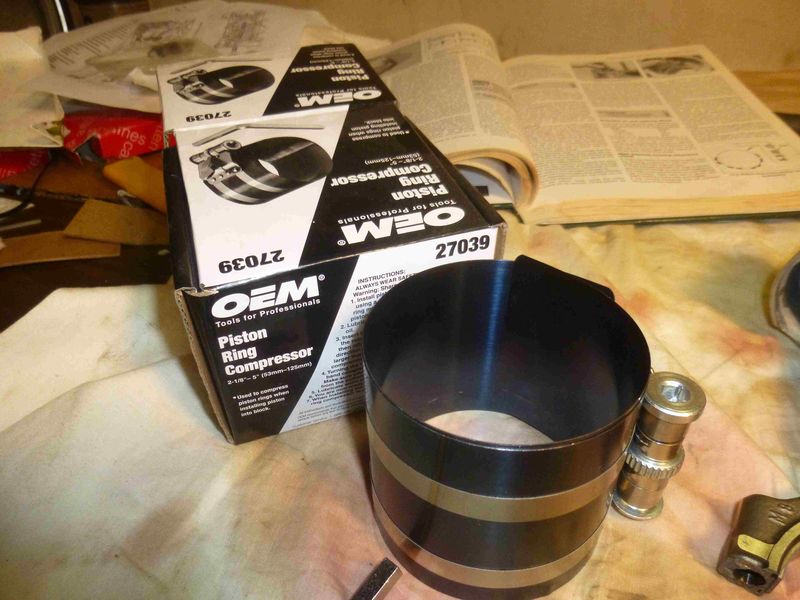
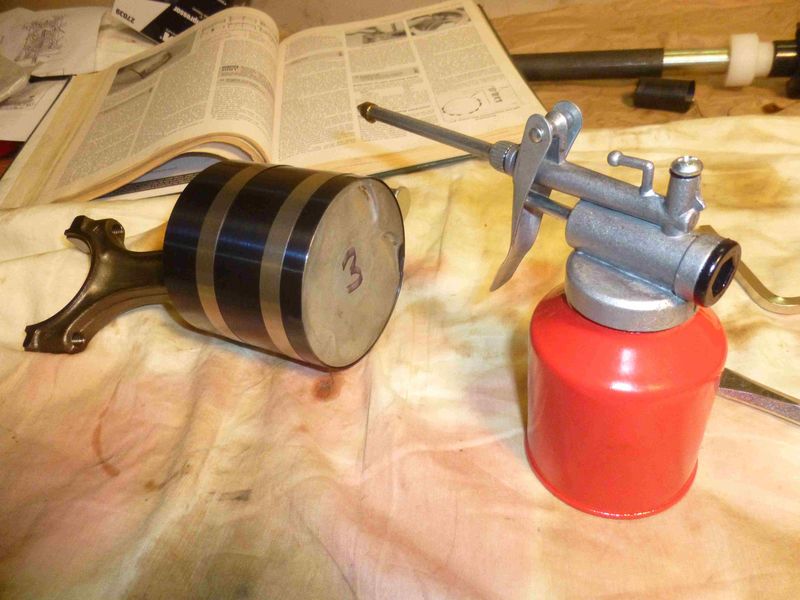
For arranging the ring gaps, I took my SAAB shop manual off the shelf. Annoyingly, there`s no such manual for the Porsche available for a hobby mechanic like me. It`s not rocket science though, you just have to rotate the rings so that you minimize the blow by between the piston and cylinder wall.

|

|

|
 03-25-2020, 10:53 PM
|
#110
|
|
Registered User
Join Date: Oct 2018
Location: North Cali
Posts: 858
|
|

|

|
 03-26-2020, 07:33 PM
|
#111
|
|
Registered User
Join Date: Jul 2019
Location: Charleston
Posts: 559
|
Call me stupid, but how does one get the wrist pin in piston #5?
__________________
'99 supercharged 4.3 chevy Boxsterado
'98 PP13B powered "RX986"
This hairdresser only cuts mullets
|

|

|
 03-26-2020, 07:35 PM
|
#112
|
|
Who's askin'?
Join Date: Mar 2018
Location: Utah
Posts: 2,448
|
Quote:
Originally Posted by Qingdao

Call me stupid, but how does one get the wrist pin in piston #5?
|
Ha!
I haven't done it, but one of my friends has described the process to me. I can't help, except to assure you it isn't something obviously simple.... you're in good company....
And im sorry. Haha.
I LOVE the thread!
Sent from my SM-G970U using Tapatalk
|

|

|
 03-26-2020, 07:41 PM
|
#113
|
|
Registered User
Join Date: Jul 2019
Location: Charleston
Posts: 559
|
I've seen Subaru's done with the little hole, but there are 6 problems on this motor not just 4.
Air cooled jugs are easy. 
__________________
'99 supercharged 4.3 chevy Boxsterado
'98 PP13B powered "RX986"
This hairdresser only cuts mullets
|

|

|
 03-26-2020, 09:38 PM
|
#114
|
|
Registered User
Join Date: Oct 2018
Location: North Cali
Posts: 858
|
Quote:
Originally Posted by Qingdao

I've seen Subaru's done with the little hole, but there are 6 problems on this motor not just 4.
Air cooled jugs are easy.  |
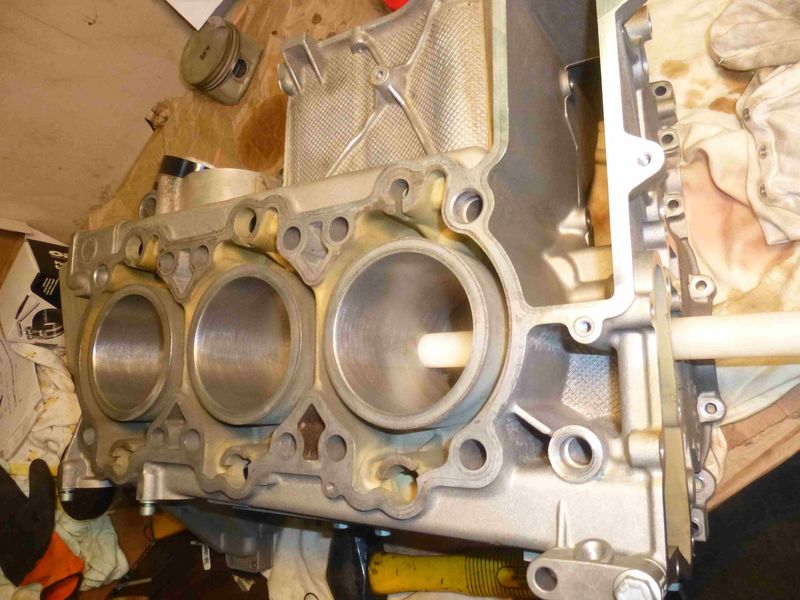
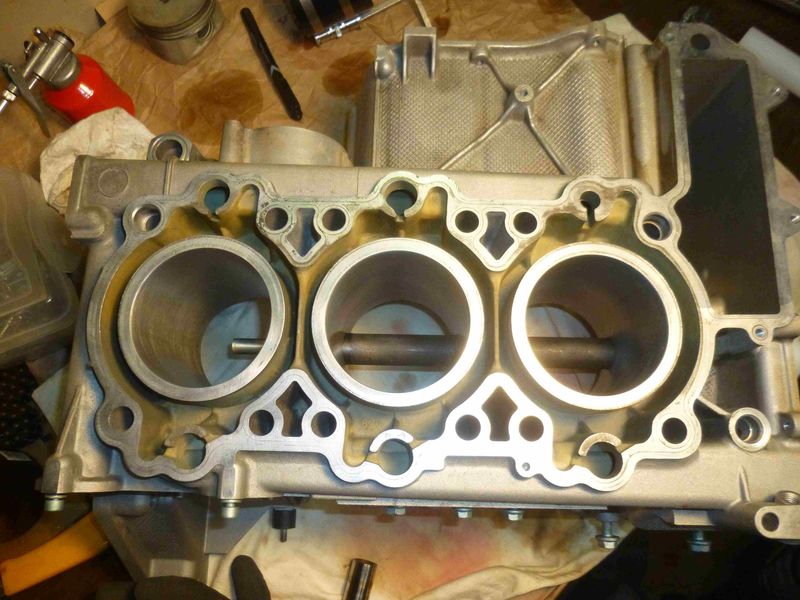
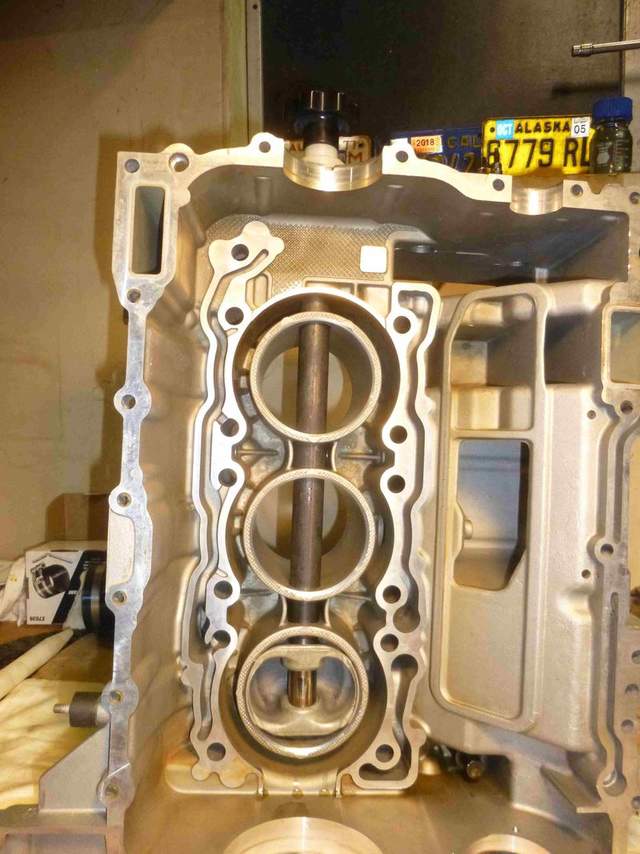
I`ve done some practicing on inserting the wristpin and the circlip just so I won`t have to split the engine halves after they are assembled. It`s quite straightforward, but you need some tools to do the trick.
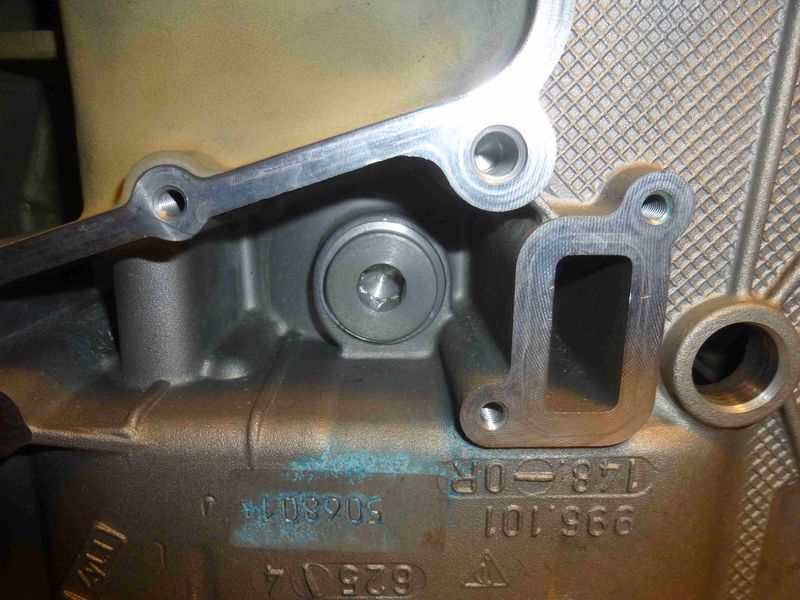
This engine has only one hole to insert the wristpin and the circlips for all three pistons. It`s covered by this plug:

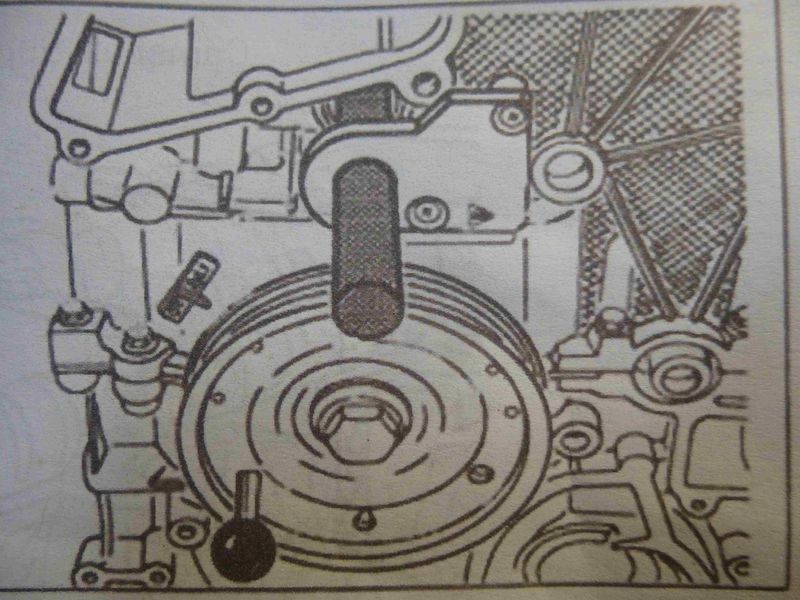
The manual suggests that this special tool that bolts on the side of the engine block should be used to fit the mandrel, but I could assemble everything without it.
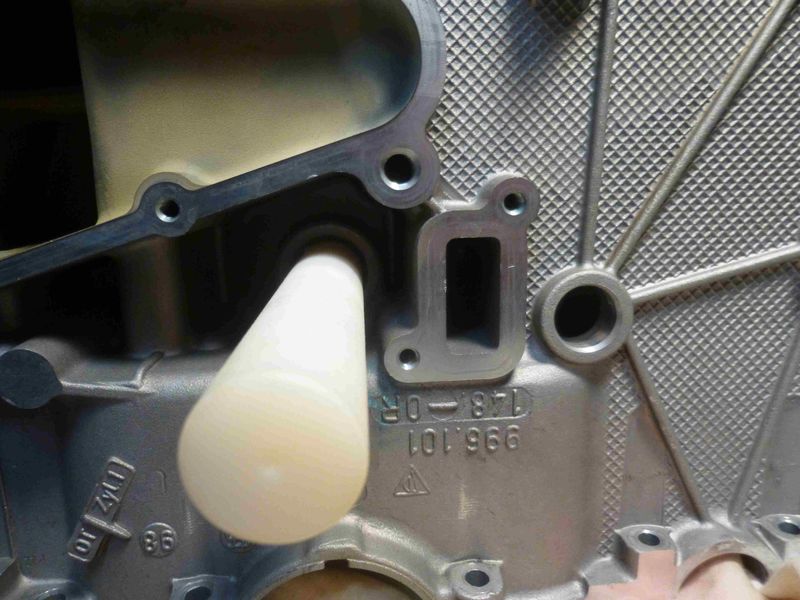
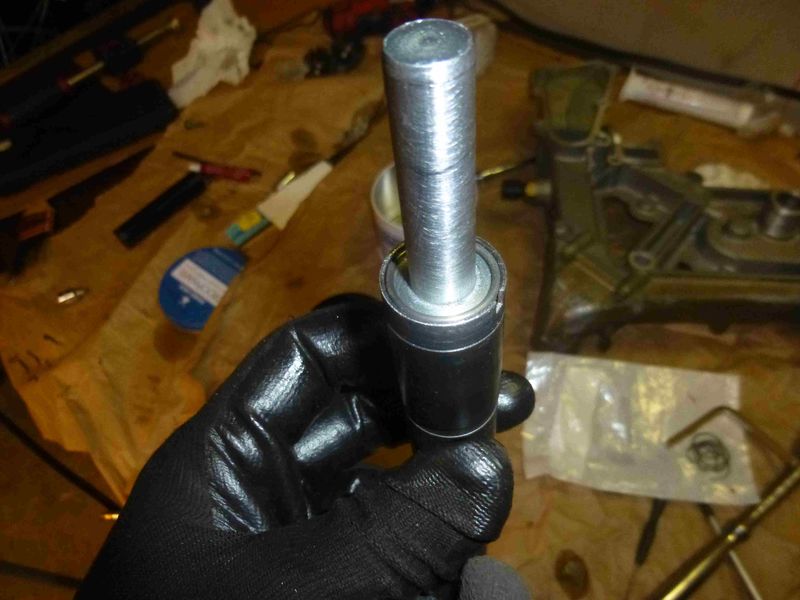
The steel rod with the sleeve is to be used to slide the wristpins in, one by one. I`m showing the plastic mandrel here, but that`s not the correct tool for that. My bad. The sequence is obviously piston6/wristpin/circlip - piston5/wristpin/circlip - piston4/wristpin/circlip.
After inserting the wristpin with the rod, you use the same tool to hold the circlip in its end which then can be pushed into the piston`s groove using the sliding hammer inside the tube.

Easy, isn`t it?

Last edited by Homeoboxter; 06-16-2020 at 02:28 PM.
|

|

|
 03-27-2020, 09:23 AM
|
#115
|
|
Registered User
Join Date: Jan 2014
Location: New Jersey
Posts: 1,631
|
Thanks for sharing. 46 years ago I was a supervised participant in the rebuild of my 948 cc Austin Healey Sprite engine and a few years later rebuilt my 3 liter Austin Healey 3000 engine with a lot of help. My own Boxster S engine was rebuilt by my shop last year, I couldn't imagine doing this. And you are doing it all at home with a new baby in the house, if I read that correctly a few pages ago. Congratulations on that and please keep posting!
__________________
Current: 2022 718 Cayman GT4, PDK bone stock (the dark side).
Former: 2003 S, 3.6 LN Nickies, ARP rod bolts, under-drive pulley, Fabspeed sport headers, Softronic tune, 987 airbox 987 motor mount, Function-First Sport motor mount insert, Ben's short shifter, Nine8Six projector headlights & center caps, ROW M030, stainless flexible brake lines, B-K rollbar extension & fire extinguisher mount, hardtop
|

|

|
 03-27-2020, 04:31 PM
|
#116
|
|
Registered User
Join Date: Jul 2019
Location: Charleston
Posts: 559
|
dude.... that sounds awful. LOL
You are essentially hitting the spot with a 16" stick. Your wife must love you.  LOL
__________________
'99 supercharged 4.3 chevy Boxsterado
'98 PP13B powered "RX986"
This hairdresser only cuts mullets
|

|

|
 03-30-2020, 09:36 AM
|
#117
|
|
Registered User
Join Date: Oct 2018
Location: North Cali
Posts: 858
|
Quote:
Originally Posted by Qingdao

dude.... that sounds awful. LOL
You are essentially hitting the spot with a 16" stick. Your wife must love you.  LOL |
Lol    
|

|

|
 03-30-2020, 10:05 AM
|
#118
|
|
Registered User
Join Date: Oct 2018
Location: North Cali
Posts: 858
|
Quote:
Originally Posted by PaulE

Thanks for sharing. 46 years ago I was a supervised participant in the rebuild of my 948 cc Austin Healey Sprite engine and a few years later rebuilt my 3 liter Austin Healey 3000 engine with a lot of help. My own Boxster S engine was rebuilt by my shop last year, I couldn't imagine doing this. And you are doing it all at home with a new baby in the house, if I read that correctly a few pages ago. Congratulations on that and please keep posting!
|
Rebuilding an Austin may have been a challenge back in the day, in the pre-internet days 
Yes, you got that right, unfortunately the Boxster has only two seats, not ideal for a family, my wife is not concerned about it though, she says by the time it will be back on the road the baby will be able to drive it anyways 
|

|

|
 05-07-2020, 11:42 PM
|
#119
|
|
Registered User
Join Date: Oct 2018
Location: North Cali
Posts: 858
|
The everlasting Boxster project continues. I uncovered the car just to make sure it`s still there. It is. Been resting here for about 1.5 year. It doesn`t look bad from a bird`s point of view:

Back to the engine. New crankcase seals.
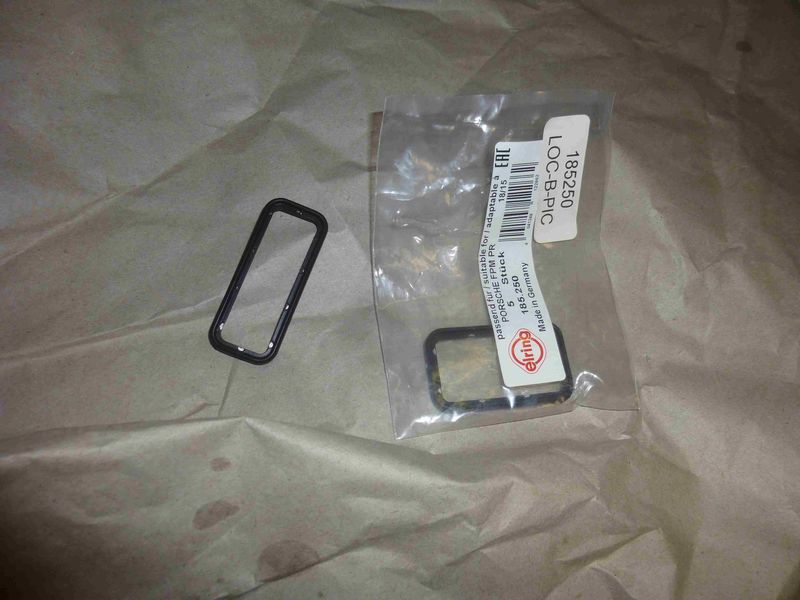

Upper half is coming to mate with lower half.
Mating surfaces are thoroughly cleaned and a small bead of Loctite 5900 is applied in a pattern described in the shop manual.
Speaking of which, he shop manual makes a big deal about alignig the cases using this aligning mandrel.

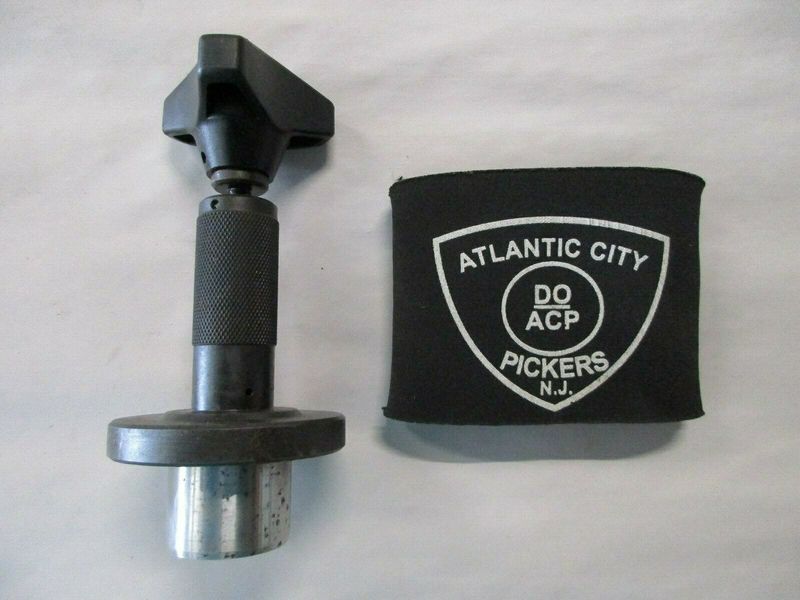
This is how it looks in real life, i borrowed this picture from ebay. It`s listed only for $4000. Used. I think I`ll pass on this for now.
Instead, I just used the oil pump housing to align the cases and it worked. I inserted it in the engine case, tightened the bolts around the IMS bearing bore, removed it, then tightened down all the bolts in the correct sequence. The screwdriver is to lift the IMS for positioning. It also helps a lot if you place the rear IMS bearing flange in, otherwise the whole assembly gets jammed, so you really need to take your time with this step. But you also have to be quick, because the Loctite is curing...
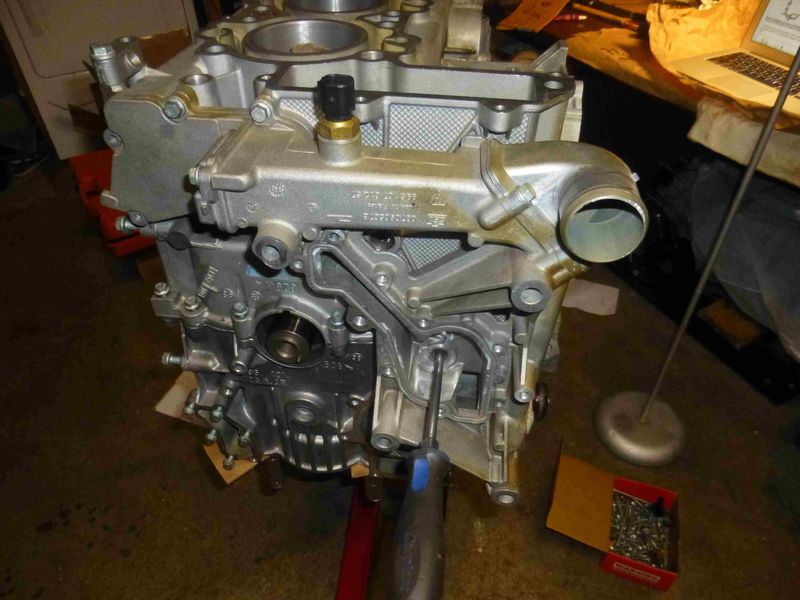
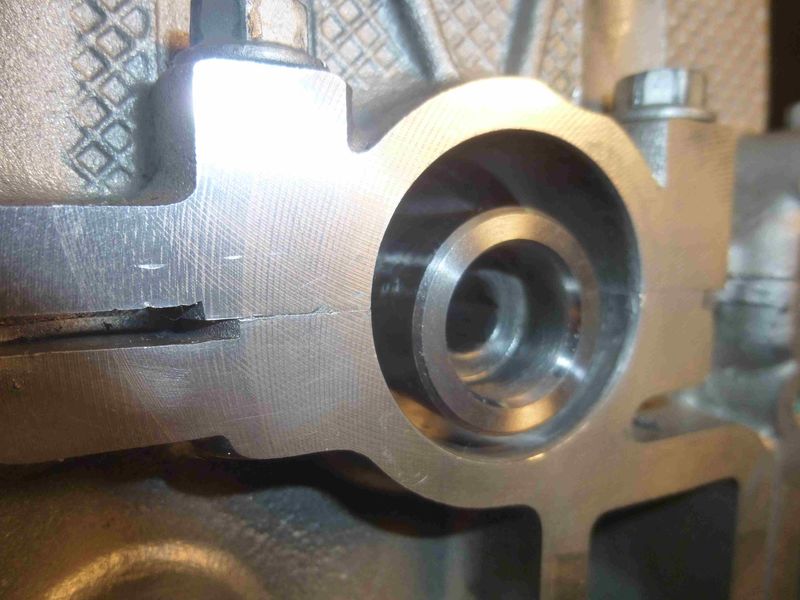
This is the bore where the oil pump housing with the front IMS bearing fits in. The IMS is right in the hole. It`s a super snug fit, and the slightest misalignment will make it impossible to slide the oil pump housing on. Don`t ask how I know...
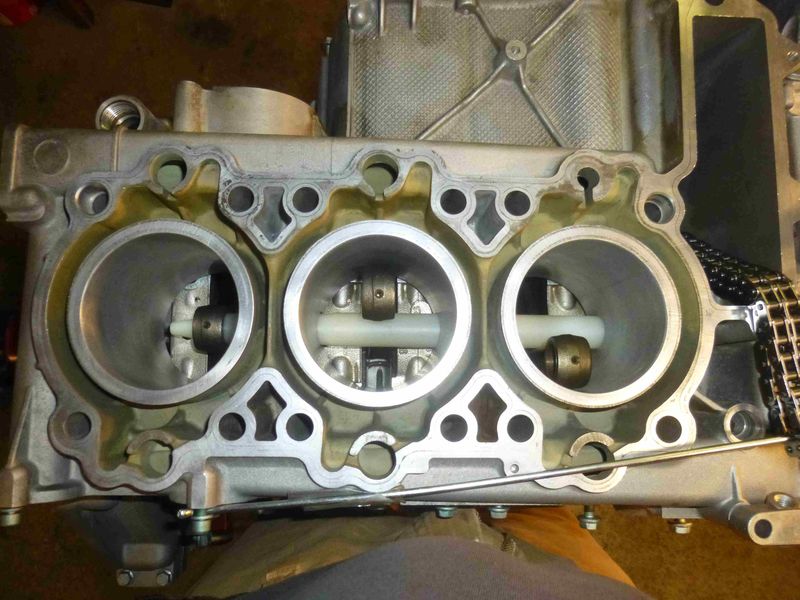
Finally the case halves are joined, sealed and the bolts are tightened, ready for pistons 4-5-6.
|

|

|
 05-12-2020, 09:10 PM
|
#120
|
|
Registered User
Join Date: Oct 2018
Location: North Cali
Posts: 858
|
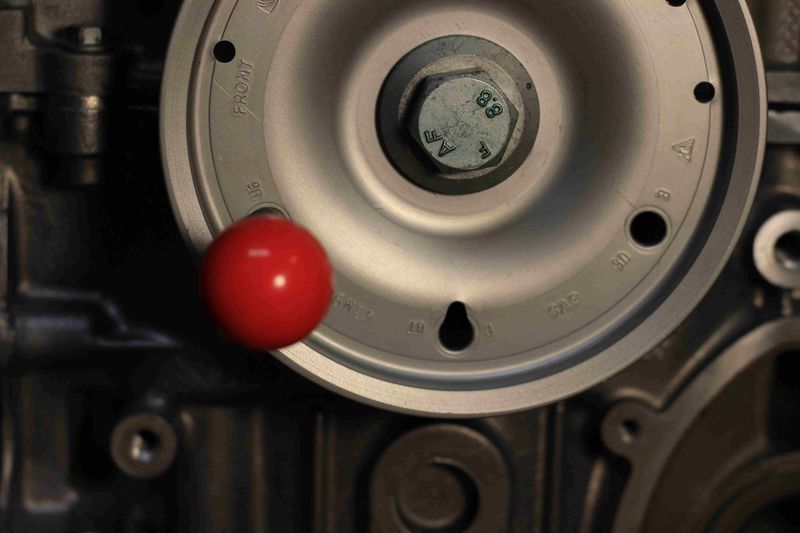
It`s nice of Porsche that they marked the best crankshaft position to insert pistons. This is for #6.
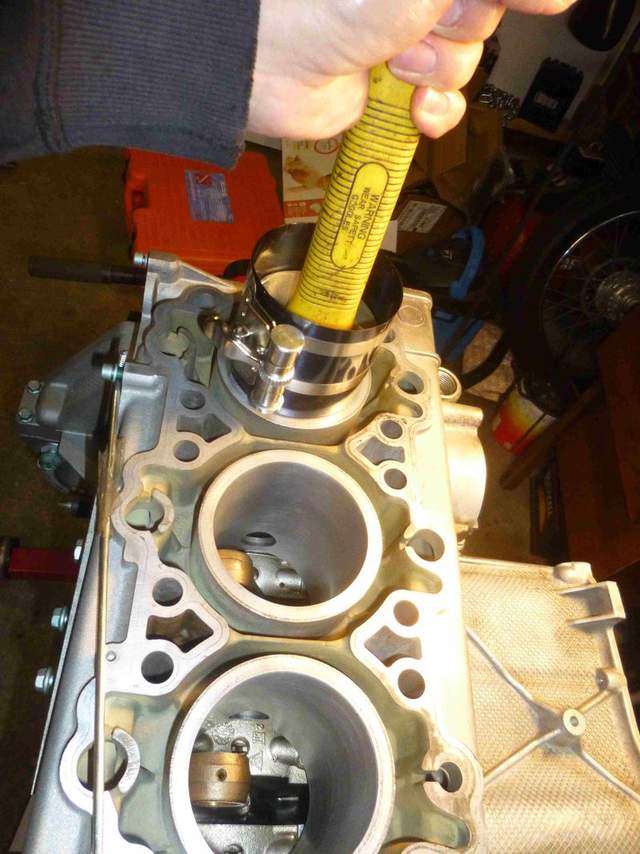
Piston going down. Manual says if the wristpin or circlip insertion fails, the piston can be removed by pulling it out using something glued on the top of the piston as leverage. I don`t want to go down that road.
Wristpin on the insertion tool.

I might have missed it, but the manual doesn`t say a word about how to set the connecting rod in the center so that the wristpin can slide in. I spent a good 20 minutes on trying to align the conrod in the middle by grabbiing it through the oil pan side, no luck. Then I just flipped the whole engine upside down and used gravity to hold the conrod in center. I still have no idea how this could be done otherwise
 .
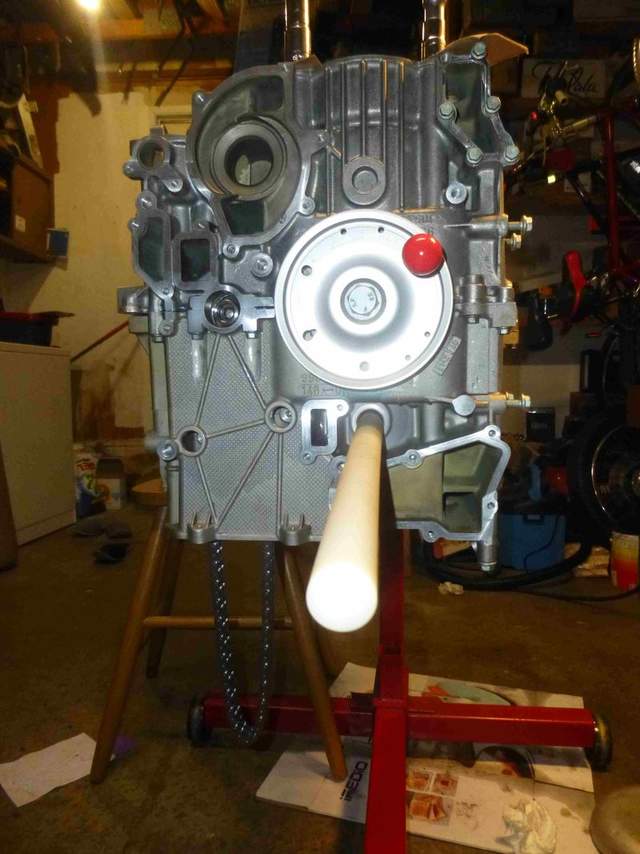
Wristpin in piston #6, circlip is ready to go.
Passing by the toilet paper roll used to hold conrod #5 aside.

This step requires some practice. The circlip has to be inserted using quite a bit of force. If you try it out a couple of times prior to the actual assembly I think it`s hard to screw it up.

To make sure the circlip is properly seated I used my DSLR camera and made close-ups from the other side of the engine through the insertion hole and then I zoomed in. I`m convinced it won`t fly out.

|

|

|
 Posting Rules
|
You may not post new threads
You may not post replies
You may not post attachments
You may not edit your posts
HTML code is Off
|
|
|
All times are GMT -8. The time now is 09:45 PM.
| |