Hey Folks,
I bought this `99 Boxster a few months ago with an engine suffering from an alleged catastrophic engine failure. I have literally zero experience with Porsches, so I thought it`s time to delve into this new challenge with the intention to fix the unsalvagable engine on my own. This is a low-budget project, and it`s not urgent as I don`t really need the car soon, in fact, I just bought it for fun. Anyway, I made some progress with the engine during which I made a bunch of pictures so I can remember where to put the parts back on. I thought I would share some of these pics in this thread and keep uploading more as the project goes on.
So, here`s the thing on the day I hauled it home:
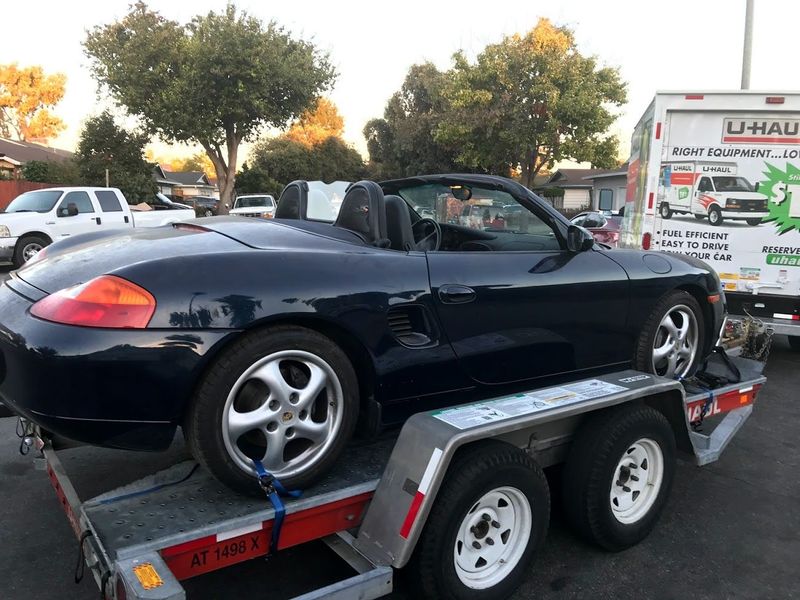
It has a few dents and scratches here and there due to the storage. It`s been sitting in a garage for 11 years and has 100k miles in the meter.

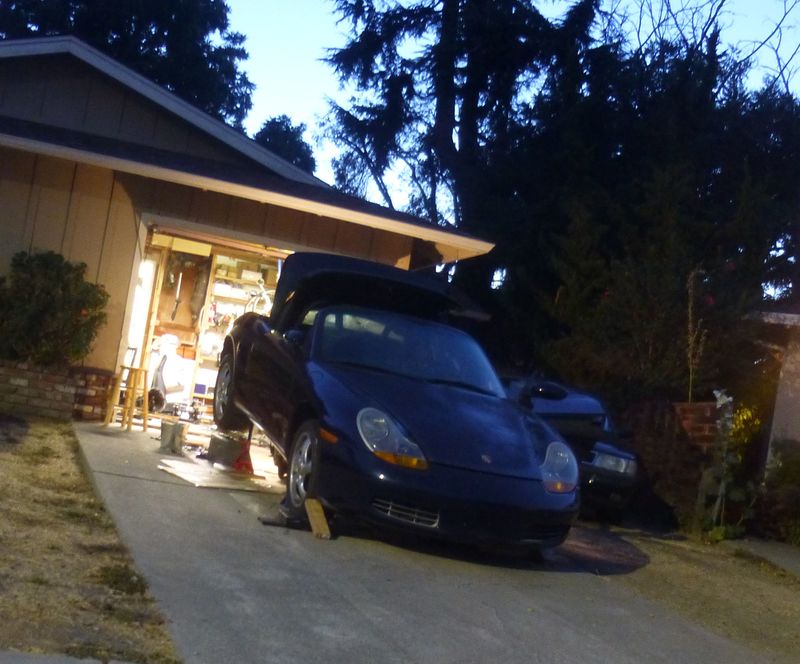
Jacked up for engine removal:
To be continued..


 Boxster


 Threaded Mode


