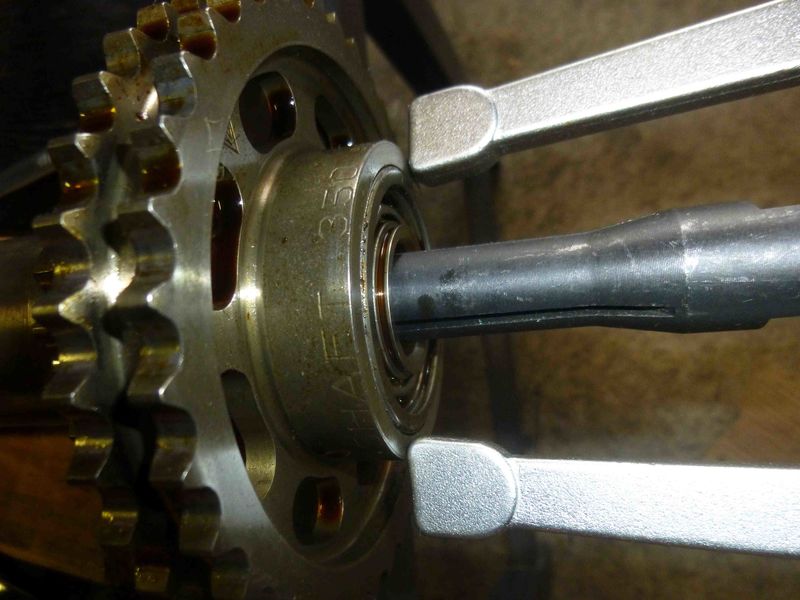
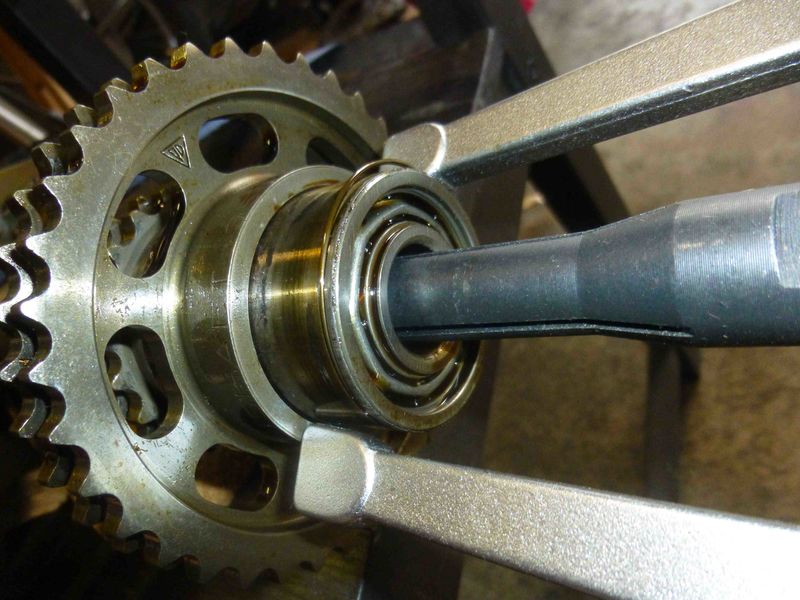
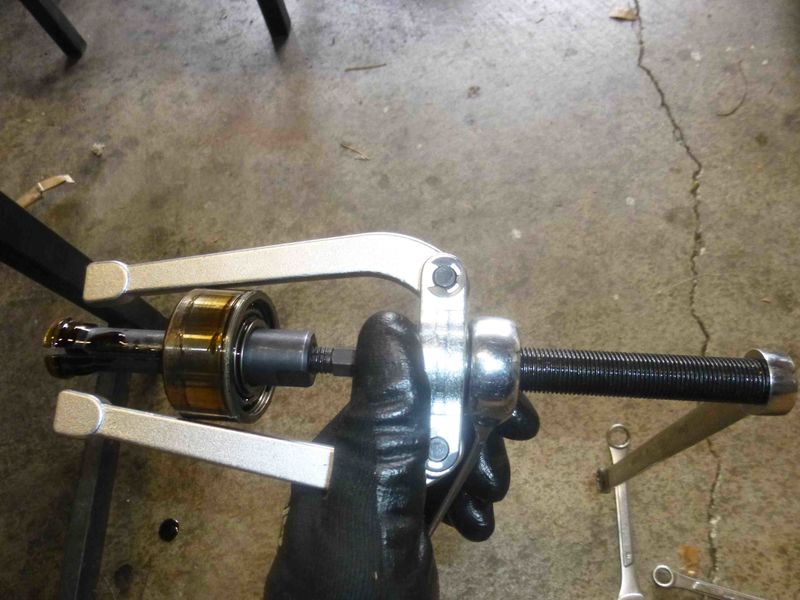
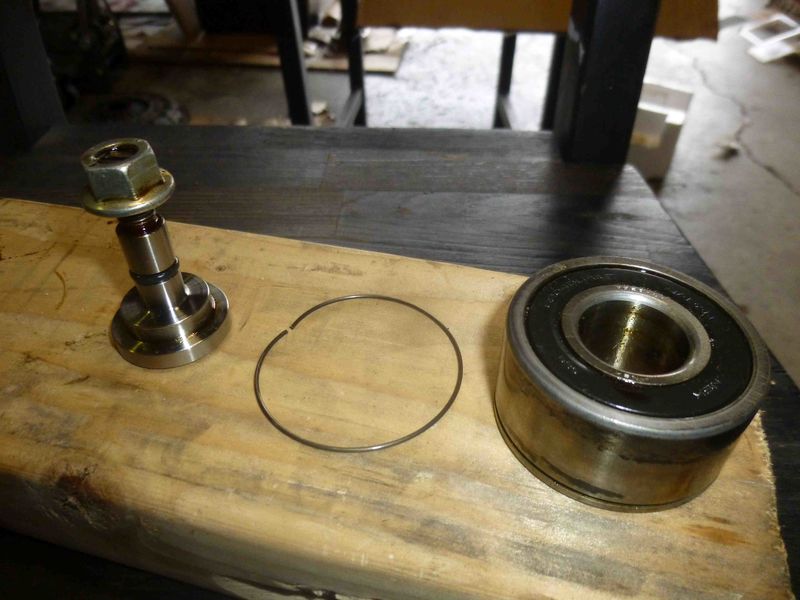
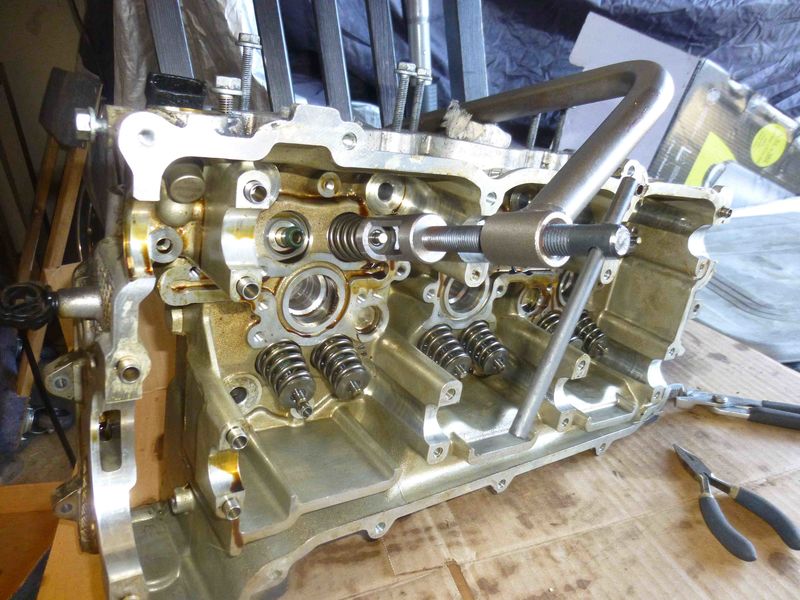
Reassembly of the short block is coming along slowly, got the spacers for the IMS from the machine shop. Finally I ended up using just the small ring and not the large spacer. The bearing is a dual-row ceramic hybrid which is narrower than the orignal dual-row, that`s why the spacer is necessary. The bearing will be held in place using a snap ring.
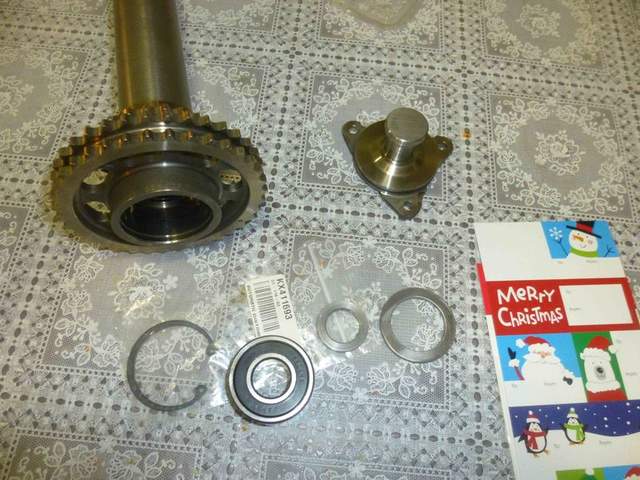
The bearing went in easily after heating up the shaft with a heat gun and putting the bearing in the freezer for a few hours. I put the IMS assembly together just to see if all works fine.


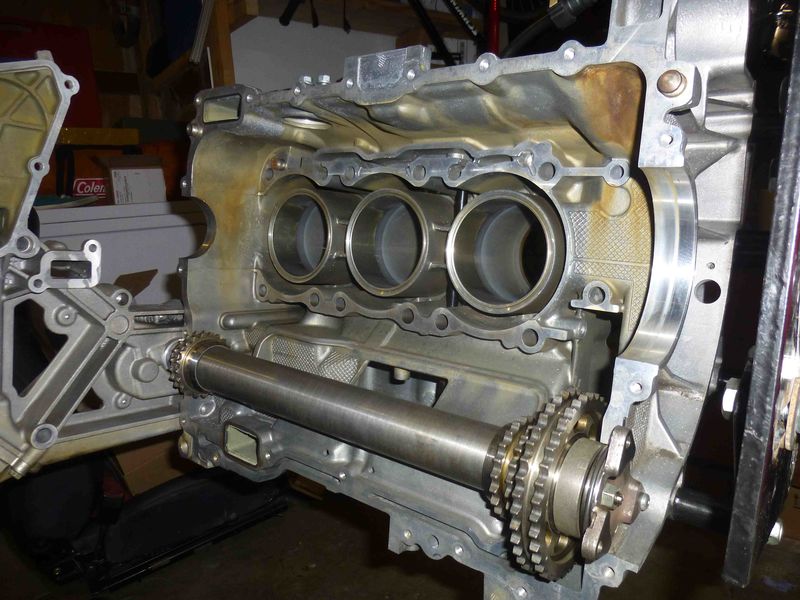
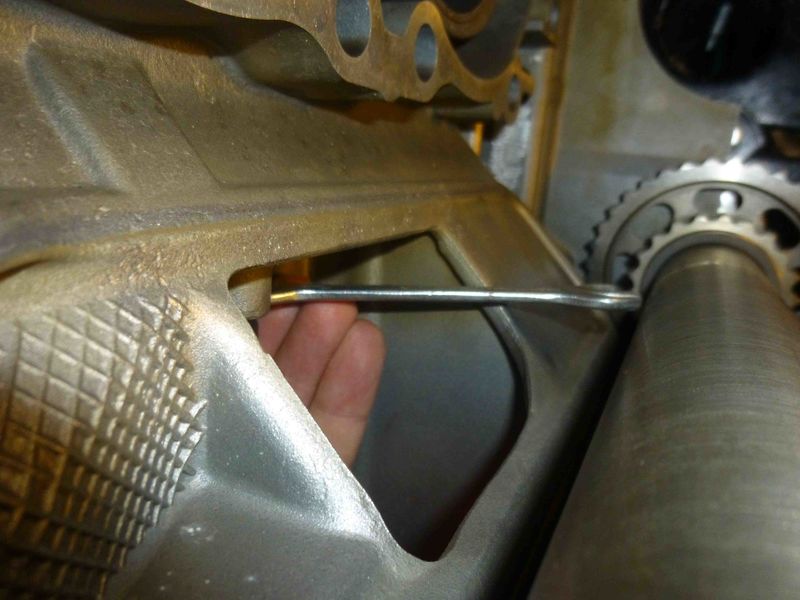
I plugged the dipstick back in as I wanted to see how the oil level relates to the IMS.

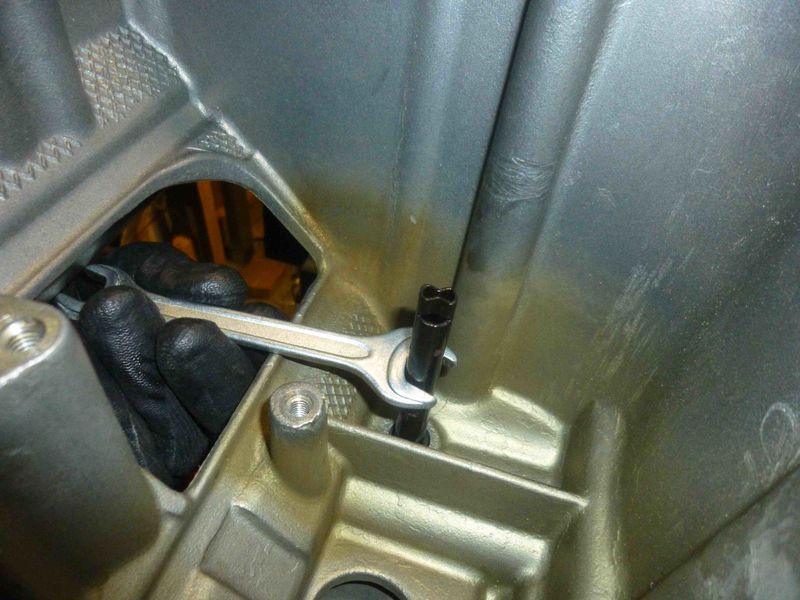
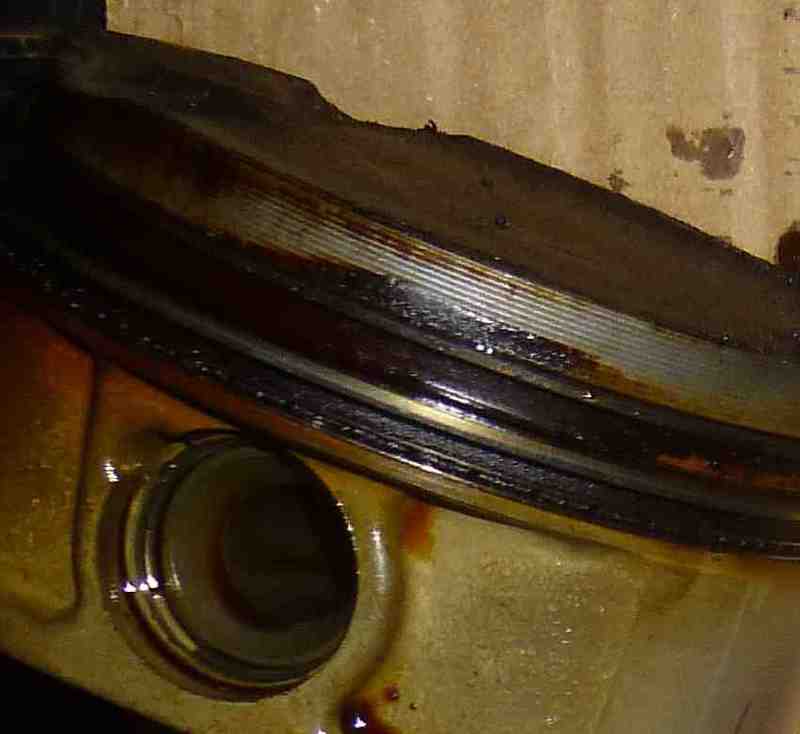
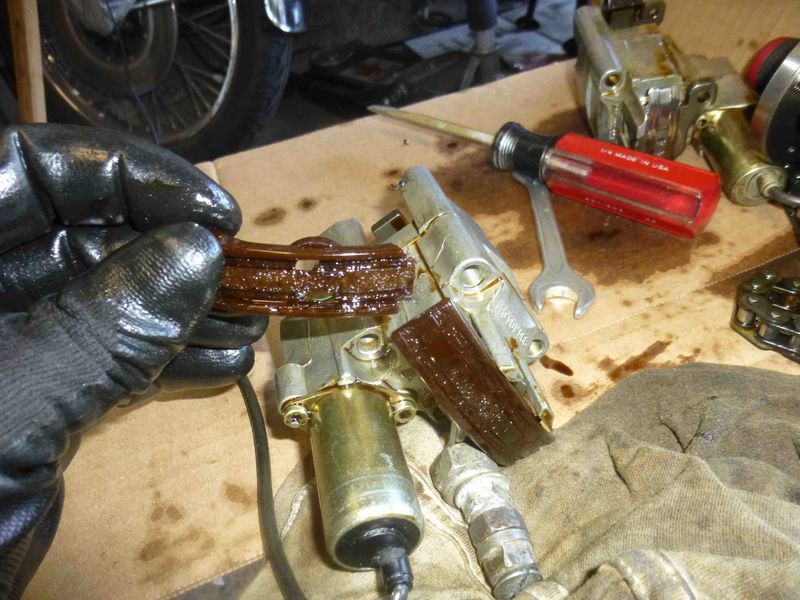
Here`s the end of the dipstick in the sump. The wrench is placed roughly at the maximum oil level. The oil level is over the the IMS. Note that it`s upside down.
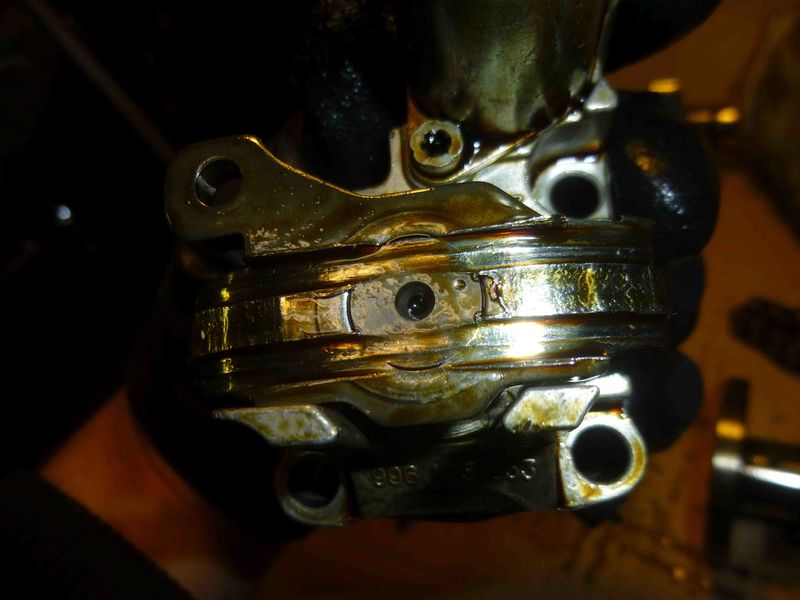
Max level shown from the IMS side:
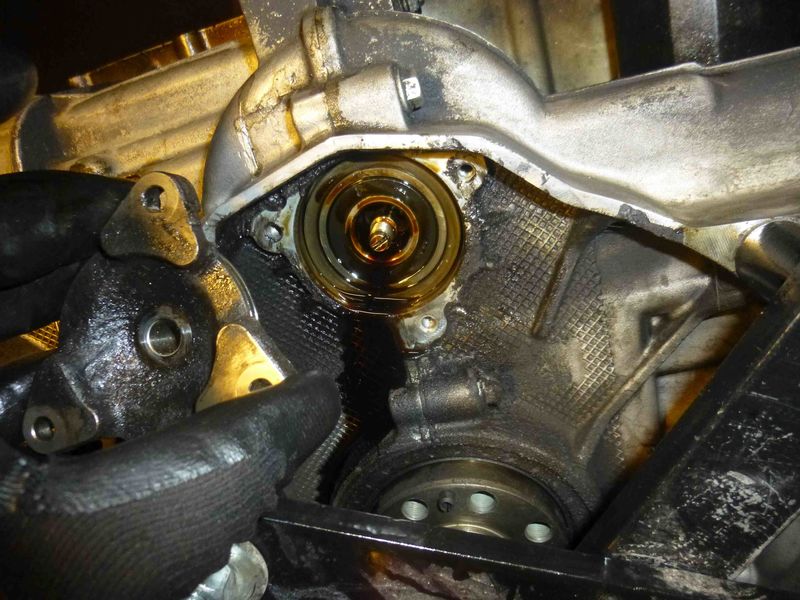
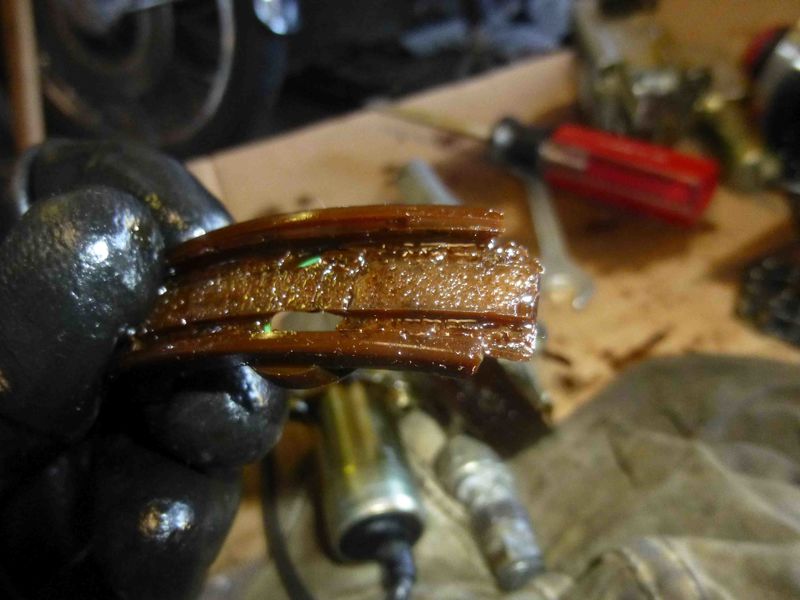
This level belongs to the minimum mark on the dipstick:
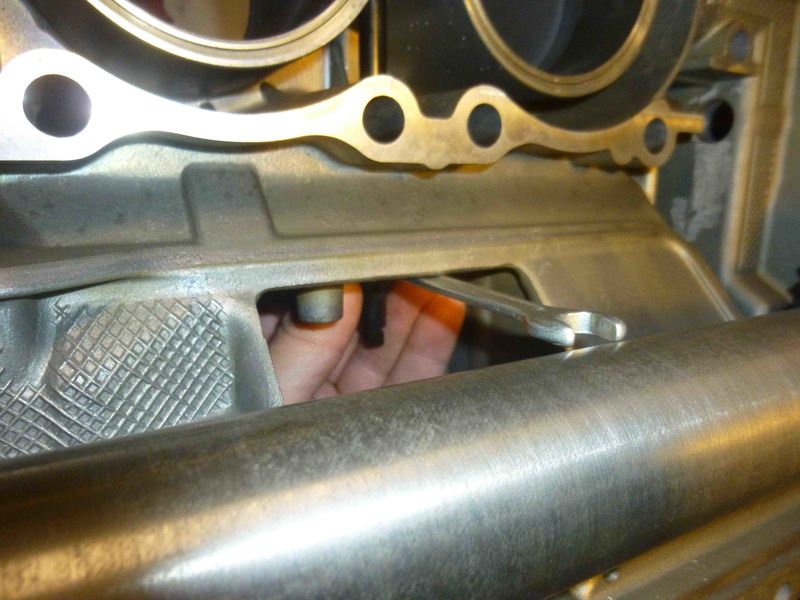
The cavity of the sump and in the center cavity with the IMS share the same oil level as they are connected through these holes:

I might be missing something, but what this suggests is that the IMS runs in oil even when the oil level is at the lowest mark. This might be obvious for many of us, however, it came as a surprise for me, since there`s been suggested that the IMS bearing is lubricated by oil vapor after the original grease filling is gone. Apparently this is not the case and a dual row bearing with removed oil seals should work fine as a replacement of the original.


 Boxster
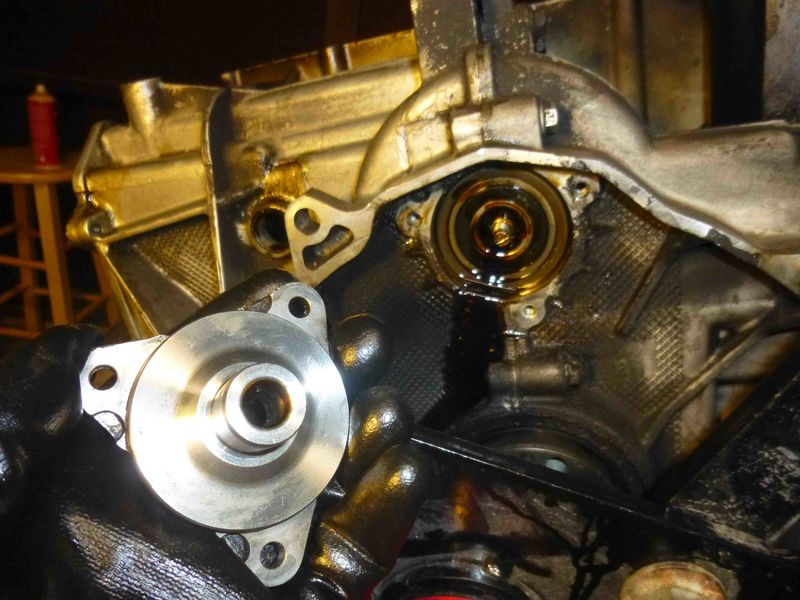
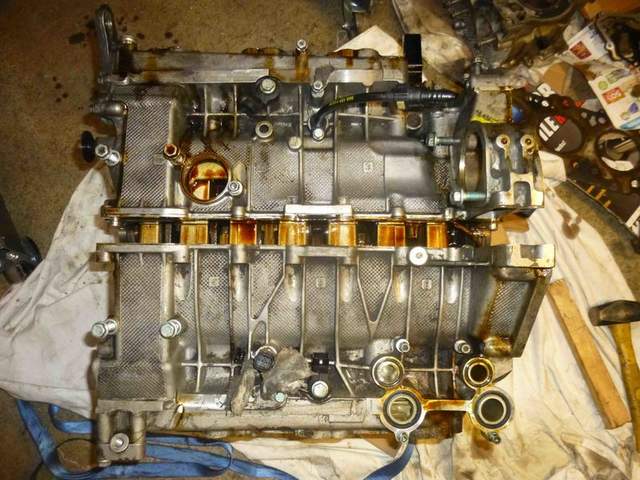
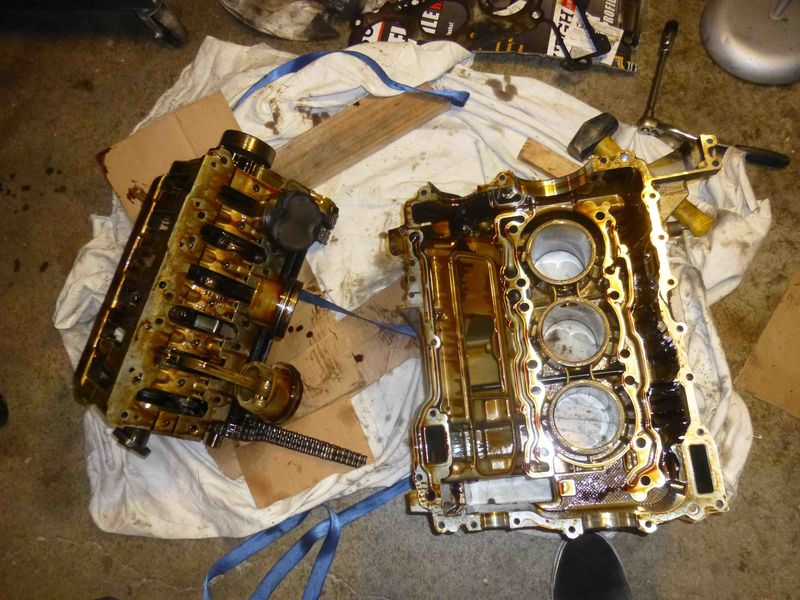


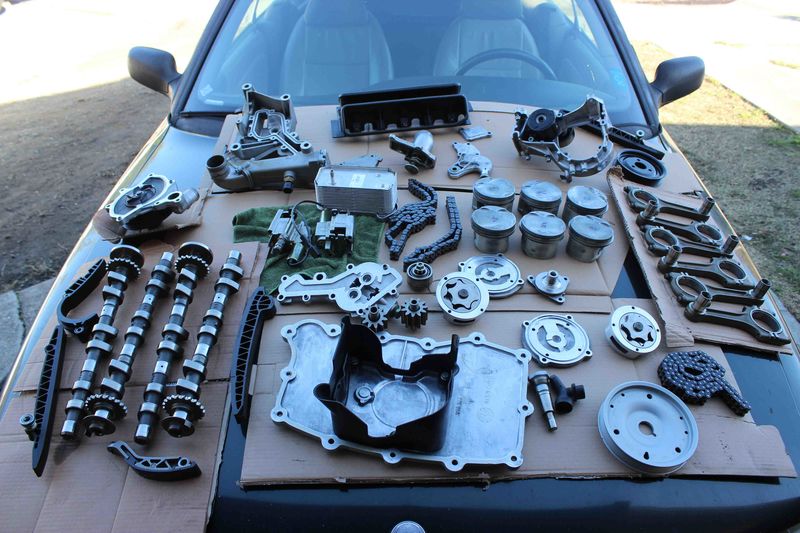
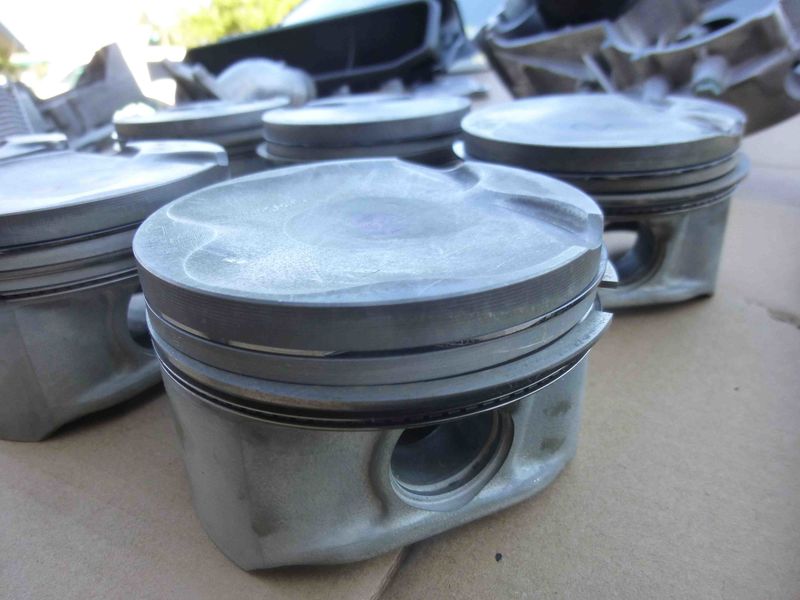
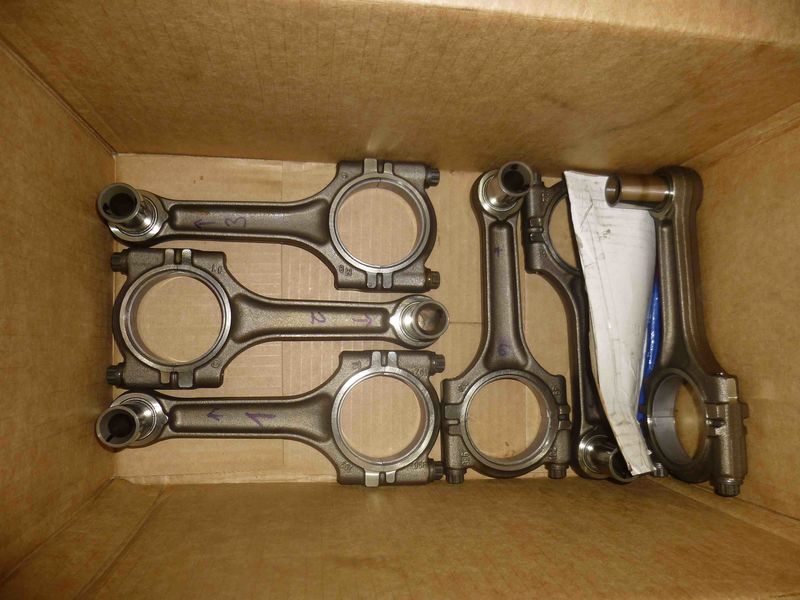
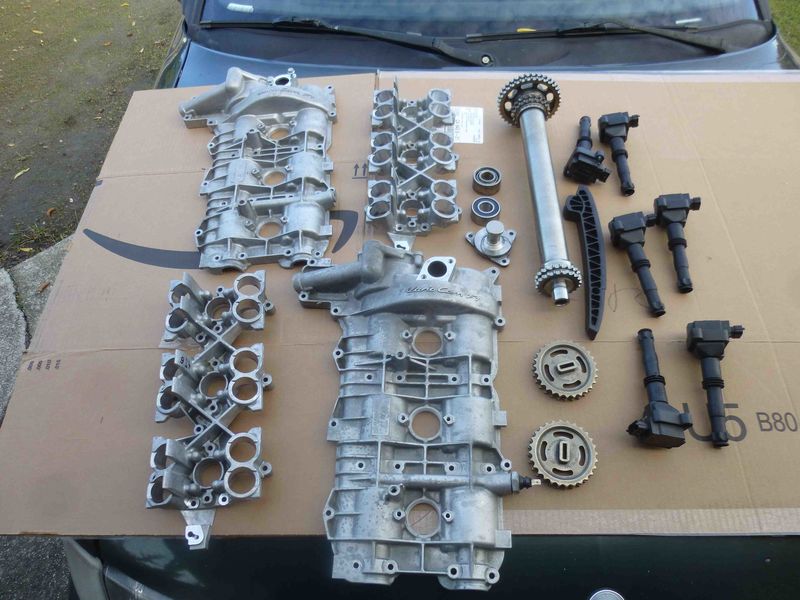
 All look salvagable, I`ll only need a few things, like the variocam actuator, pads, new IMSB, etc.. The valves don`t seem to be bent, that is a bit surprising. I think after some lapping they can be reused.


 Hybrid Mode


