My daughter picked up a 2000 Boxster about 1 month ago to replace her '86-944 daily
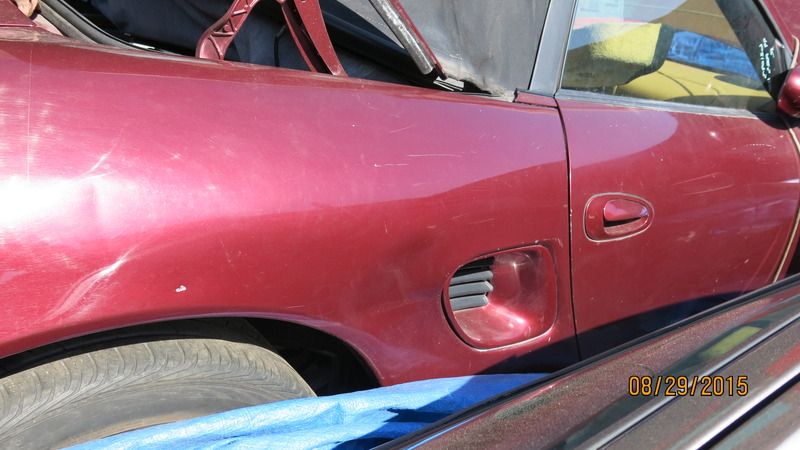
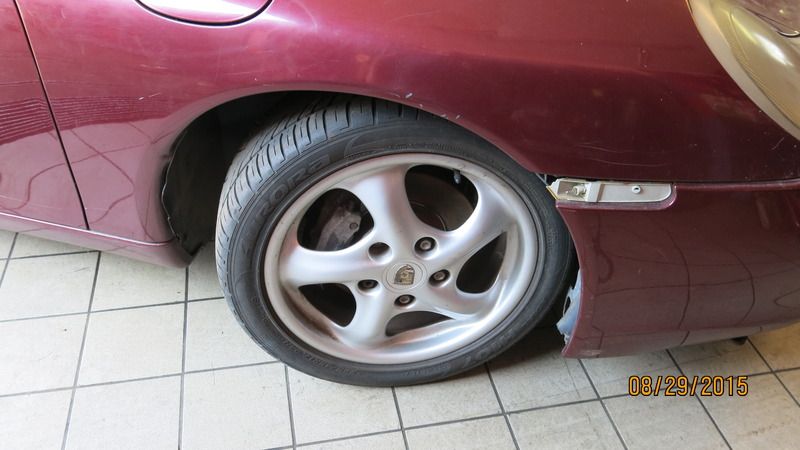
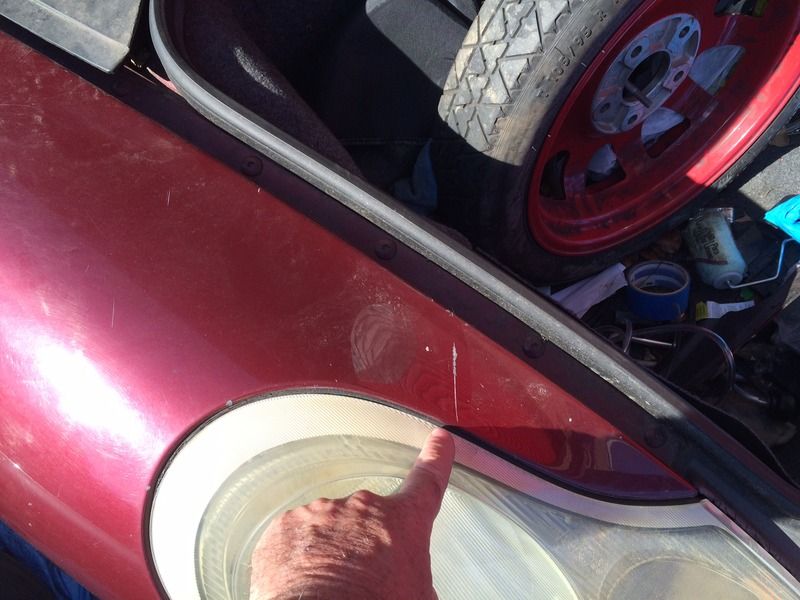
driver. We are in NY and she's in DC and the car was in Queens, so I went down, looked at it and made a deal for it. It was DIRT cheap ~$3000 for a running driving Boxster. This is a very tatty ratty car. The paint is terrible from a tarp being on it for months, tied loosely and micro scratched the hell out of every panel. It has some dents and bumps, along with being keyed on a few places, the worst on the drivers door.
The 2nd previous owner had the top rod ends break with the top down and couldn't figure out how to pull it up. He parked it and put the blue harbor fright tarp on it and left it. Well, it didn't take long before the UV and local kids sliced the tarp and the car got rained on. This destroyed the alarm system and made the car a non runner. It was picked up by the 1-PO and repairs were started; alarm, ECU, ignition switch and key were all found used as as set and replaced. At the same time the car received a full brake rebuild; rotors calipers, pads and flush. The engine got new plugs, tubes, 3 new coils, cam position sensors, battery and a few other bits to make it a good runner.
When I got there to look at it, it wouldn't start. Not good for negotiating and making a sale! It seemed like it was out of fuel , so I went and got 5 gallons but still no fire. We didn't hear a fuel pump running so that was looked into and it was determined that the pump relay had given up and that was replaced. The car started up instantly and ran pretty good but not smooth with a few pops thru the intake or exhaust.
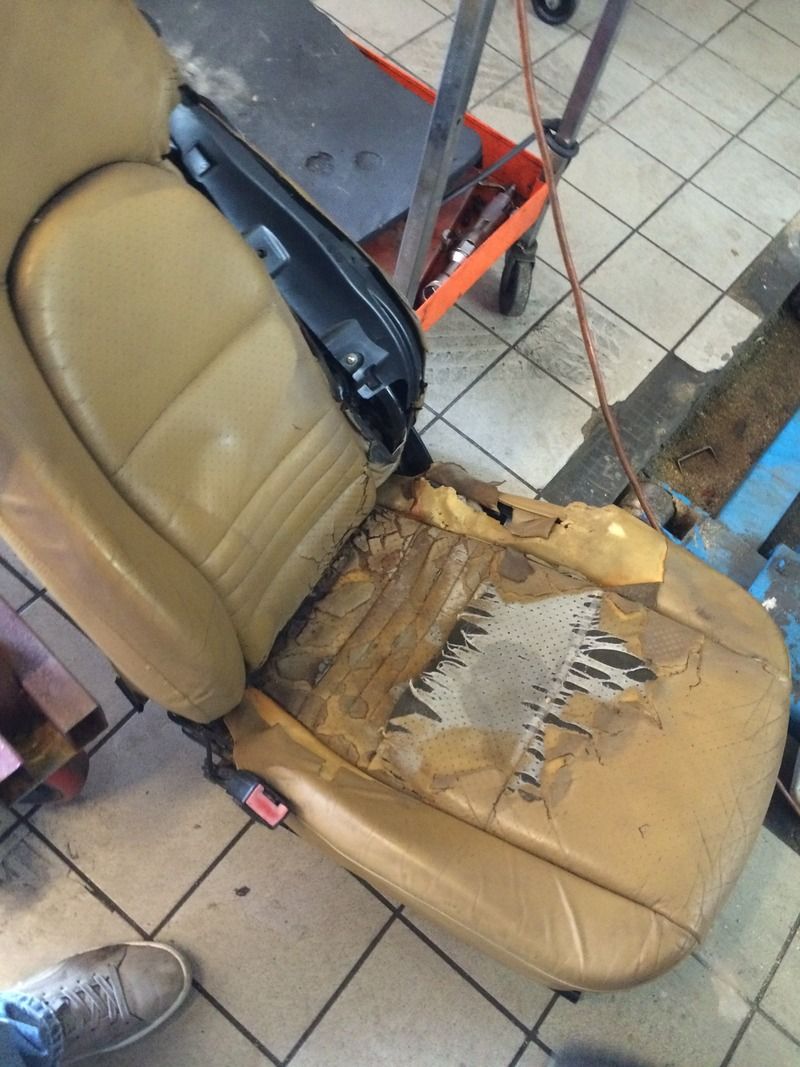
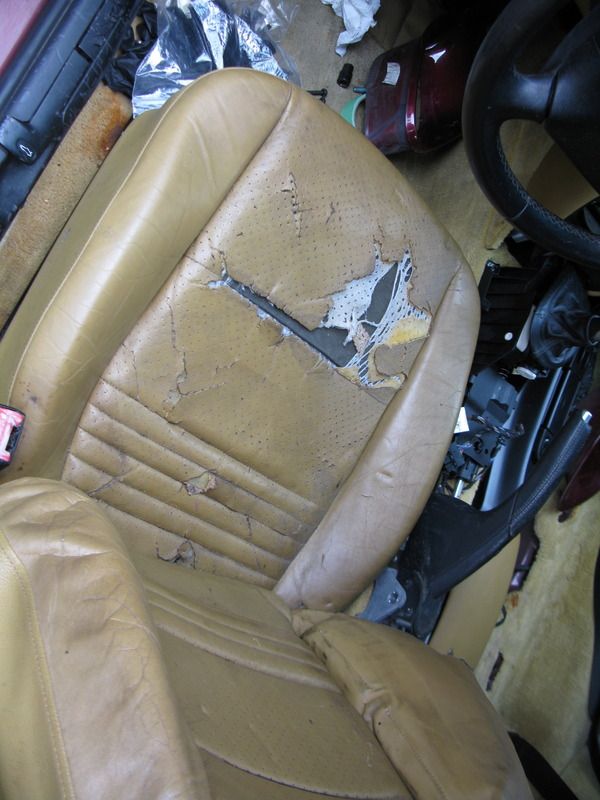
Now that it was a runner, I took it for a quick drive in the city, no plates, no insurance no brains.... Ran pretty good but I knew the computer was going to take time to relearn proper running settings. Nothing electric worked, nothing. No dash, no windows, no locks, no lights, NADA. Interior was thrashed and the seats needed to be replaced. Overall the interior looked like a Mongoose and Badger had been fighting in it!! But, under it all I figured there was a decent car at the right price.
I sat and figured what it would need to make it a runner and a 10 footer on the exterior. This would move my daughter up to a 15 year old car from a 30 year old car, convertible top and one of the sweetest handling cars ever. She was paying for everything, so done on the cheep (Yankee raised) I figured $1500 should make it decent and reliable. The last PO had put about $1500 in parts into it already and the car had good bones, so she ran a car fax and bought it...Cheep.
Obvious absolute first needs:
Tires, Seats, Top Fixed and MANY electrical parts.
Optional needs:
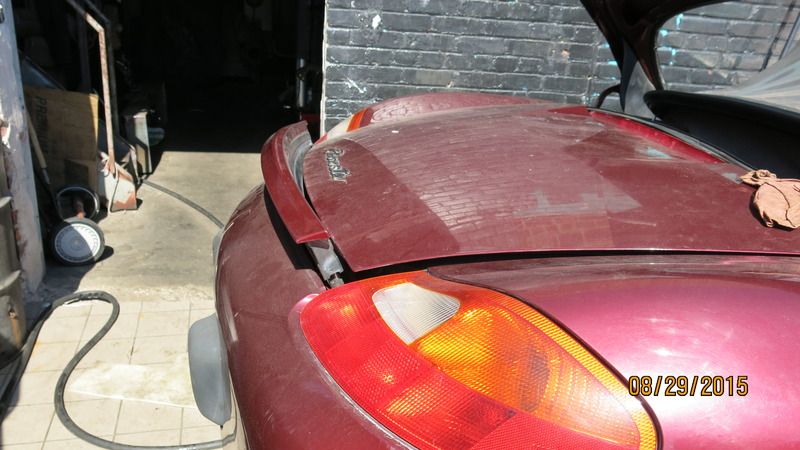
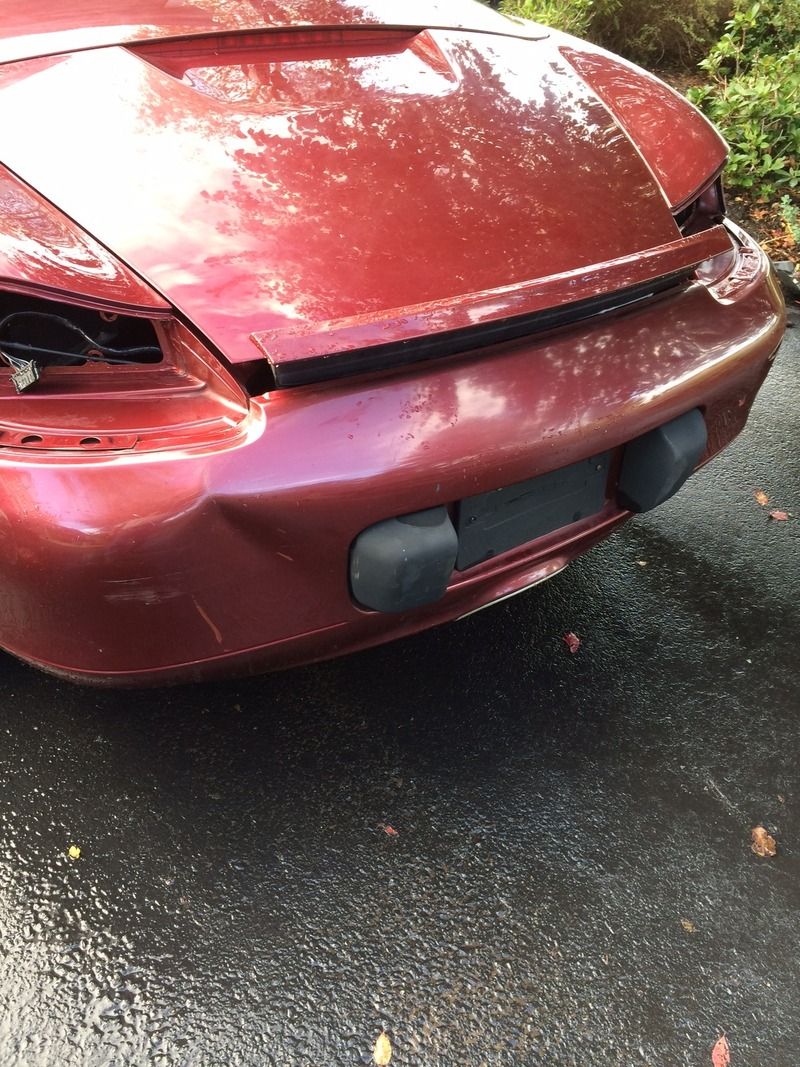
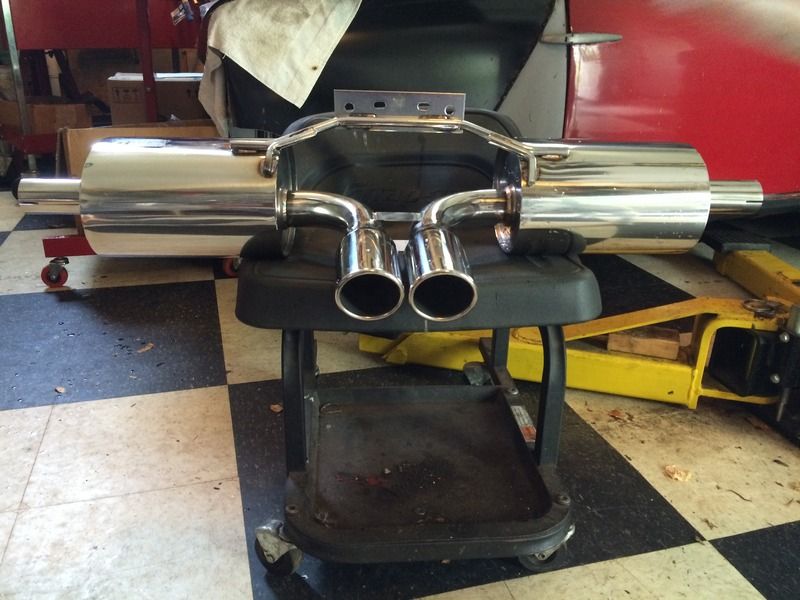
IMS, Clutch (unknown age), interior bits and bobs, new muffler from Top Speed, new rear lights as one was broken.
Tires ordered over labor day on sale from Discount Tires Direct. Woody (itsnotanova) supplied many of the electrical and interior bits for an AMAZING low price and delivered FAST to NY. Buy from him if you need parts, OK!
So the work began. Got the top fixed with used rods from Woody along with the new plastic ball ends from Source it on Ebay. This got the top working 100% but revealed the windows were not working right. The windows are complicated to understand but after much research, a new drivers regulator and some adjustment, they were goo 100% too. I pulled the dash and found that it wasn't plugged in!! all 3 plugs were just laying in there, plugged all in and wonder of wonders, that dash now worked! Central locking, not so much. Fiddled with that and gave up. Hey, she has a key to unlock the door :-)
I had the console out to recover the all messed up ( Mongoose & Badger death match) rubbery coating with Plasti-Dip spray and see if that was going to look good and last. Upon installing the console and plugging in the wires that connect to it and the cubby lock, well the central locking started to work 100%. It was the 3 wire plug to the cubby lock that was keeping it from working!!
Now most electrical issues were sorted, top was working beautifully, locking was working, engine running better ( a few quick rides around the area. Country livin; no police!), time to get busy on the exterior. Ordered touch up paint from automotive in Arena Red and began the slow process of filling the HUGE key marks in the door and other areas. 3-4 coats with color and then fill the rest up to level with clear to give it a near factory look. Wet sand back to level, fill some small areas with more clear and polish. Well the paint is really hard and using my orbital, a hard pad and some heavy compound, the paint is just beautiful!! Of course this reveals more defects and so the process begins again, fill color and clear, sand polish. We were hoping to get it to a 10 footer in appearance, but the excellent quality of paint Porsche used at the factory and a really good polisher we look to get it to a 5 footer. This is a MASSIVE improvement over the paint on day 1.
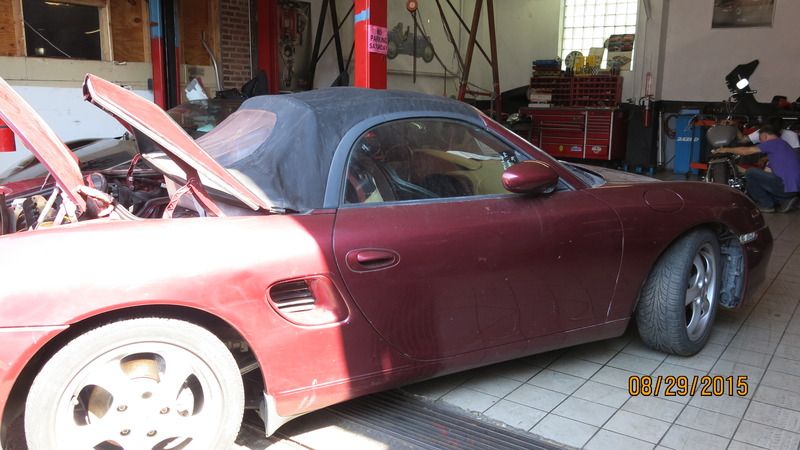
New seats in Black not Beige have been bought from a forum member; Thanks Ed!!! Parts for the clutch and IMS had arrived, so it was time to move the Box into the garage and get it up on the lift for some major heart surgery.
Pictures and more of the story to come later. Uploads are going VERY slow today :-(


 Threaded Mode


