 02-09-2018, 01:34 PM
|
#81
|
|
Registered User
Join Date: Oct 2017
Location: Portland OR
Posts: 100
|
Quote:
Originally Posted by B6T

If (when) you make these, what sort of price will you be looking at?
|
The current part would be about $1000 because there is so much welding. If I run a batch of 5 and bit of redesign hope is to cut that down, but we will have to see.
|

|

|
|
02-09-2018, 02:19 PM
|
#82
|
|
Registered User
Join Date: Aug 2015
Location: Waterloo, Ontario
Posts: 193
|
That seems fair. Would it be powder-coated or at least painted for that price?
|
|
|
|
|
02-09-2018, 05:38 PM
|
#83
|
|
Registered User
Join Date: Oct 2017
Location: Portland OR
Posts: 100
|
Quote:
Originally Posted by B6T
That seems fair. Would it be powder-coated or at least painted for that price?
|
Powder coated , yes.
|
|
|
|
|
02-09-2018, 06:12 PM
|
#84
|
|
Motorist & Coffee Drinker
Join Date: Jul 2014
Location: Oklahoma
Posts: 3,956
|
Quote:
Originally Posted by titaniumdave
... If I run a batch of 5 and bit of redesign hope is to cut that down, but we will have to see.
|
Order #1 of 5: 78F350
__________________
I am not an attorney, mechanic, or member of the clergy. Following any advice given in my posts is done at your own peril.
|
|
|
|
|
02-10-2018, 04:43 AM
|
#85
|
|
Registered User
Join Date: Aug 2015
Location: Waterloo, Ontario
Posts: 193
|
Quote:
Originally Posted by 78F350
Order #1 of 5: 78F350
|
I'd argue that I get #1 spot because I initiated the conversation about him selling them. 
But 2 of 5: B6T.
|
|
|
|
|
02-10-2018, 07:29 AM
|
#86
|
|
Registered User
Join Date: Sep 2014
Posts: 116
|
Quote:
Originally Posted by titaniumdave
Plan is to run endurance races with a number of drivers, figure 2 hour stints. Anything I can do to make it easier to drive will make us faster and more consistent, plus we will be running 245's all around.
PM with what you have for PS rig.
|
What series are you planning to run in? I'm building mine for WRL endurance and NASA GTS.
|
|
|
|
|
02-10-2018, 11:25 AM
|
#87
|
|
Registered User
Join Date: Oct 2017
Location: Portland OR
Posts: 100
|
|
|
|
|
|
02-14-2018, 08:42 AM
|
#88
|
|
Registered User
Join Date: Oct 2017
Location: Portland OR
Posts: 100
|

Update, here is the front of the cradle with all mount points. I have picked up the motor on the OEM Audi motor mount location AND found I can attache to the motor where the idler pulley mounts! I am deleting the AC and PS pump so this works great for my car. The cool thing about is I can use a different spacer and this will sandwich the pulley into the stack and one can run all accessories. I think we are ready to go but I want to do one more test fit next week and make sure I didn't miss something. This also looks like it will be an off the shelf belt too, should have the belt on Friday to confirm.
|
|
|
|
|
02-14-2018, 08:43 AM
|
#89
|
|
Registered User
Join Date: Oct 2017
Location: Portland OR
Posts: 100
|
|
|
|
|
|
02-14-2018, 08:47 AM
|
#90
|
|
Registered User
Join Date: Oct 2017
Location: Portland OR
Posts: 100
|
Current design has gone back to one pick up point on the transmission/motor interface. I liked the idea of 2 points, the second gets very close to the steel suspension brace that connects the 2 sides of the sub frame and I think it's a 'belt and suspenders' feature. Fingers crossed, this is done...
|
|
|
|
|
02-14-2018, 05:20 PM
|
#91
|
|
Motorist & Coffee Drinker
Join Date: Jul 2014
Location: Oklahoma
Posts: 3,956
|
Looks good Dave. I probably was going to get rid of the PS pump and AC compressor anyway.
How is the positioning working out? Are you looking at an modification to the firewall, or just the top engine cover area? I cut my front firewall a little, but in retrospect, I probably could have hammered it out enough.
__________________
I am not an attorney, mechanic, or member of the clergy. Following any advice given in my posts is done at your own peril.
|
|
|
|
|
02-15-2018, 05:52 AM
|
#92
|
|
Registered User
Join Date: Dec 2009
Location: Orange County, CA
Posts: 2,021
|
Quote:
Originally Posted by titaniumdave


Images of the pulley mount location. |
Nice clean welds..! 
|

|
|
|
02-20-2018, 07:38 AM
|
#93
|
|
Registered User
Join Date: Oct 2017
Location: Portland OR
Posts: 100
|
Quote:
Originally Posted by Gilles
Nice clean welds..! |
Thanks, all feel quick and dirty to me. 32 year building bicycle frames has given me a bit of practice.
|
|
|
|
|
02-20-2018, 07:41 AM
|
#94
|
|
Registered User
Join Date: Oct 2017
Location: Portland OR
Posts: 100
|
I will do a test fit tomorrow eve and get pics of final installation. Once everyone know where the cradle will get you, then I'm happy to make more of them. Cross your fingers it's good enough.
|
|
|
|
|
02-20-2018, 01:48 PM
|
#95
|
|
Registered User
Join Date: Oct 2017
Location: Portland OR
Posts: 100
|
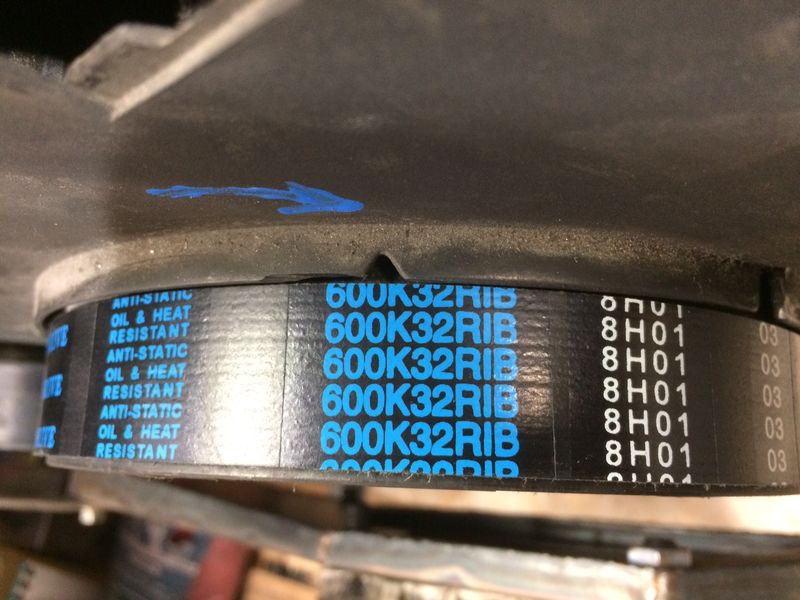
The belt run works! Off the shelf belt too, 600K7.

|
|
|
|
|
02-22-2018, 12:28 PM
|
#96
|
|
Registered User
Join Date: Sep 2014
Posts: 116
|
My belt routing is slightly different, coming up and over the tensioner after the crank pulley. I used a 6PK1220 belt.
|
|
|
|
|
02-22-2018, 01:45 PM
|
#97
|
|
Registered User
Join Date: Oct 2017
Location: Portland OR
Posts: 100
|
Quote:
Originally Posted by specboxCO
My belt routing is slightly different, coming up and over the tensioner after the crank pulley. I used a 6PK1220 belt.
|
6 rib? I had the hardest time finding short 7 rib belts, D&D has a few option.
|
|
|
|
|
02-23-2018, 05:05 PM
|
#98
|
|
Registered User
Join Date: Aug 2015
Location: Waterloo, Ontario
Posts: 193
|
Quote:
Originally Posted by titaniumdave
The belt run works! Off the shelf belt too, 600K7.
|
Not to poop on your parade, but are you sure that tensioner position is going to work?
When you reference the stock belt routing you'll see that the tensioner is the very last contact point on the belt before it goes back onto the crank pulley. This means the tensioner is at the point in the belt where the actual tension is the least, as the belt isn't actually driving any accessories. This leaves it to simply take up slack in the belt where the most slack would occur since the belt at that point is loosest as there is no tension from driving anything.
But when you route the belt as you have, the tensioner is now the first contact point on the belt, which means it is subject to the full tension resulting from driving all the accessories. This means that it will deflect and allow slack after the tensioner, allowing the accessories to slip on the subsequent pullies.
Does this make sense?
Sorry I was just staring at my own AWN V8 in the garage for the last hour so I had some time to think about exact this...
|
|
|
|
|
02-23-2018, 05:16 PM
|
#99
|
|
Registered User
Join Date: Oct 2017
Location: Portland OR
Posts: 100
|
Quote:
Originally Posted by B6T
Not to poop on your parade, but are you sure that tensioner position is going to work?
When you reference the stock belt routing you'll see that the tensioner is the very last contact point on the belt before it goes back onto the crank pulley. This means the tensioner is at the point in the belt where the actual tension is the least, as the belt isn't actually driving any accessories. This leaves it to simply take up slack in the belt where the most slack would occur since the belt at that point is loosest as there is no tension from driving anything.
But when you route the belt as you have, the tensioner is now the first contact point on the belt, which means it is subject to the full tension resulting from driving all the accessories. This means that it will deflect and allow slack after the tensioner, allowing the accessories to slip on the subsequent pullies.
Does this make sense?
Sorry I was just staring at my own AWN V8 in the garage for the last hour so I had some time to think about exact this...
|
This is the stock location, I just removed the AC and PS pump. I assume it works since this is how 1/2 million Audi's and VW have been doing it.
|
|
|
|
|
02-23-2018, 06:05 PM
|
#100
|
|
Registered User
Join Date: Aug 2015
Location: Waterloo, Ontario
Posts: 193
|
Yes the tensioner is in the stock location but the belt routing is entirely different and follows what I was saying before.
Anyway, just trying to help out and prevent a headache for you in the future.

|
|
|
|
 Posting Rules
|
You may not post new threads
You may not post replies
You may not post attachments
You may not edit your posts
HTML code is On
|
|
|
All times are GMT -8. The time now is 08:06 PM.
| |


 Parts Car, car parts
 Honda Del Sol(s)
 "Hers"
 My Original '99
 The 78 F350
 This
This That
That The S 2.5
 Other
Other Linear Mode


