Go Back   986 Forum - The Community for Porsche Boxster & Cayman Owners > Porsche Boxster & Cayman Forums > Performance and Technical Chat

Post Reply
 
LinkBack Thread Tools Display Modes
Old 02-13-2012, 07:30 AM   #1
1999 base
 
Meir's Avatar
 
Join Date: Dec 2011
Location: Coral Springs FL
Posts: 1,617
Garage
Rear axels rebuild. O1 S

Since all the axel boots in my car was torn up and I’m at 76k, I decided to perform a full rebuild including new CV joins and all 4 axel boots. At the same chance, I removed the secondary cats and planning on installing the bypass pipes. So if the cats are out, I thought it would be a good idea to remove the whole axel assembly from the car and work it on the bench.
Everything worked out smooth until I got to remove the axel from the wheel hub.
Man… this thing is stuck. After some lubrication and heavy persuasions from my hummer, the RH side came off. The LH side is still stuck and won’t budge. I hit it as hard as I can and it won’t even move a bit.
So, question # 1: can anyone give me a useful tip before I go and purchase a 10lb sledge hammer?
Question # 2: once I get it out, what can I put on it before I get it back on, to help me remove it in the future?
Last question:
On the axel I managed to remove from the car, I noticed that the outer CV joint (the non replaceable one) sounds like it’s got sand in the grease, when I move it around.
Any ideas of how to wash away all the old grease before applying the new one?
Thank you all in advance.

Meir is offline   Reply With Quote
Old 02-13-2012, 08:30 AM   #2
Registered User
 
The Radium King's Avatar
 
Join Date: Apr 2010
Location: Canada
Posts: 3,121
1) buy a brass plumbing fitting and use it as a buffer between your sledge and the axle; this way the brass will deform instead of your axle.

2) you can soak the cv in solvent to clean it, but inspect for damage caused by the grit. if you have to replace i recommend buying used as opposed to new oem (too expensive) or jobber (poor quality).
The Radium King is offline   Reply With Quote
Old 02-13-2012, 09:05 AM   #3
1999 base
 
Meir's Avatar
 
Join Date: Dec 2011
Location: Coral Springs FL
Posts: 1,617
Garage
thanks TRK

1. Well, I used the old nut before pounding the axel. (It looks like a pancake now) but using a brass cup is not a bad idea, the original nut has grooves on it so the edges tend to claps. I hope with the brass cup I will have more surfaces to work with.
2. What kind of solvent should I use?

Thanks again

Last edited by Meir; 02-13-2012 at 09:52 AM.
Meir is offline   Reply With Quote
Old 02-13-2012, 05:28 PM   #4
1999 base
 
Meir's Avatar
 
Join Date: Dec 2011
Location: Coral Springs FL
Posts: 1,617
Garage
Got it!

I guess half a can of PB blaster over night did the job.
Still needed to hammer it pretty hard.
Now i need to figure out how to clean all the old grease.
Meir is offline   Reply With Quote
Old 02-16-2012, 10:04 AM   #5
1999 base
 
Meir's Avatar
 
Join Date: Dec 2011
Location: Coral Springs FL
Posts: 1,617
Garage
update

manage to get 99% precent of the grease out of the joint.
usually i don't do commercials for free .... but this stuff is amazing.

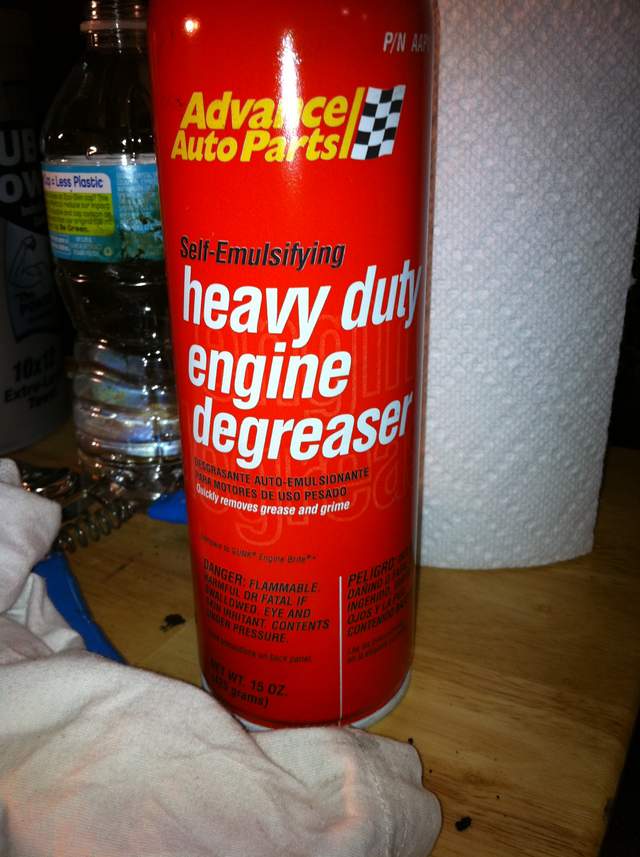
let it set for 10 minutes and you get a high quality of CV joint milkshake.
left the joint very clean but a little bit oily.
didn't want to use water as instructed, so i washed it couple of times with carb cleaner.
let it dry over night, and today i'm going to assemble it.
Meir is offline   Reply With Quote
Old 02-18-2012, 07:54 AM   #6
Registered User
 
Join Date: Dec 2009
Location: Orange County, CA
Posts: 1,843
Quote:
Originally Posted by Meir View Post
I guess half a can of PB blaster over night did the job.
Still needed to hammer it pretty hard.
Now i need to figure out how to clean all the old grease.
I like to soak dirty greasy parts on diesel fuel inside a pan for a little while and everything cleans out pretty easy with a wire brush..

.

Gilles is offline   Reply With Quote
Post Reply


Thread Tools
Display Modes

Posting Rules
You may not post new threads
You may not post replies
You may not post attachments
You may not edit your posts

BB code is On
Smilies are On
[IMG] code is On
HTML code is On
Trackbacks are On
Pingbacks are On
Refbacks are On


All times are GMT -8. The time now is 06:50 AM.


Powered by vBulletin® Version 3.8.7
Copyright ©2000 - 2024, vBulletin Solutions, Inc.
Content Relevant URLs by vBSEO 3.6.0
Copyright 2024 Pelican Parts, LLC - Posts may be archived for display on the Pelican Parts Website -    DMCA Registered Agent Contact Page