 07-17-2017, 02:21 PM
|
#1
|
|
Custom User Title Here
Join Date: Mar 2012
Location: Ft. Leonard Wood
Posts: 6,169
|
Quote:
Originally Posted by JBauer

Well I wanted to remove the dash mldgs and paint them like I paint the doors. After checking into removing them I realized that is almost impossible. So I went to a sign shop and bought a sheet of vinyl tape and put it on. Its not a prefect match for the guards red but Im going to find a better match soon and do it again. Today was kind of a test to see how it looked. I have the correct paint but i was hesitant to tape it off and spray it but I may.
|
It's not too bad. Just have to take a few bits off. 

|

|

|
|
07-17-2017, 02:52 PM
|
#2
|
|
Registered User
Join Date: Apr 2017
Location: Indiana
Posts: 1,512
|
Quote:
Originally Posted by particlewave
It's not too bad. Just have to take a few bits off.
|
Lol 🤣 just looking at that pic gives me PTSD 😭
|
|
|
|
|
07-17-2017, 05:41 PM
|
#3
|
|
Registered User
Join Date: Apr 2017
Location: Indiana
Posts: 1,512
|
This vinyl with a heat gun is fun ��
Wonder what my shift knob would look like red too? 
Last edited by JBauer; 07-17-2017 at 06:37 PM.
|
|
|
|
|
07-18-2017, 06:21 AM
|
#4
|
|
Registered User
Join Date: Apr 2017
Location: Indiana
Posts: 1,512
|
Quote:
Originally Posted by particlewave
It's not too bad. Just have to take a few bits off.
|
Removed glove box, looked up: 
��

WT* 20 minutes ��
|
|
|
|
|
07-18-2017, 08:35 AM
|
#5
|
|
There Is No Substitute.
Join Date: May 2007
Location: West Coast
Posts: 3,253
|
Started to remove some of the scratches in my paint using a dual action polisher, microfiber pad and D300 compound. However, I completely underestimated how time consuming this process is, it will probably take another 2-3 days to finish, working on it for a few hours every night. I have been blogging about my detail process if you want to follow along. 
__________________
1999 Ocean Blue Metallic Boxster - blueboxster.com
Last edited by rick3000; 07-18-2017 at 08:40 AM.
|
|
|
|
|
07-18-2017, 09:26 AM
|
#6
|
|
Registered User
Join Date: Nov 2015
Location: ontario
Posts: 377
|
Quote:
Originally Posted by rick3000
Started to remove some of the scratches in my paint using a dual action polisher, microfiber pad and D300 compound. However, I completely underestimated how time consuming this process is, it will probably take another 2-3 days to finish, working on it for a few hours every night. I have been blogging about my detail process if you want to follow along. |
Thats how I did mine too initially. Spread out over a couple days. It seems like a massive job at first but you'll get the hang of it. Don't be afraid to crank the polisher up to full speed. You'll get better correction with fewer passes. Its pretty difficult to really mess up your paint with a free spinning DA, even at full speed.
|
|
|
|
|
07-18-2017, 02:30 PM
|
#7
|
|
Registered User
Join Date: Feb 2017
Location: North Eastern US
Posts: 646
|
Out with the old, in with the new
Replaced my 'aged' seal grey center caps.

At some point, I'll try to refinish my old caps. I've already stripped the clear (well, used to be clear) covering off of one badge and located the reactive polymer clear coat.
Low on the project priority list however.
__________________
Rgds, Fred
#317 550 Spyder Anniversary Edition 2004 Boxster S, 3.8L Flat Six Innovations engine, PSS9s, etc, etc . . .
The contents of my posts are for entertainment only. As confirmed by my many motor sports fails, I am not qualified to give product endorsements or mechanical advice 
Last edited by Oldcarguy; 07-21-2017 at 02:06 PM.
|
|
|
|
|
07-18-2017, 02:34 PM
|
#8
|
|
There Is No Substitute.
Join Date: May 2007
Location: West Coast
Posts: 3,253
|
Quote:
Originally Posted by boxxster
Thats how I did mine too initially. Spread out over a couple days. It seems like a massive job at first but you'll get the hang of it. Don't be afraid to crank the polisher up to full speed. You'll get better correction with fewer passes. Its pretty difficult to really mess up your paint with a free spinning DA, even at full speed.
|
I was was pretty nervous when I started, but it is not actually that hard. I am incredibly happy with the results so far, the most time consuming part is cleaning the microfiber pad after every section.
__________________
1999 Ocean Blue Metallic Boxster - blueboxster.com
|
|
|
|
|
07-18-2017, 06:07 PM
|
#9
|
|
I am No. 1348
Join Date: Dec 2016
Location: Tampa/FL
Posts: 340
|
I had one of my Brake lights go out.
In defiance, I replaced every friggin rear light bulb! Cost me 28 bucks with Amazon Prime. When I did the replacement, I found one of my sidelights was not even there!
__________________
Current: 2004 Boxster S 550 Spyder Anniversary Edition (BSSE)
|
|
|
|
|
07-20-2017, 05:28 AM
|
#10
|
|
Registered User
Join Date: Jul 2016
Location: Ireland
Posts: 153
|
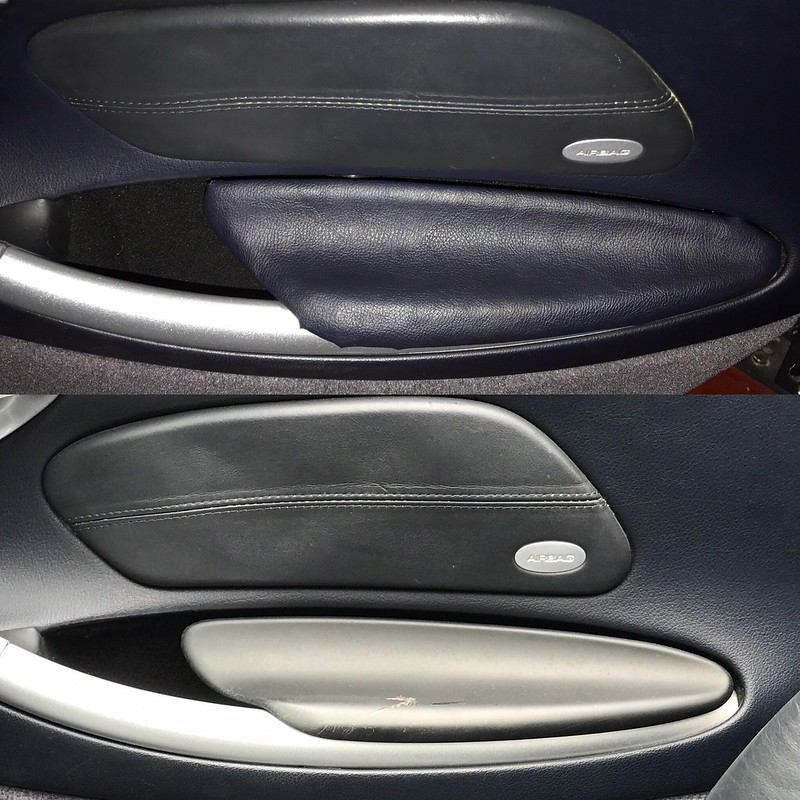
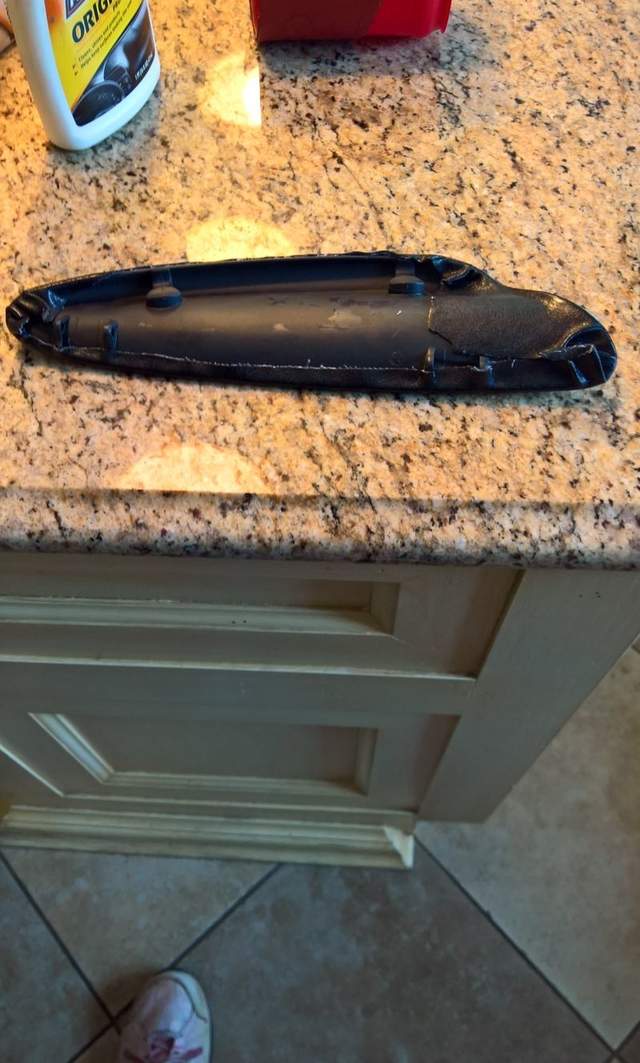
Had a go at some upholstery work. Decided I need a lot more practice but I've enough material to cover 20 of these so I'll revisit over the winter.
There's a few sticky out bits (will sort them with a dab of glue to tidy it up) but the comfort under the elbow is so much better. 2mm foam covered with navy leatherette. Total material costs including adhesive was under $20. Colour match is really good, the flash on the phone messes it up
Lesson learned - get really sharp scissors and razor blades. Also need a better adhesive, one I used takes to long to stick and I think it will stay a little soft. Really need something that cures fast.
Anyway practice makes perfect!! Next time will be much improved. All in all with a fast curing glue each one would be about an hours work.
Sent from my iPhone using Tapatalk Pro
__________________
Traco
_________________
Older but no wiser.
2003 Boxster S, Seal Grey
Last edited by Traco; 07-20-2017 at 05:33 AM.
|
|
|
|
|
07-21-2017, 12:54 PM
|
#11
|
|
Registered User
Join Date: Apr 2017
Location: Indiana
Posts: 1,512
|
Must be armrest day
|
|
|
|
|
07-21-2017, 01:12 PM
|
#12
|
|
Registered User
Join Date: Jul 2016
Location: Ireland
Posts: 153
|
Quote:
Originally Posted by JBauer
Went to Goodwill and bought a $3 purse, cut it up and redid my armrests. Used 3M spray trim adhesive. Spray both pieces, wait 5 min. and sticks almost immediately. Have just enough left to do my console lid if I want.
|
Well done, you got the edges neater than mine. Is there a part no on that 3M - think that might have been my weak link.
Sent from my iPhone using Tapatalk Pro
__________________
Traco
_________________
Older but no wiser.
2003 Boxster S, Seal Grey
|
|
|
|
|
07-21-2017, 02:19 PM
|
#13
|
|
Registered User
Join Date: Apr 2017
Location: Indiana
Posts: 1,512
|
Quote:
Originally Posted by Traco
Well done, you got the edges neater than mine. Is there a part no on that 3M - think that might have been my weak link.
Sent from my iPhone using Tapatalk Pro
|
Hell I can't remember what I even bought 🙄 AutoZone make sure you wait the 5 min. until you stick them together. Start from the middle and work you way out. 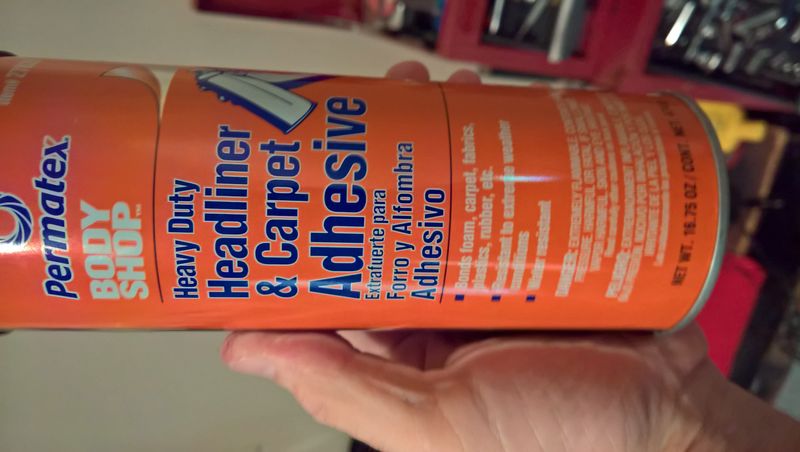
|
|
|
|
|
07-21-2017, 06:34 PM
|
#14
|
|
Registered User
Join Date: Feb 2016
Location: SE USA
Posts: 324
|
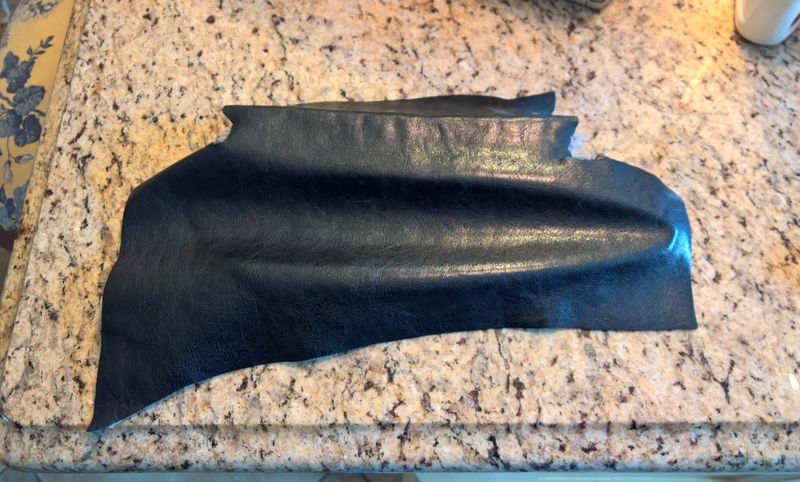
Leather vs. Vinyl
Traco, I also redid my interior in leather. I originally purchased a piece of vinyl but found it was too thick to conform to the curves and then fold over the back. I purchased a woman's lamb skin leather coat at the local thrift store for $8.00 (US). I think you will find the softer leather much easier to work with. Contact adhesive works perfect for attaching the leather. Good luck!
|
|
|
|
|
07-22-2017, 09:31 PM
|
#15
|
|
Registered User
Join Date: Jun 2017
Location: Madison, WI
Posts: 114
|
A few days ago, I got home and had a huge cloud of smoke come out of the passenger side intake vent. Saw some coolant dripping from the water pump area. Since changing the water pump was on my maintenance to-do list anyway, I just went ahead and ordered a new one. Poked around a bit at other things (coolant tank, AOS, etc) but those all looked fine.
Installed it today. The old one was indeed pretty mangled - impellers were broken, and the wheel had somehow gotten stuck behind the flange of one of the bolts, and they were rubbing up against each other. That can't be good, right? Anyhow, no major issues installing the new one. Car feels much happier now!
|
|
|
|
|
07-23-2017, 01:15 PM
|
#16
|
|
Registered User
Join Date: Aug 2012
Location: Miramar, FL
Posts: 163
|
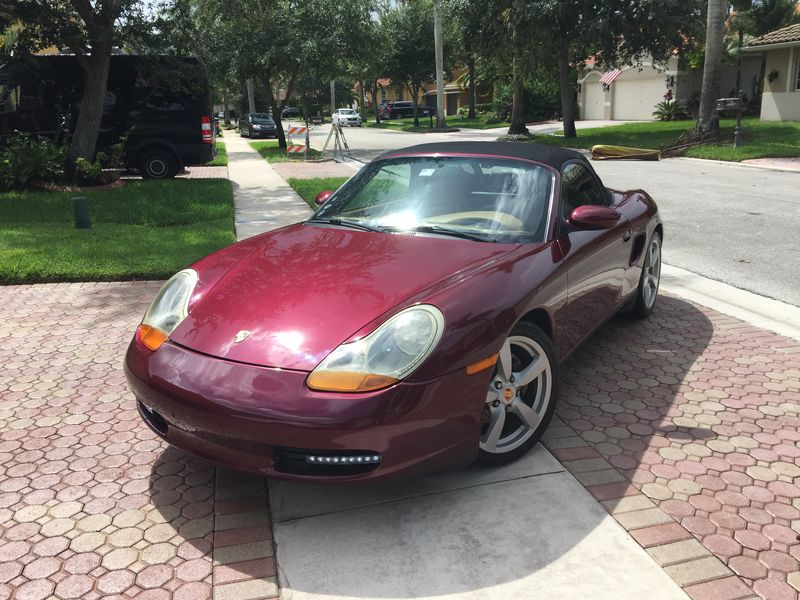
Pampered her.
|
|
|
|
|
07-23-2017, 05:00 PM
|
#17
|
|
Registered User
Join Date: Nov 2009
Location: San Jose , CA
Posts: 579
|
Changed the oil to Rottella T6 5w-40 and washed polished an wax her.
__________________
Lapis Blue 03 Boxster S
Seal Grey 04 Boxster S (RIP 9-21-14)
|
|
|
|
|
07-23-2017, 05:46 PM
|
#18
|
|
01101
Join Date: Jul 2015
Location: CT
Posts: 587
|
I changed out the set of ceramic tweeters I had for silk Dayton ND28-F (These are a favorite of mine). This took a lot of trimming of the grille and the tweeter mounting ring.

Here are the old tweeters I'll sell if anyone is interested. They drop right into the dash mid location

|
|
|
|
|
07-28-2017, 05:06 PM
|
#19
|
|
Registered User
Join Date: Feb 2017
Location: North Eastern US
Posts: 646
|
Tranzit Blu HF
Installed my Tranzit Blu HF today. It is exactly what I was looking for. As far as I can tell I now have (near?) CD quality sound via my iPhone 7 for iTunes, Pandora, etc. I can't tell any difference from the CD player.
The Bluetooth connects immediately and the button control works without a hitch. I did have to increase my CDR23 head unit's volume level to 17-23 but no problem with interference, noise or distortion at all. Plenty of headroom left.
The CDR23 now displays/ scrolls the Tranzit connection message and it also displays/scrolls the song which is playing. Perfect and I'm still stock from the outside.

The only problem I have is that my new mic (upper left on CD tray) is not working  I'll chase this down later. I left everything readily accessible so it will not be a hassle at all.
Very happy camper 
__________________
Rgds, Fred
#317 550 Spyder Anniversary Edition 2004 Boxster S, 3.8L Flat Six Innovations engine, PSS9s, etc, etc . . .
The contents of my posts are for entertainment only. As confirmed by my many motor sports fails, I am not qualified to give product endorsements or mechanical advice
Last edited by Oldcarguy; 07-28-2017 at 07:58 PM.
|
|
|
|
|
07-28-2017, 07:23 PM
|
#20
|
|
Registered User
Join Date: Jul 2010
Location: California
Posts: 1,859
|
Replaced AOS Again
I replace the AOS in the Jagermobile... again.
__________________
Jäger
300K Mile Club
|
|
|
|
 Posting Rules
|
You may not post new threads
You may not post replies
You may not post attachments
You may not edit your posts
HTML code is On
|
|
|
All times are GMT -8. The time now is 03:47 PM.
| |


 Porscha
 Janice
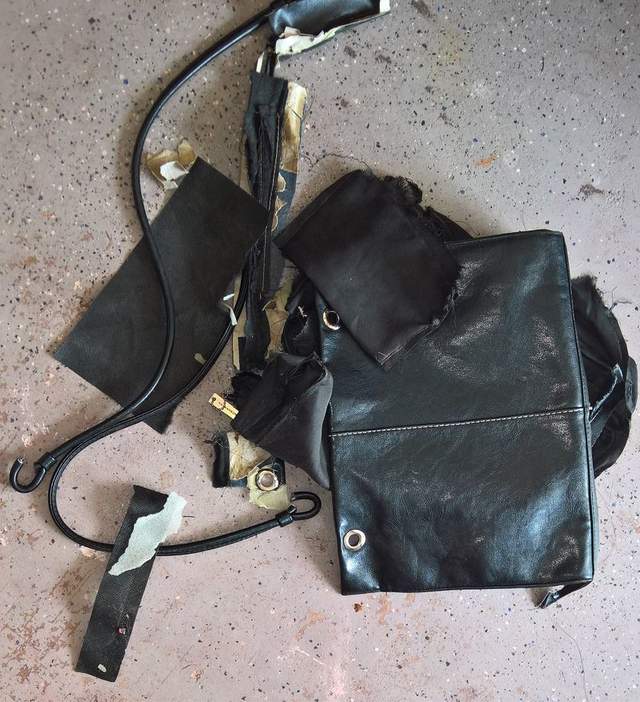


 2004 Porsche Boxster
 2003 Porsche Boxster S
 Jägermobile
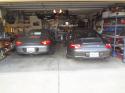 Jagermobiles
 Jager4Smobile
 Hybrid Mode


