Good afternoon everyone!
Got a bit more done over the last few days, including some time spent at work on it... did I mention that I have the coolest boss ever?!?!

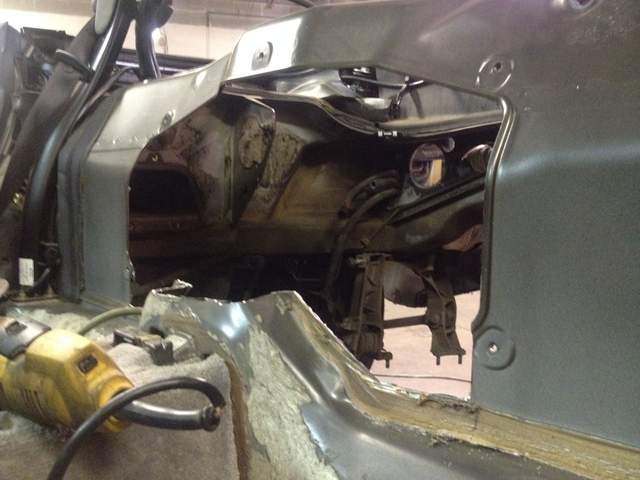
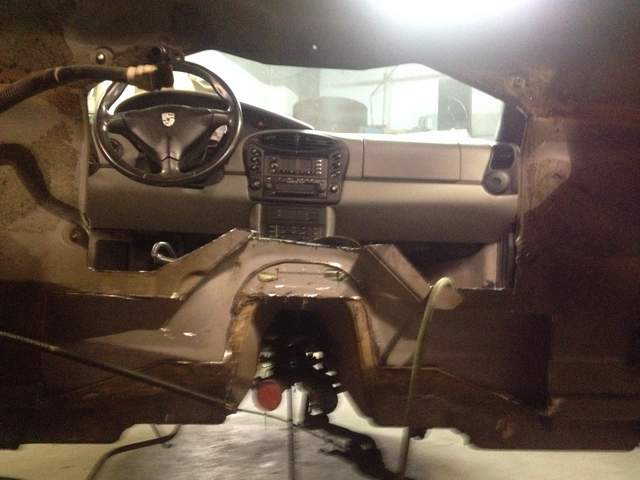
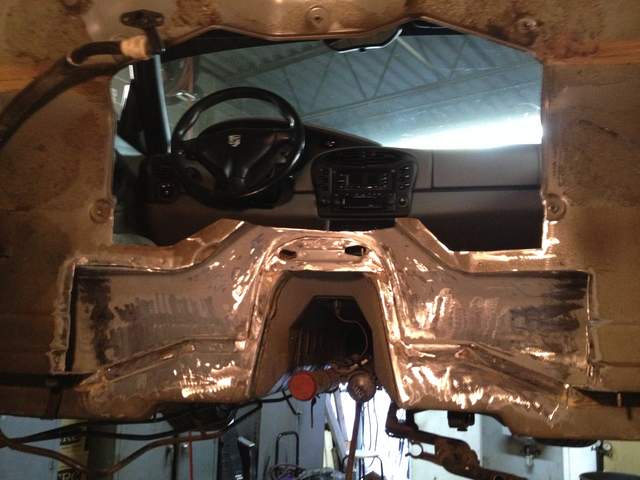
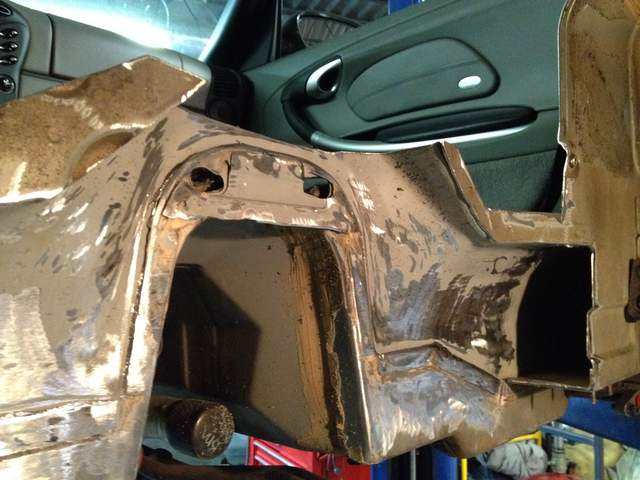
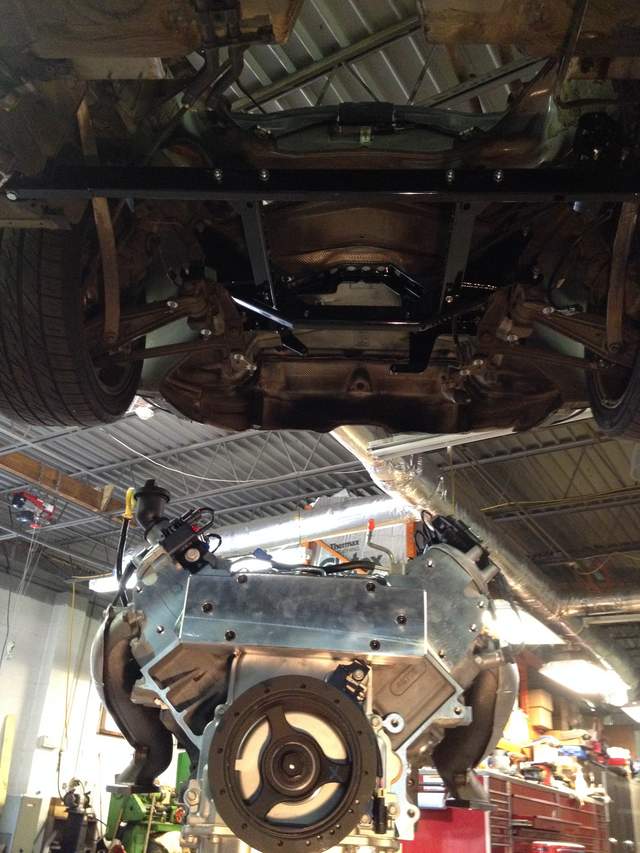
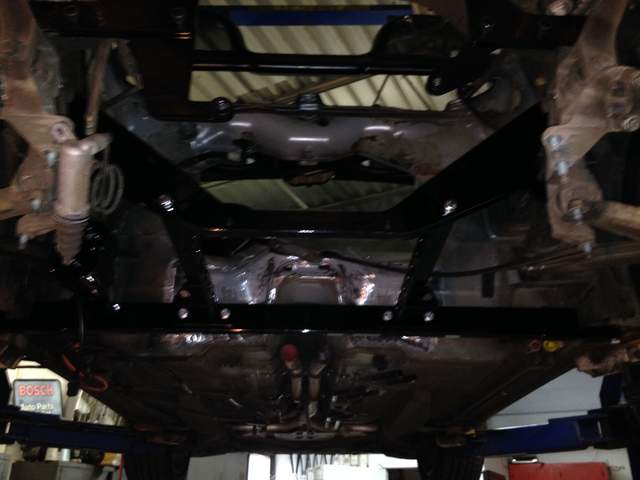
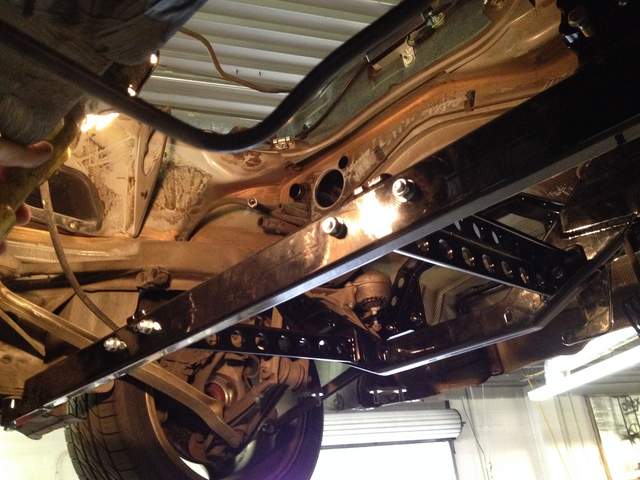
I have done all of the cutting I am going to do until I can test fit the motor into place, but all of the major cutting is done, the rest is more trim/fit work. It is prepped to have the weld in cross brace put into place which I hope to get done over the holiday weekend.
In the mean time we went ahead and began to test fit the cradle into the chassis to see how it is all going to go together. Unfortunatly that can't really be done until some more parts arrive as I had another chat with Renegade and it seems their pictures include more then what actually comes with the kit :/
So... I figured I would go ahead and throw a check list out here just so you all have an idea of extra parts that are required which I could not buy from Renegade... Some I was already aware of, some I was not, but either way here is a list thus far, i'm sure it will grow anyway so in no particular order here goes...
1. New transmission mounts - factory mounts inadequate and don't really fit with the kit.
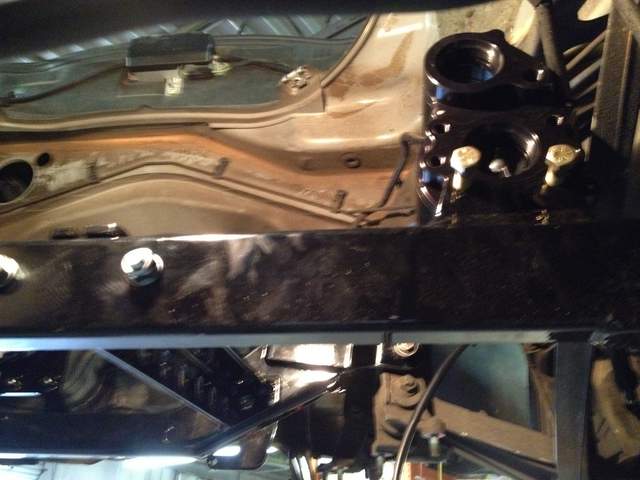
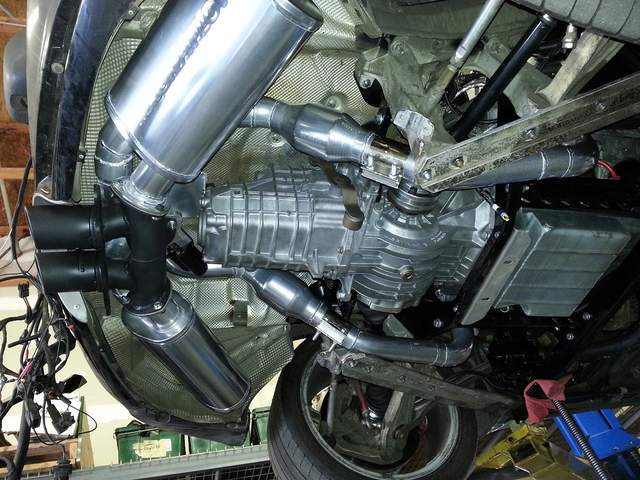
2. Motor mounts, 2 parts - neither the new crate engine, nor the kit comes with them. Need to source aluminum Corvette motor mounts to attach to the block, plus urethane mounts to attach aluminum mounts to cradle.
3. LS4 harmonic balancer - LS3 motor comes with a dual pulley setup, this shortens it to a single setup.
4. Corvette oil pan - Not 100% sure on this but Steve @ Renegade said it allows for more clearance. Once I get some mounts to bolt it together with i'll see.
5. Inline thermostat for cooling system - When you take off the LS3 water pump the t-stat is a part of it which goes away when you install the Renegade water manifold, thus unless it is a racecar you probably want to have it.
6. Breather plate modification for intake manifold - Necessary to turn intake manifold around 180*. If you are a handy TIG welder and have a good metal saw you can do this yourself. I could attempt it but would rather have someone who TIG's day in and day out handle it as to not ruin a perfectly good breather plate!
7. Exhaust system - pick your poison on this one. I'm going to build it myself, will likely get headers, small cats, mufflers. Plus you need to weld in the o2 sensor bungs for the GM ECU.
8. Engine oil cooler - not necessary, but recommended. They show it tucked in nicely by the passenger side intake.
9. Some angle iron to attach power steering pump to car - P/S pump comes with a nice custom bracket but no way to actually attach it to the car, Steve said all you need is some angle iron... hrm, would have been nice to have something fabbed up with the kit though :/
Well time to get back to work, here is a bit of the final cuts, plus a few with the cradle bolted up...
Thanks!
J


 I hope the rear mount fits because of how wide it is and I like the lateral support that it gives. I would think it will fit because that is what will realign the axles front to rear?? Not sure about the angle. On the bright side it looks as if you have some room around and under the exhaust manifold for the exhaust system. Will you custom built your exhaust or does Renegade have something built ?? Sorry for all the questions.... I am just excited for you. I wish I lived a bit closer so I could come by and help ya out. Last question for now.. What is your time line??
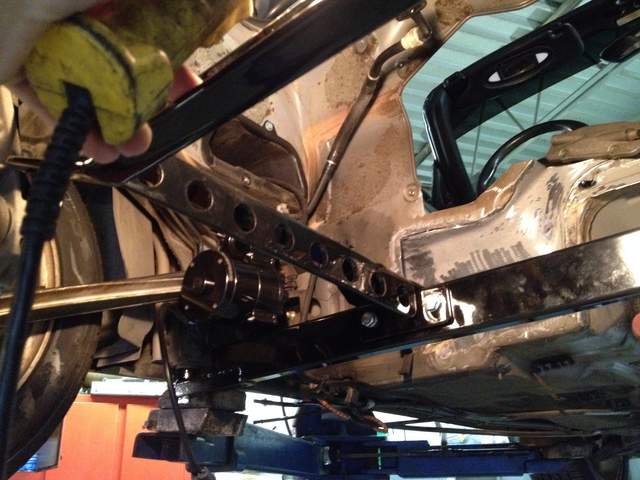


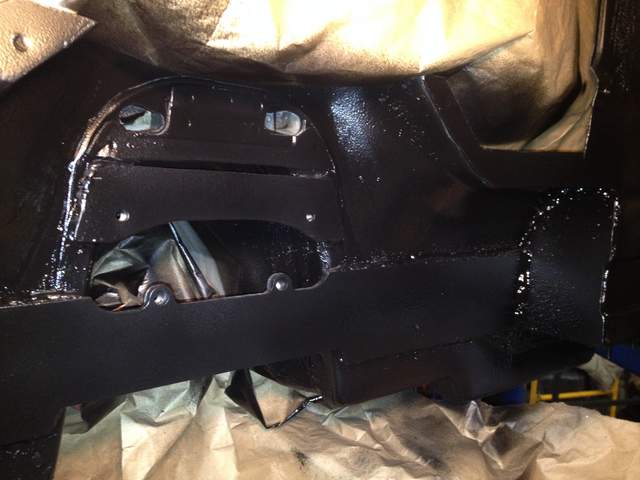
 I need to get a set of O-rings for the steering rack lines but otherwise the stuff on the bottom is done. Now I just need to figure out how to mount the pump itself and get power to it! I'll take more pictures when I'm done but I included one with the holes drilled and lines routed through before I put the grommets in so you can get an idea of how it goes...


 Thanks again for the updates and the pics !!! Good luck on the test fit.
 Subscribed.
 Linear Mode


