Go Back   986 Forum - The Community for Porsche Boxster & Cayman Owners > Porsche Boxster & Cayman Forums > DIY Project Guides

Post Reply
 
LinkBack Thread Tools Display Modes
Old 11-13-2013, 07:35 PM   #1
Registered User
 
Ckrikos's Avatar
 
Join Date: Sep 2002
Location: Northern NJ
Posts: 633
Replacing coolant tank

I found out that I have a minor leak in my coolant tank and have been studying the directions that other boxster owners have posted.

One question I have is why are folks removing the spring clamps from the engine side of the car? Why not just disconnect the 6 hoses from the trunk side and leave it at that? It looks like they all can be reached from the trunk side. What am I missing?

__________________
LB/GG/MB 02 2.7 sold
MB/GG 02 996TT
Ckrikos is offline   Reply With Quote
Old 11-13-2013, 08:20 PM   #2
Schatten-Baum-Mechaniker
 
Join Date: Mar 2005
Location: Mississippi
Posts: 242
couple issue you see when you start taking it apart.

The elusive 4th hose on the bottom of the tank that you have to undo on the engine side.
The fact that part of the tank is tucked behind the manifold and held in place with a screw.
The oil fill pipe doesn't give you much wiggle room.


__________________
Tommy
2000 Boxster S
1973 914
tommy986 is offline   Reply With Quote
Old 11-13-2013, 09:23 PM   #3
Registered User
 
Ckrikos's Avatar
 
Join Date: Sep 2002
Location: Northern NJ
Posts: 633
Could you just dremel the part with the oil fill tube. It seems like it would be much easier to just cut it away. Can you reach that one bottom right hose (on the engine side) without removing all of the other hoses or is it virtually impossible? It looks like you cut out an opening for the dipstick as well.

I may do my reverse camera as well since I'll be tapping the firewall.
__________________
LB/GG/MB 02 2.7 sold
MB/GG 02 996TT
Ckrikos is offline   Reply With Quote
Old 11-14-2013, 04:59 AM   #4
Registered User
 
Join Date: Apr 2011
Location: Alabama
Posts: 487
I planned to do this, but due to time constraints I paid my indy to do this job, and now consider it money well spent. I watched. Looked like PITA even with prior experience and a lift.
Get a new oil filler tube. Mine was cracked, this is very common, and during this process is the time to replace it.
Get a cable-operated hose clamp tool, you will be glad you did.
Drill or dremel out the hole for the dipstick before you install the reservoir, when it is easier to clean up the generated plastic debris to keep it out of your engine.
Remove the huge wiring grommet to improve access.
Finally, consider getting a cheap inspection scope with an assistant to hold/aim it if working by feel concerns you.
Best of luck!
BrokenLinkage is offline   Reply With Quote
Old 11-14-2013, 06:15 AM   #5
Registered User
 
ppbon's Avatar
 
Join Date: Nov 2005
Location: Florida
Posts: 529
Here's my version ...

Quote:
Originally Posted by Ckrikos View Post
I found out that I have a minor leak in my coolant tank and have been studying the directions that other boxster owners have posted.

One question I have is why are folks removing the spring clamps from the engine side of the car? Why not just disconnect the 6 hoses from the trunk side and leave it at that? It looks like they all can be reached from the trunk side. What am I missing?
Replace Coolant Reservoir

Happy Boxstering,
Pedro
__________________
Racecar spelled backwards is: Racecar!
ppbon is offline   Reply With Quote
Old 11-14-2013, 09:46 AM   #6
Registered User
 
Ckrikos's Avatar
 
Join Date: Sep 2002
Location: Northern NJ
Posts: 633
Pedro, your web site is my first stop when attempting DIY projects. I planned on taking it to an indy as they are only charging $500 inclusive of the part, but I don't really trust any of them to correct the problem and if they do something new will begin leaking. Ill have remove the hardtop and feel around in there to see how much room I have.
__________________
LB/GG/MB 02 2.7 sold
MB/GG 02 996TT

Last edited by Ckrikos; 11-14-2013 at 09:49 AM.
Ckrikos is offline   Reply With Quote
Old 11-17-2013, 04:46 AM   #7
Vista glass
 
Vista glass's Avatar
 
Join Date: Jun 2012
Location: Florida
Posts: 88
Garage
Thanks for the info. I'm going in

Last edited by Vista glass; 11-17-2013 at 04:59 AM.
Vista glass is offline   Reply With Quote
Old 12-03-2013, 09:21 PM   #8
Vista glass
 
Vista glass's Avatar
 
Join Date: Jun 2012
Location: Florida
Posts: 88
Garage
Tank replacement complete

Wow that was a chore. It would be easy if it were not for the elusive fourth hose.
I cannot believe some brilliant german engineer has not re designed that fitting to come into the trunk. An"S" pipe and a 90 on the tank mold and it's done.
It would be so efficient since the tank could be replaced in less than an hour from the trunk side.
I studied up and ordered parts.
Once begun I modified the procedure so that hose was the only one to test my patience.
I cut the oil filler tube.


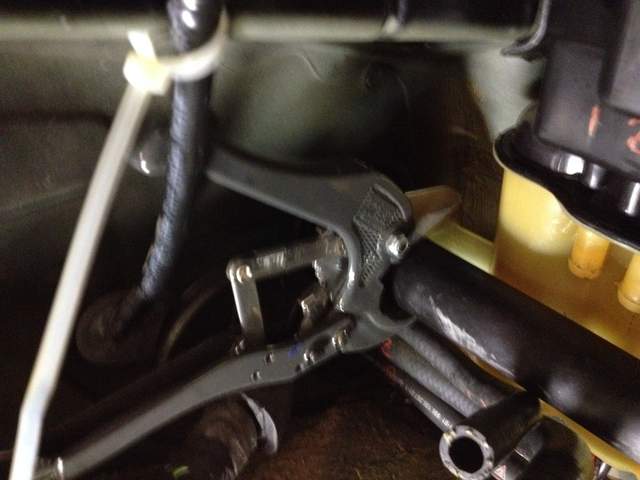
The PVC cutters sliced it nicely.
They do not create debris that could contaminate the lubrication system.
I used industrial heat shrink when putting it back together.
The oil fill tube is an odd shape so the heat shrink conformed nicely.
I have not received any CEL's or had any vacuum type performance problems indicated in the 100 miles since the repair.
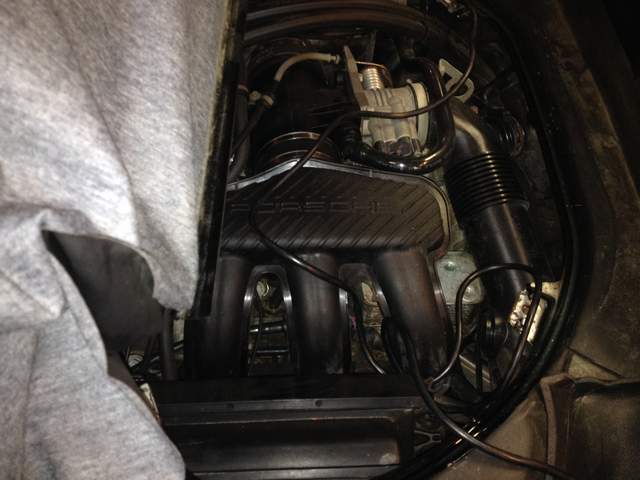
I did replace the elusive fourth hose as I cut the old one off to aid in removing the clamps and tank.
Getting the new hose on was the trying part.
I replaced many of the spring clamps as well.


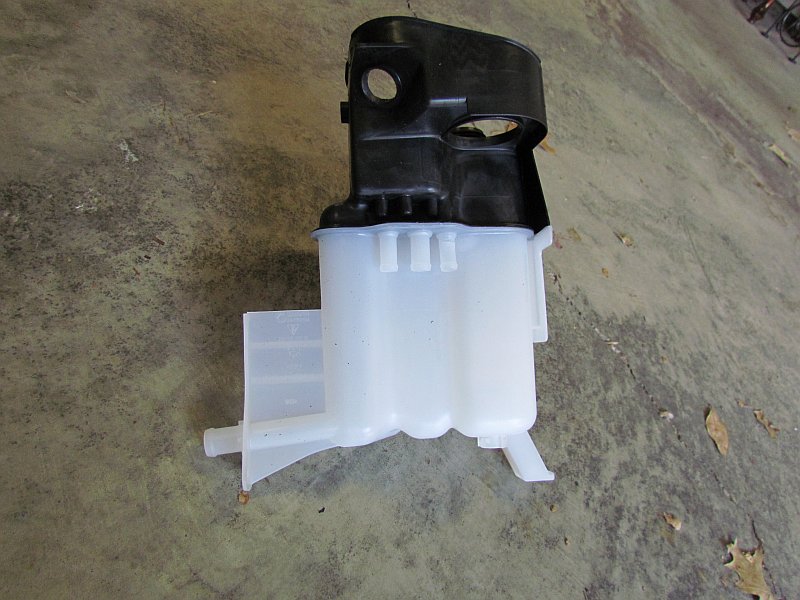
I replaced the level sensor as well (since I was in there.).
As you can see I did label the tank, the hoses and the manifold so the fluids now go where they always went.
A red china marker worked very well on all of the materials.


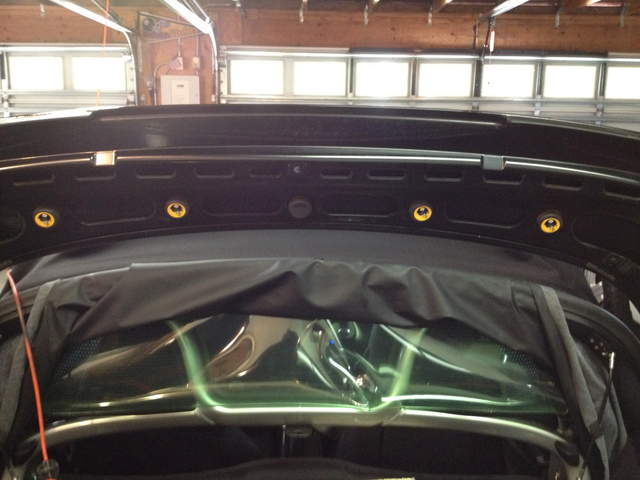
I moved the clamshell up and out of the way to provide more access to the engine bay.
I taped padding onto sharp components that were gouging my flesh


I did a little housekeeping while I was recalculating


The tank replacement job was the PITA that has been documented,but with patience, some tools and a snifter or two of a good single malt it can be done!
Yes I will need to go to confession for the things I said about the engineer that thought this was a good design


Thanks for all the information and tips on the tank replacement.
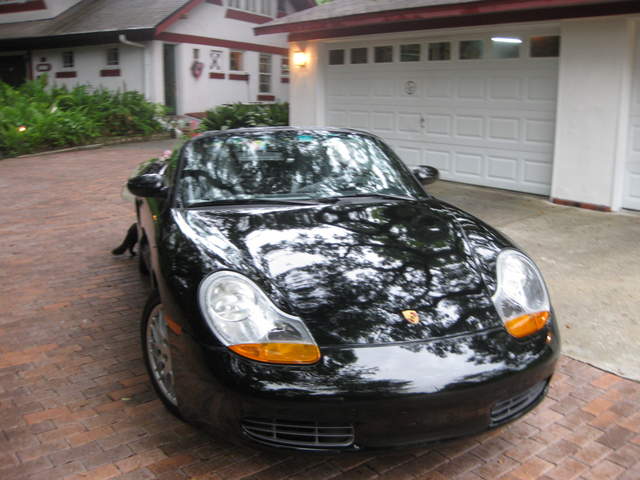
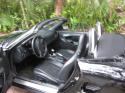
The weather has been spectacular! Dropped the top and I'm on the road again.

Vista glass is offline   Reply With Quote
Post Reply


Posting Rules
You may not post new threads
You may not post replies
You may not post attachments
You may not edit your posts

BB code is On
Smilies are On
[IMG] code is On
HTML code is On
Trackbacks are On
Pingbacks are On
Refbacks are On


All times are GMT -8. The time now is 12:07 PM.


Powered by vBulletin® Version 3.8.7
Copyright ©2000 - 2024, vBulletin Solutions, Inc.
Content Relevant URLs by vBSEO 3.6.0
Copyright 2024 Pelican Parts, LLC - Posts may be archived for display on the Pelican Parts Website -    DMCA Registered Agent Contact Page