As promised, here's my little how-to on installing the wind deflector kit. Latest version can be found at:
http://twingles.com/boxster/wind_deflector/
As discussed in various threads, removing the rollbar padding is a real challenge. It's on there REALLY tight.
I ended up using both a combination of a large flat-head screwdriver with a towel wrapped around it, a very wide
strange metal tool I found in the garage with a towel wrapped around it, and a lot of pulling strength.
I couldn't take any photos as I was actually removing the rollbar padding as I was all alone, but my technique
was far from perfect, I made a little visible crease mark in the center rollbar padding which you can see in the
photos. Other than that, the install went perfectly, and I took a number of pics along the way. I ordered the
whole kit for $325 plus $10 shipping from Brandywine Porsche in PA (pricing as of 2007-05-14).
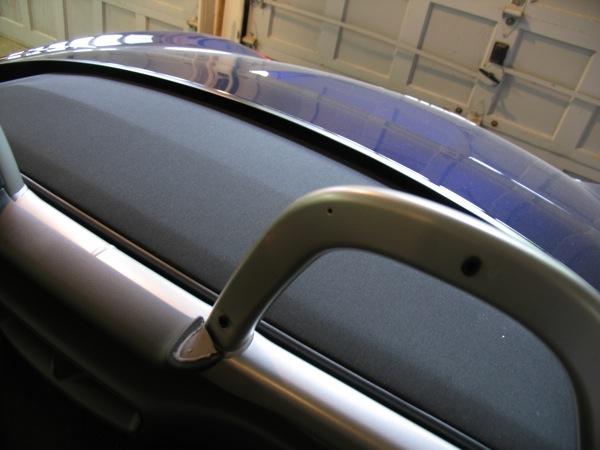
Good news -- the holes are pre-drilled in my 2007 S. It makes sense that they would be, but there doesn't seem
to be a wide consensus on the matter, my guess is that all the 987's at least are pre-drilled. This is a picture
with the driver's side padding removed, and you can see the small hole in the top left corner of the hoop.
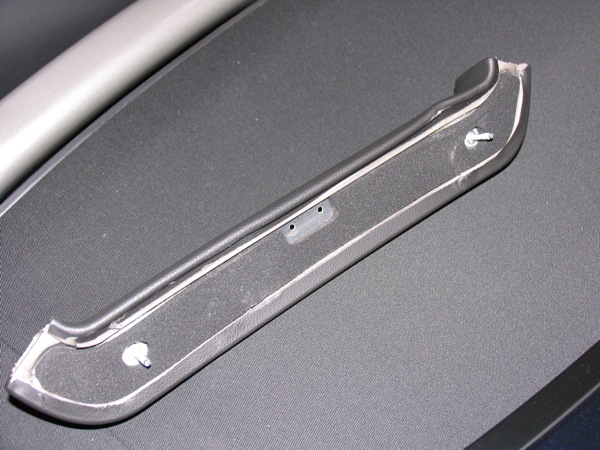
This is the center padding removed, also pre-drilled with two holes for the center bracket to attach the windstop.
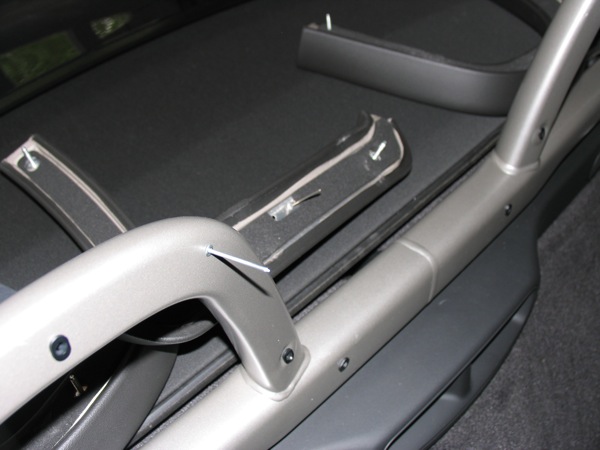
Here you can see where my prying actually de-formed the padding a bit.. sigh.
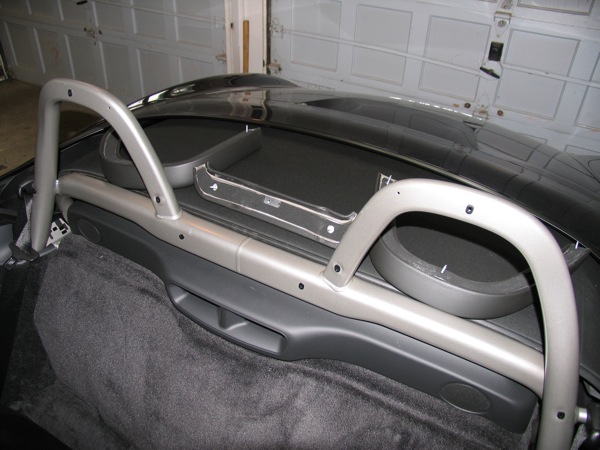
All rollbar padding removed.
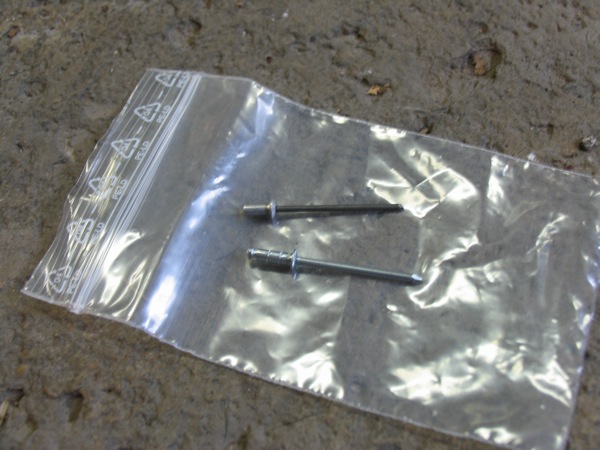
There are 4 rivets included with the kit. The two black ones with the shorter ends are used for the center bracket,
and are attached directly to the center rollbar padding.
These are the two different kinds of rivets -- top black one is for the center bracket, the longer silver one is
used for the side brackets (that attach to the top of the windstop).
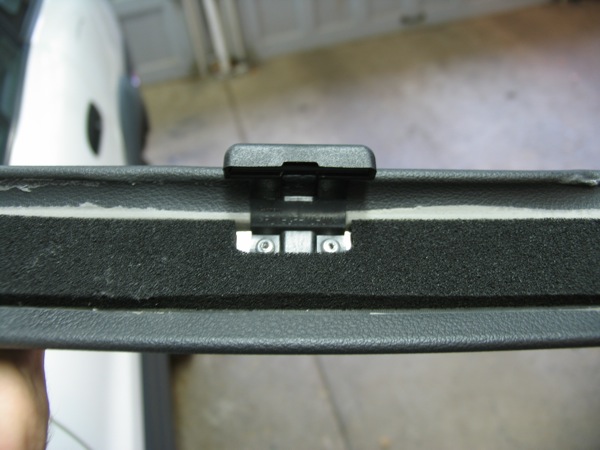
Center bracket riveted to the center rollbar padding, only fits one way.
Top bracket attached to the passenger side hoop.
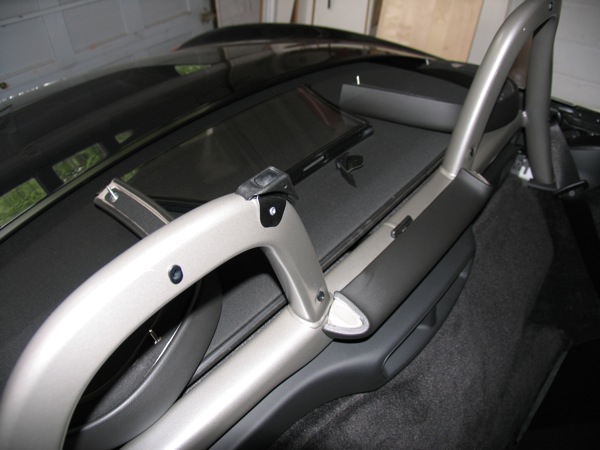
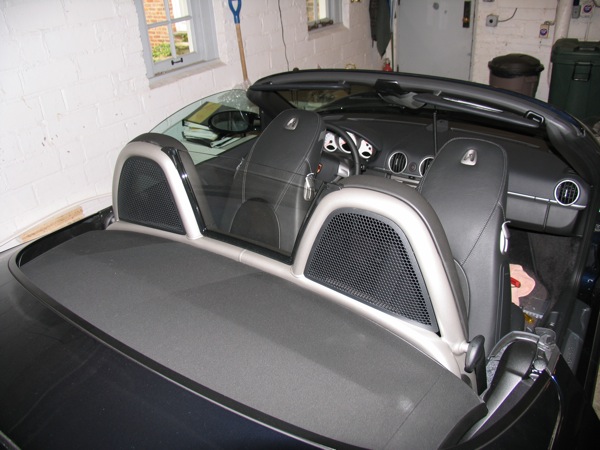
All brackets attached and deflector test-fitted -- perfect fit.
Rollbar padding re-installed (just push them on real tight), along with the two triangular pieces that go inside
the hoops.
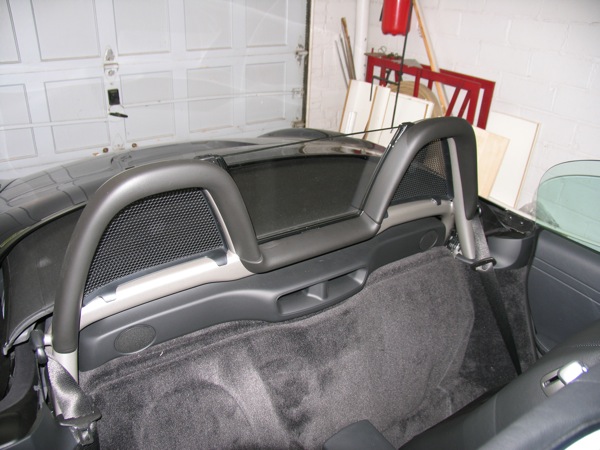
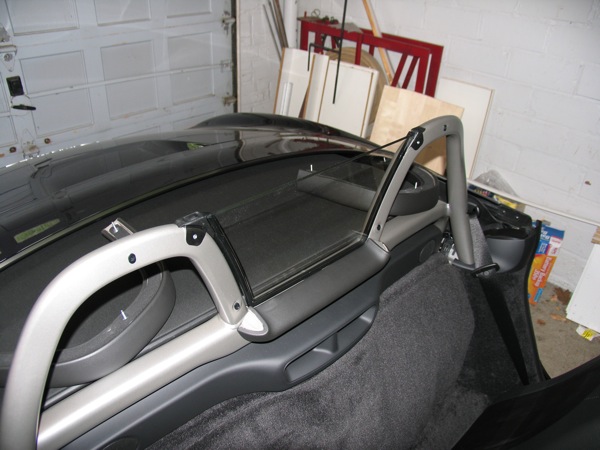
View from the rear.
All in all the install took my about half an hour. The only special tool needed was the rivet gun. Definitely worth
saving a couple hundred bucks over what a dealer would charge to install. Hope this helps some people, feel free
to ask any questions. And the test drive was awesome -- the kit definitely makes a big difference, and am very
happy I have it now.