 11-20-2015, 12:06 AM
|
#61
|
|
Registered User
Join Date: Dec 2012
Location: Scotland
Posts: 106
|
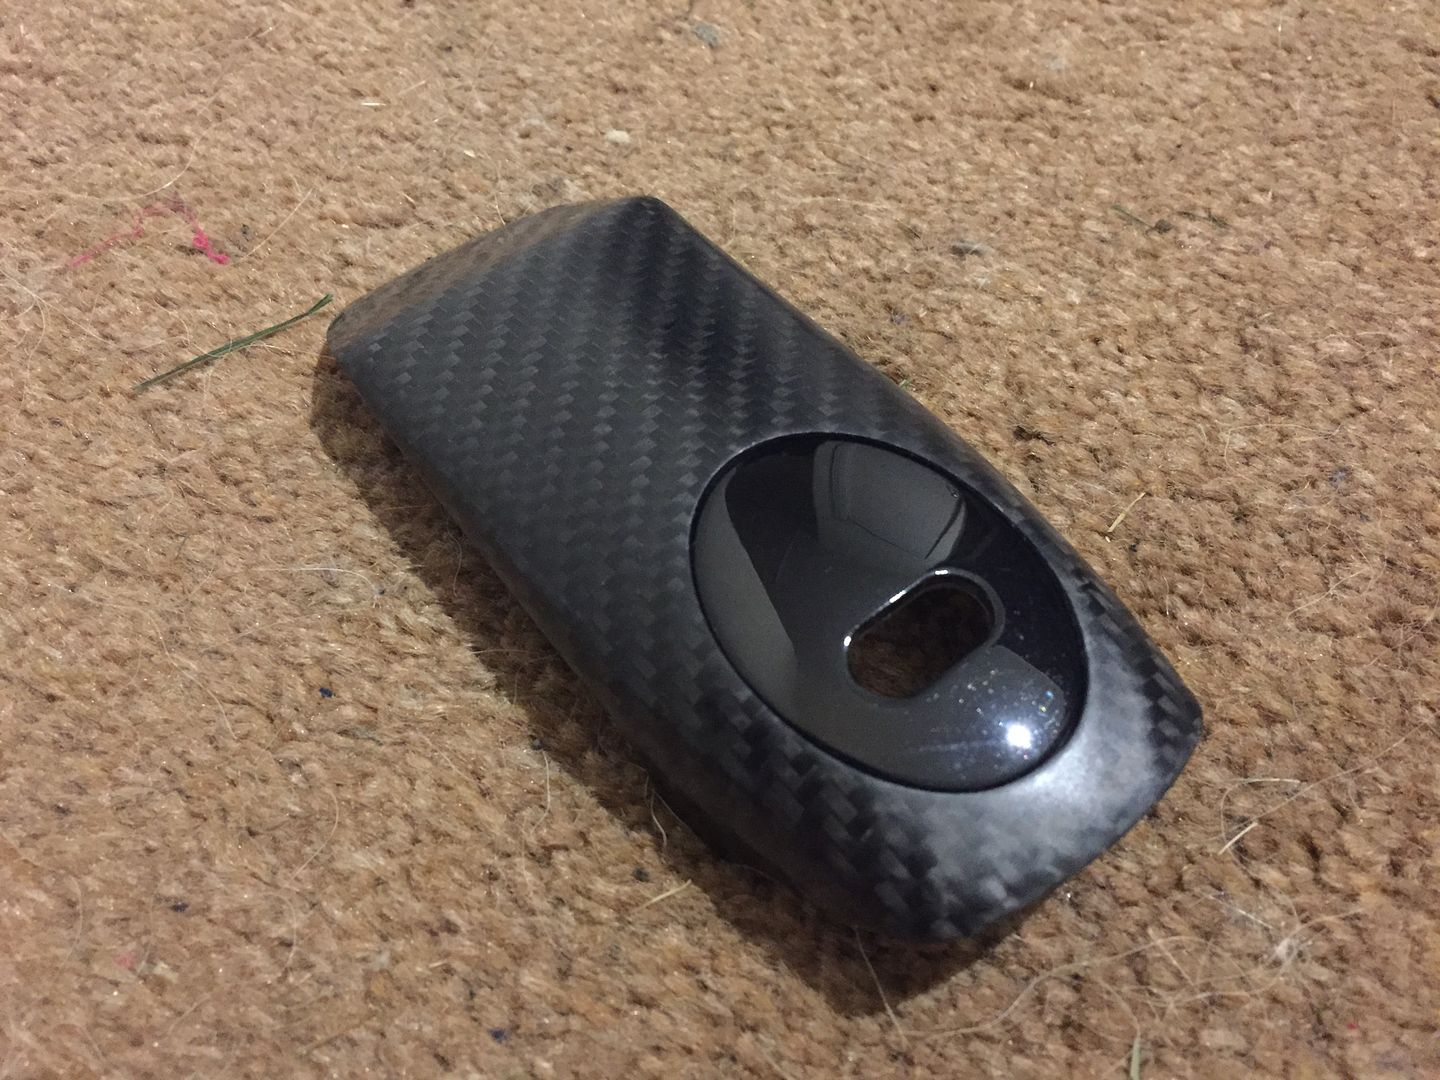
started skinning a load of interior parts in carbon! Armrest lid, centre console parts, ashtray surround and lid, alarm light cover, ignition barrel surround, fuse box cover and some door parts! All in various states of fit and finish in these photos!
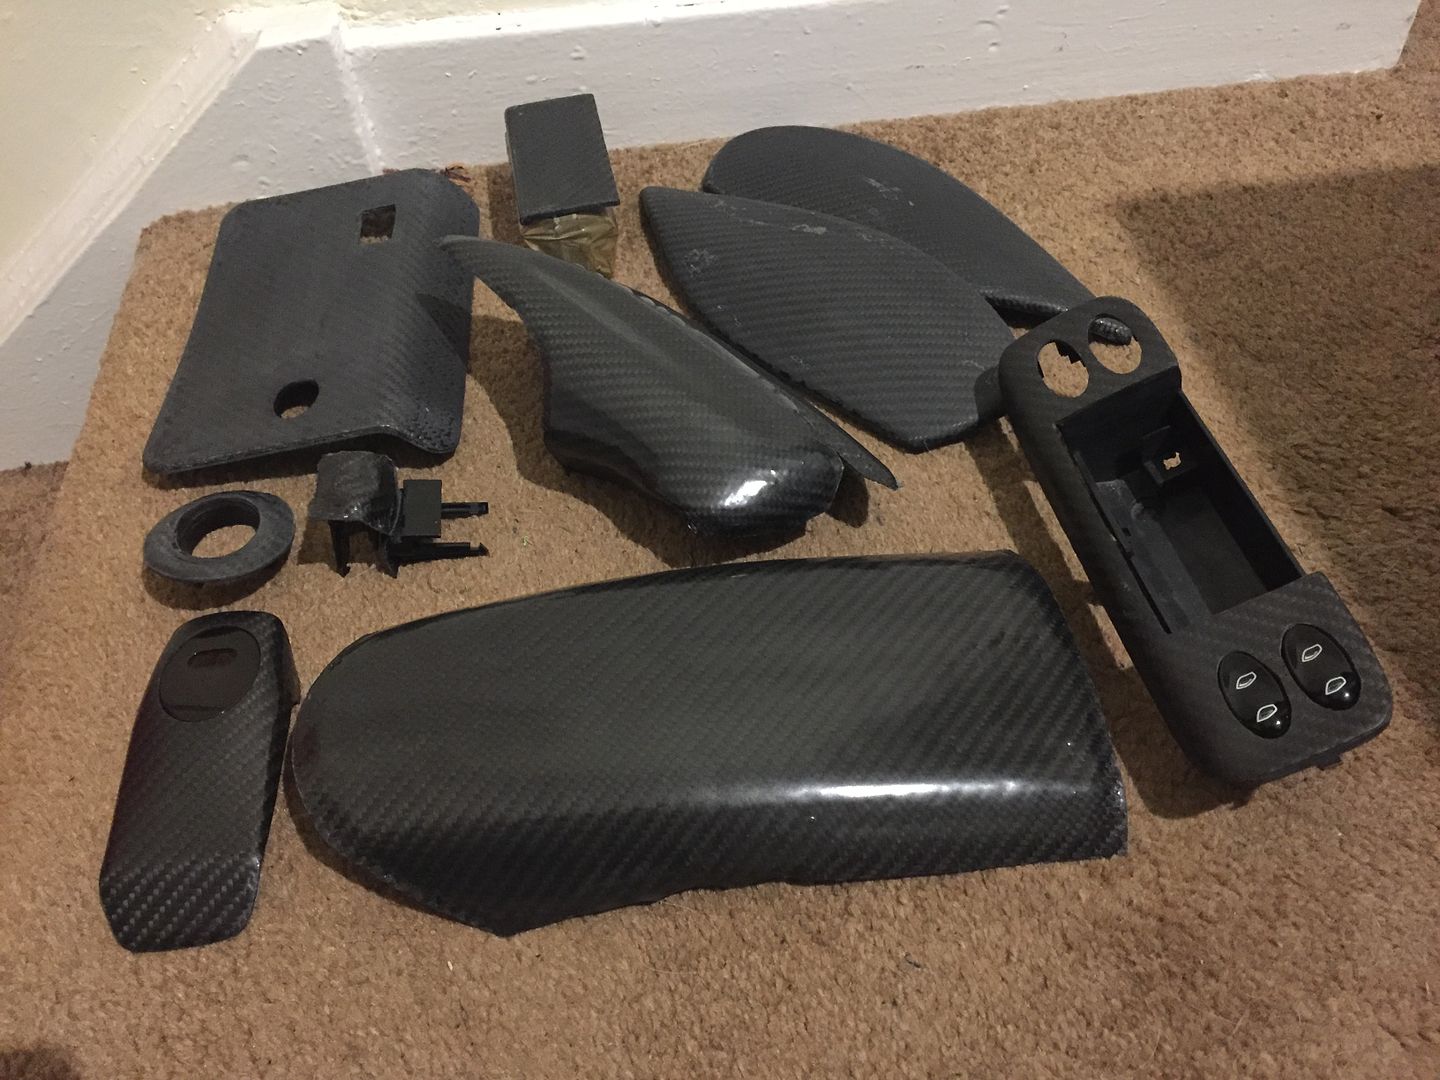
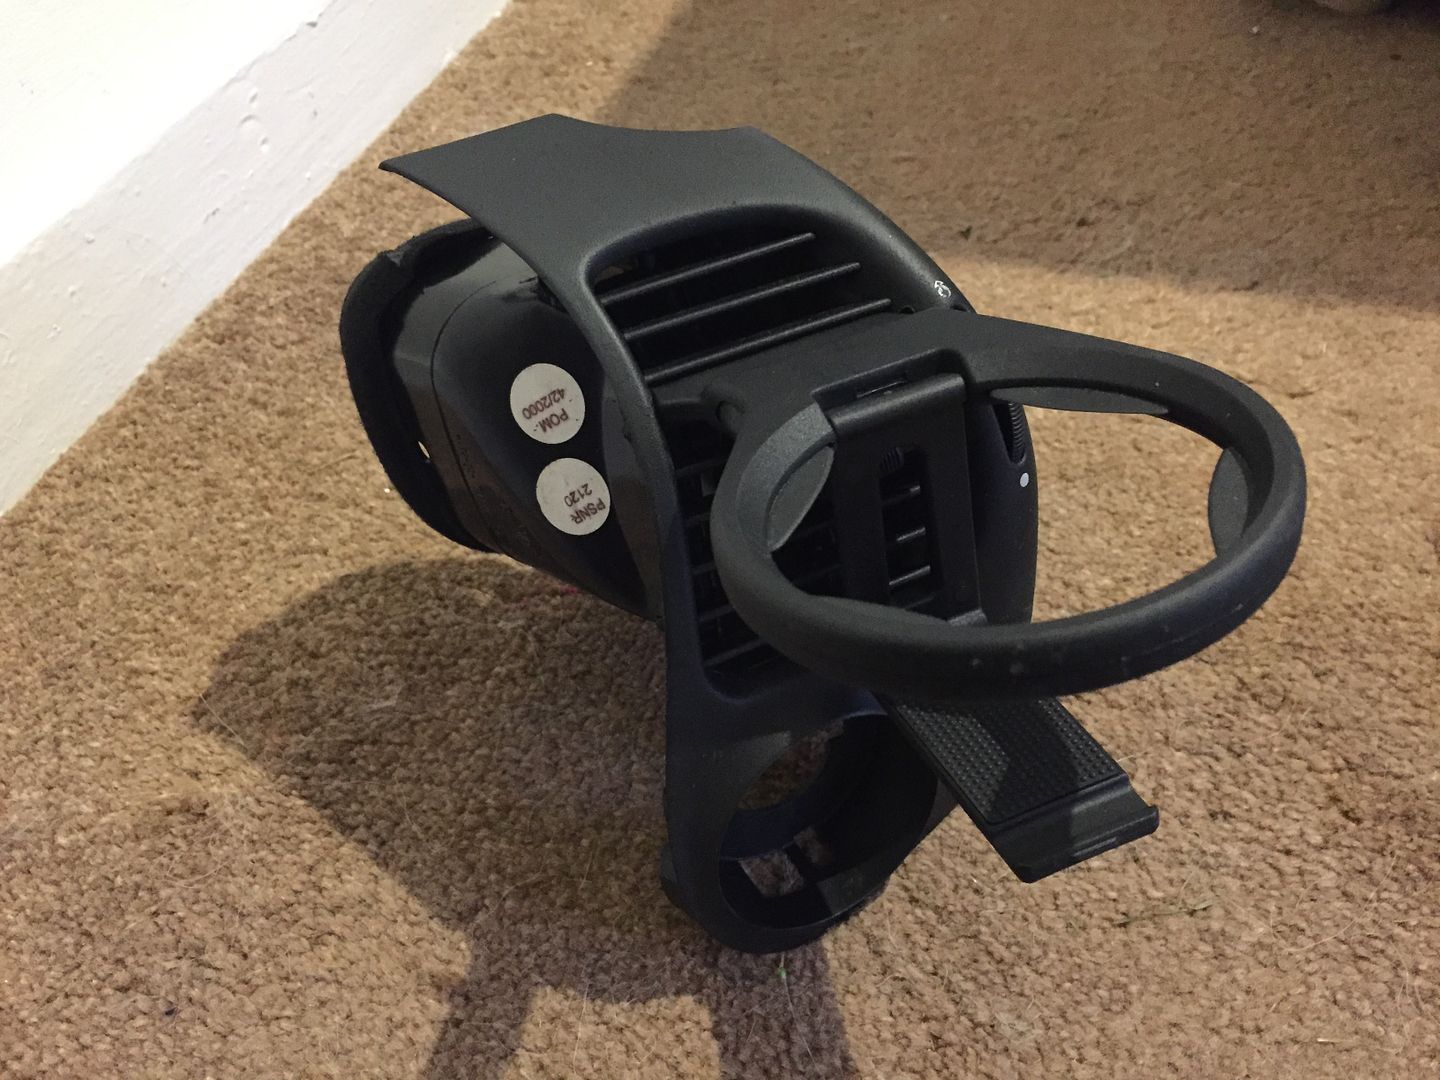
And also finally found my cup holders and modified a spare vent I had to make sure it was easy enough to do! Another cool little OEM touch!
here are finished pictures of the carbon parts!! worked out that this lot is $1326 if purchased from an online store that sells a lot of carbon stuff!
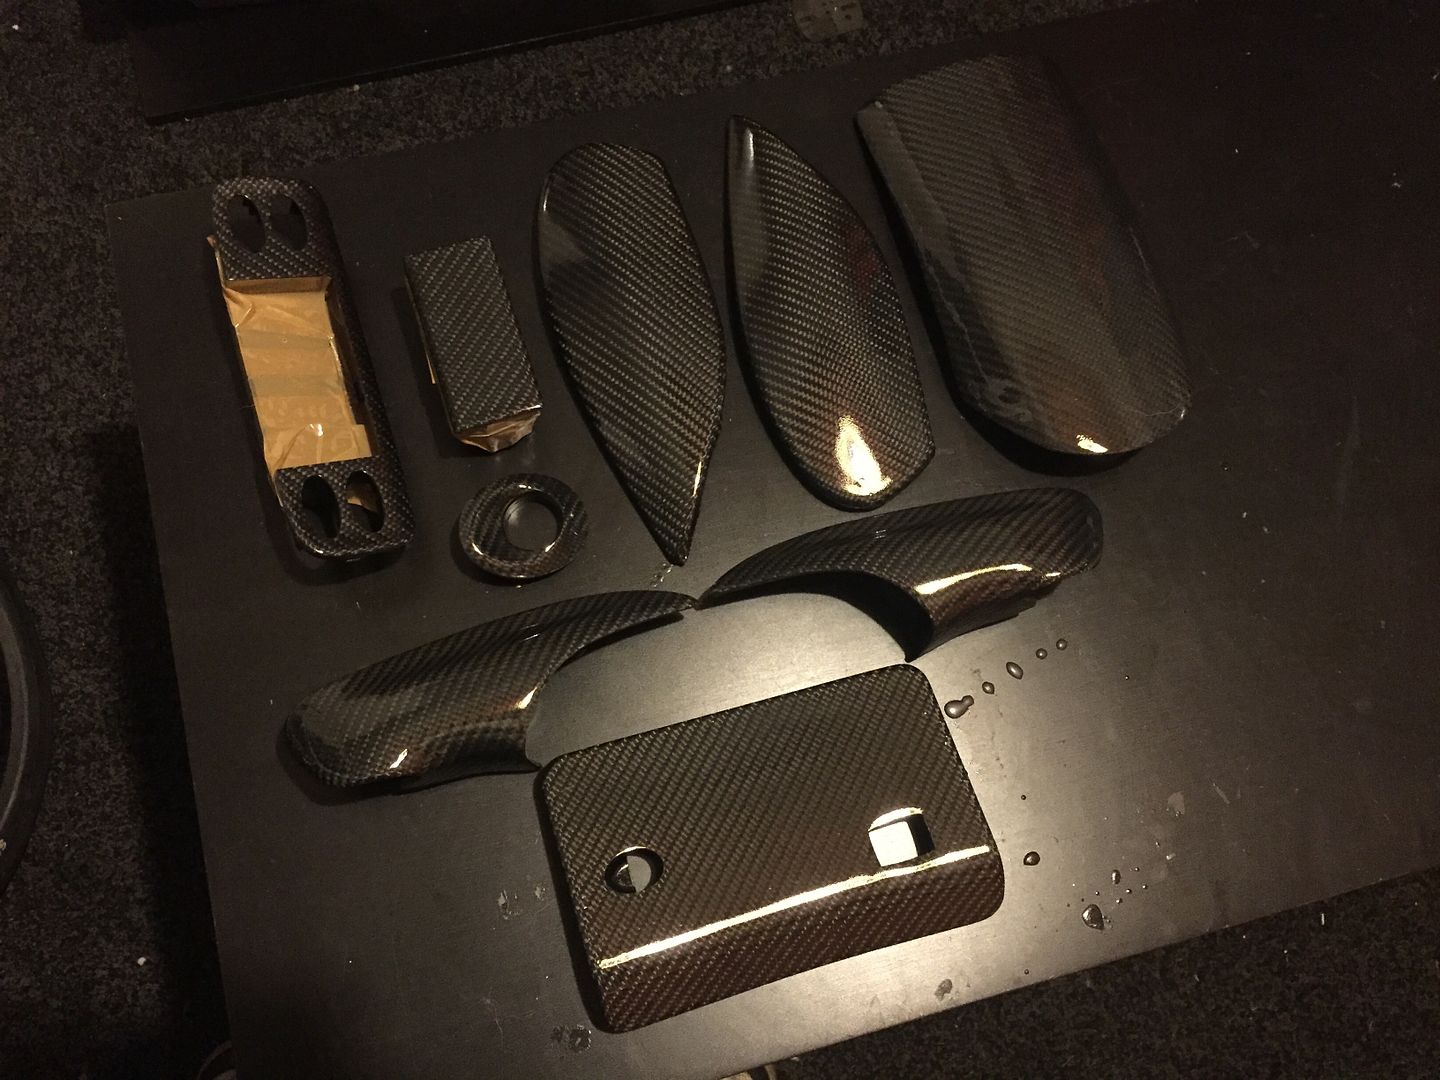
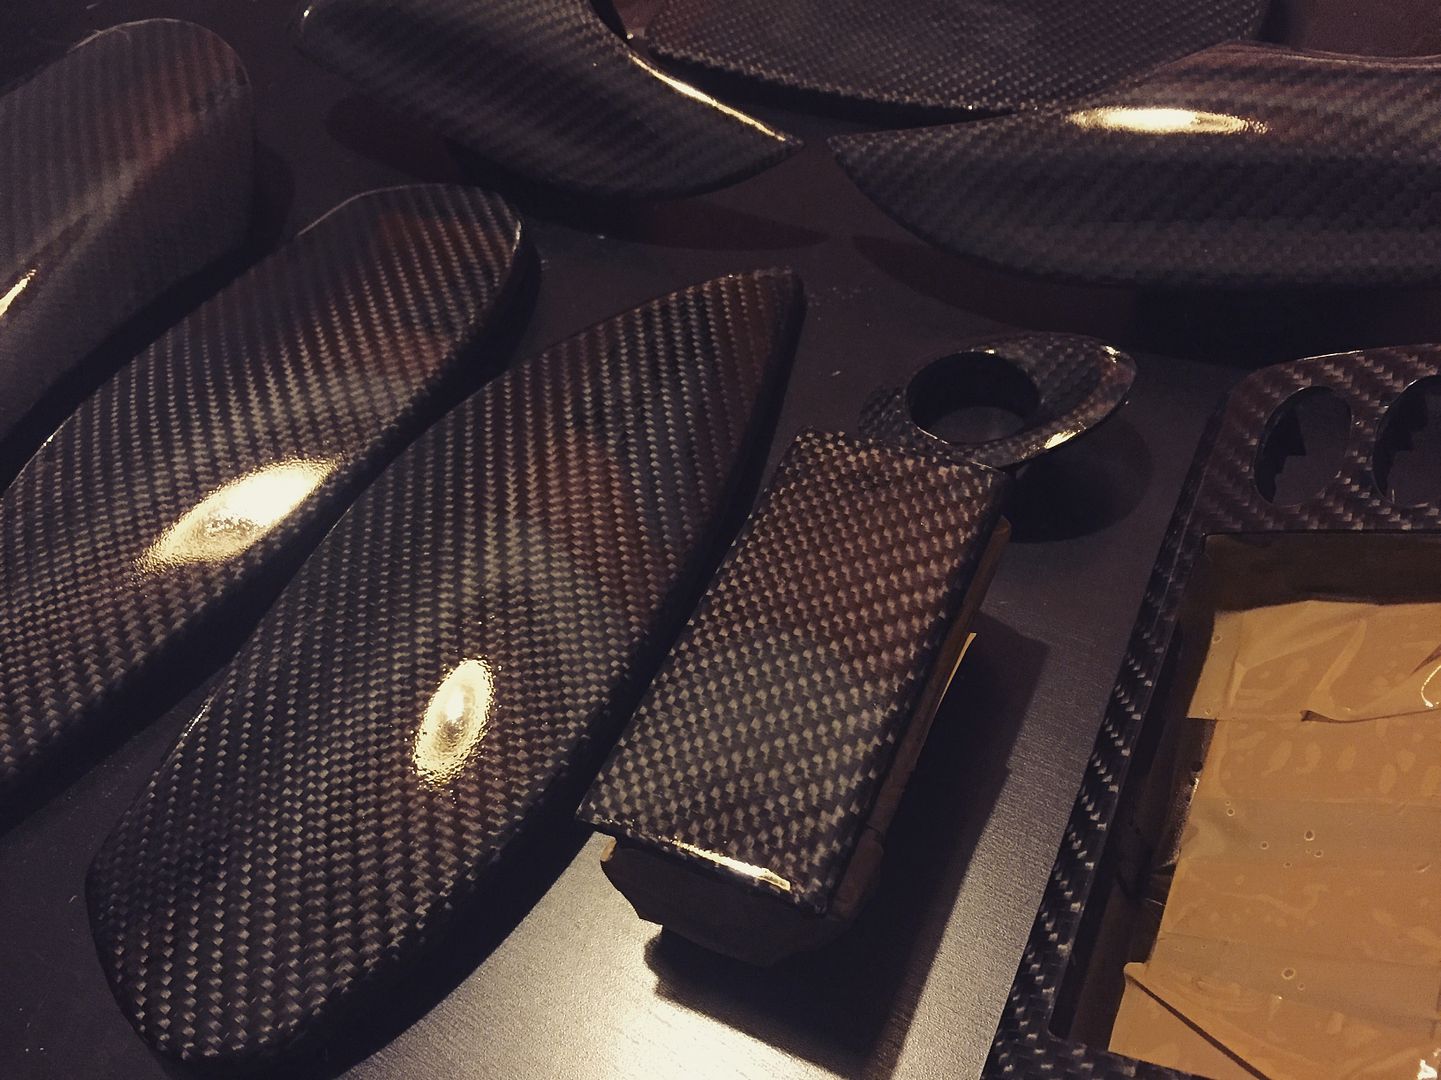
still learning but I'm massively happy with how this lot has turned out!
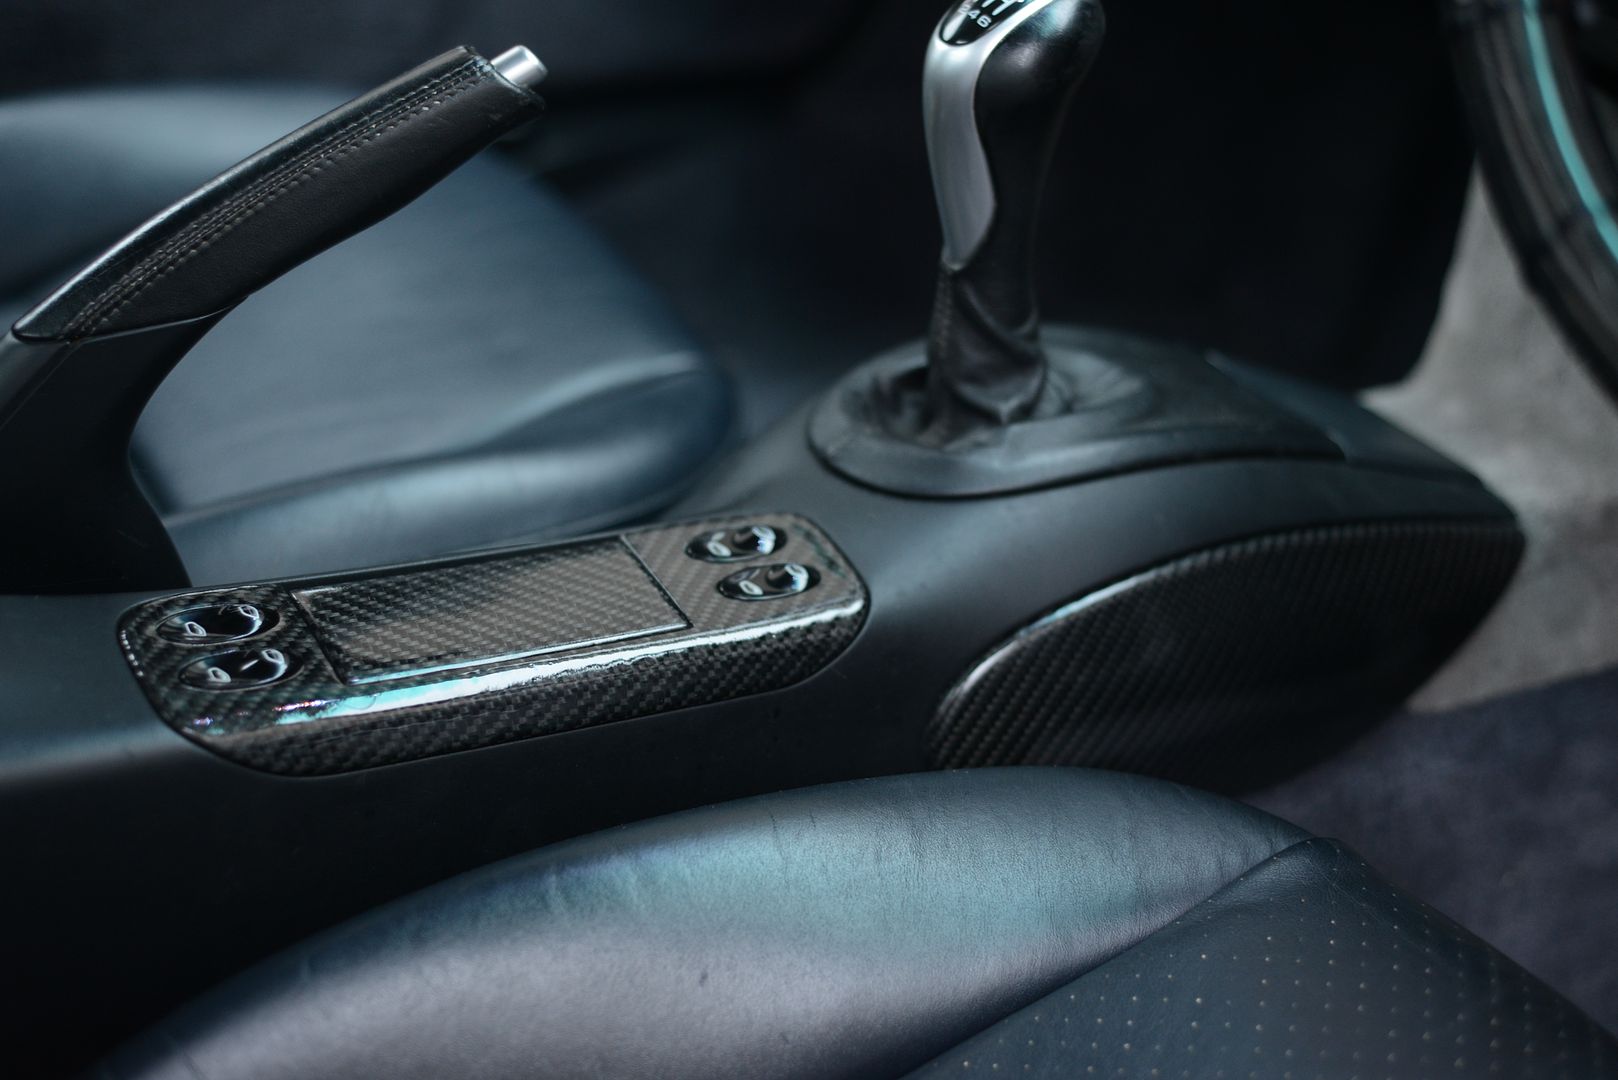
so i have fitted some of the carbon parts to the car and i am very happy with how they look in place!
ashtray and corners of centre tunnel. when i first put the ashtray in the surround i was thinking oh **************** i've done the weave the wrong way, but i actually like how they are opposing!
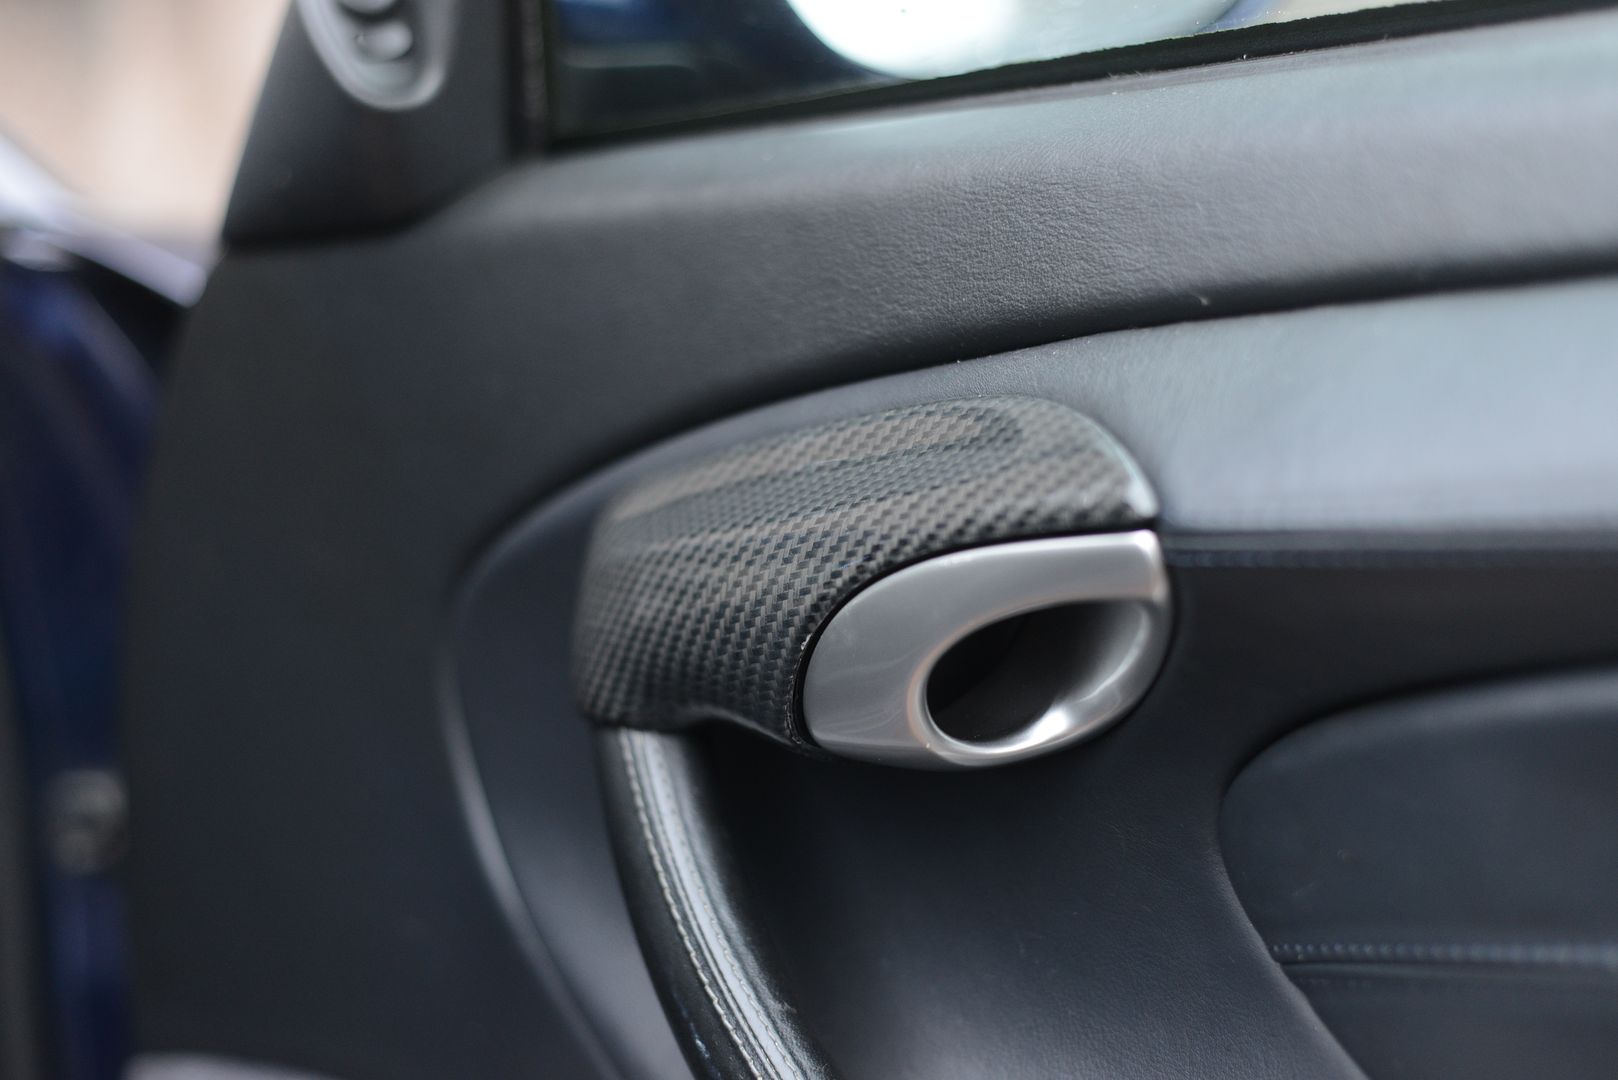
and the bits above the handles
i'vr fitted the fuse box cover but its down by the pedals and very dark for photos.... going to try and get the armrest on this weekend! quite fancy doing some other bits too.... i want to try and do the door handles on the outside but just the lift up bit and maybe the petrol flap too.... and the spoiler... because the car is dark blue i think i'll get away with it 
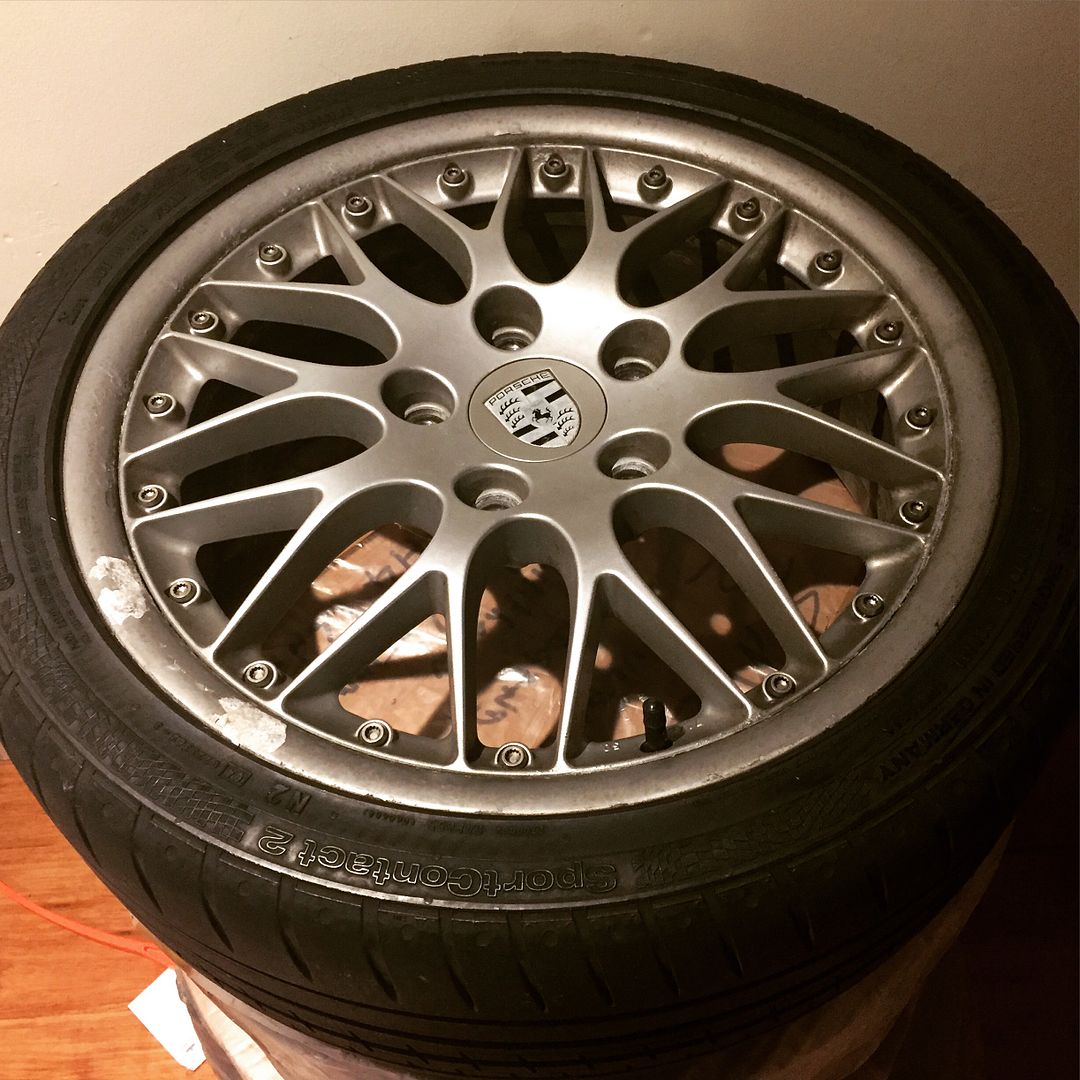
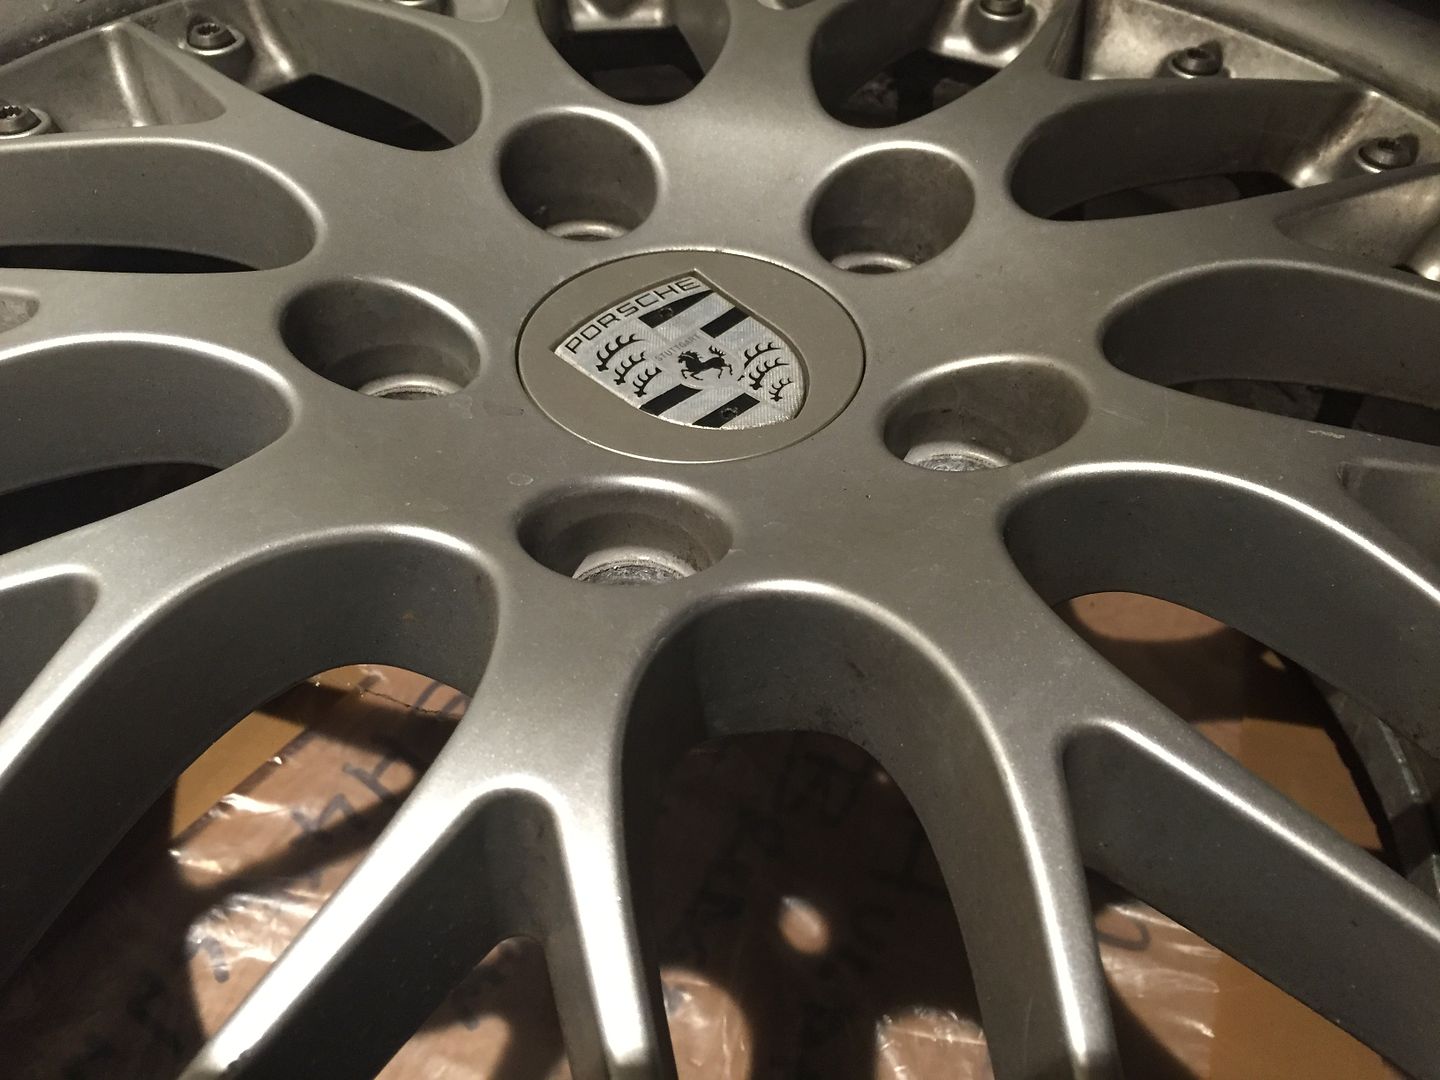
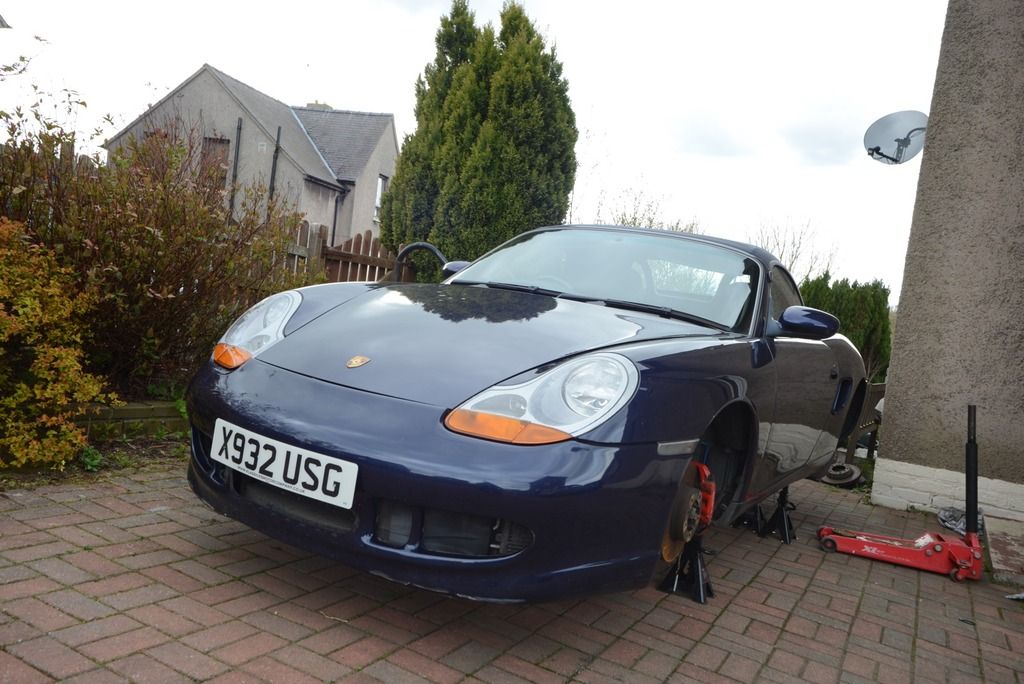
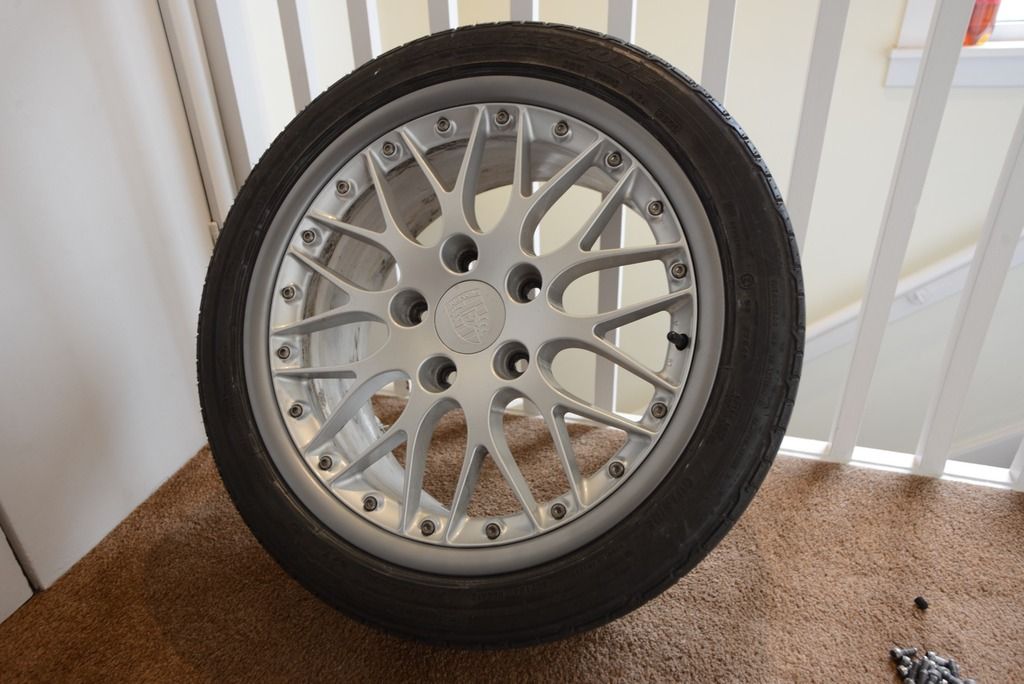
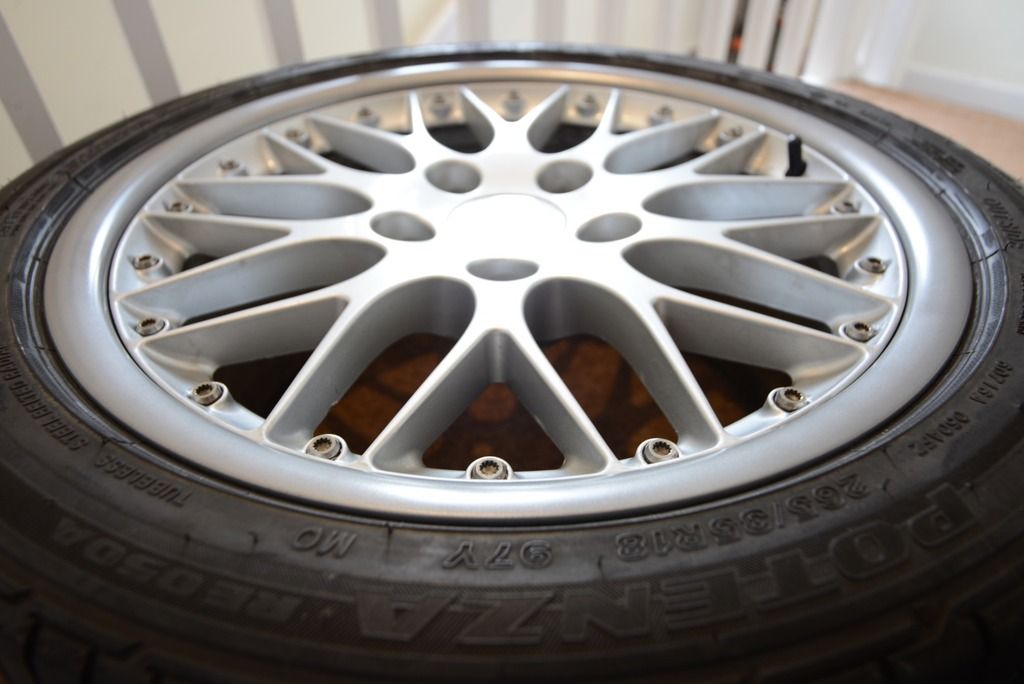
and also i managed to pick up a set of wheels on ebay for a real good price! these are Porsche Sport Classic II's. 7.5 and 9 x 18 et 50 and 52 respectively... hopefully get these fitted asap and get the car lowered again! might try and find spacers at some point for the rears to get it sitting nice and looking nice and wide! they could be doing with a refurb on the lip but that will come in due course! and these might not end up being the forever wheel for the car but at the price i couldnt pass them up!
|

|

|
|
11-20-2015, 06:54 AM
|
#62
|
|
Registered User
Join Date: Jun 2012
Location: Bedford, TX
Posts: 2,755
|
The parts look great! I agree on the ashtray, looks good opposing. You are going to love the look of the new rims, my favorite
__________________
______________________________________________
2001 Boxster S Lapis Blue
TS Cat Bypass Pipes and exhaust
iPad Mini Dash Install
DEPO Tail Lights
|
|
|
|
|
11-20-2015, 07:03 AM
|
#63
|
|
Registered User
Join Date: Dec 2012
Location: Scotland
Posts: 106
|
thanks bruce! i have installed the rears with a small 5mm spacer to stop it rubbing on the rear strut and i have lowered the rear of the car back down but it is very sketchy on the road as it eally needs tracked now that its back lower again... problem is finding someone who can do that...
|
|
|
|
|
11-21-2015, 03:22 AM
|
#64
|
|
Registered User
Join Date: Nov 2014
Location: N.Ireland
Posts: 120
|
Superb job well done, they look great in situ. You've really transformed the interior.
|
|
|
|
|
03-06-2016, 09:14 AM
|
#65
|
|
Registered User
Join Date: Dec 2012
Location: Scotland
Posts: 106
|
this hasn't been updated in a while! oops!
this is all copied from another forum but should make sense!
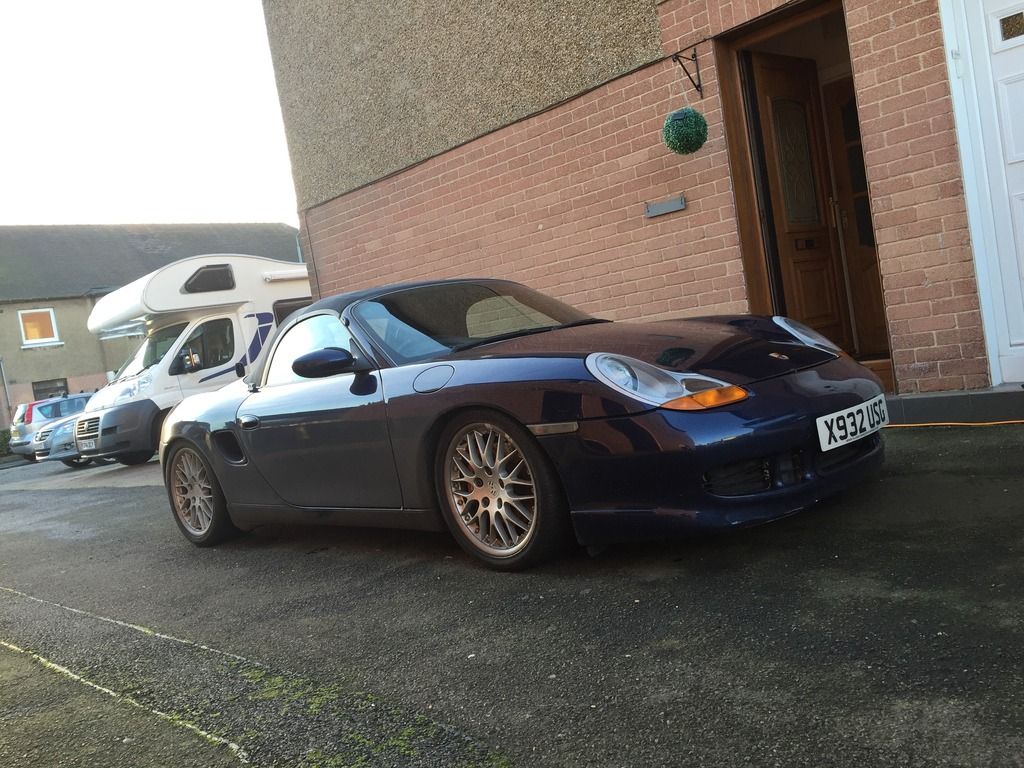
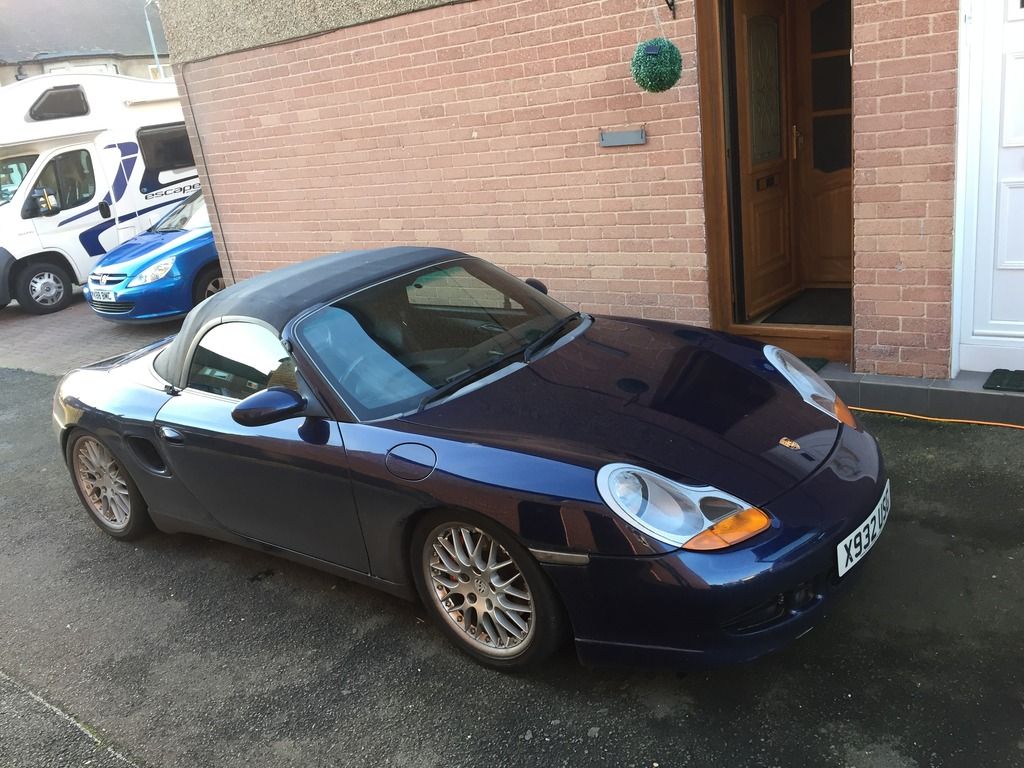
wheels are on!
went to get the alignment done and the guy condemned the car and said it needed various ball joints fixed... the rear lower arms need replaced as the ball joints can't come out but its another job that'll be done and hopefully soon to get it back and get the alignment done and then on the road in time for spring this year!
so when my other car bricked it the other day i had no option but to try and use the boxster! it wouldnt start so i was left to use the missus little tonka toy thing for the day so i decided i needed to get the finger out and get the boxster road worthy!
the guy at the alignment place gave me a small list of parts i needed to fix so i could get it aligned and drive it wouldnt scaring myself!
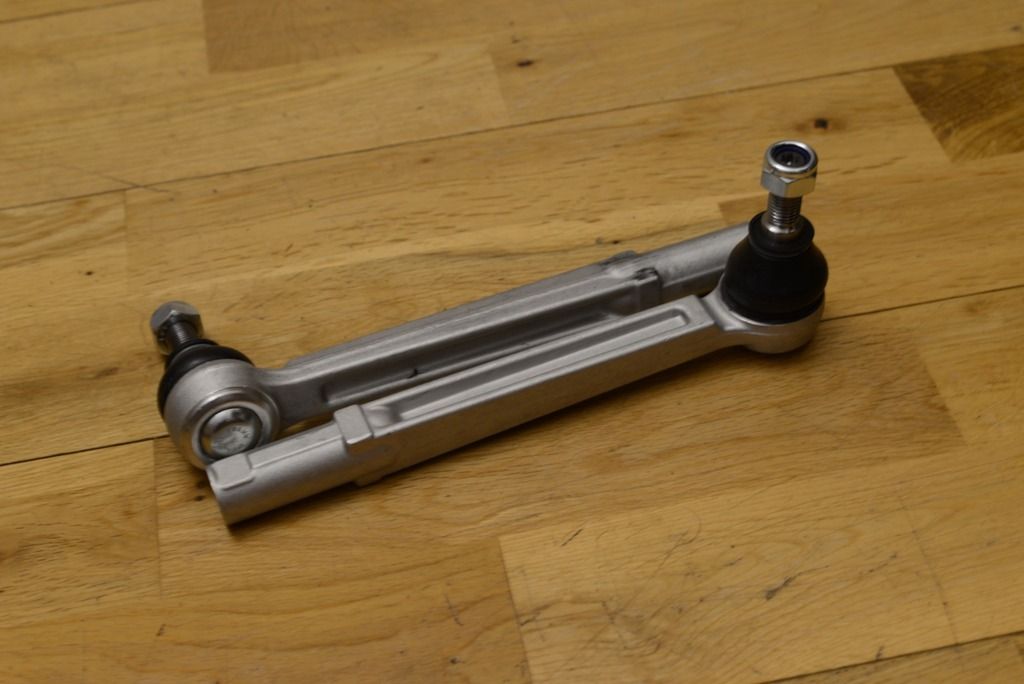
first up were the rear lower "coffin arms". purchased some brand new ones off of ebay and those have arrived!

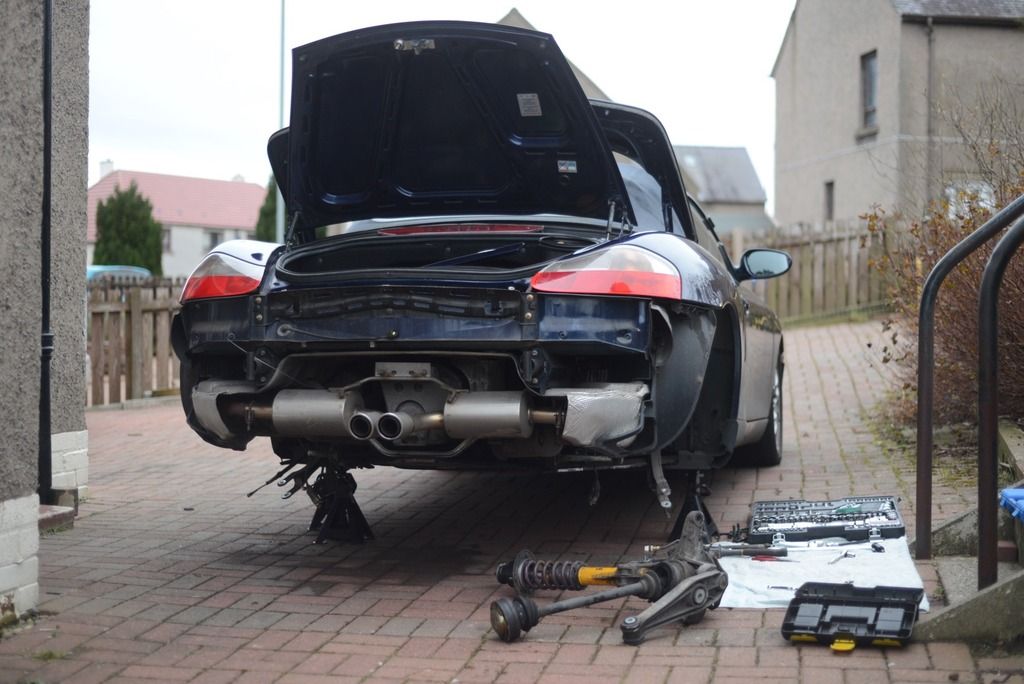
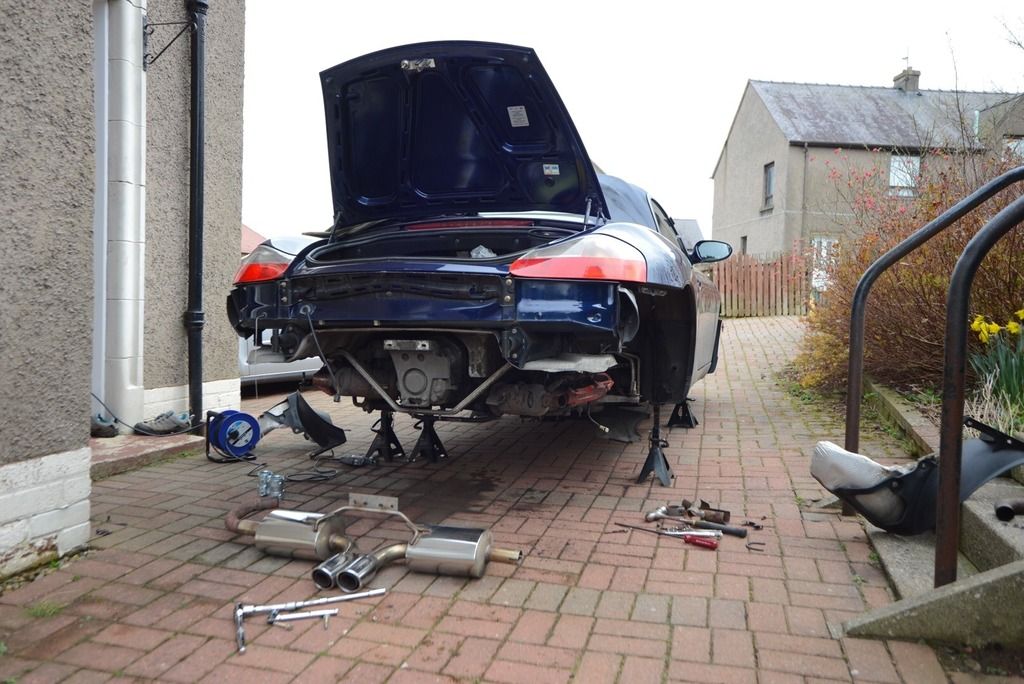
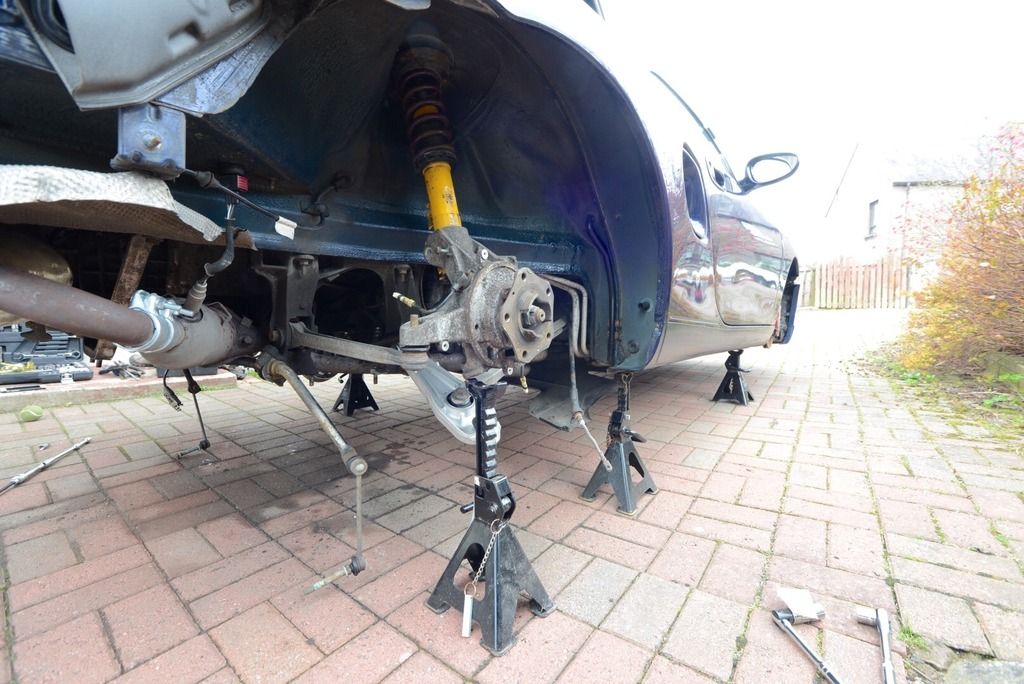
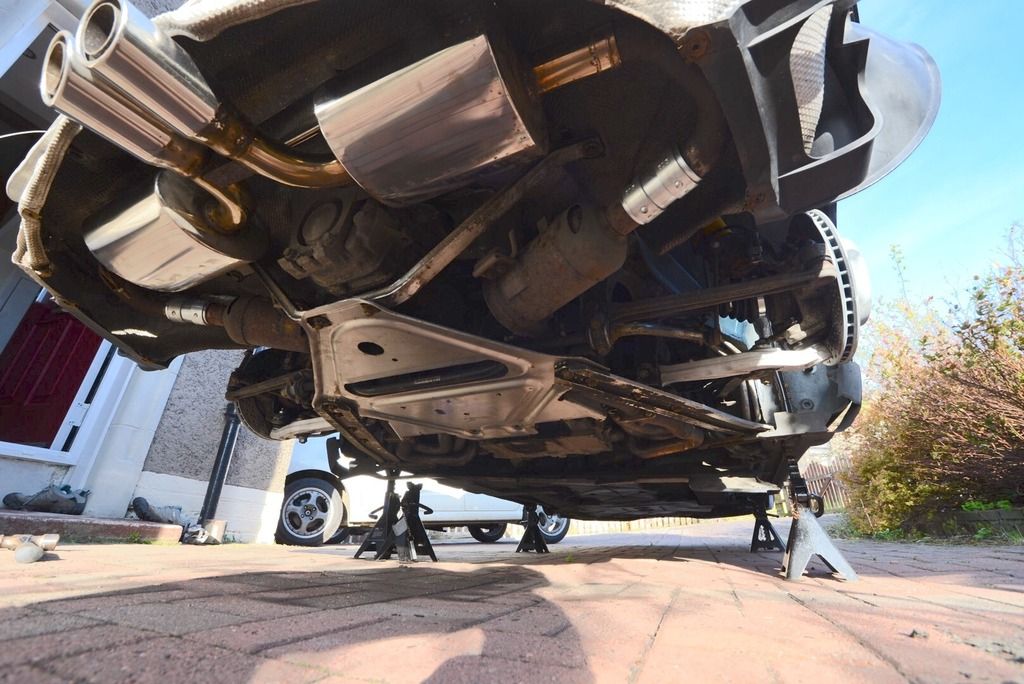
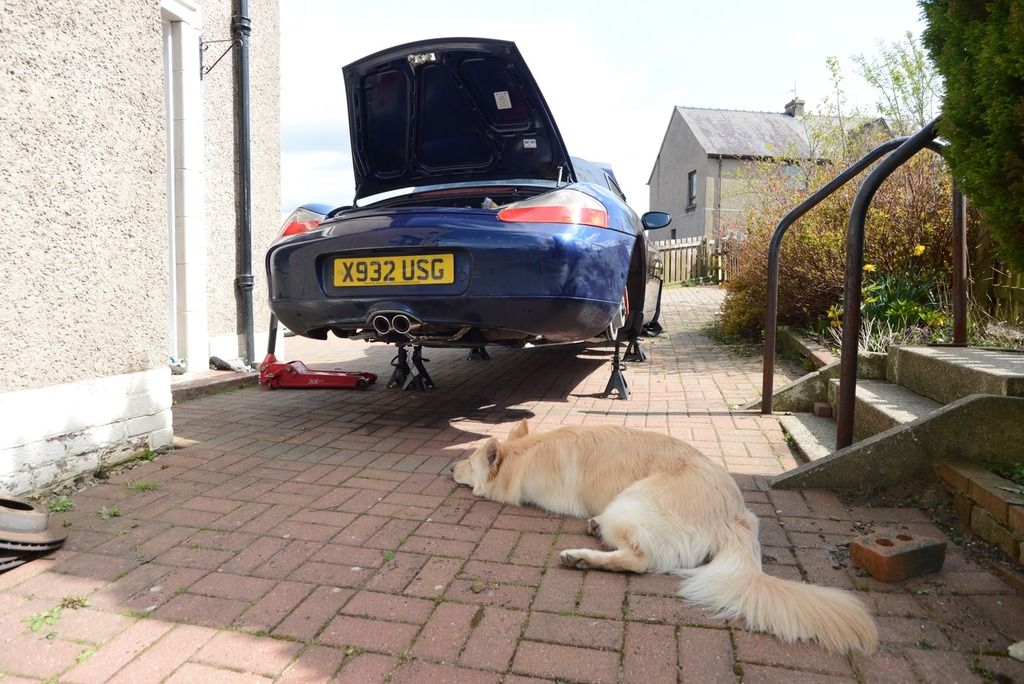
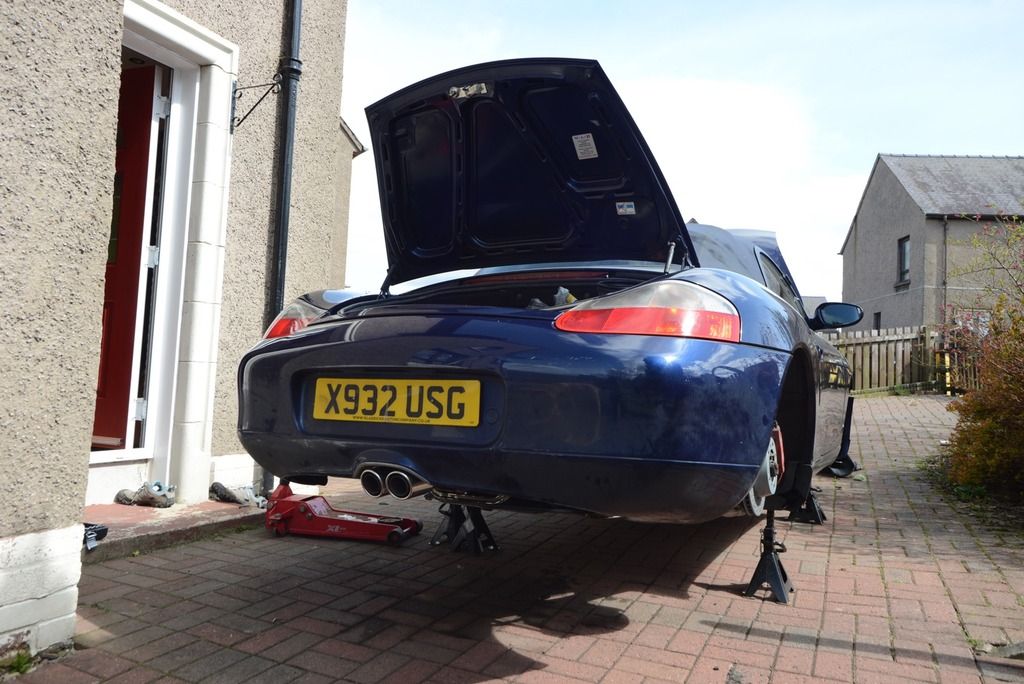
and since yesterdays weather was so nice and i had a little free time i decided to get the car up on axle stands!
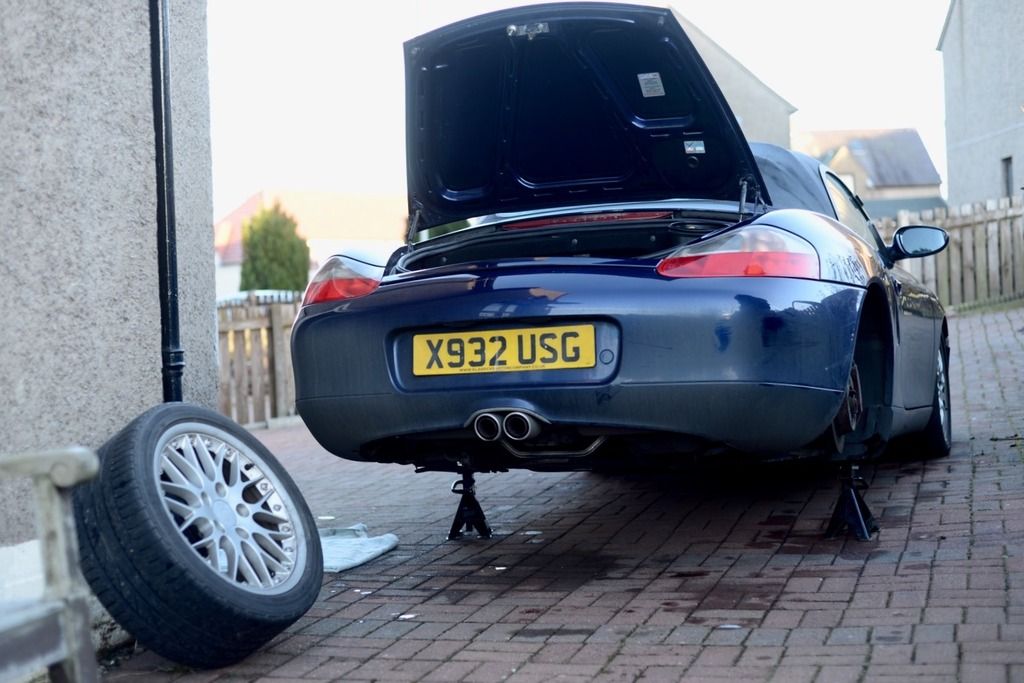
so now theres nothing holding me back except the fine scottish weather!
I've gone a bit mental the past couple days with the old ebay account!
started out buying the bits i needed to get the car road worthy.. the rear arms above and the front track rod ends...
then once i started getting into the car i noticed things that i should probably change whilst i was in that deep anyways!
so i managed to make a start on it since it was nice out last weekend and i hope to get more done this weekend! didn't get much done but its a start!
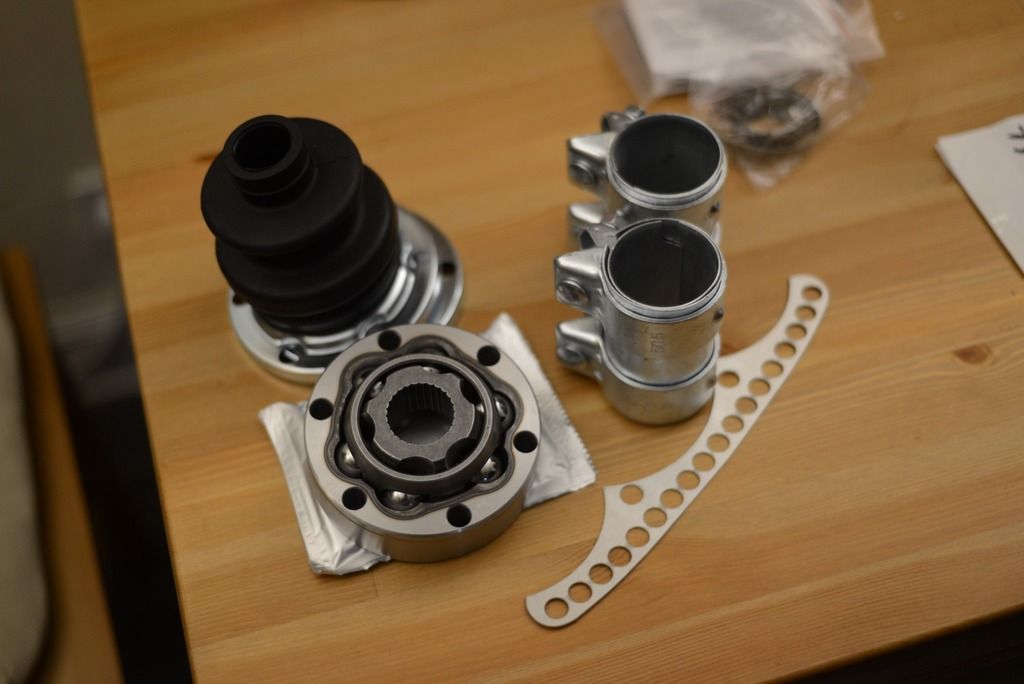
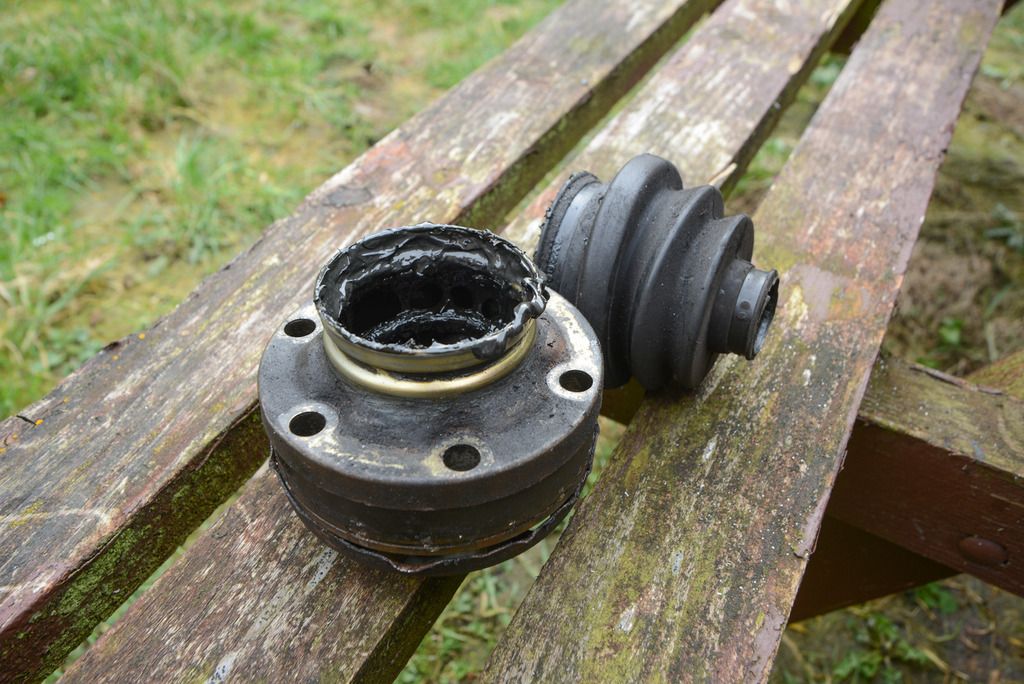
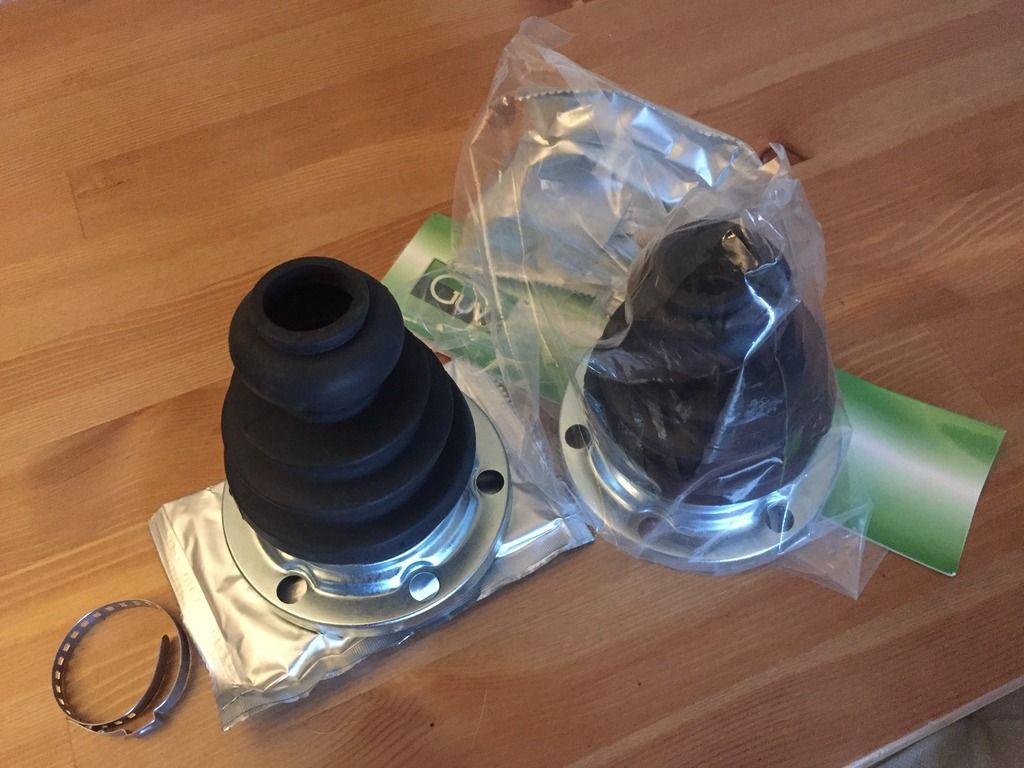
so as said whilst i was in there i noticed the rear cv boot was split quite badly (noticed it last time i was in there but it seemed fine last time) so i ordered 2 new cv joints and boots
I've ordered new cat > exhaust u bend clamps since i had to make my own when i was putting the stainless exhaust on but now i've just found a proper pair that were nice and cheap!
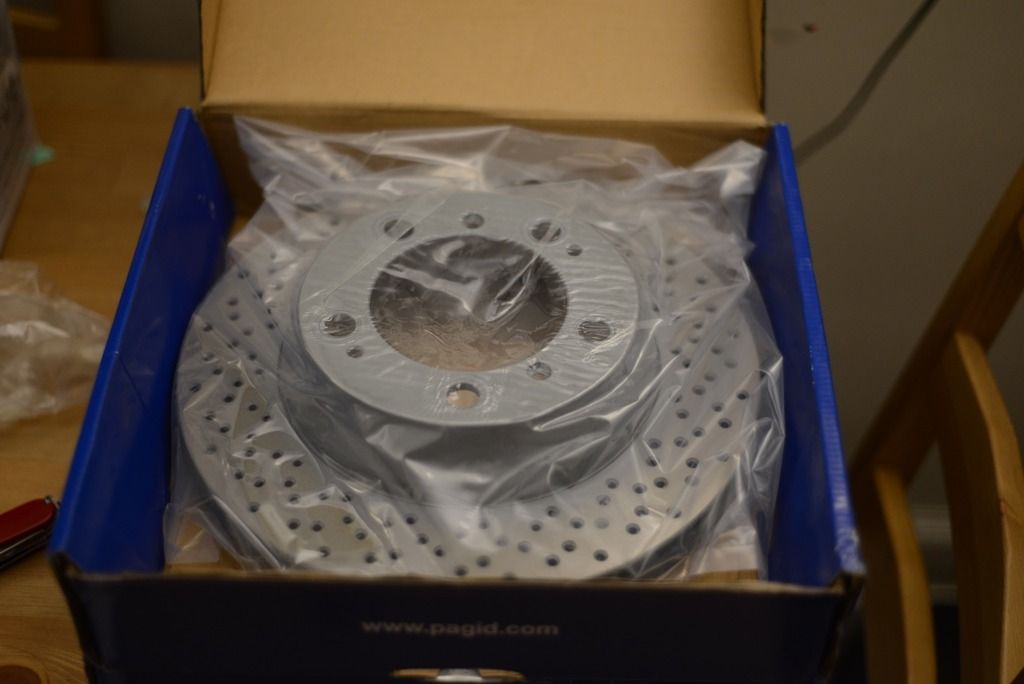
also ordered new rear discs and pads, could have probably gotten away with just pads but again, whilst i'm there i may as well!
i also plan on giving the lips of the wheels a (home) refurb in bright silver which will involve getting the wheels split and sanded back then a bit of paint on the lips!
theres also a blow in the exhaust somewhere that i will look at whilst doing the cat clamps as i think it could be a bolt missing from the manifold!
will probably also attack the underside of the car with degreaser and get it all nice and clean underneath!
last thing i ordered (and only because i wanted it other than needed it) was a stainless trim piece that goes on the bottom of the speedo and goes around all the warning lights, but i'm going to trim it with carbon :P
so most parts should arrive monday and i'll get cracking with it as soon as!
|
|
|
|
|
03-06-2016, 09:15 AM
|
#66
|
|
Registered User
Join Date: Dec 2012
Location: Scotland
Posts: 106
|
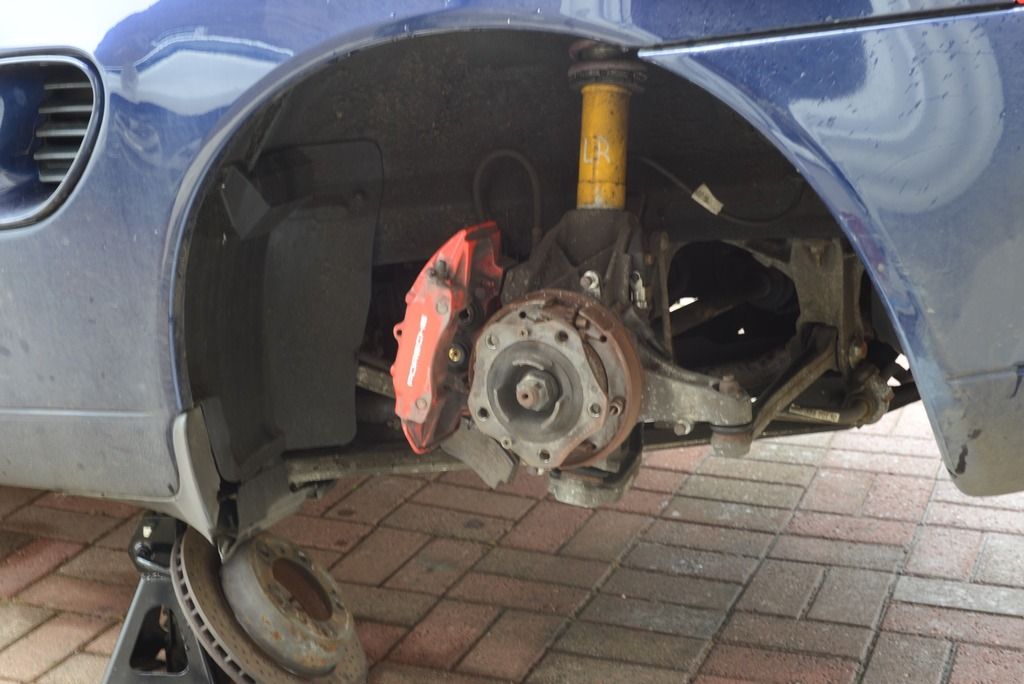
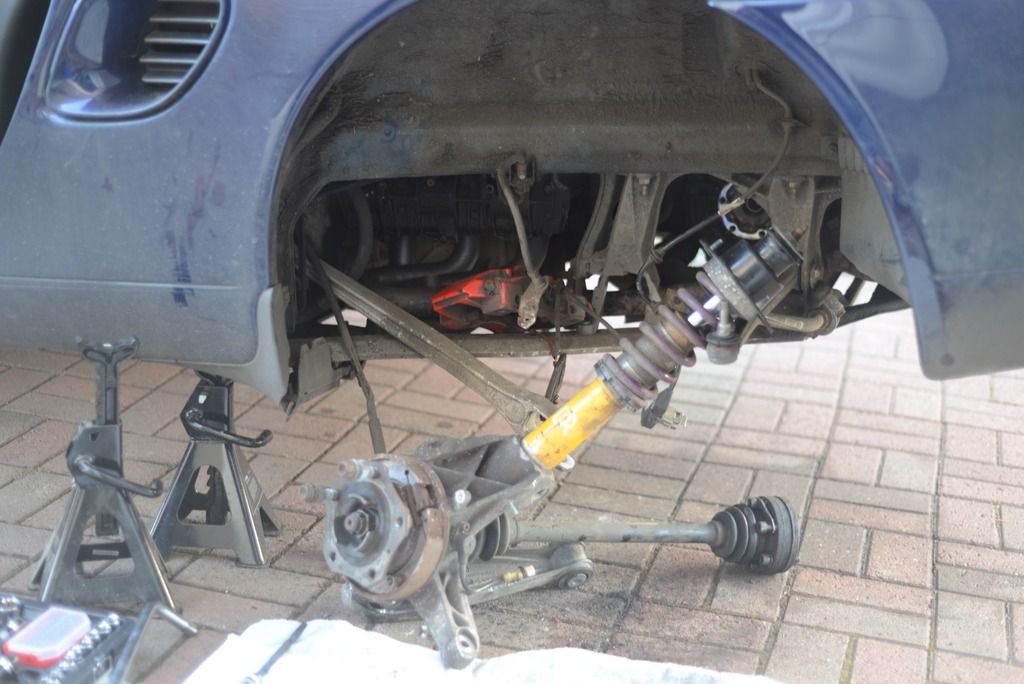
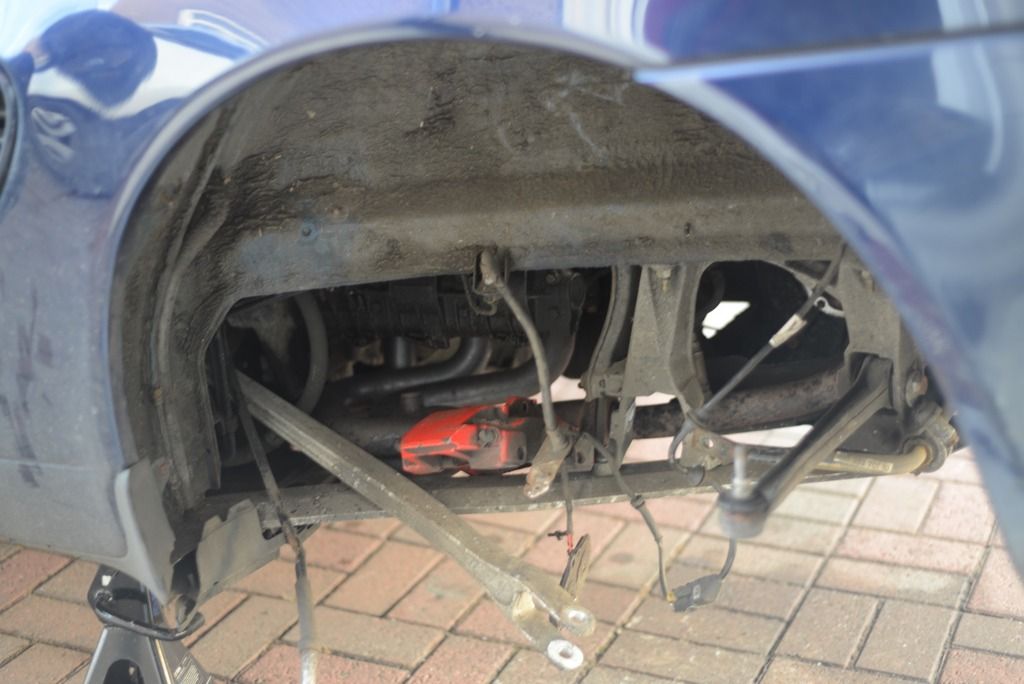
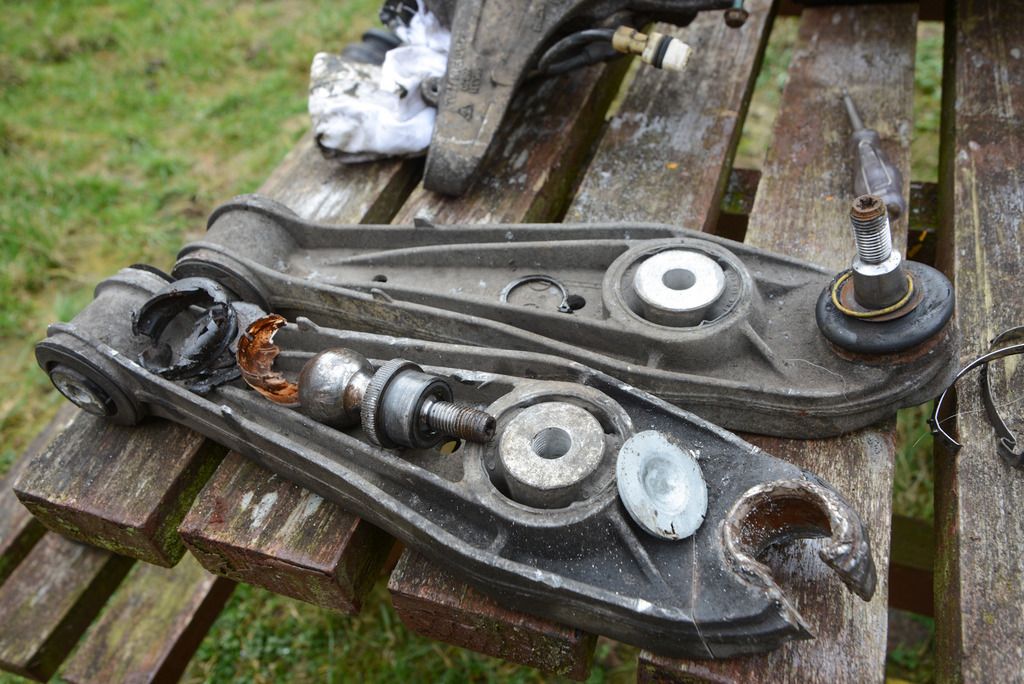
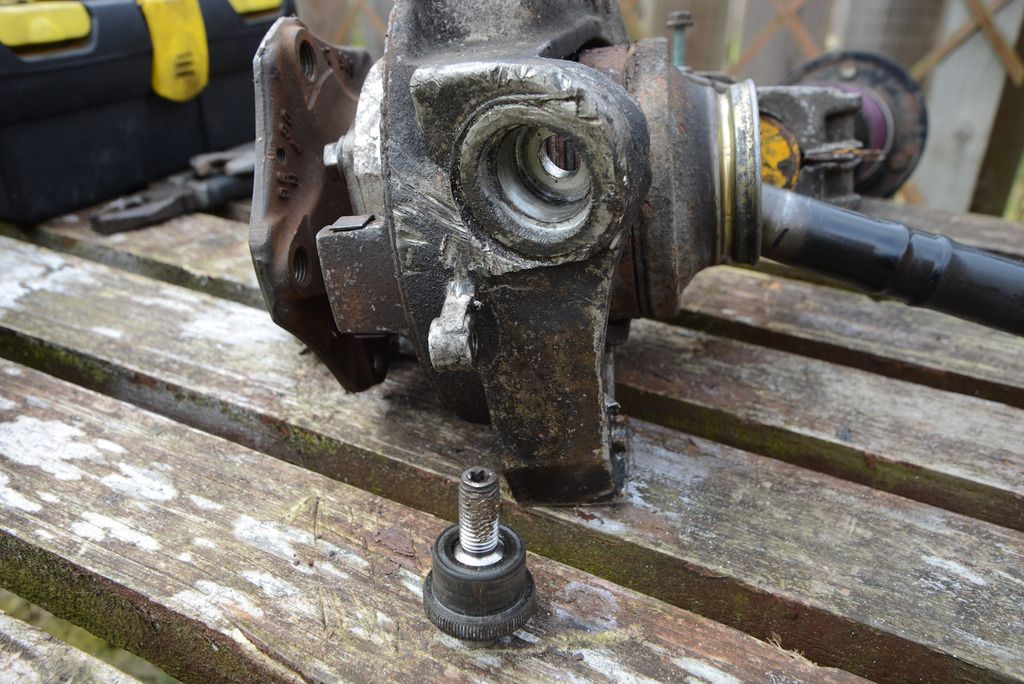
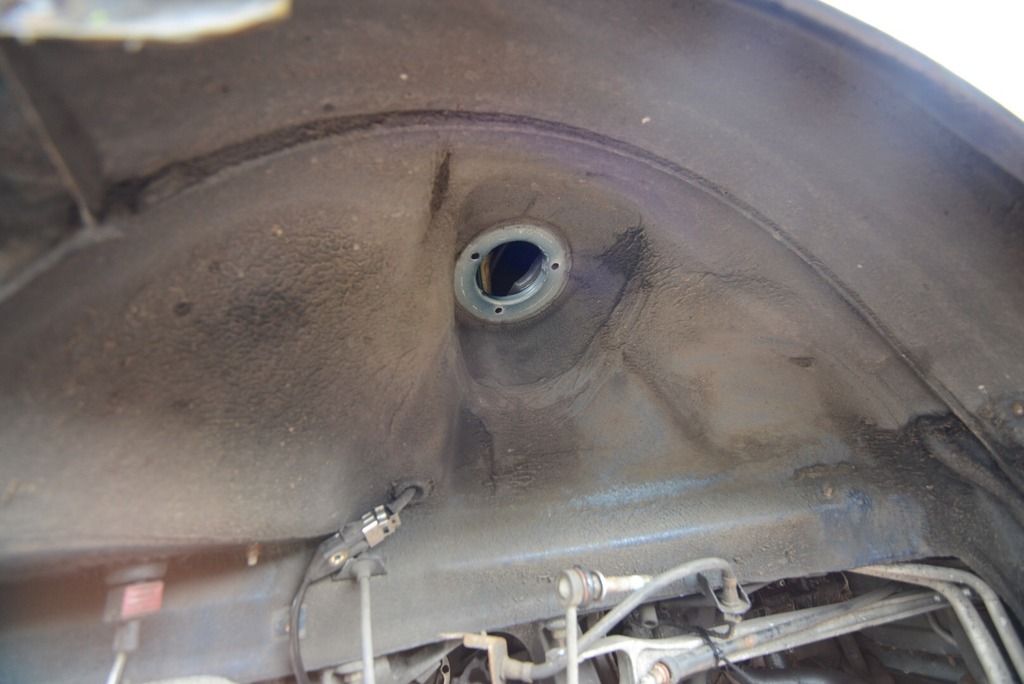
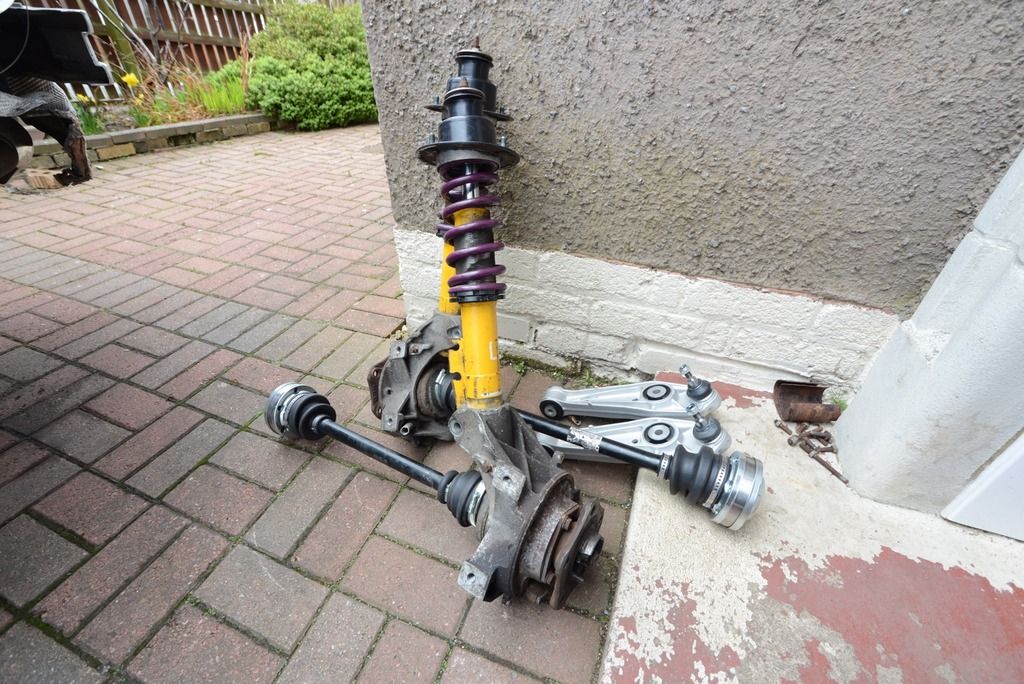
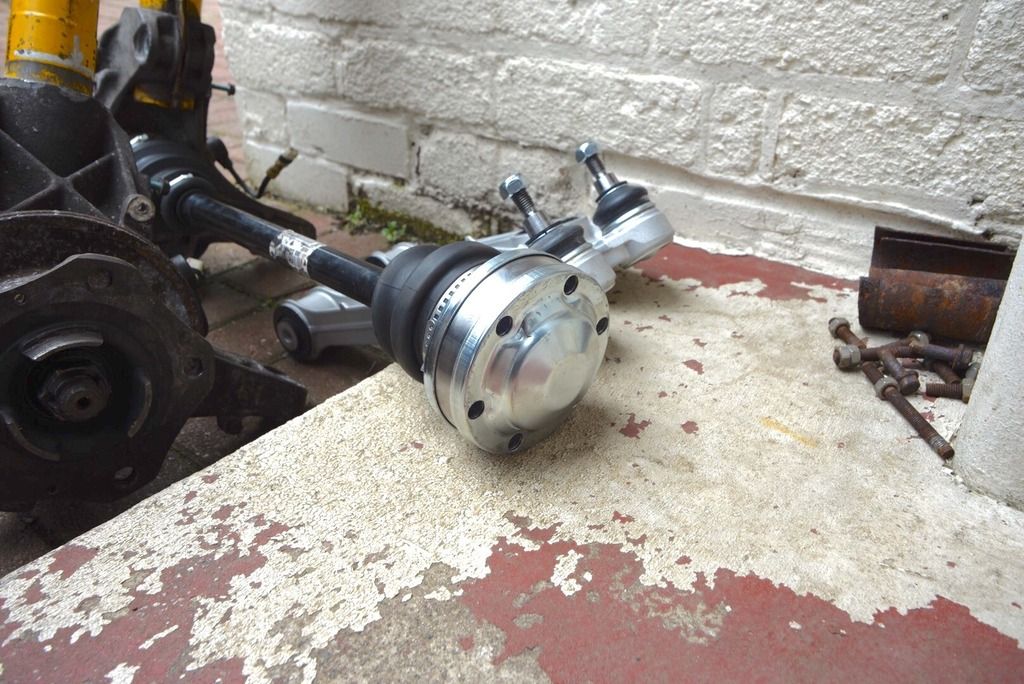
last weekend i got some more time to work on the car, my only aim was to split the ball joint on the lower control arm... it just wasnt for budging at all! so in the end i decided i was just going to remove the whole lot! i needed to get the driveshaft off to replace the cv joints anyways so it was only another 4 bolts...
ended up having to manually release the boomerang (bit that lifts up for the roof to stow underneath it) so i could get to 2 of the suspension mounting bolts! that took a good hour or so to figure out!
but it now means everything is out and it'll be easier to do everything on the bench rather than underneath the car! also means i dont have to drop the exhaust to get the driveshaft out!
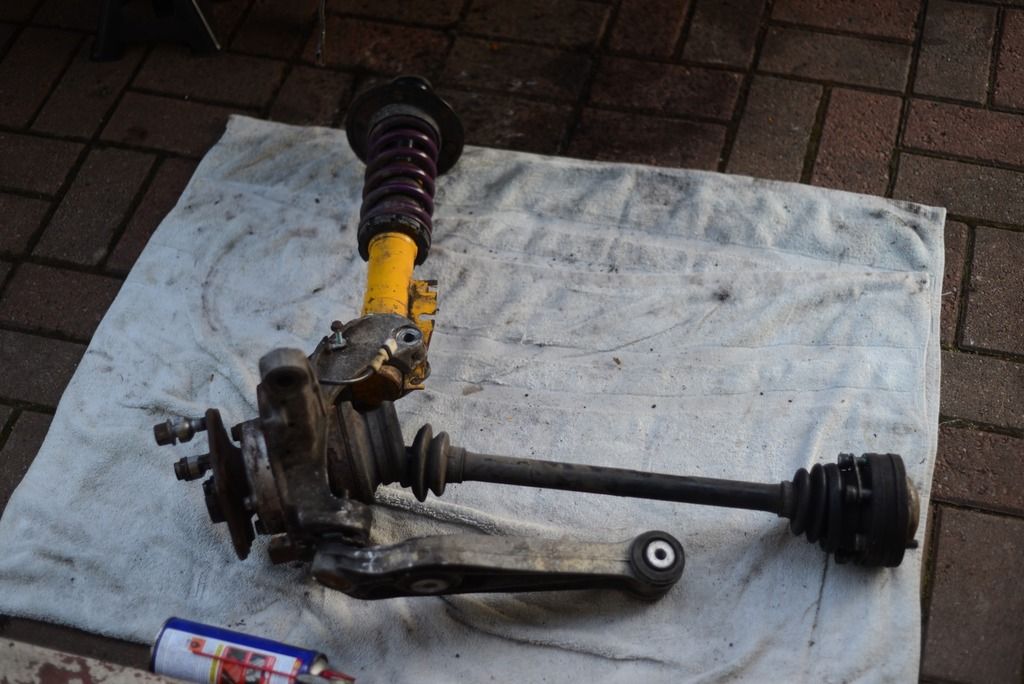
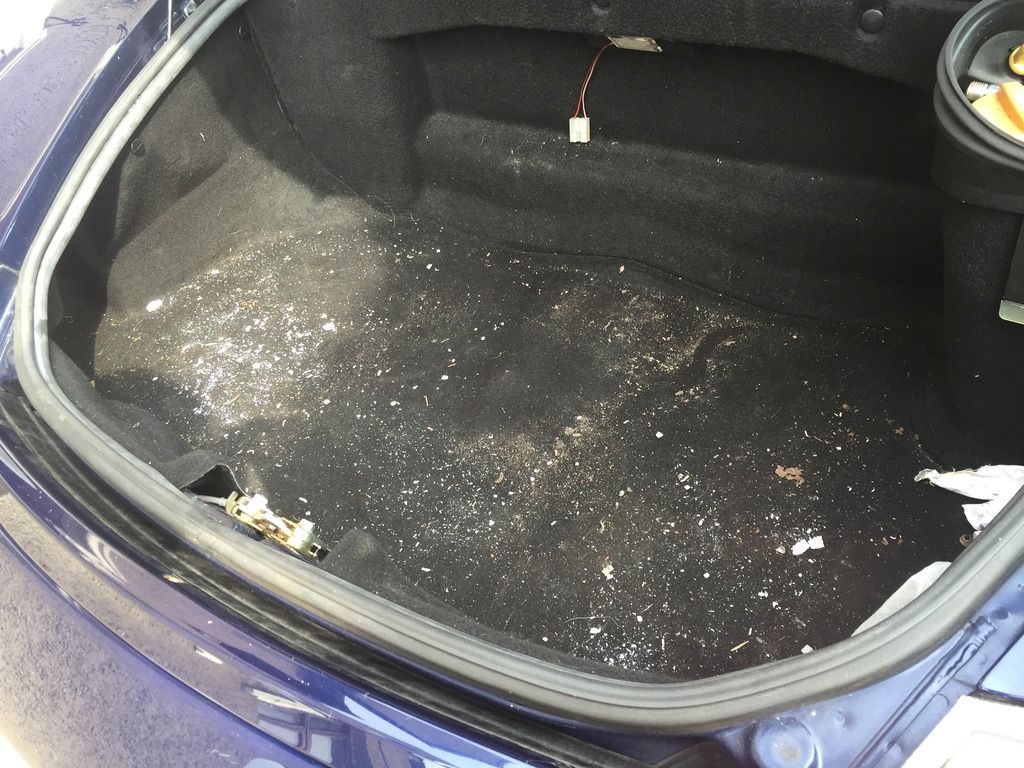
this is what was all removed
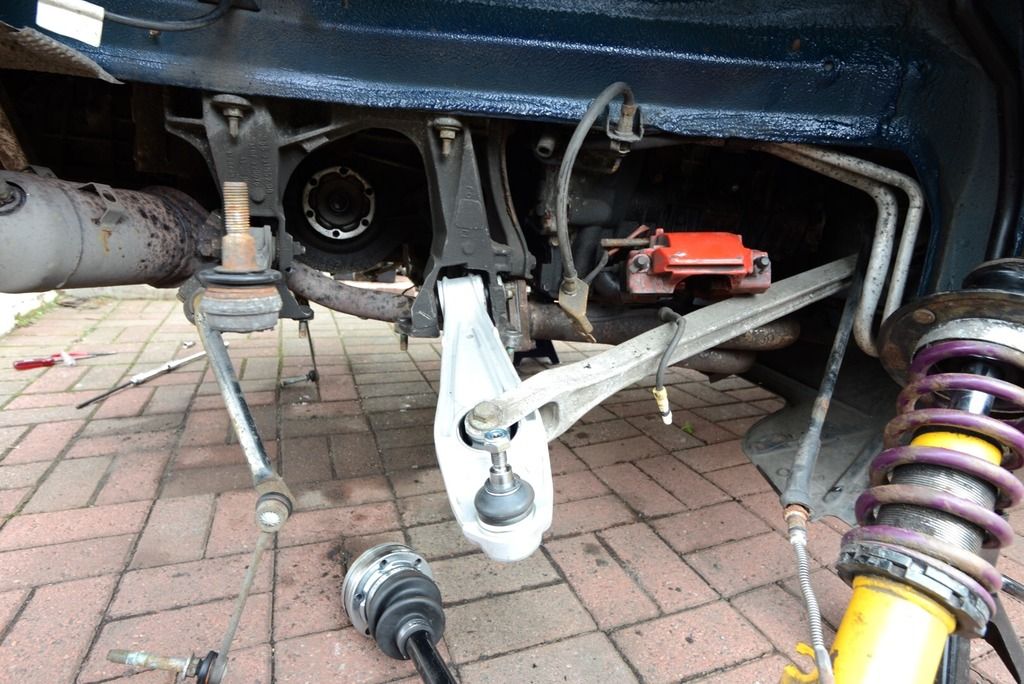
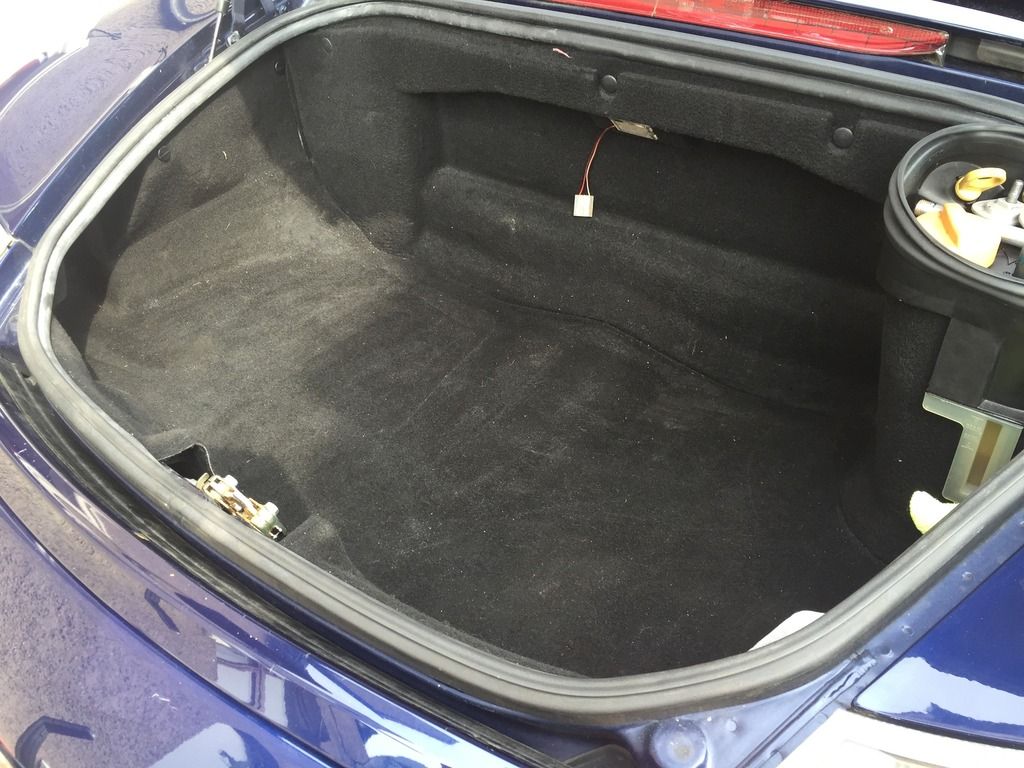
and this is the sad looking hole its left! hopefully get in there and clean all that up too!
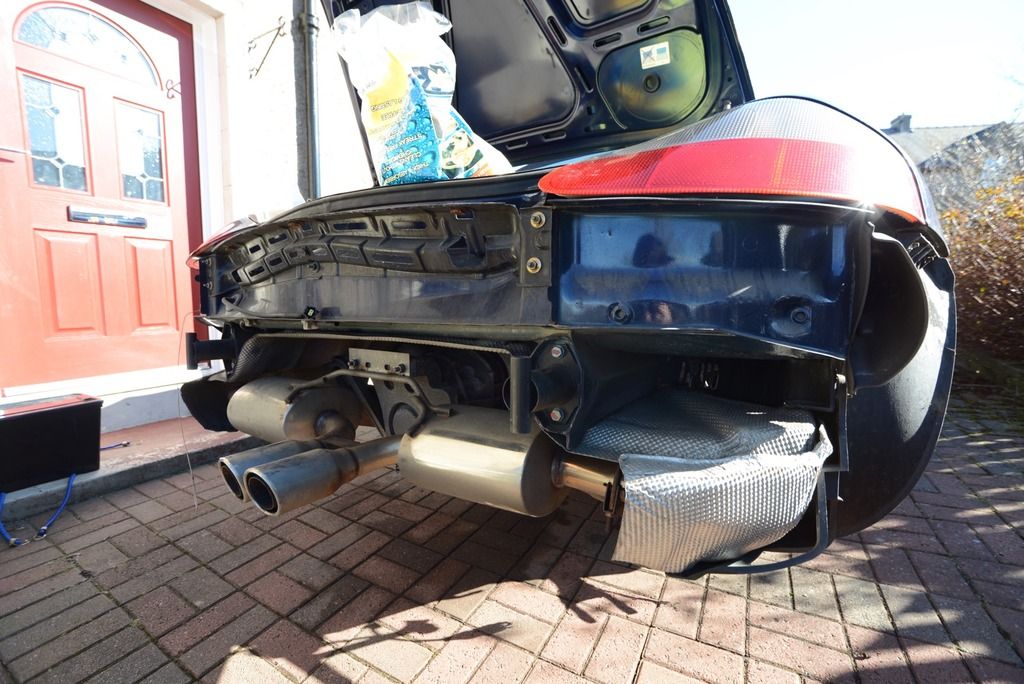
started on the other side a couple nights ago and got it most of the way there! was much easier as i knew everything that had to come off and in which order to do things so that helped! also got the rear bumper off as the last time i was doing work to the car i forgot to put one of the rear heat shield/bars back on it, was only a half dozen screws to get the bumper off so thought i might as well get it back on!
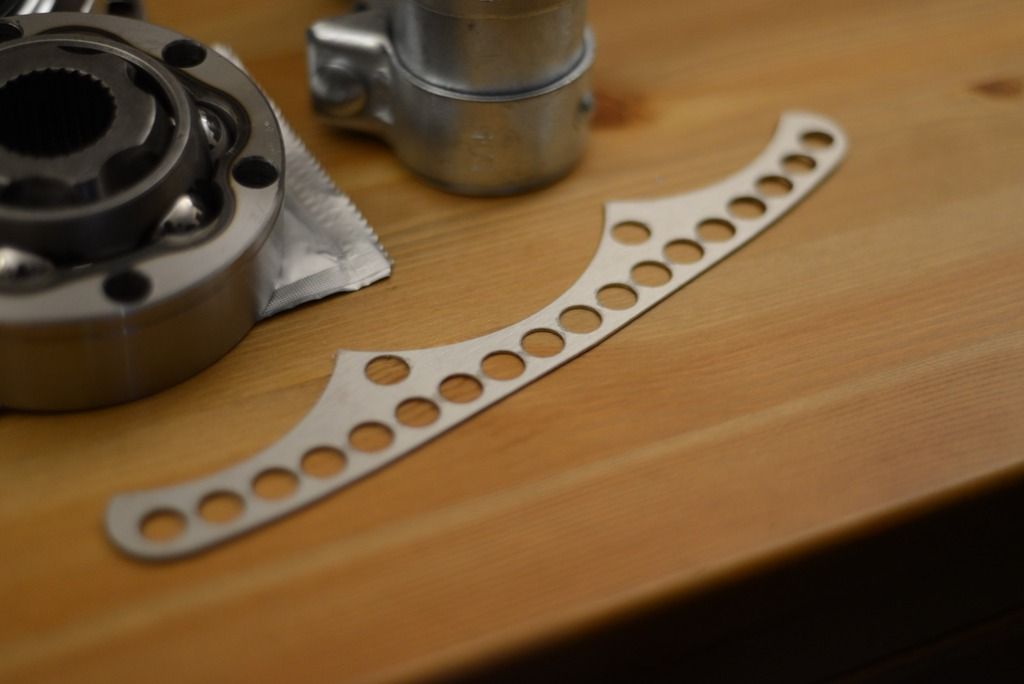
more parts have arrived, just need to order inner cv boots and possibly a couple more exhaust clamps and that will be it! so heres new rear brake discs
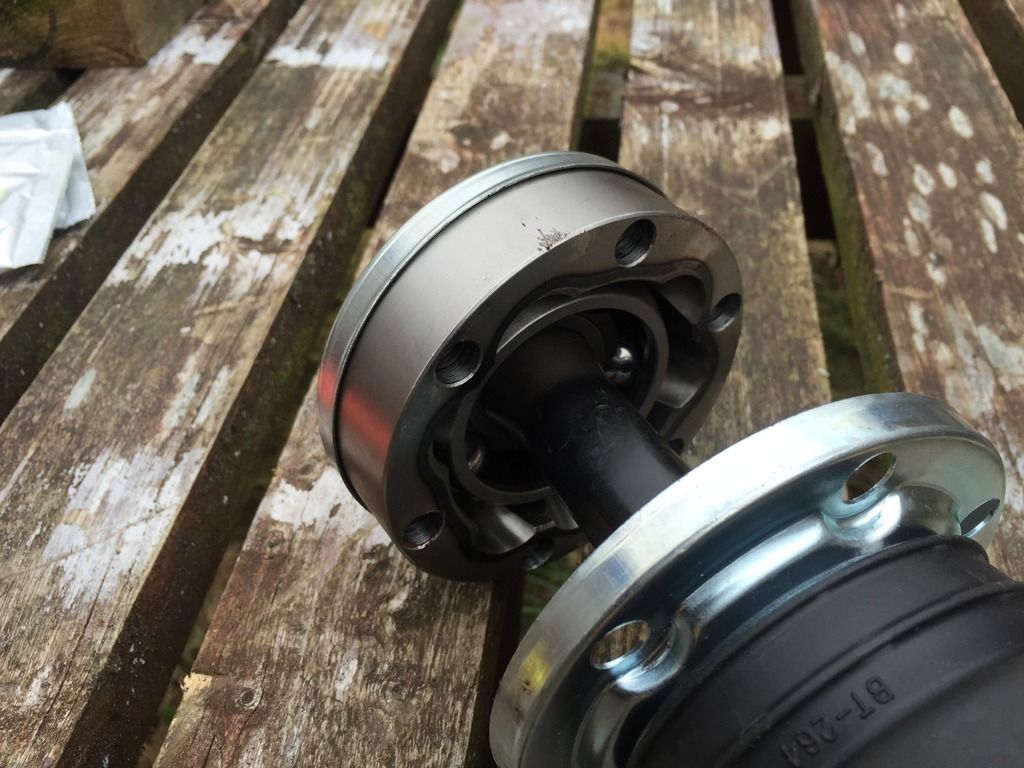
more parts, cv joints/boots (only one pictured but i bought a pair) and exhaust clamps
and this is hopefully the part that will get carbon fibre'd
|
|
|
|
|
03-06-2016, 09:17 AM
|
#67
|
|
Registered User
Join Date: Dec 2012
Location: Scotland
Posts: 106
|
so today was real nice and with the missus away to work i got a fair bit more done!
rear end off for some cleaning to start! this was before so i got all the exposed metalwork cleaned then some spray wax on them and then the exhaust got a bit of autosol too!
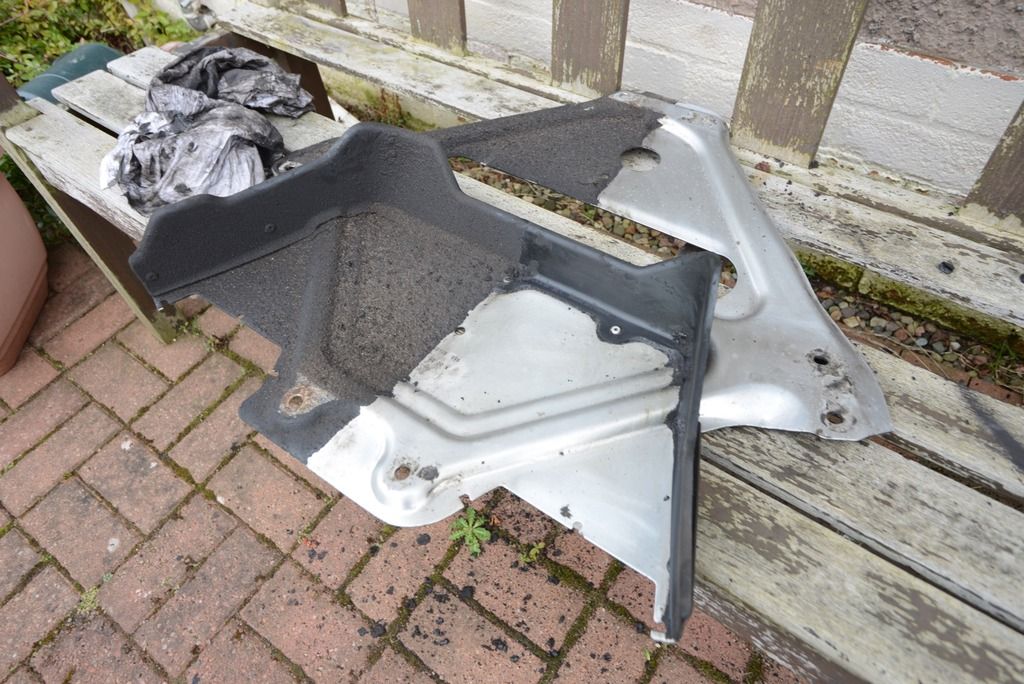
lower braces off, heres the difference between the 2 after a bit of a scrub! will try and get a pair of the little mud flap bits as both have taken a bit of a battering on the road and are cracked!
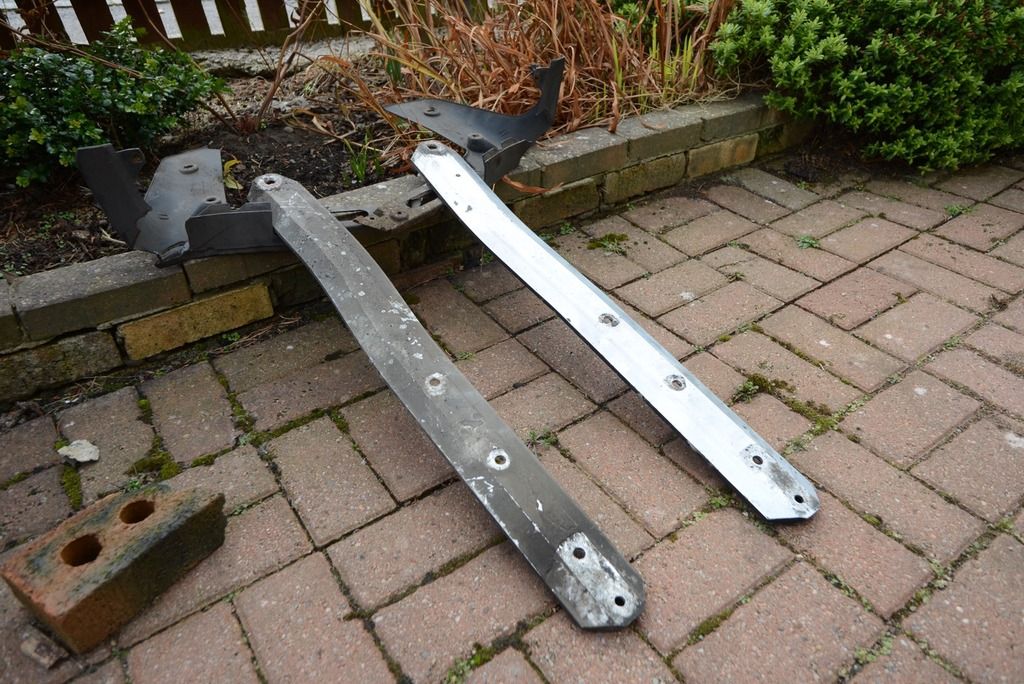
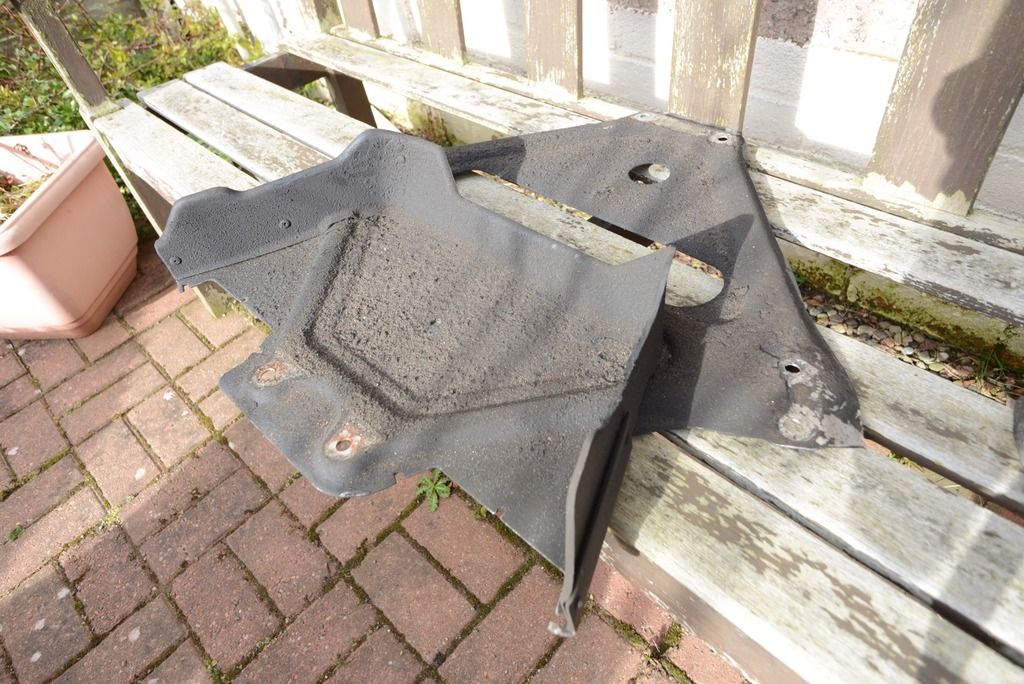
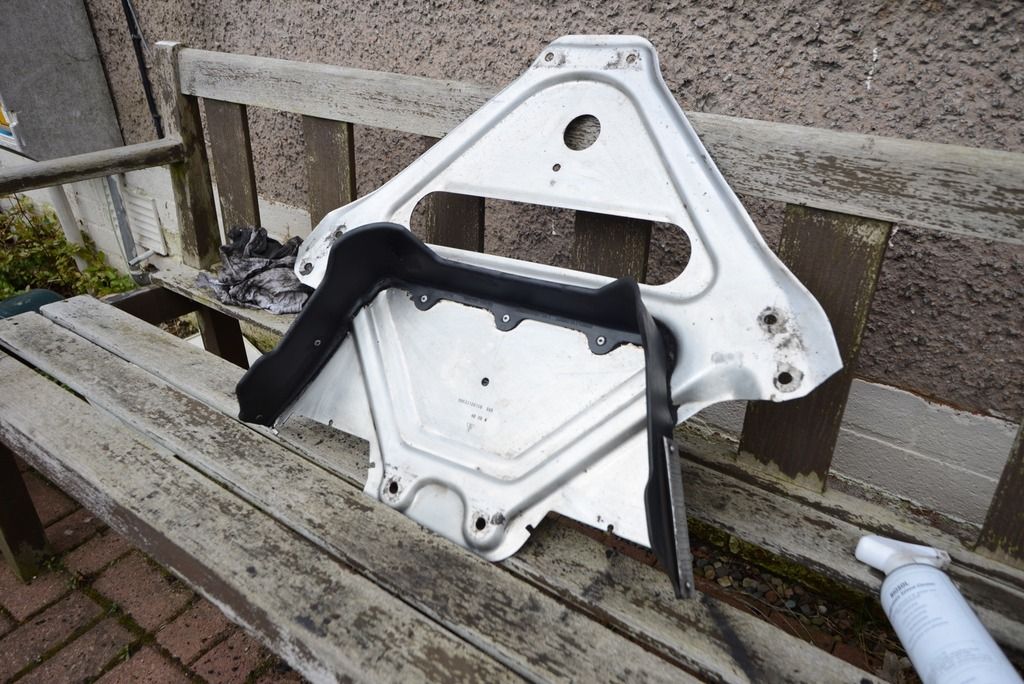
this is a kind of under brace/cover that covers quite a bit of the rear, protects the sump and stuff... all aluminium so it cleaned up real nice too!
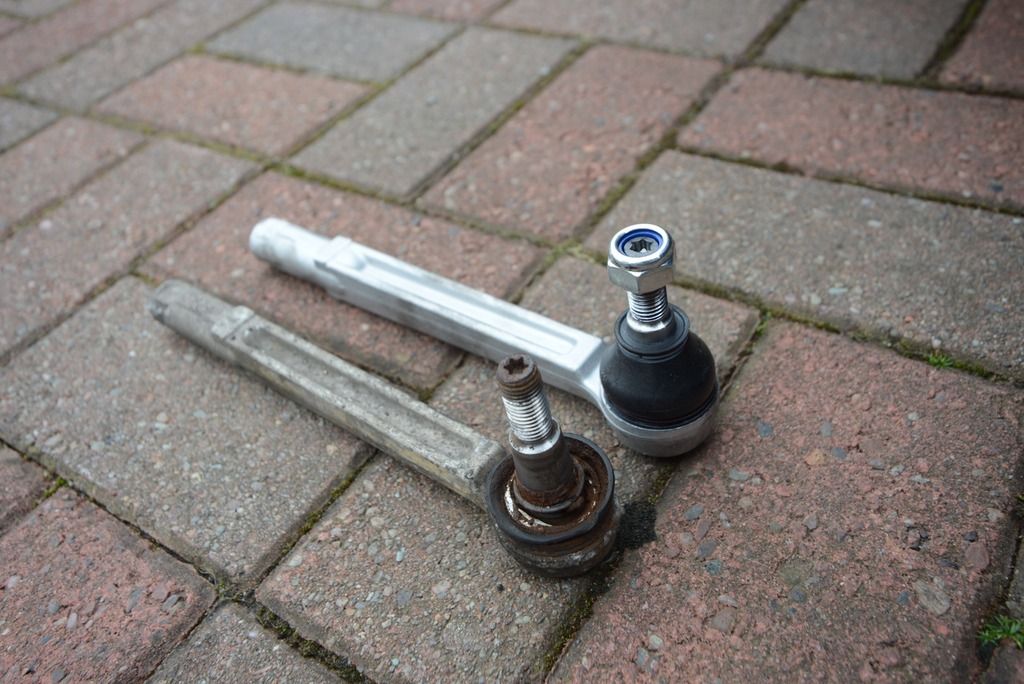
got the front of the car up on axle stands to get the wheels off and do the front end stuff... the passengers front track rod end was totally shot and really needed replaced! decided to do the pair of them though.
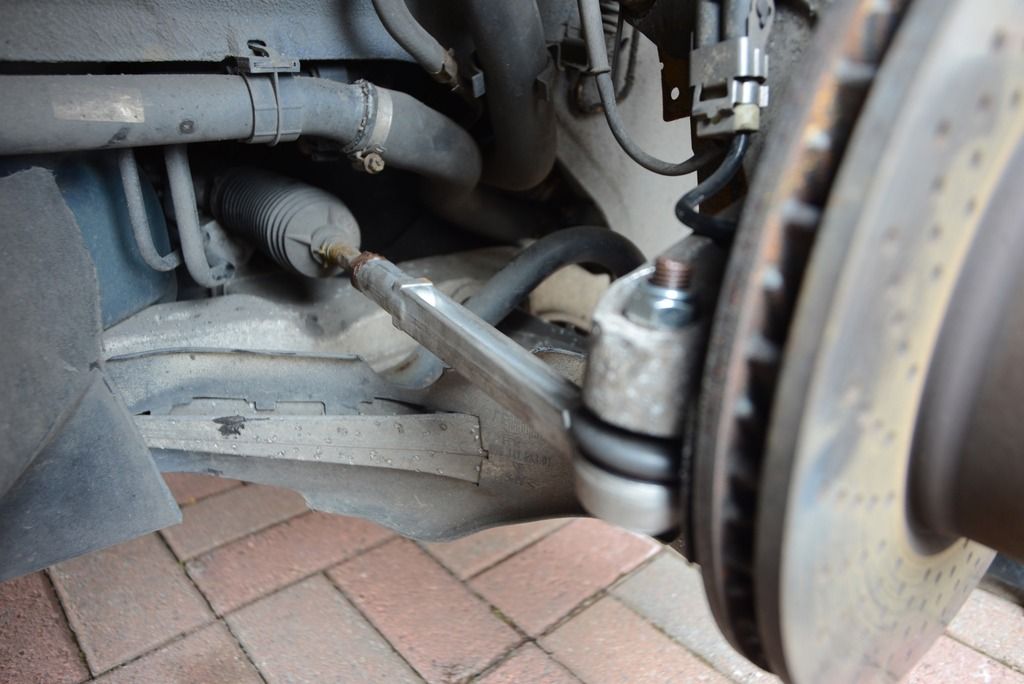
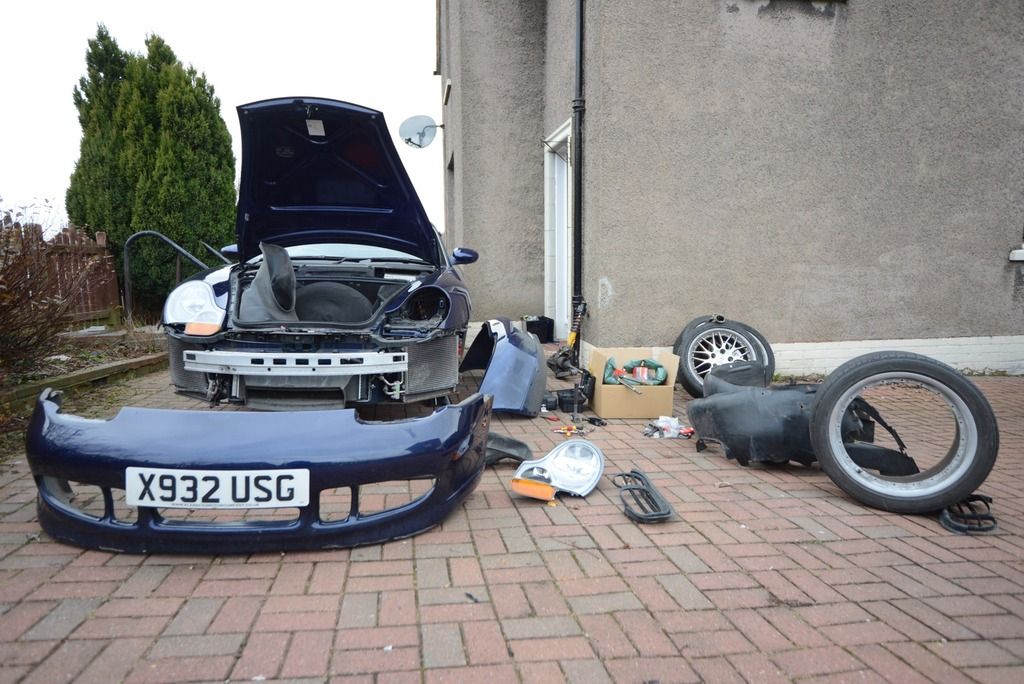
and then although i said last time that nothing else was supposed to come off i just got a little too excited! got the front bumper off as the 2 side radiators on these are known fill up with crap, so to get to them properly the bumper really needs to come off! also got the arch liners out so i can clean them off car and also make sure everything underneath was fine!
had a wee helper for the day too!

can see in the pics that 2 of the wheels are also split for painting, just need the lips rubbed down!
|
|
|
|
|
03-06-2016, 09:38 AM
|
#68
|
|
Registered User
Join Date: Jun 2012
Location: Bedford, TX
Posts: 2,755
|
Looking good! While you are there, you might as well get some VHT paint and paint your calipers, you can get the caliper decals from eBay. The Sport Classic II's look fantastic! Of course I am biased
__________________
______________________________________________
2001 Boxster S Lapis Blue
TS Cat Bypass Pipes and exhaust
iPad Mini Dash Install
DEPO Tail Lights
|
|
|
|
|
03-06-2016, 10:39 AM
|
#69
|
|
Registered User
Join Date: Nov 2015
Location: South Wales, UK
Posts: 852
|
Man you remind me of when I had my last car. It was a 2003 Toyota Celica T-Sport, but I made it into a completely unique car. It had upgraded suspension, brakes (£1000 worth of brakes), etc. I cleaned up every part, including the underneath too, and it just looked factory fresh. I loved doing it - even cleaning up the things you wouldn't see, it's a pleasure knowing that they're spotless.
Given me some inspiration to start digging deep on the underside of my car to start cleaning/refreshing the parts that looked more aged. It's just having the time to do it.
Keep it going buddy, really enjoying the thread so far.
__________________
Porsche Boxster S Type 986
Bi-xenon Headlight Upgrade | 987 S 18" Anthracite Alloys | Android Head Unit | 5000k 55w HID's | 5000k Cree DRL's | 5000k Cree number plate lights | Cree LED Indicators | One-touch roof operation | Bypass exhaust pipes | Parking sensors | Ambient footwell lighting
|
|
|
|
|
03-24-2016, 09:22 AM
|
#70
|
|
Registered User
Join Date: Dec 2012
Location: Scotland
Posts: 106
|
Quote:
Originally Posted by geraintthomas

cleaning up the things you wouldn't see, it's a pleasure knowing that they're spotless.
Keep it going buddy, really enjoying the thread so far.
|
thanks man! yeah i get some funny comments from people but its worth doing!
so i managed to get a little more work done to the car!
the cv joint was removed from the ends of each drive shaft, along with the inner boots. the inner cv joints don't look brilliant but to replace them you need brand new driveshafts at a couple hundred pounds each at the very least! i think with a healthy amount of grease and a new boot they'll be fine though! i do however need to buy a second pair of cv boots as i wasn't expecting to be replacing the inner ones till i pulled everything off and found one split!
and after ALOT of persuasion i managed to free the hubs of the lower control arms... one side was an absolute ball ache to do, needed hacksawing, cutting, hitting, smashing etc etc, the other just needed a good old hit with a ball (joint) breaker! you can see from the photo the one that needed the most work actually removed the insert from the hub with the taper bush still in it, i am going to have to take this bit into work and drill it out...
the new ones should go back in a lot easier than those ones came out haha!
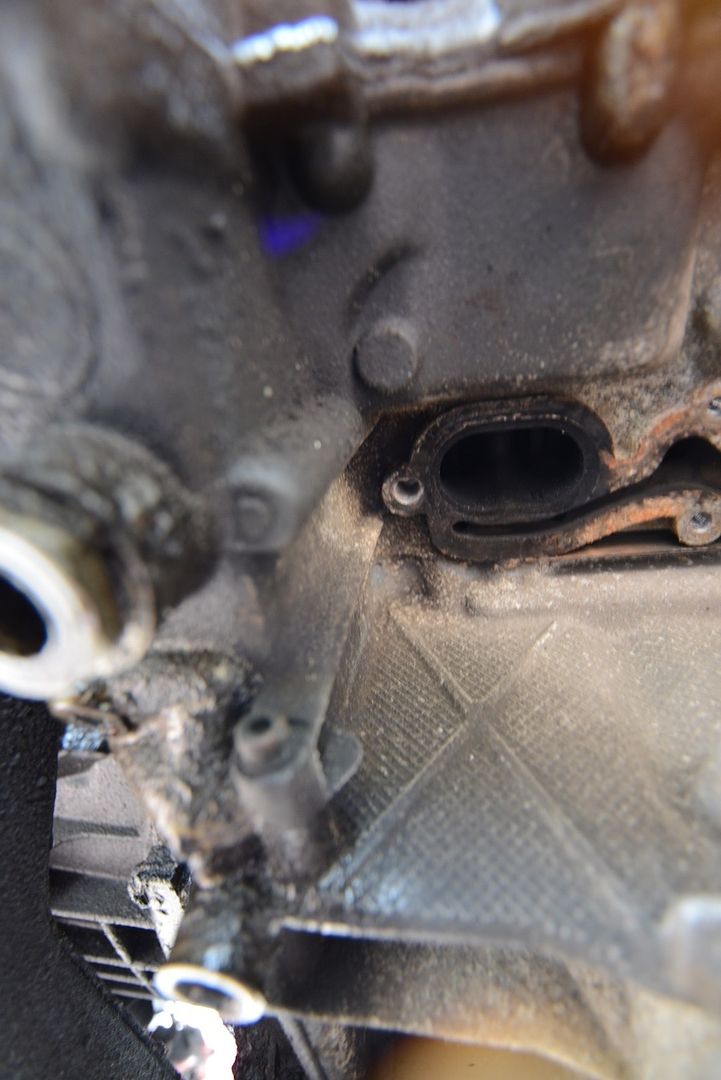
also whilst under the car yesterday i had a look at figuring out why the exhaust was blowing... found a loose bolt in one of the manifolds, removed it only to find the bolt whole was ****************ed! a bolt has obviously snapped in there previously and someone has bodged it up bad! need to get a 10mm tap and hope for the best! hopefully thats all the issue is with the exhaust!
|
|
|
|
|
04-02-2016, 09:27 AM
|
#71
|
|
Registered User
Join Date: Dec 2012
Location: Scotland
Posts: 106
|
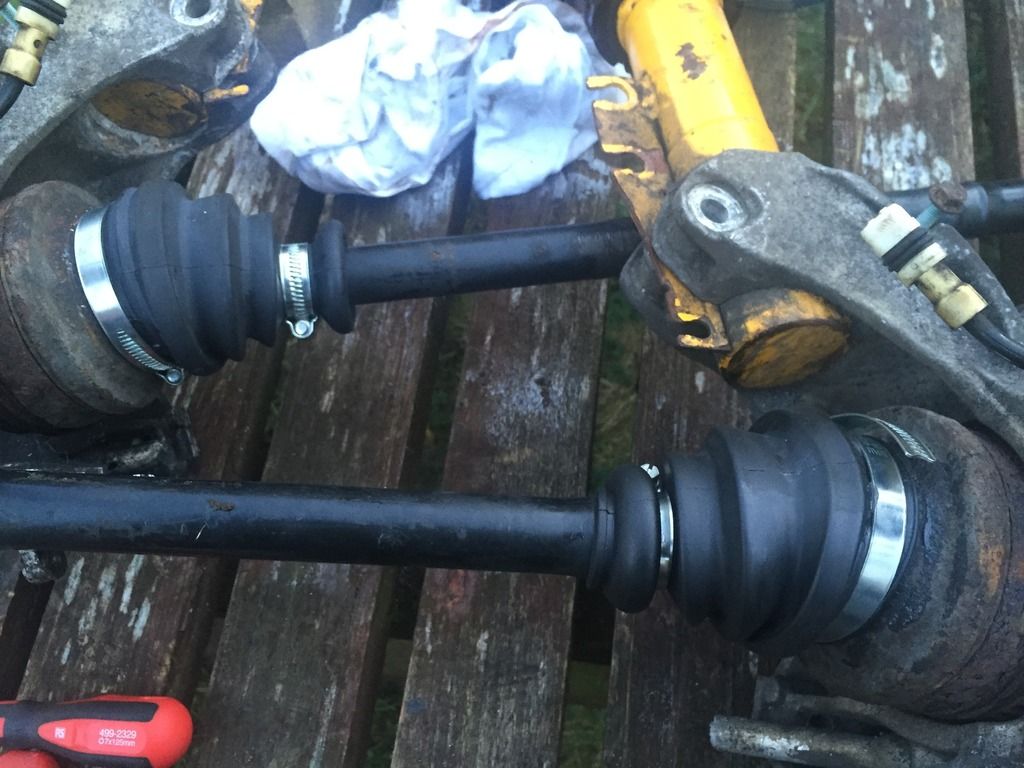
A couple days ago the other 2 cv gaitors arrived! Accidentally ordered outer ones so they came with the metal caps, but I've just removed them and used jubilee clips instead of the clips that came with them! Jubilee clips are a bit wide but they will still keep it together I hope!
Installed them tonight to get a head start, I am really hoping I can get more done as in off the next 2 days, I'm pretty sure I have everything to reassemble the car now!
This was a job that I was severely ****************ting myself over! It involved drilling into the block to re-tap a hole for one of the manifold screws!
I remember this being a small issue when I put the stainless manifolds on, but I thought I had managed to get the old screw back on, but I don't think it quite worked!
It looks very much like someone had snapped a bolt before and tried some form of repair... The hole was a lot shallower that the rest and the edges of it were a mess! Decided the best idea was to open the hole up to 8.5mm and tap it M10, tested and I'd still be able to get the manifold on so this morning with lump firmly in throat I started drilling! Got the hole opened up, got the taps out and tapped the hole but it just wasn't perfect for a bolt. Decided to make a stud and loctite it into the block and then put a nut on the outside! Hopefully it holds and all is well!
Here's a couple ****************ty pictures!
The hole after drilling
The nut on the stud!

And today with another day off of work (these shifts can be quite handy) and a little bit of nice weather and I was outside again!
Since I had plenty space the next job was to tackle the exhaust clamps! These had never been great on the car since I installed the stainless exhaust so today was the turn to for brand new clamps! For some reason I had it in my head this was an easier job than it turned out to be....
Had to remove the whole backbox and perform some minor alterations but they are on!
Had to crack out the Dremel too (but I do love sparks!)
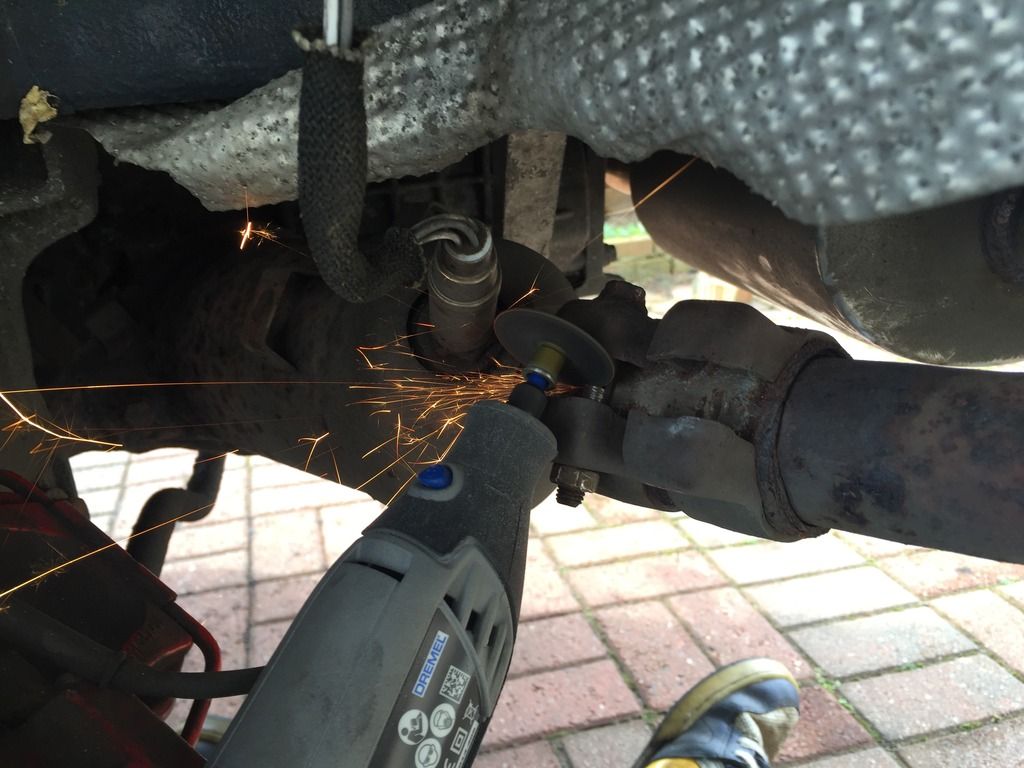
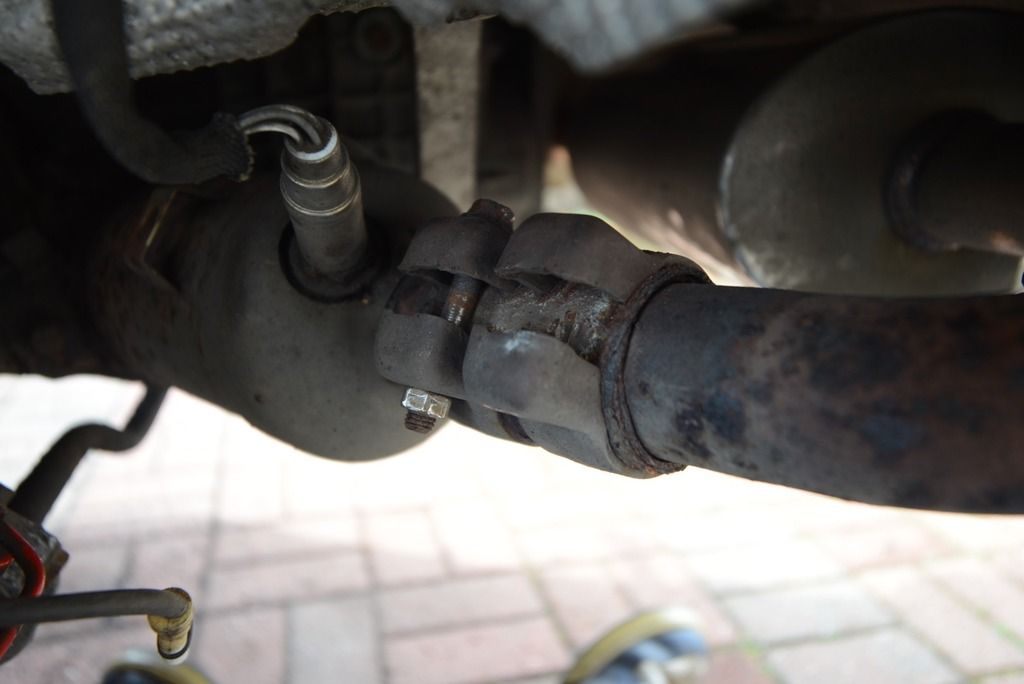
And new shiny clamps in place! I need to get clamps for the other side of the U bend, but those are just standard exhaust clamps and I only need the U bolt bit!

Decided since the dog is away with the missus this weekend (she normally chills outside with me when I'm working) I would spray and give the inner arches a rough clean!
Before, manky!
After, not so manky!

|
|
|
|
|
04-02-2016, 09:28 AM
|
#72
|
|
Registered User
Join Date: Dec 2012
Location: Scotland
Posts: 106
|
And lastly I had a go at fitting the inner CV joints. Had to fiddle about a fair bit but they are on! Gonna fill them up with grease just before fittin!
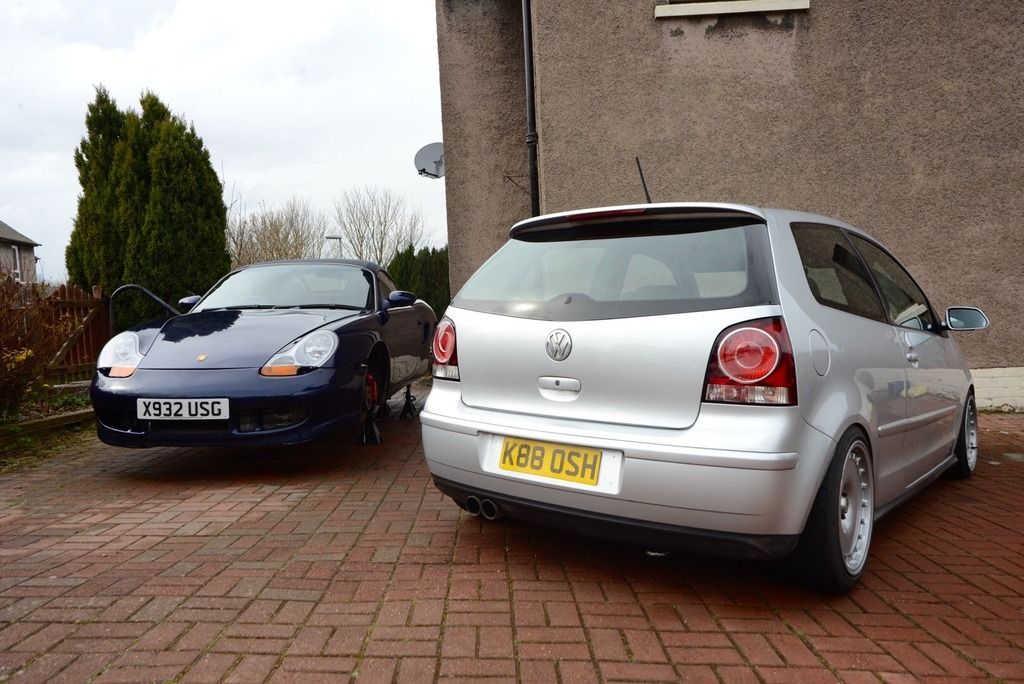
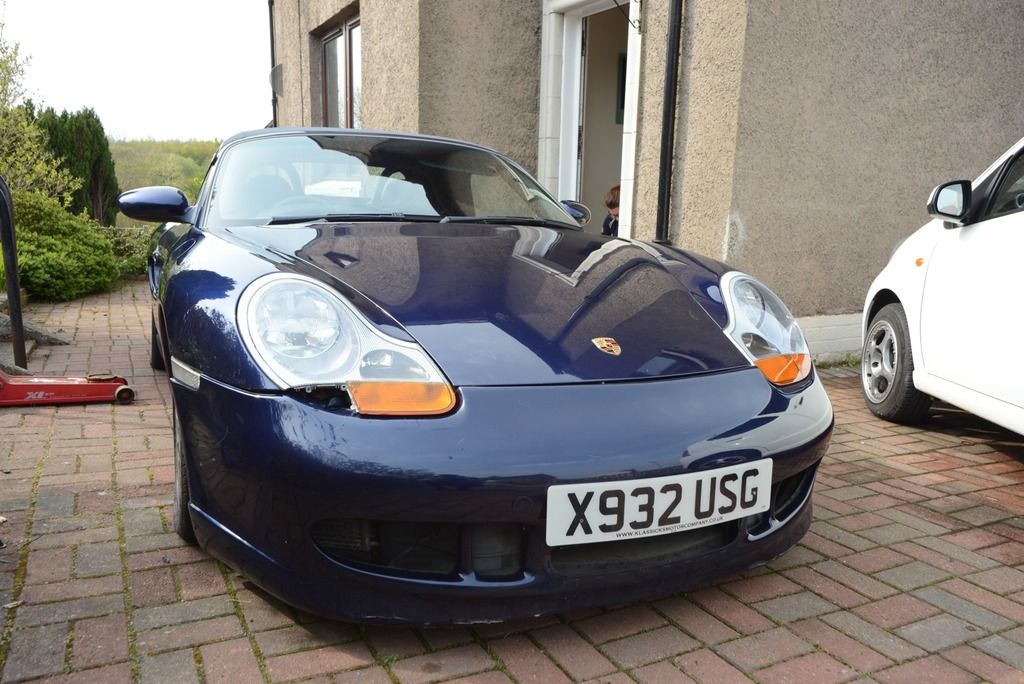
Then a wee picture of both cars! There's some form of family link in there somewhere! Beetles and so forth...
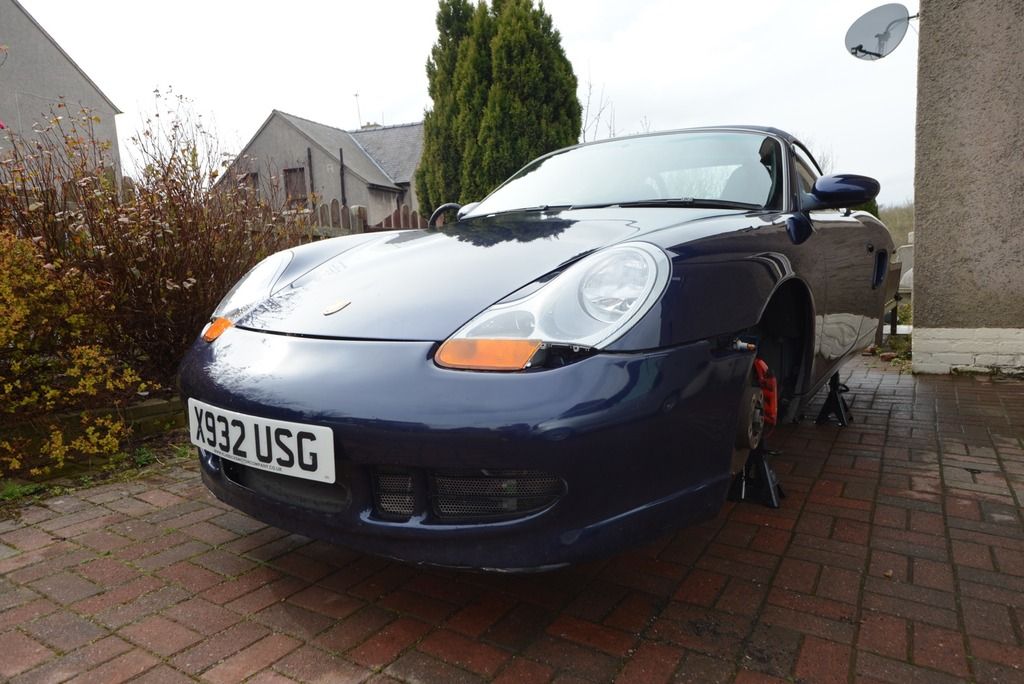
And one of the car itself... Wee sneak peek at the mesh grilles too! They'll need some work though!
And so that's it till probably next week!
|
|
|
|
|
05-12-2016, 02:09 AM
|
#73
|
|
Registered User
Join Date: Dec 2012
Location: Scotland
Posts: 106
|
so another big catch up for the thread!
Started by finished off the CV joints, got the grease in them and got them sealed up! Gonna have to get new bands for them but I should be able to fit those in situ!
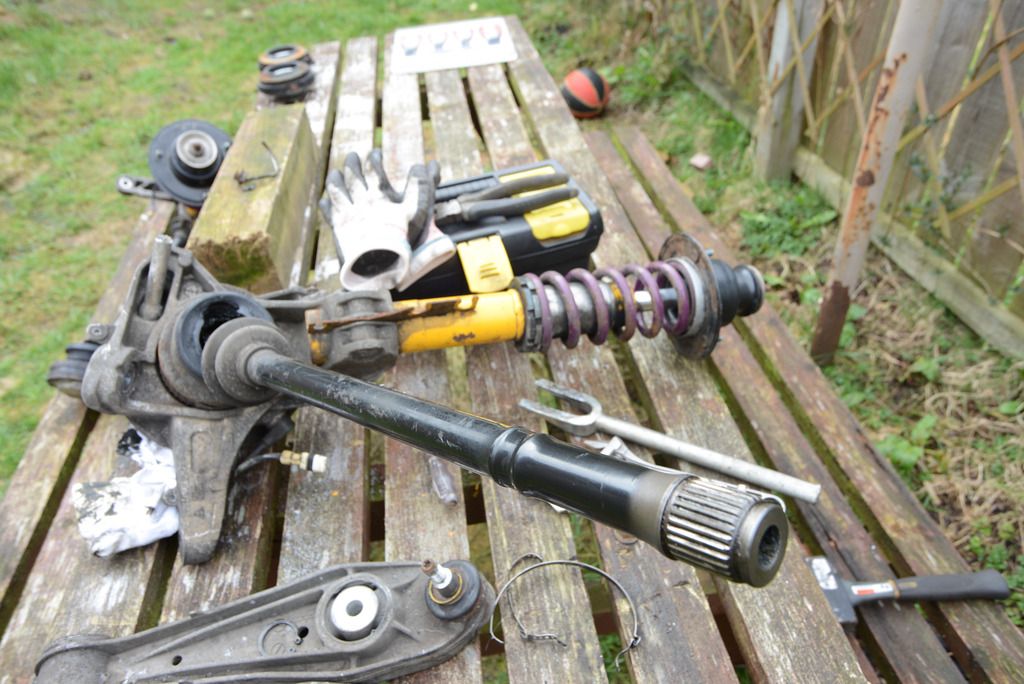
So here's the hubs and struts all built up with shiny new cv joints!
New bottom arms fitted! Drivers side has been put into the hub but after the issue I had getting the old arm out the passenger side I seem to have misplaced the little bit that came out of the hub! I'll need to have a good look for that tomorrow!
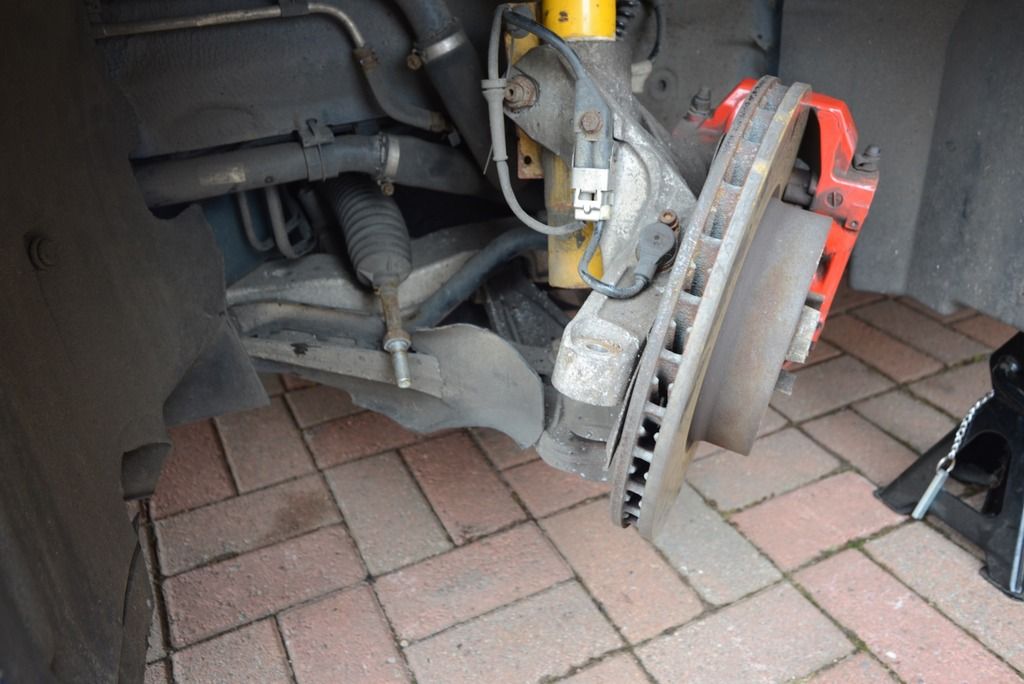
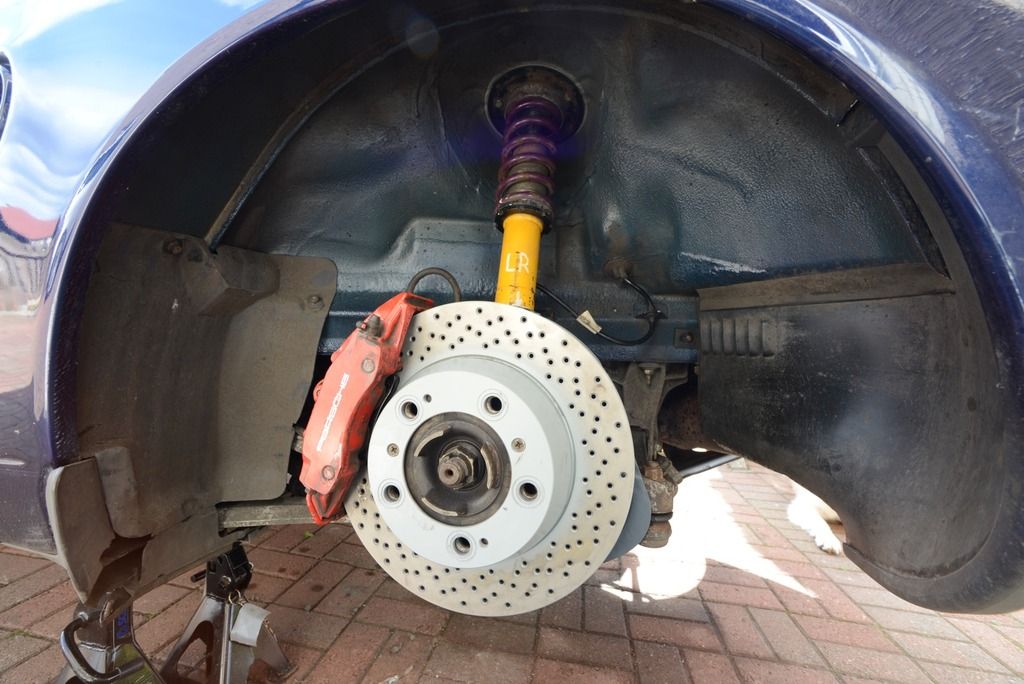
And lastly the whole hub assembly in place! Passenger side has driveshaft bolted in, but no bottom arm bolted in, drivers side has bottom ark bolted in but no driveshaft bolted in! Had to leave to pick up the dog before I could finish the whole thing! I can see the handbrake cables being a right pain! After the picture was taken I got it bolted up a bit more!
------------------------------------------------------------------------------------------------------------------------
i got a good few hours at it during the next week/weekend (first free nights and weekend in almost 2 months) so with sun in the sky and fixing head firmly screwed on i set about it!
last time i had the rear arms on so first thing was to get the handbrake and shoes all installed which went relatively easy, and then it was time for new rear discs and pads installed along with the newly painted splash guards!
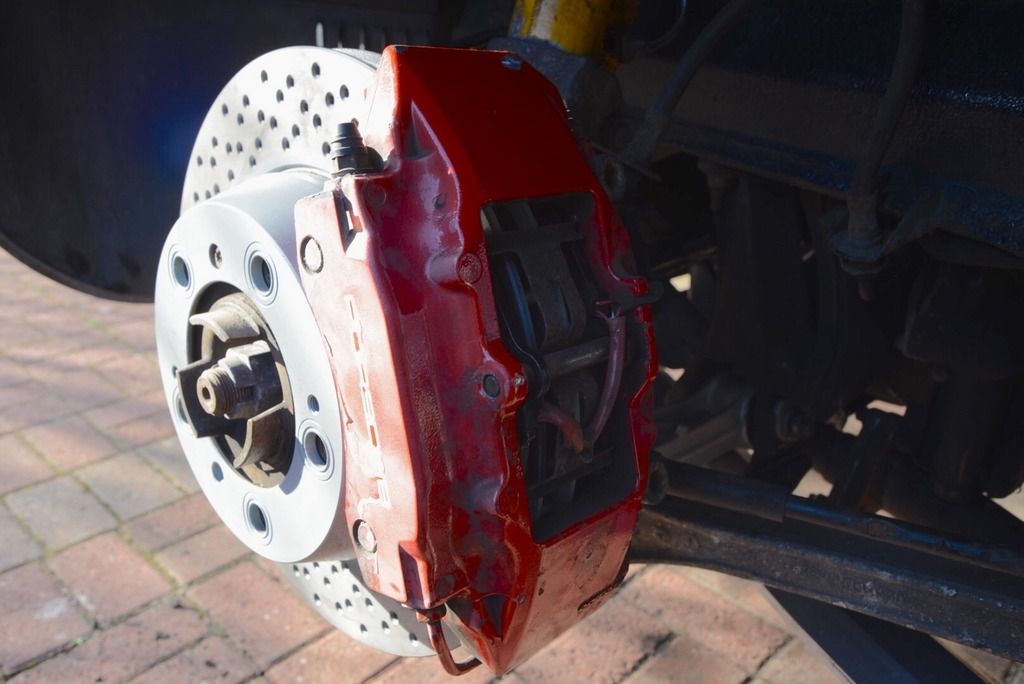
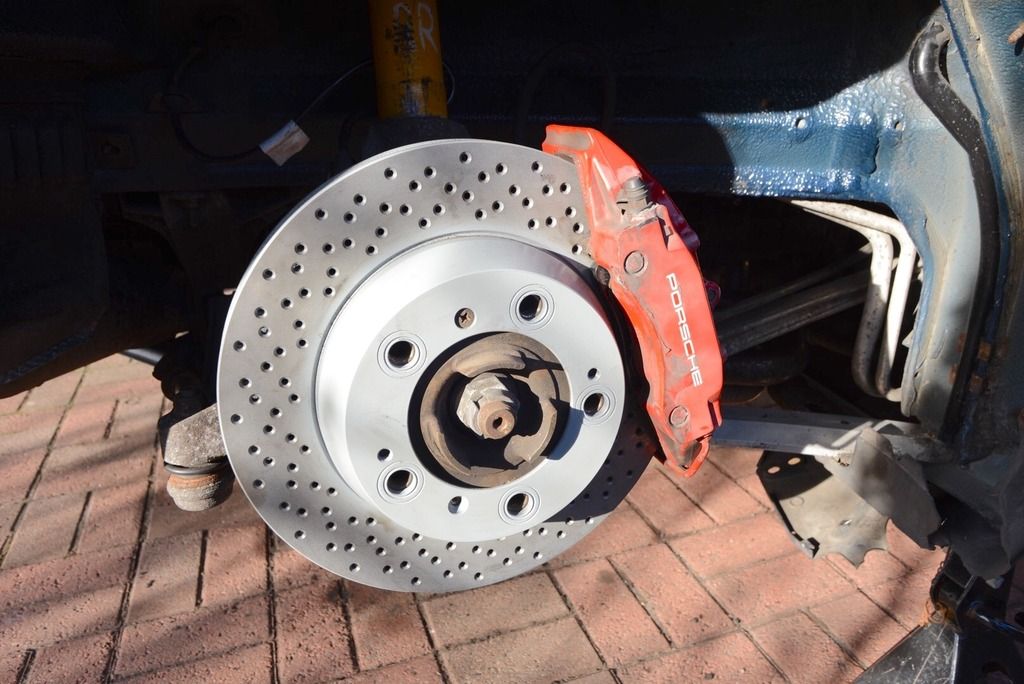
and the whole lot in the shiny arches!
then there was the underbracing to go on! the large silver piece was the bit i gave a right good cleaning weeks (maybe even months) ago and the 2 diagonal braces that keep most of the rear end tied together!
dog was more interested in enjoying being outside but in the shade whilst i done bumper installing! this included refitting the spoiler, slash guards inside the rear arches, heat shielding etc etc
|
|
|
|
|
05-12-2016, 02:11 AM
|
#74
|
|
Registered User
Join Date: Dec 2012
Location: Scotland
Posts: 106
|
and one of the most difficult jobs of all was trying to get the front bumper back on! the grilles didn't want to sit correctly, the securing holes didn't want to line up correctly, pretty much everything was a disaster but i got there in the end (minus all 3 grilles...) genuinely took around 2 hours....
and thats it, the car is back to being a complete thing again! except the interior.... but that can be done anytime... i had to rip some of it apart to do the handbrake!
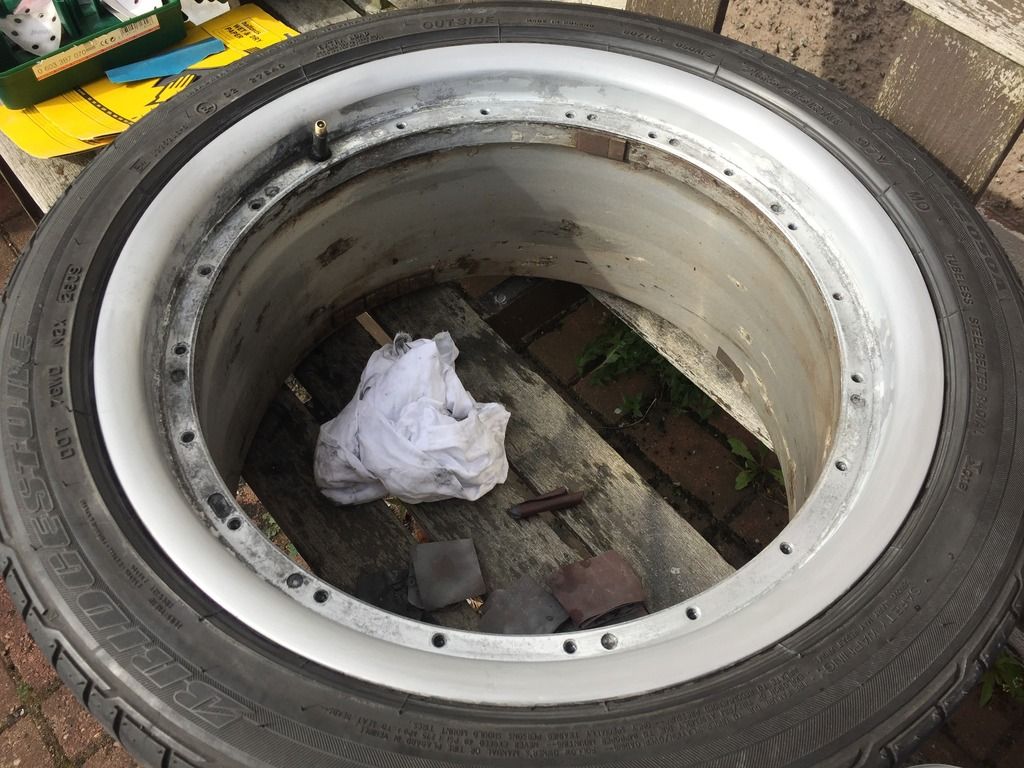
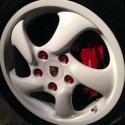
so the last thing is the wheels... they are 2 piece splits and i split the 2 rears a while ago but never done anything with them.. today decided i had best get my finger out as that is the last thing keeping the car off the road.... so i sanded down the lips (the faces are in good condition thankfully!) took the first one back to bare metal as i thought i wanted to polish them but upon inspection there were a couple marks on the first one that although would have come out, i just decided against it.... so with the second one i just sanded all the rough edges and then primered over what was there!
before with cracking paint making them look crap!
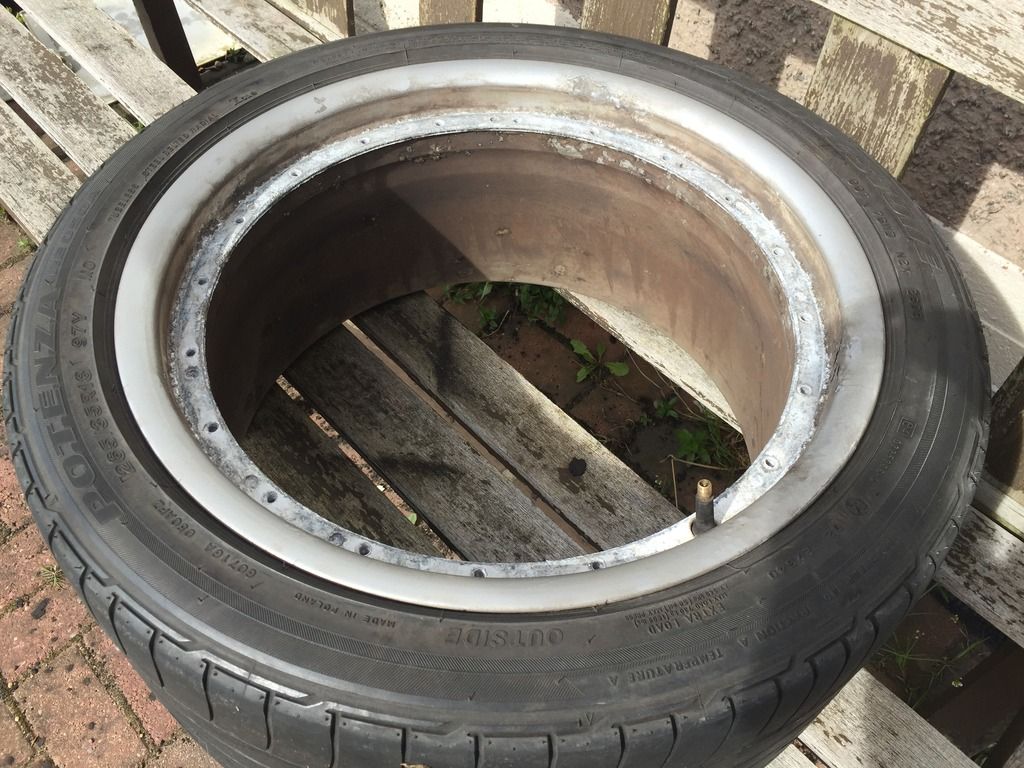
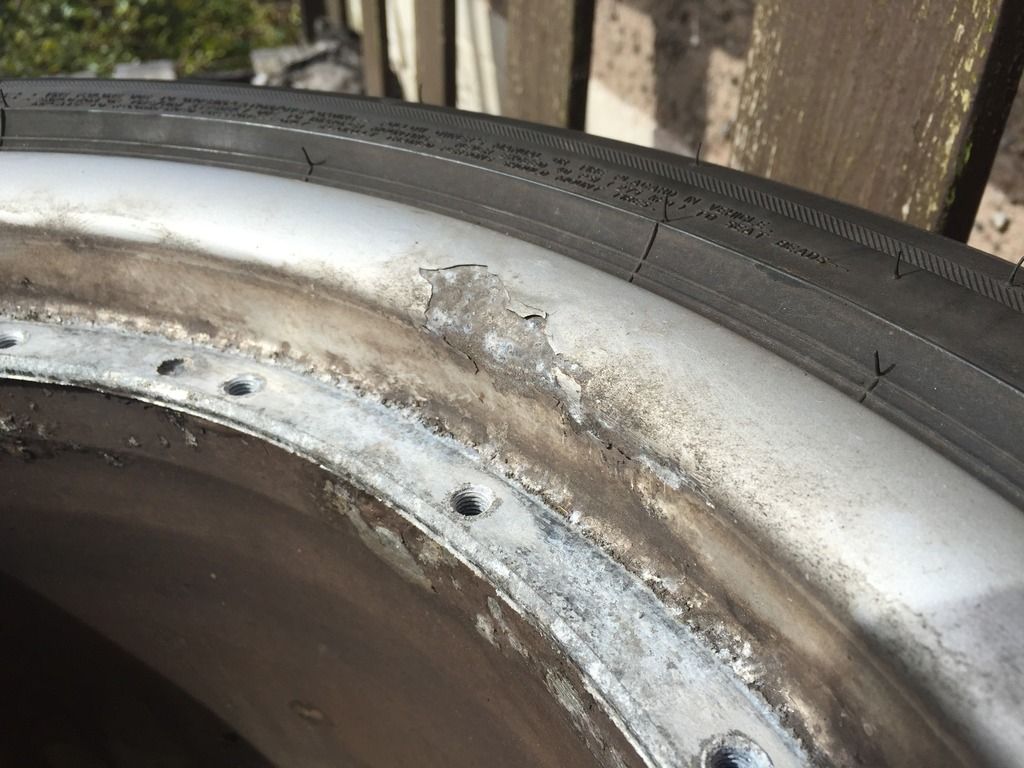
first one sanded right down
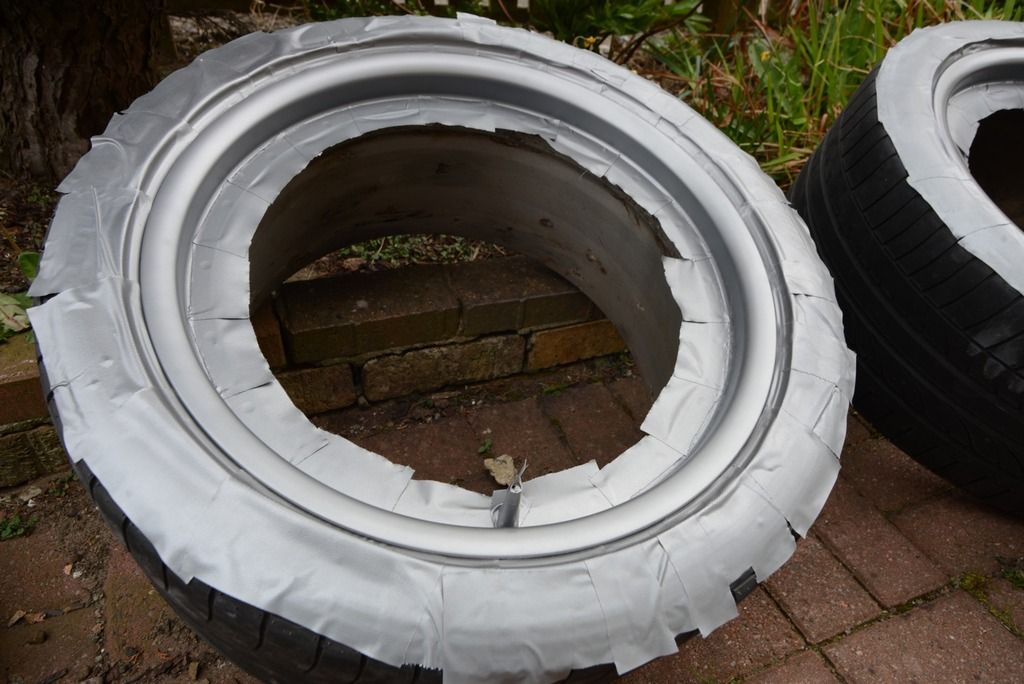
primer
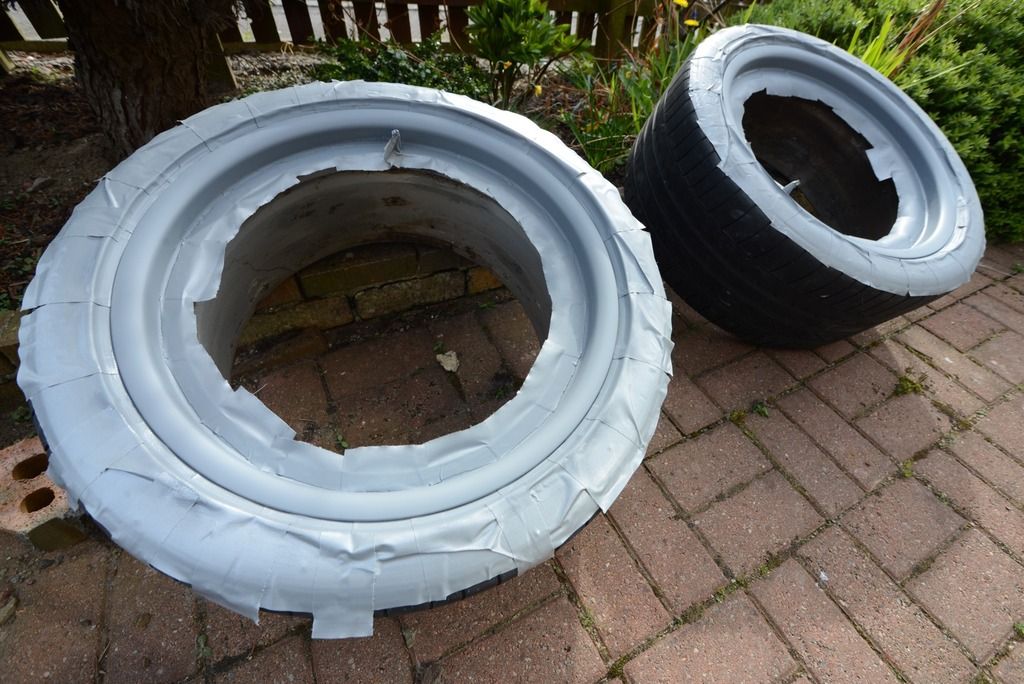
and all painted steel silver. they will get lacquered but i just couldn't find my tin of lacquer at home... need to go buy a new tinny!
------------------------------------------------------------------------------------------------------------------------
so i put in a wee bit more time on the boxster and i got it done in time for my birthday! (which was my original goal so it was good to get it done in time!)
all wheels fully rebuilt and torqued up!
|
|
|
|
|
05-12-2016, 02:14 AM
|
#75
|
|
Registered User
Join Date: Dec 2012
Location: Scotland
Posts: 106
|
|
|
|
|
|
05-12-2016, 10:30 AM
|
#76
|
|
Registered User
Join Date: Apr 2014
Location: Seattle
Posts: 362
|
Looks flush and clean, very nice work 
What kind of coil overs do you have?
regards,
Randy
__________________
2000 Boxster S, SPEC stage 1 clutch, Fabspeed sport headers, Fabspeed secondary cat deletes, Billy&Boat muffler, EVOM air intake, Ben006's Custom Short Shifter, Pedro's TechnoBrace, Eibach rear sway bar, De-snorkeled, Fred's custom projector HL
|
|
|
|
|
05-12-2016, 02:49 PM
|
#77
|
|
Registered User
Join Date: Nov 2015
Location: South Wales, UK
Posts: 852
|
Fantastic updates, my favourite read on the forum 
What lens for the camera do you use bud?
__________________
Porsche Boxster S Type 986
Bi-xenon Headlight Upgrade | 987 S 18" Anthracite Alloys | Android Head Unit | 5000k 55w HID's | 5000k Cree DRL's | 5000k Cree number plate lights | Cree LED Indicators | One-touch roof operation | Bypass exhaust pipes | Parking sensors | Ambient footwell lighting
|
|
|
|
|
05-13-2016, 05:08 AM
|
#78
|
|
Registered User
Join Date: Dec 2012
Location: Scotland
Posts: 106
|
Quote:
Originally Posted by Dubaday
Looks flush and clean, very nice work
What kind of coil overs do you have?
regards,
Randy |
thanks! the coilovers are Spax RSX which were made specifically for the porsche boxster race series cars that race in the UK as these were the required suspension for the race series! once the series made Gaz coilovers required fitment these came up for sale. i managed o get a set on ebay real cheap!
Quote:
Originally Posted by geraintthomas
Fantastic updates, my favourite read on the forum
What lens for the camera do you use bud? |
thanks, that means alot!
i use my iphone for some pictures but for the majority it is a Nikon D600 with a 15-30mm tamron lens or a 50mm nikkor prime lens
|
|
|
|
 Posting Rules
|
You may not post new threads
You may not post replies
You may not post attachments
You may not edit your posts
HTML code is Off
|
|
|
All times are GMT -8. The time now is 08:46 AM.
| |


 2001 Boxster S
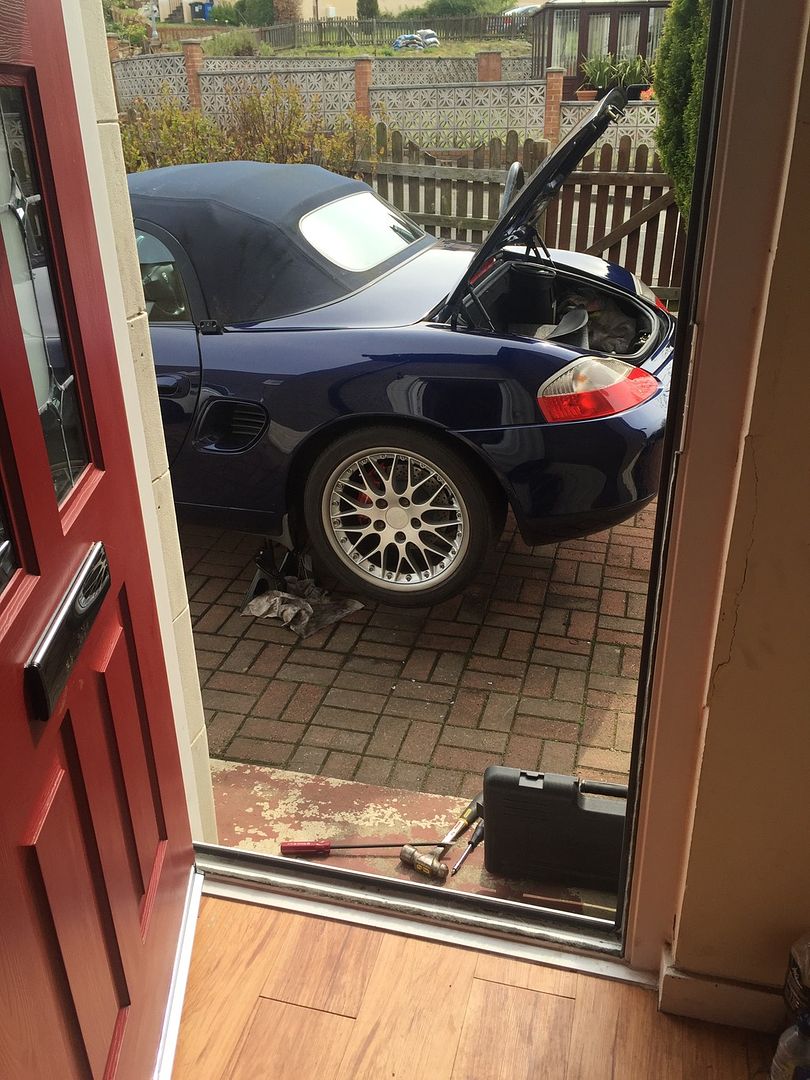

 Ocean blue
 Linear Mode


