Go Back   986 Forum - The Community for Porsche Boxster & Cayman Owners > Porsche Boxster & Cayman Forums > Performance and Technical Chat

Post Reply
 
LinkBack Thread Tools Display Modes
Old 12-17-2012, 08:49 PM   #1
Registered User
 
BruceH's Avatar
 
Join Date: Jun 2012
Location: Bedford, TX
Posts: 2,757
Garage
I need a neighbor like you! Nice work
__________________
______________________________________________
2001 Boxster S Lapis Blue
TS Cat Bypass Pipes and exhaust
iPad Mini Dash Install
DEPO Tail Lights
BruceH is online now   Reply With Quote
Old 02-01-2013, 07:19 AM   #2
1999 base
 
Meir's Avatar
 
Join Date: Dec 2011
Location: Coral Springs FL
Posts: 1,617
Garage
it has been almost 3 weeks since i finished my project, but couldn't find the time to update the thread.
i will post some impressions, to help those who follow.

so i will pick up where i left.
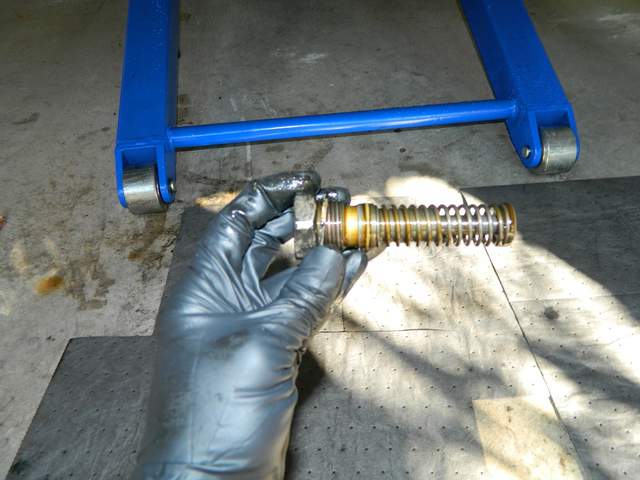
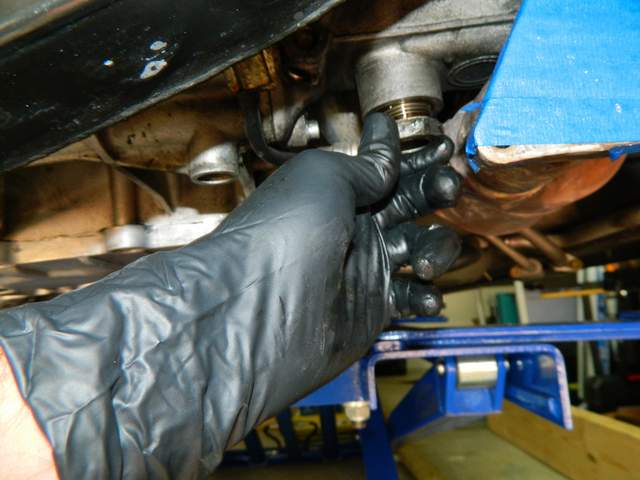
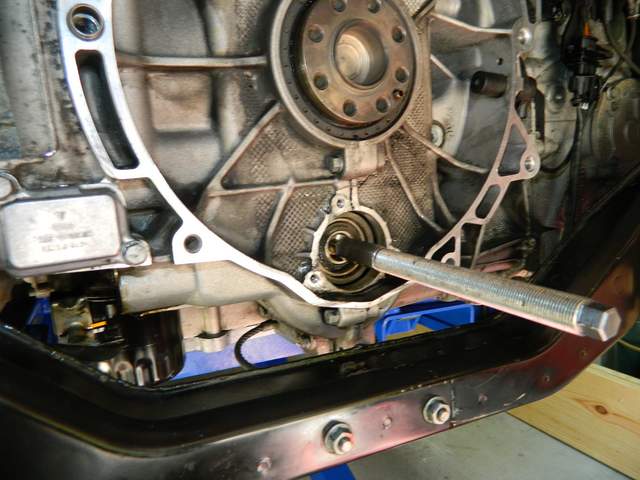
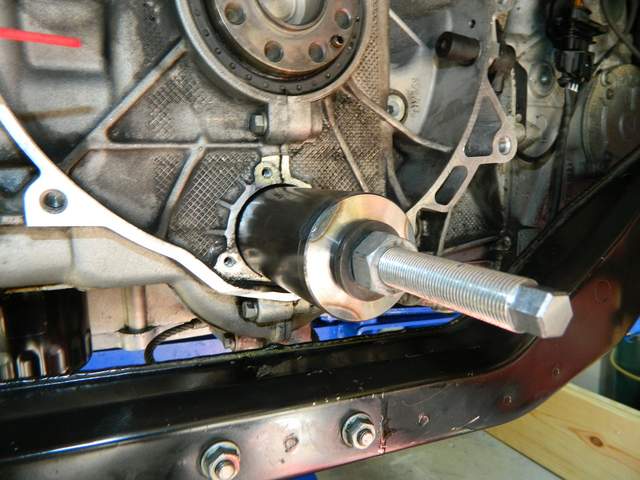
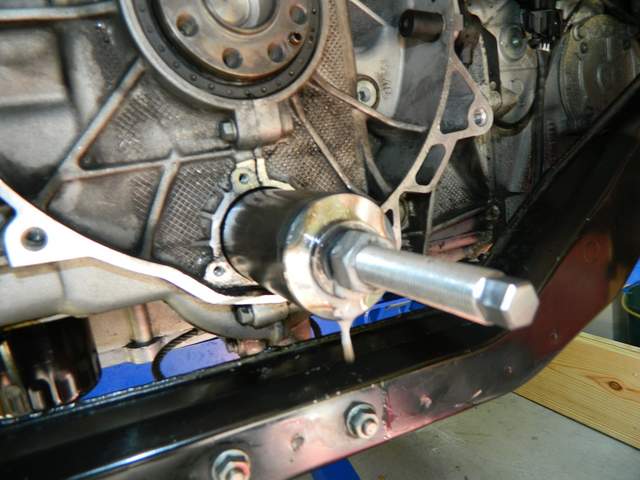
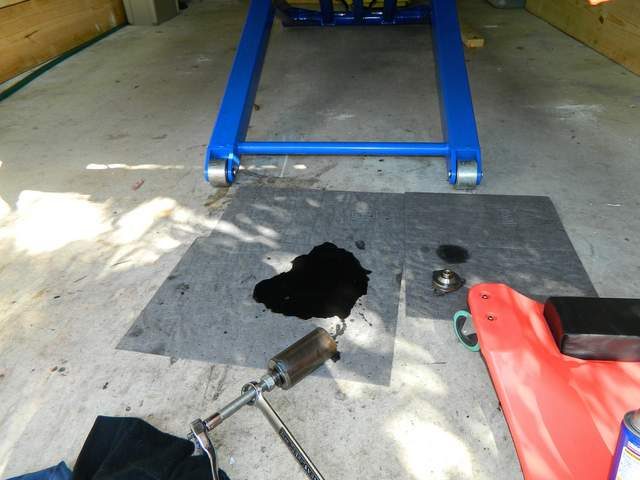
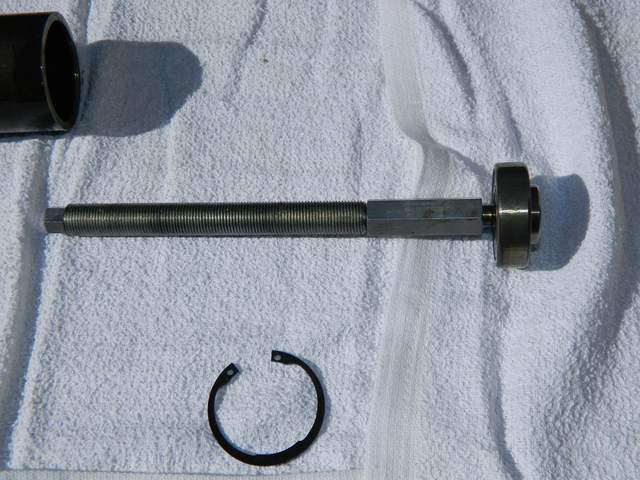
less then a week after my last post, i received my new bearing.
i put it in the freezer, connected to the installation tool (in a Ziploc bag)

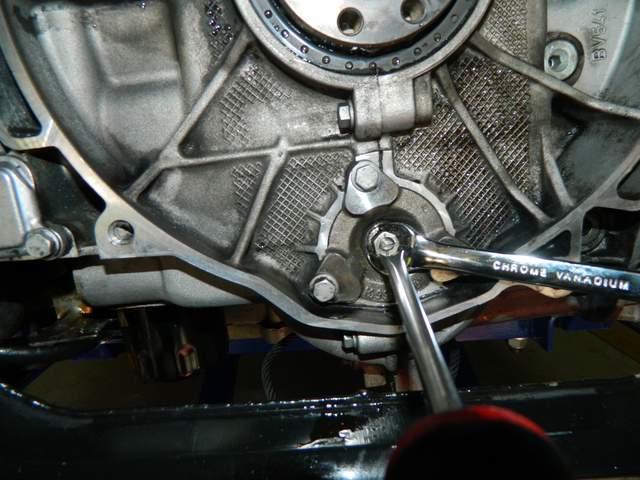
next morning i jumped back in, put the engine at TDC and locked the pulley.
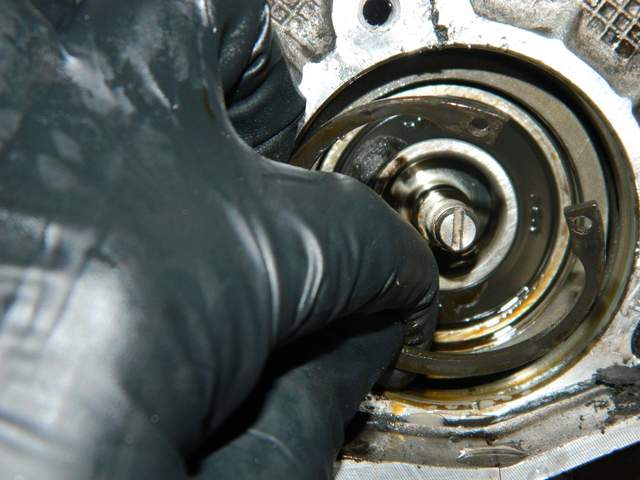
removed the lower cam plug on both banks and made sure the "groove" on the cam is seating vertically.
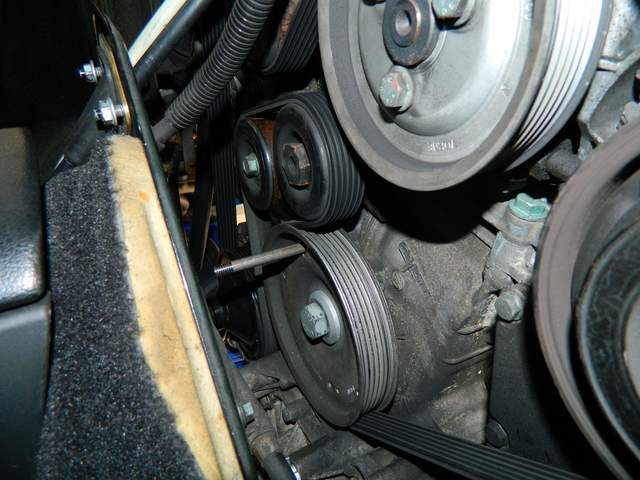
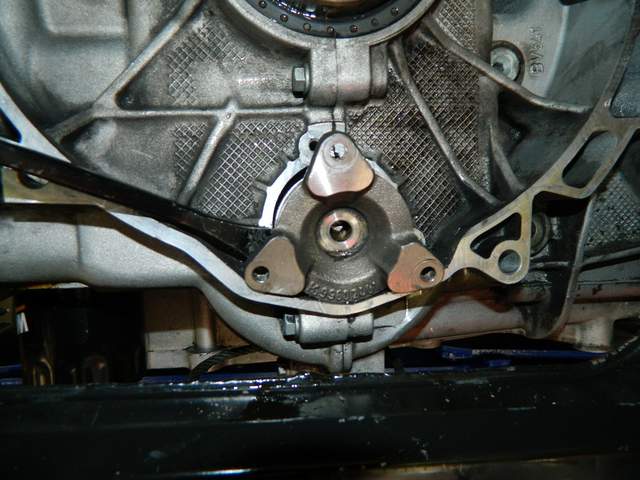


bank 1


bank2


just for additional reference, i marked the cam on bank 2 with a Sharpie, but i don't think it is necessary.

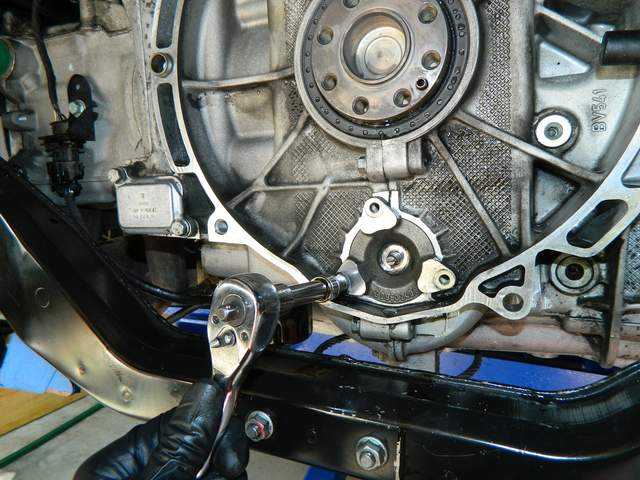
i installed the cam look tool on bank one, using a 6X10mm bolt i got from Ace.
this step is very crucial. i can definitely see how the tool can be installed without locking the cam.

MAKE SURE THE TOOL IS FULLY SEATED IN THE GROOVE.


Last edited by Meir; 02-01-2013 at 07:29 AM.
Meir is offline   Reply With Quote
Old 02-01-2013, 07:33 AM   #3
Registered User
 
Johnny Danger's Avatar
 
Join Date: Nov 2008
Location: Massachusetts
Posts: 4,810
Garage
Once again ! Why aren't there any good DIY'ers up here in New England ??
__________________
Don't worry … I've got the microfilm.
Johnny Danger is offline   Reply With Quote
Old 02-01-2013, 06:24 PM   #4
1999 base
 
Meir's Avatar
 
Join Date: Dec 2011
Location: Coral Springs FL
Posts: 1,617
Garage
Quote:
Originally Posted by Johnny Danger View Post
Once again ! Why aren't there any good DIY'ers up here in New England ??
Let me know when you'r ready.
Can pack up the tools and jump on a plane.
Never been to massachusetts before

Disclaimer: ambient temperature must be at 70 degrees farenhite or above, for selected dates.
Meir is offline   Reply With Quote
Old 02-01-2013, 07:54 AM   #5
1999 base
 
Meir's Avatar
 
Join Date: Dec 2011
Location: Coral Springs FL
Posts: 1,617
Garage
after checking myself 5 times, and making sure all is in place, i was ready to remove the old bearing.
started by removing the 2 tensioners.
the one that holds the IMS chain (seats horizontally next to bank 2):


second tensioner, from bank 1:


remove the center nut of the IMS cover, using a large screwdriver and 13 mm wrench:


Meir is offline   Reply With Quote
Old 02-01-2013, 08:03 AM   #6
1999 base
 
Meir's Avatar
 
Join Date: Dec 2011
Location: Coral Springs FL
Posts: 1,617
Garage
removed 3 bolts from IMS cover:


twisted the cover clockwise, and used small pray bar to remove cover.
take your time and be gentle with it. it will come out.


once the cover is removed, remove the circle clip. put you finger in the center, to prevent it from falling inside the engine.


the bearing is ready to receive the removing tool.
i played with the center stud to check for play. non what so ever.
Meir is offline   Reply With Quote
Old 02-01-2013, 08:13 AM   #7
1999 base
 
Meir's Avatar
 
Join Date: Dec 2011
Location: Coral Springs FL
Posts: 1,617
Garage
at this point, i wasn't sure if i was doing it right, but it worked, so i dont care.
the extraction tools comes with two studs.
i installed the short one on the bearing.


then the long one on top of it.


slide the removal tool with the washer and nut (hand tight).


as recommended by LN, i sprayed the surface between the washer and the tool with WD-40

Meir is offline   Reply With Quote
Old 02-01-2013, 08:36 AM   #8
1999 base
 
Meir's Avatar
 
Join Date: Dec 2011
Location: Coral Springs FL
Posts: 1,617
Garage
for extracting the bearing, i wanted to have the best grip and torque i can get.
so i slide a 16mm wrench on the nut, and held the center bolt with a 13 mm socket.


holding the ratchet in my left hand and turning the socket clockwise, extracted the bearing with no effort at all. in fact, i was a littel bit sorpraised how easy it came out.


one of my fears, was to find out the IMS is not centered (based on other posts i read). i was happy to see it was perfectly centered, and i do not need to remove the third tensioner (a true PITA to remove).


Last edited by Meir; 02-01-2013 at 09:10 AM.
Meir is offline   Reply With Quote
Old 02-01-2013, 08:48 AM   #9
1999 base
 
Meir's Avatar
 
Join Date: Dec 2011
Location: Coral Springs FL
Posts: 1,617
Garage
here are some pics of the bearing on and off the tool.


removed the plastic seal. no grease, but also no play in the bearing.
in fact, it looks brand new after 77K.

Meir is offline   Reply With Quote
Post Reply


Thread Tools
Display Modes

Posting Rules
You may not post new threads
You may not post replies
You may not post attachments
You may not edit your posts

BB code is On
Smilies are On
[IMG] code is On
HTML code is On
Trackbacks are On
Pingbacks are On
Refbacks are On


All times are GMT -8. The time now is 06:29 PM.


Powered by vBulletin® Version 3.8.7
Copyright ©2000 - 2026, vBulletin Solutions, Inc.
Content Relevant URLs by vBSEO 3.6.0
Copyright 2025 Pelican Parts, LLC - Posts may be archived for display on the Pelican Parts Website -    DMCA Registered Agent Contact Page