I tried using the set screws and directions in the
Pelican Parts DIY too. Bad. bad....
Then there was this Video which is referenced by LN:
Porsche 911 Carrera (996) 1999-2005 - Intermediate shaft (IMS) bearing DIY, how to replace - YouTube
After doing the job on two engines I really think that this is the
BEST DIY for this job: PORSCHE BOXSTER IMS INSTALLATION
Mr. Raby is most certainly correct, and being a skilled professional would not endorse how I would attempt to complete the installation using the failed procedure. But I had a bad engine already and nothing to lose:
You marked your cam positions IAW the Pelican directions didn't you? If so, you can try following through on that troubled path....
No need to review my troubles, but at this point, I'd suggest that you put a broom handle size dowel or pipe in the bearing hole and guide it
as close as you can back into position with all three tensioners released. Then reset the set-screws (best with 2 people). From there try the 'easy out tool' and follow through the directions of that DIY. Be sure to
FREEZE THE NEW BEARING AND TOOL. The next critical point is getting the shaft centered enough to get the cover back in position. Mine was only slightly out at this point and I was able to align the screws enough to pull it into place.
If you think that in the process, you stressed the new bearing enough to damage it, you probably did. Get a new one and start again. This time use the TDC method.
Good luck


 Boxster
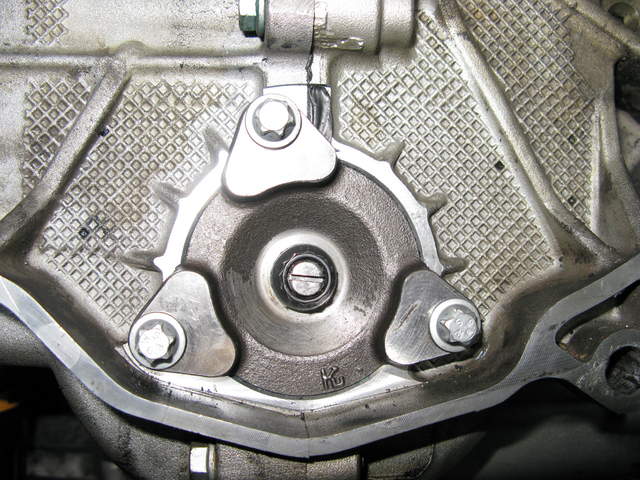
 Cheers

 Parts Car, car parts
 Honda Del Sol(s)
 "Hers"
 My Original '99
 The 78 F350
 This
This That
That The S 2.5
 Other
Other
 Hybrid Mode


