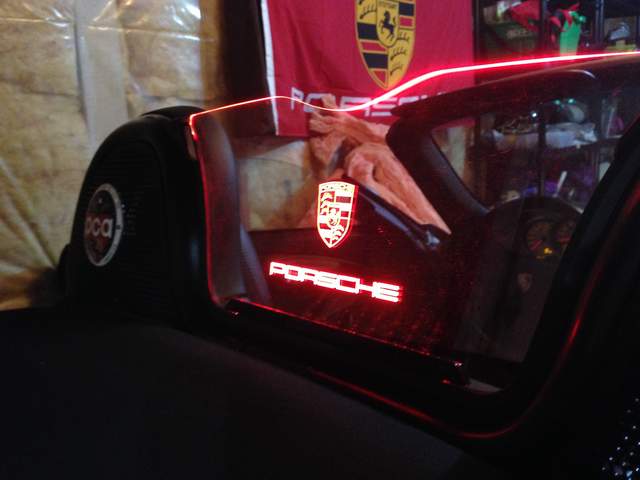
How I installed My Windstop
Step One -
Carefully push the windstop clip and pull the windstop towards the back of the car. The wind stop should pop out easily and without much force. ( Take care not to break the clips )
Step Two -
Once you have your windstop out pull the bracket away from the screen. The bracket should come away relatively easily.

Step Three -
Line up your illuminated windstop to the bracket. You will have to drill a small hole for the cable to run though. I used a small drill bit and drilled from the top down, then from the bottom up applying pressure along a horizontal path ( so the connector can slide past )
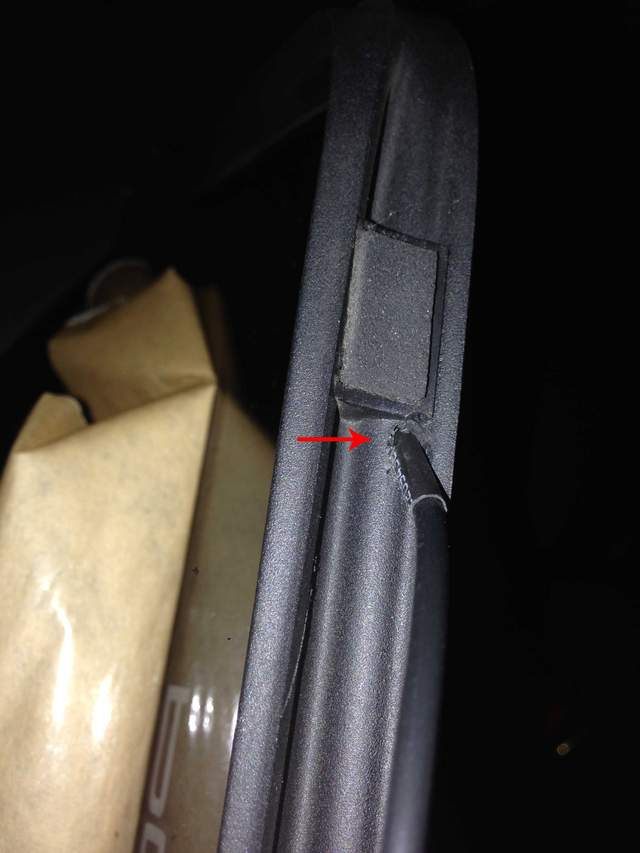
Step Four -
Install your illuminated windstop into the bracket and install it onto your car. You will want to keep the protective sheet on the windstop for now. Make sure the wire runs towards the driver side. I used a large flat screwdriver with paper towel wrapped around the tip and pushed the wire into the gap on the roll bar cover.

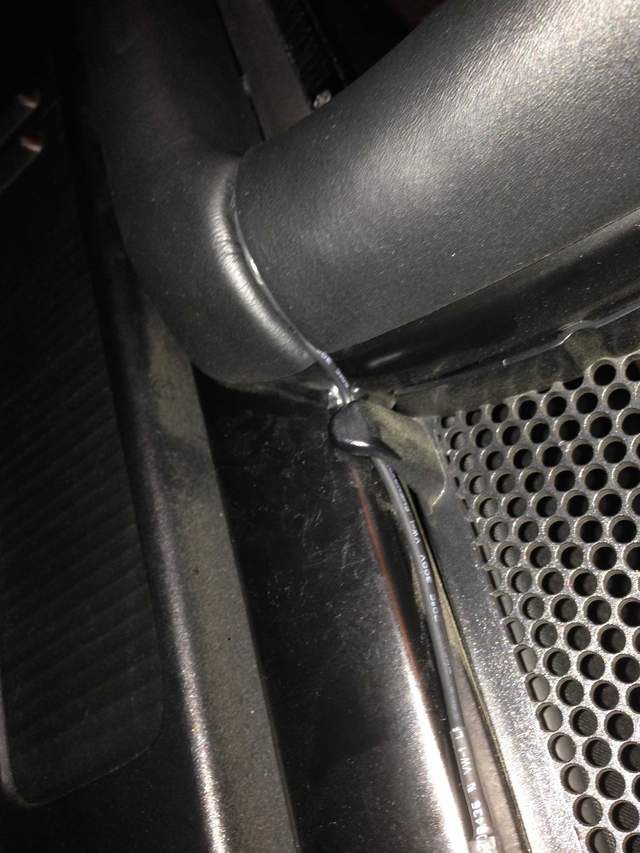
Then keep running it around the back of the seat
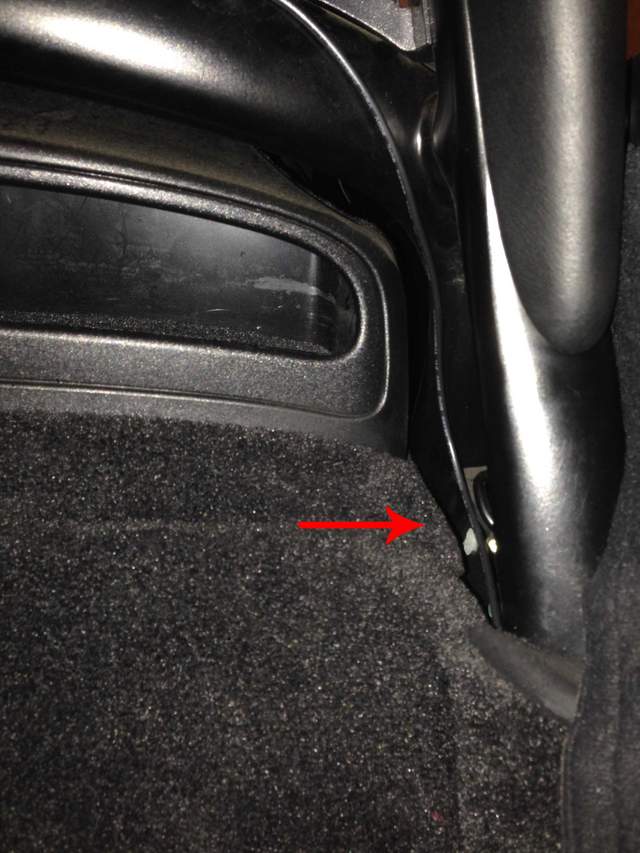
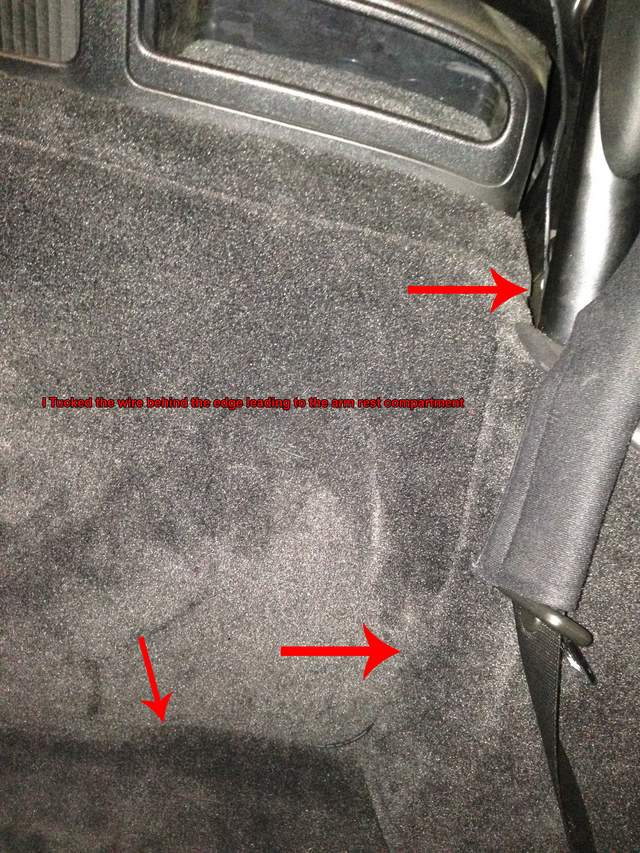
Step Five
Run the wire into the seam of the access panel down leading to the arm rest cubby
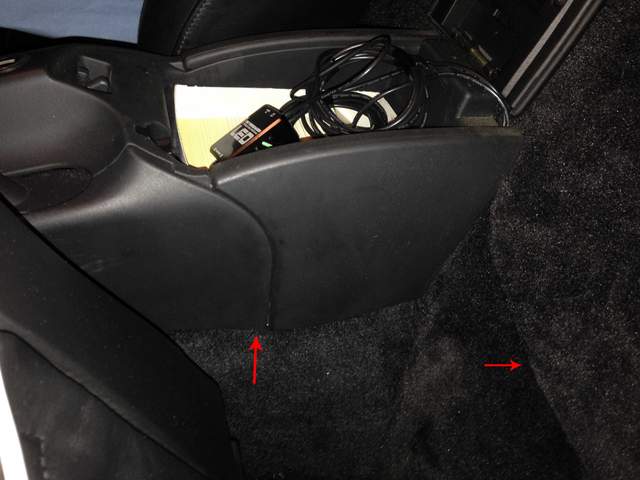
I removed the ash tray, and the ash tray housing to access the ash tray light circuit.
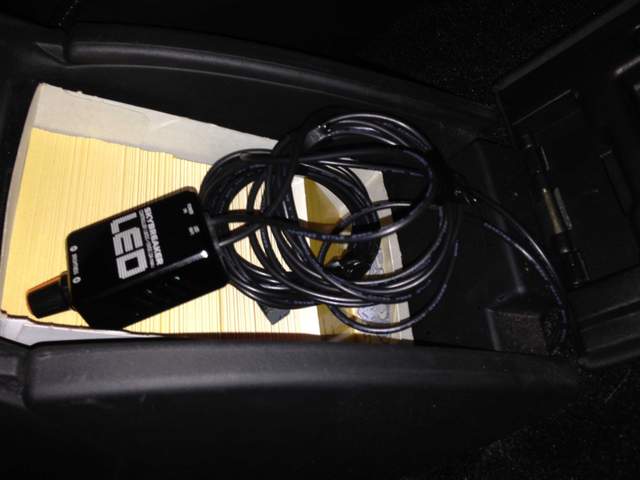
I fed the power cable up underneath the parking brake. Once I had the wire where i wanted it, I tucked the wire up inside the console ( see the above picture )
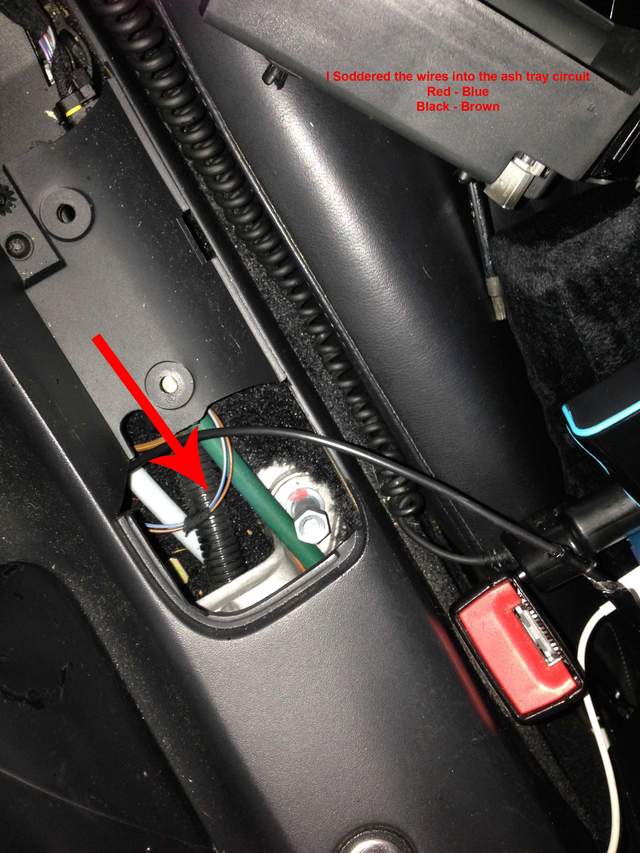
As per the image above I soldered the wires into the ash tray circuit. Once done I wrapped with electrical tape and re installed the ash tray.
Sorry for any mistakes and Fred/ Charles please add in if i did anything wrong!
Hopefully this helps as a reference for you guys.
PS Fred thanks for making such an amazing product!


![Porsche Wind Deflector with Edge Lighting [from CAD, prototyping to finish]](/forums/iconimages/diy-project-guides/porsche-wind-deflector-edge-lighting-%5B-cad-prototyping-finish%5D_ltr.gif)


 Hybrid Mode


