DIY Exhaust Mod Gain of 10+ HP!!!
10+, I wish, LOL, but it sure does sound better

Ive thought about doing the PSE mod for a while now, but after doing some research I thought there was a cheaper and easier way, so I tried it.
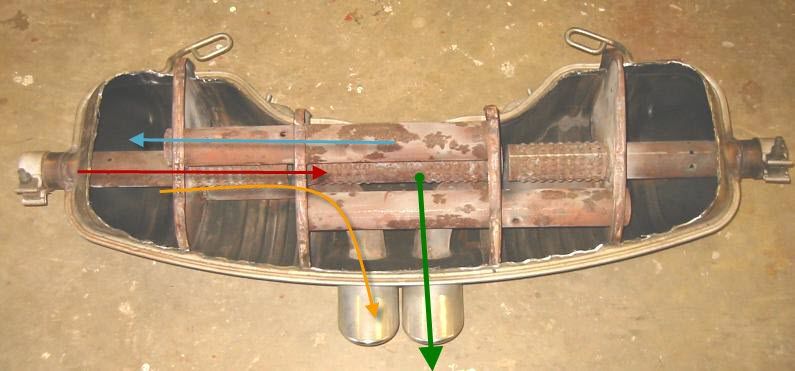
My theory is this. The inside of a 986 muffler has the exhaust going from chamber to chamber before exiting, what if I could decrease the amount of chambers?
See image below, the RED is the where the exhaust comes in, and then it goes to AQUA, before existing via the TAN.
My mod is allow fumes to exit much faster by opening the exit pipes to the first chamber, see the GREEN line.
Below are directions what I did. Let me know your thoughts:
Take the Tips off:
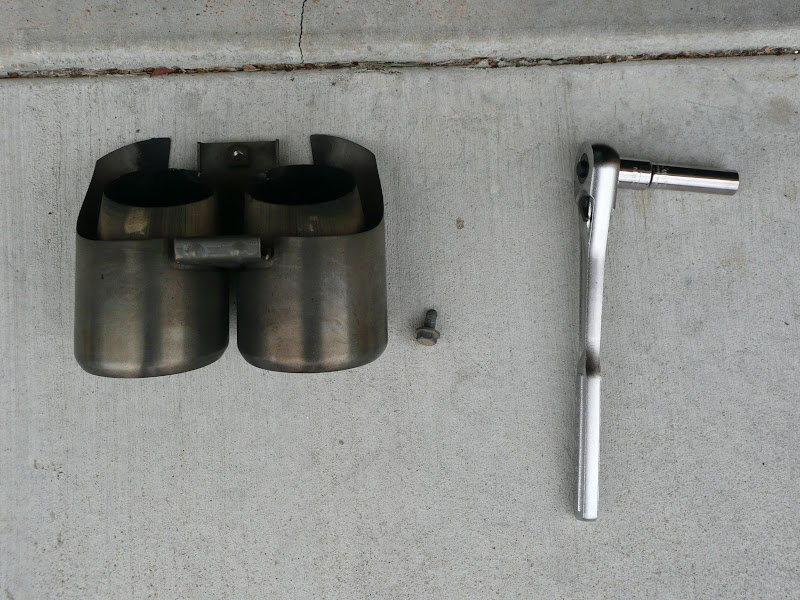
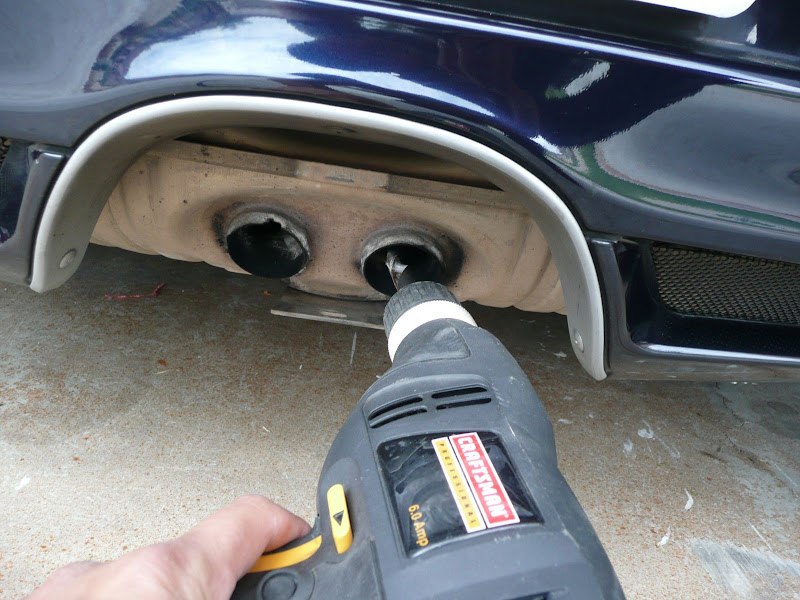
Tool needed, I used a ½ inch drill bit:
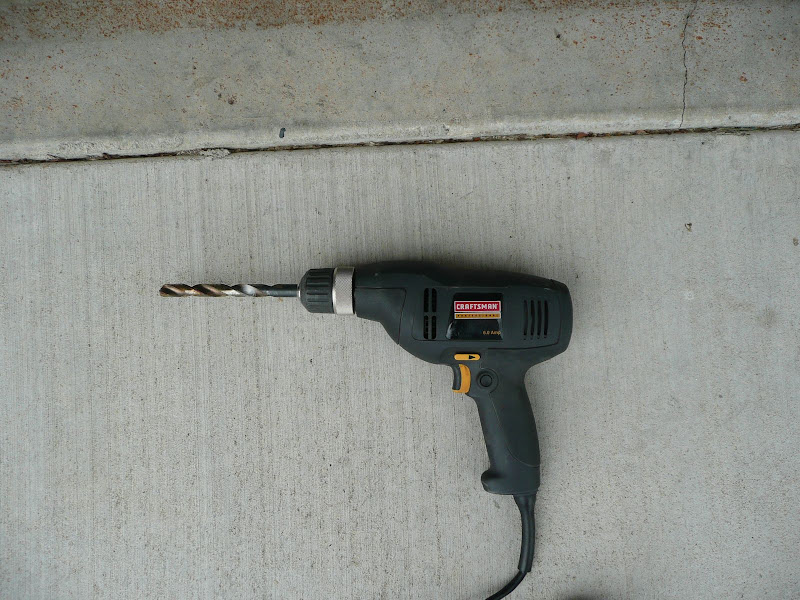
Now drill away:
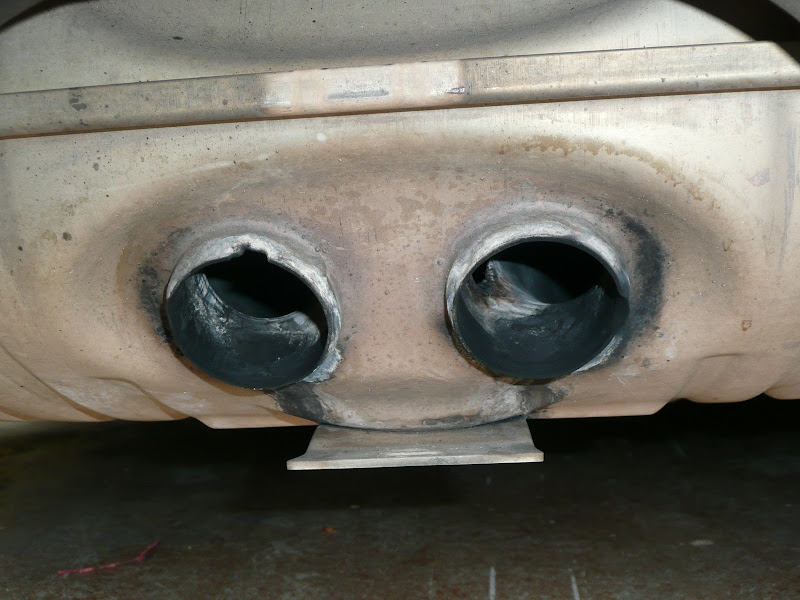
Both sides should be drilled into and then would look like this:
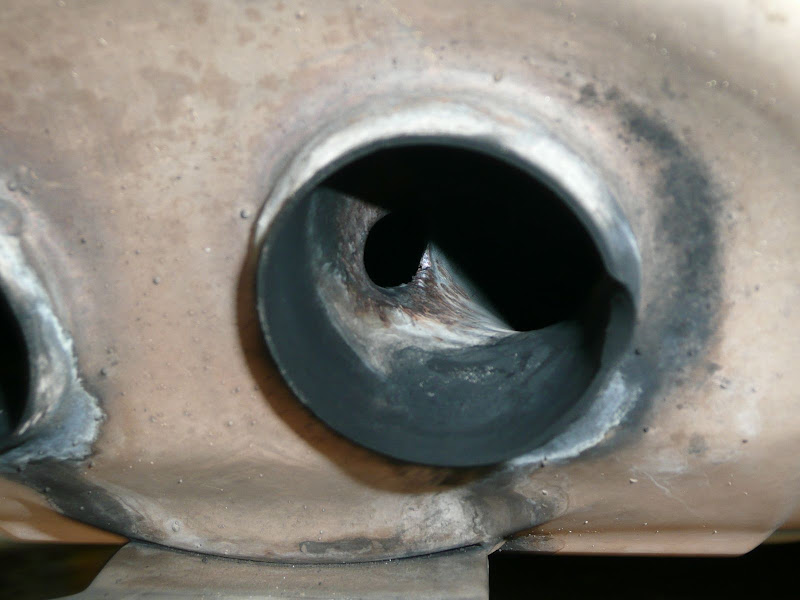
2nd Pic
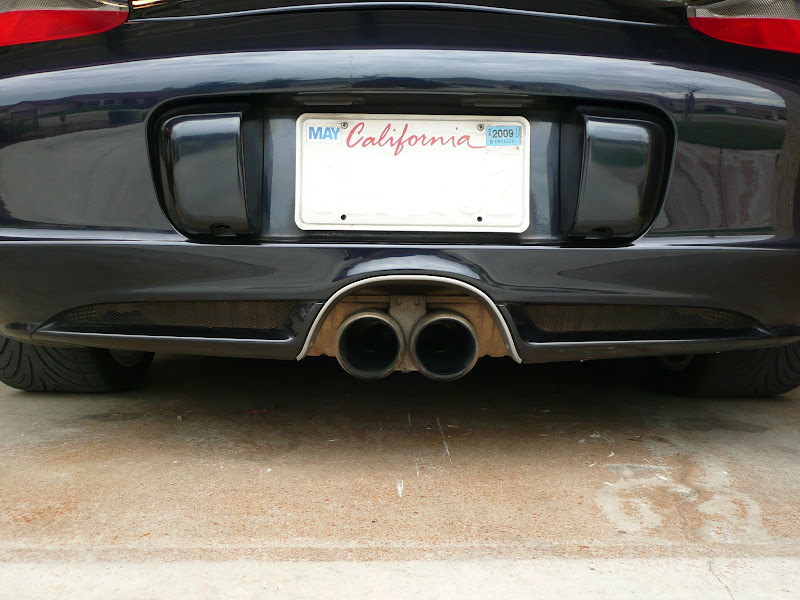
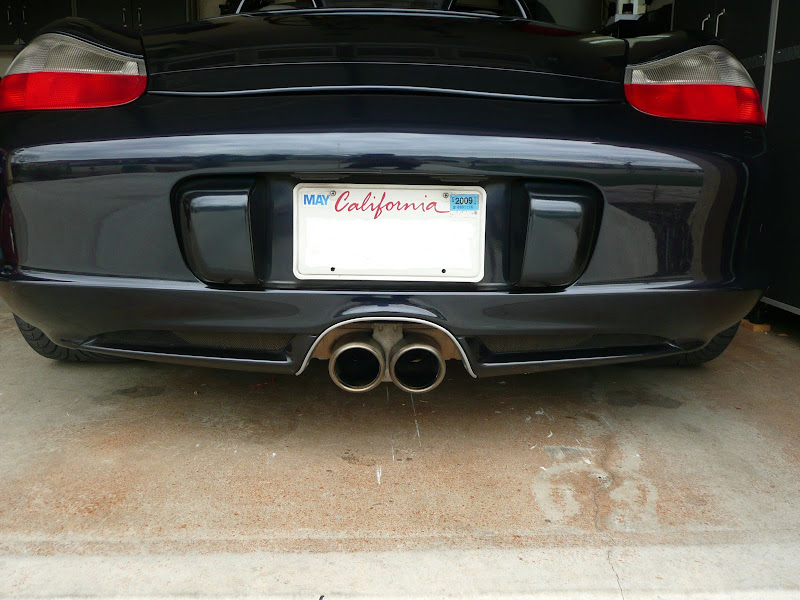
Install Tips back on, after cleaning of course
and enjoy the new throaty sound without the deafening/annoying drone!!
I guess one could try larger drill bits and it would get louder, but Im sure theres a point before the drone comes into play.
I dont have a sound file of the before, but here is the after for your hearing pleasure:
http://www.youtube.com/watch?v=RfRErzkyqNc
Thanks,
Cesar
__________________
-Cesar
03' 986 Midnight Blue Metallic
_____________________________________________
Gemballa Lowering Springs | 18 Carrera Light Wheels | Painted Calipers
14/18 H&R Spacers | Aero Wing & Rockers | Powder Coated Exhaust
Creator of CRIOS exhaust mod | De-Snorkeled | De-Ambered
Light Weight Flywheel | Tinted Windows and Windscreen
Painted Bumperettes | 550 Spyder Grille Kit
http://lh5.ggpht.com/_9sTq_sN1KDw/Si...2009%20055.jpg


 Threaded Mode


