Got my parts and put them back together, but didn't get around to this, it turned out to be such a simple procedure that I'm not sure it warranted a DIY thread...
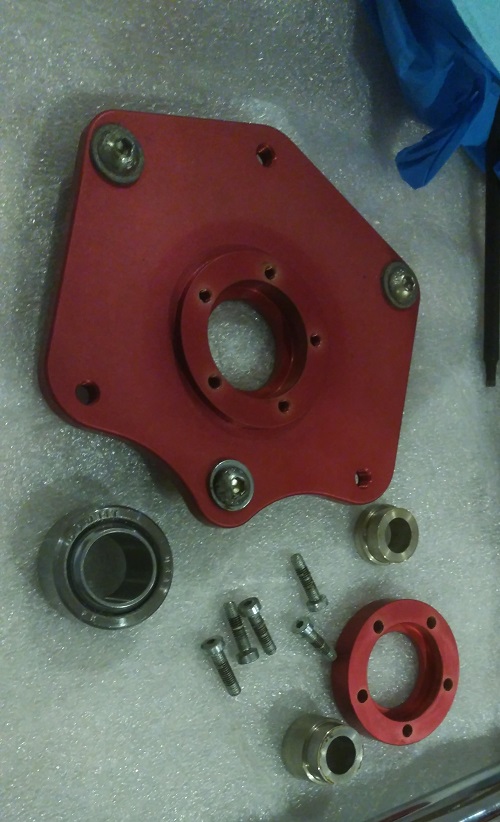
New spherical bearing and camber plate parts disassembled
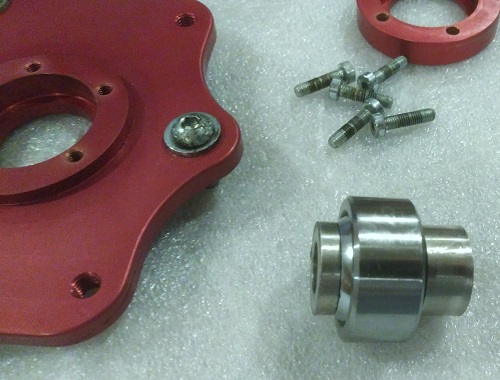
Spacers installed into the bearing with a little blue loctite to hold them
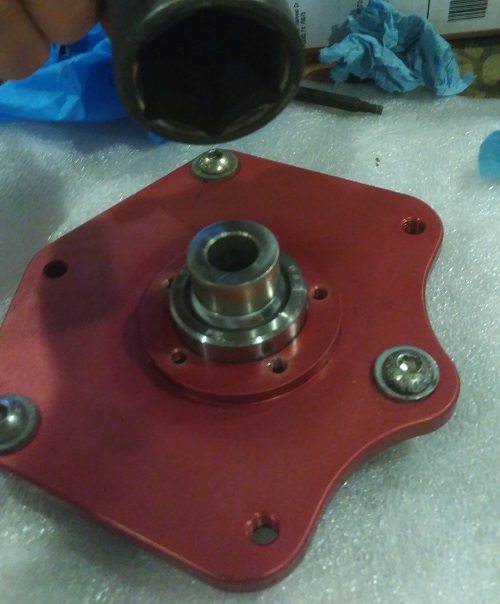
Bearing installed into the plate from the underside, I tapped it in with a big socket (34mm I think, whatever the axle nut socket size is)
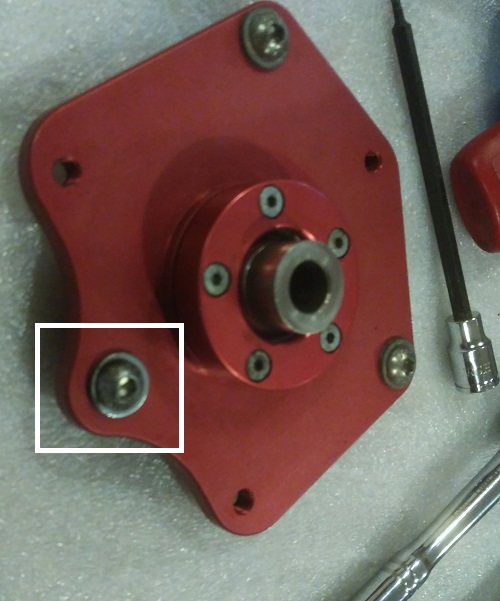
To get the bearing retainer cap on, I used the 5 screws and worked around in an alternating pattern (like lug bolts). Each time I would take up the slack, and then give about half a turn or so. It was easy to do by hand, I didn't need to use a wrench, until the very end when I torqued them down to 45 inch/pounds.
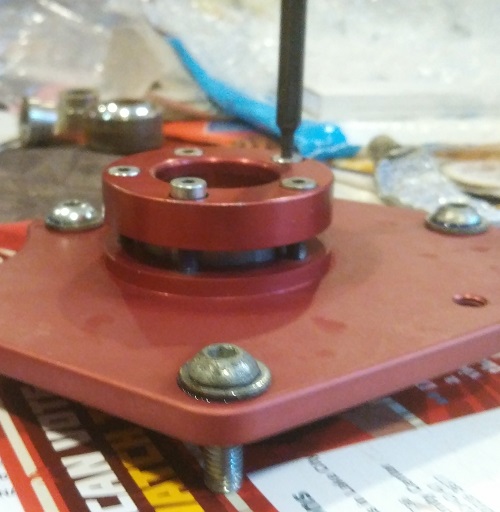
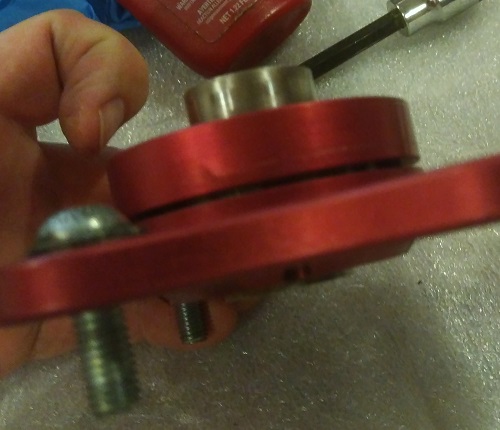
When this cap is torqued down, there is still a small gap, around 1.5mm between the cap and the plate body
All done and ready for installation onto the strut. If you are using these with the OEM strut top thrust bearing (when using these with OE springs, PSS9, and similar) then this washer might hit that bearing, but if you loosen the bolt and move the washer as far outboard as it will go before tightening it back, it will clear.