Quote:
Originally Posted by Highrise

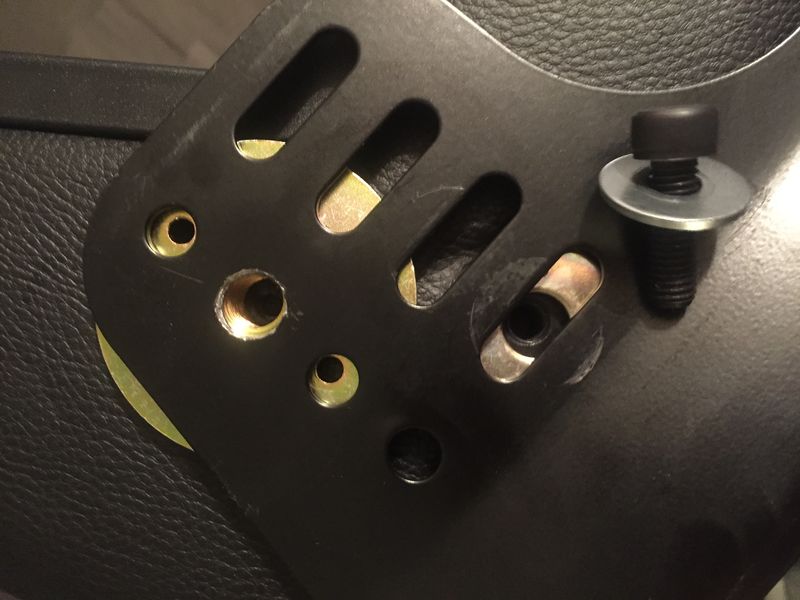
Here you can see the seat belt mount placed between the seat and side mount. The only real modification needed was drilling out the hole to 1/2" for the factory 7/16 bolt to clear.
 |
I like it! No shimming between the side mount and floor mount!
When you go to install the seat, this tool will be your friend:
http://www.amazon.com/GearWrench-9221-Double-Ratcheting-Wrench/dp/B000HBF5LQ?ie=UTF8&psc=1&redirect=true&ref_=oh_aui_search_detailpage
Since you are floor mounting without sliders you will have to wriggle your hands around the back and under the seat to get the floor mount bolts in. Once you get it going you can use this to ratchet it down.
For final tightening I used the smallest wrench from this set (since I was afraid I would ruin the ratchet mechanism on the other one)
7 Pc Metric Universal Combination Wrench Set
What worked for me was to start all the 2 back seat mounting floor bolts very loosely, then the front 2, and once all 4 were started, go back and tighten them up the rest of the way.
Your seat belt receptacle mounting hole may be a fair amount bigger than the bolt, if a sleeve/bushing didn't come with your Omix-ada seat belt receptacle adapter you would want to get something like SR s65 from here:
https://www.schrothracing.com/competition/hardware/bolt-in-hardware
This will allow your seat belt receptacle to pivot and will spread the load around, instead of concentrating it onto one contact point on the threads of your 7/16 bolt.