this is how it looks with the hub removed.
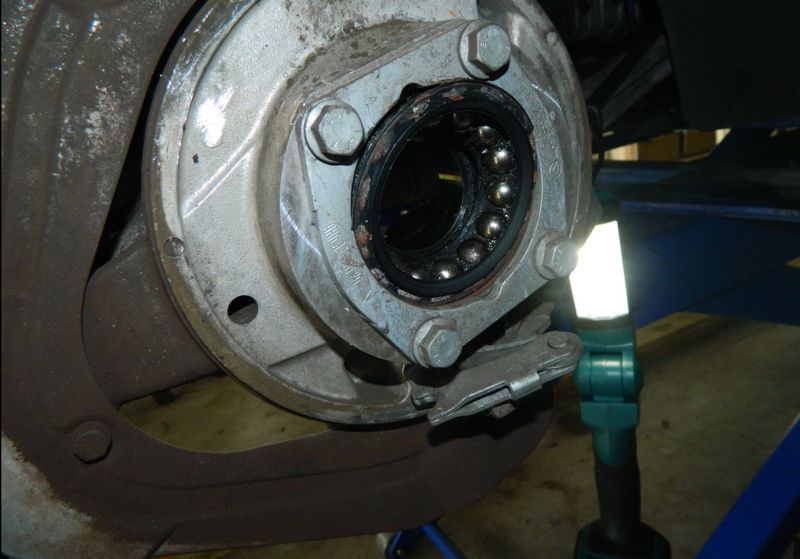
remove the 4 screws and the retaining plate, and continue to bearing removal.
this is the setup of the tool for bearing removal.
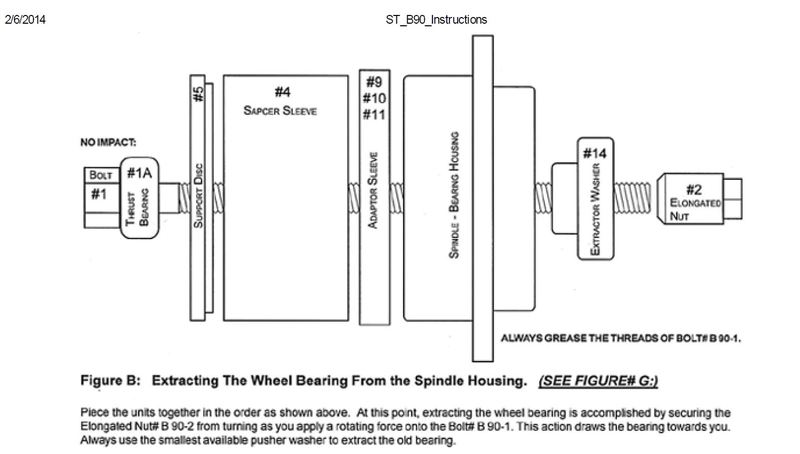
this is to illustrate the order of the parts with relation to the bearing. picture was taken after the bereang was already
removed.
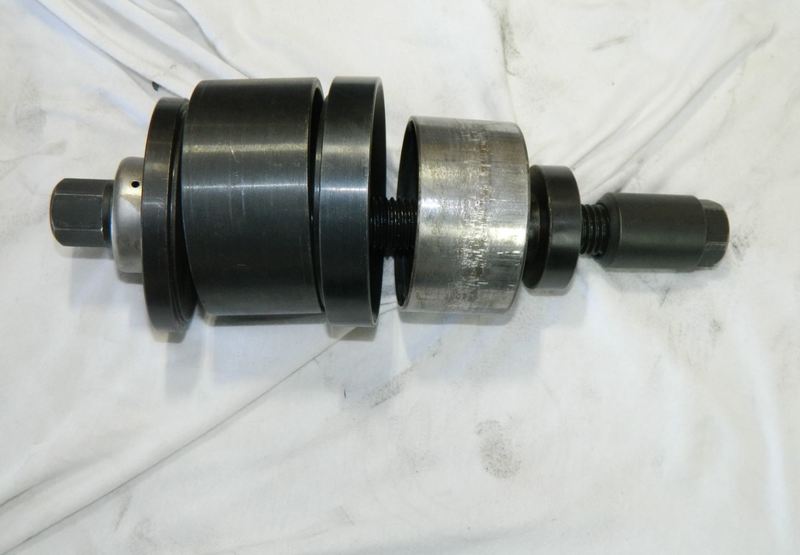
this is how the setup looks from the front
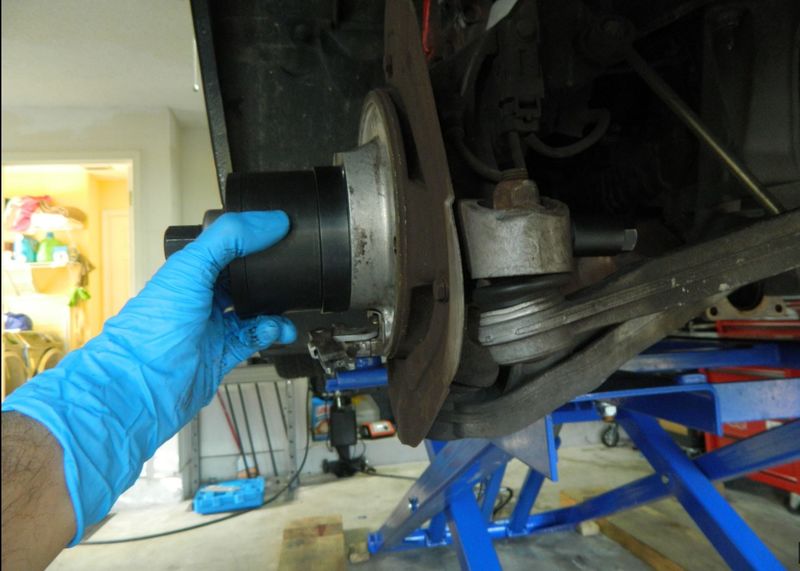
and from the back
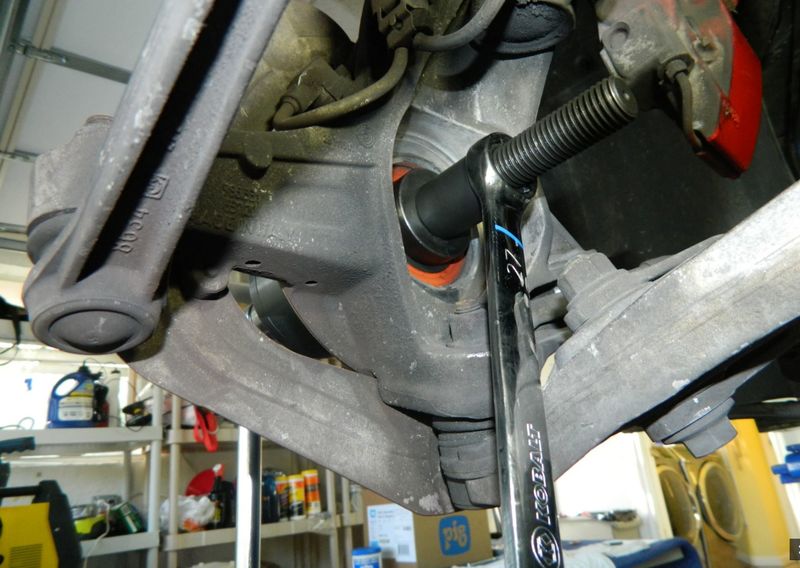
VERY IMPORTANT! make sure all parts of the tool are perfectly aligned with the outer and inner races of the bearing respectively, before you start wrenching. not easy when you need to hold all the parts and wrench on both sides. the tool is also pretty heavy.
if you have someone who can help you, that will be great. this is one of these projects where another set of hands is a bless.