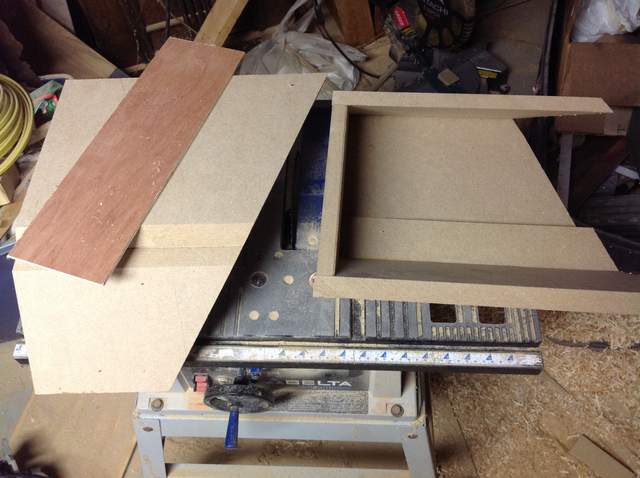
I recently made a custom 10" subwoofer enclosure for the passenger footwell of my Boxster and thought I would share the plans.
I thought about and even purchased the materials to make a fiberglass enclosure, but I wanted to get started over the winter and thought I would have a tough time getting the resin to cure. I ended up going with MDF as it was more inexpensive and if it didn't work out, I wouldn't be out much.
The volume of the enclosure is about .4 cubic feet, which would be perfect for the Rockford Fosgate 10" Punch Shallow sub.
First, download
the plans. Note - all of my measurements are to two or three decimal points and you do NOT need to be that accurate. I calculated all this stuff out in AutoCad and that's just how the numbers come out. Edit: All numbers are in inches. Converstion to metric would be very easy. Mirroring everything would produce one for the left footwell if your car is RHD.
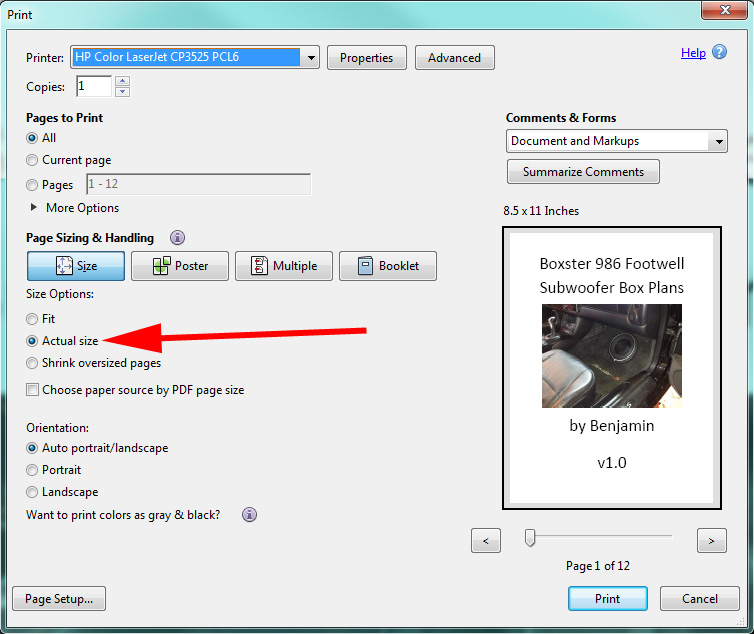
I made templates for the end pieces and the face. The top, bottom, and back are easy cuts on a table saw. The templates don't fit on a standard piece of printer paper, so they are in several pieces and will need to be taped together. When you print the .pdf, you need to print in "Actual Size":
The first pieces to cut out are the end pieces. I cut mine out with my CNC router, but you could also do it with a circular saw. One will end up being used in the final box and the other will end up being cut away.
Next, rip the top, back, and bottom on the table saw, to a length of at least 20 inches. I happened to have 24" wide MDF, so that's what I used. Glue and nail/screw the 5 pieces together (I used a pneumatic brad nailer) so that it looks like this:
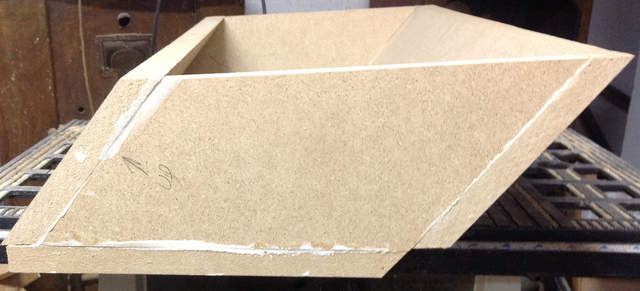
The odd looking joint between the back and bottom are for clearance, otherwise the box wouldn't push all the way against the back of the footwell.
Next you want to use a piece of left over MDF on the inside or the box as reinforcement for the odd joint.
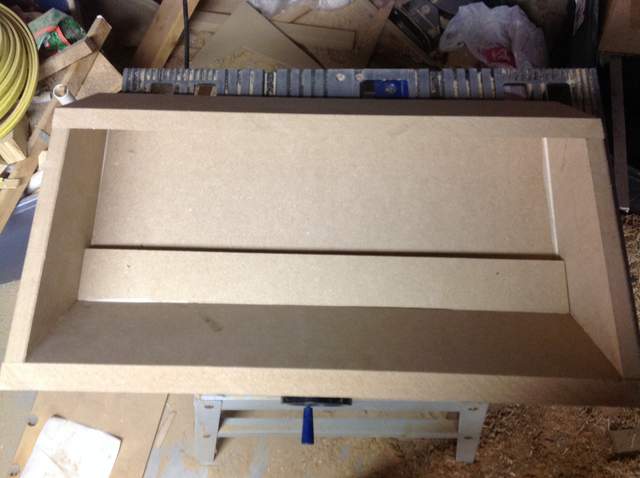
Let that dry at least a few hours, but preferably over night.
The next thing to do is to slice the newly created box at an angle to fit around the wheel well. Here are the measurements:
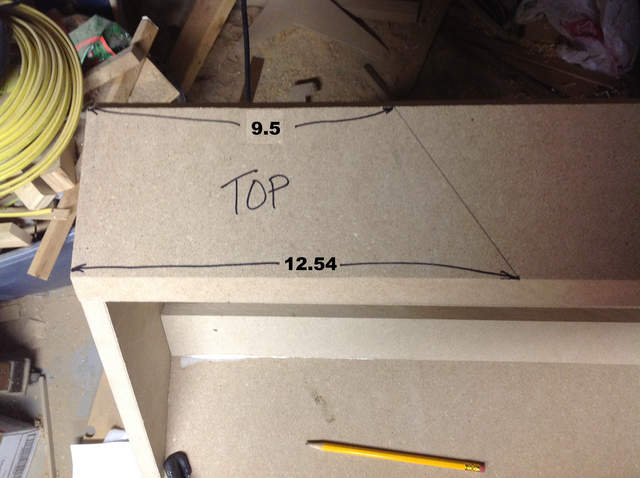
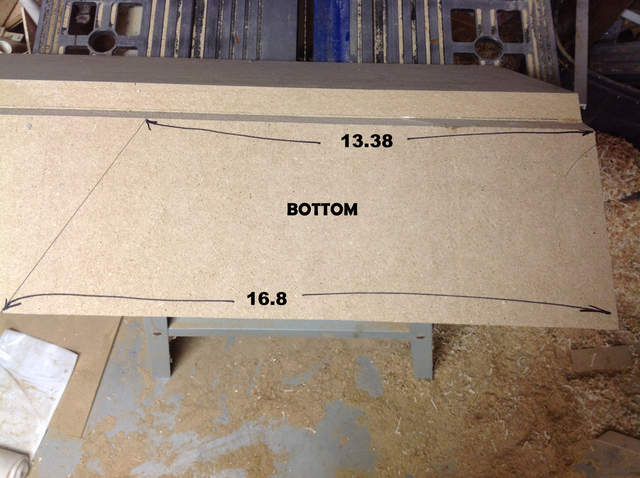
(I had to Photoshop the numbers in because I initially wrote them incorrectly with the Sharpie)
Cut both of those lines with a circular saw set at 90 degrees and as deep as it will go. I tacked a piece of scrap for a straight edge to the waste side of the box for each cut:
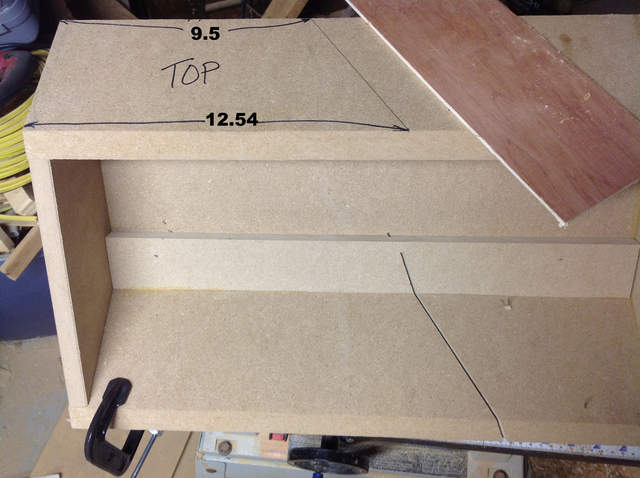
Loosen up the base to the circ saw and set it on the back of the box, into one of the cuts to get the same angle:
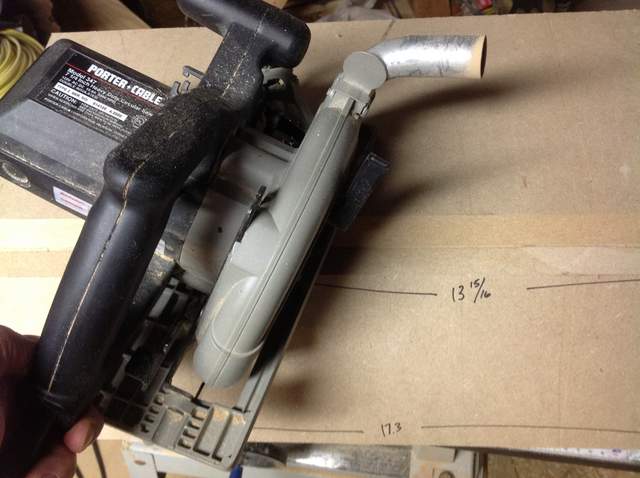
Tack another piece of scrap the appropriate distance away for your saw to use as a fence and finish the cut.
