Go Back   986 Forum - The Community for Porsche Boxster & Cayman Owners > Porsche Boxster & Cayman Forums > Show and Tell Gallery

Post Reply
 
LinkBack Thread Tools Display Modes
Old 06-22-2020, 07:05 PM   #1
Registered User
 
piper6909's Avatar
 
Join Date: Jan 2019
Location: PA
Posts: 1,724
Quote:
Originally Posted by Homeoboxter View Post
... For the bearing: actually, both. A roller and there`s a ball bearing behind for trust control. There are more pictures of them if you go back a few pages.
I just read it. Pretty impressive! You should sell the kit for $1800


Also, I see you went with open bearings. You're confident they'll get enough lubrication? Don't take it the wrong way, I'm just trying to pick your brain in the event I decide to change mine.
__________________
2002 Boxster Base - Arctic Silver - Tiptronic
2010 Subaru Forester
1980 Ford C-8000 Custom Cab Emergency-One Fire Truck
__________________
"I never lose. I either win or I learn." -Nelson Mandela

Last edited by piper6909; 06-23-2020 at 06:08 AM.
piper6909 is online now   Reply With Quote
Old 06-23-2020, 03:33 PM   #2
Registered User
 
Join Date: Oct 2018
Location: North Cali
Posts: 838
Garage
Quote:
Originally Posted by piper6909 View Post
I just read it. Pretty impressive! You should sell the kit for $1800


Also, I see you went with open bearings. You're confident they'll get enough lubrication? Don't take it the wrong way, I'm just trying to pick your brain in the event I decide to change mine.
Lol, just simple bearings I had machined to size. Actually, I made the groove for the circlip myself with a custom made grinder

Yes, I`m pretty confident. The IMS literally swims in engine oil. If you go back in the thread I posted some measurements about the oil level. Even though the level dropped a lot, the sprocket is still spinning in oil and should supply the bearing with splashed oil. Also, I added an extra oil channel as well that supplies the bearing with oil directly from the back, just in case, it`s pictured too, if you go back to that section.
Homeoboxter is offline   Reply With Quote
Old 06-23-2020, 05:37 PM   #3
Registered User
 
piper6909's Avatar
 
Join Date: Jan 2019
Location: PA
Posts: 1,724
Quote:
Originally Posted by Homeoboxter View Post
Lol, just simple bearings I had machined to size. Actually, I made the groove for the circlip myself with a custom made grinder
Don't sell yourself short. It's a pretty ingenious solution.

Quote:
Originally Posted by Homeoboxter View Post
Yes, I`m pretty confident. The IMS literally swims in engine oil. If you go back in the thread I posted some measurements about the oil level. Even though the level dropped a lot, the sprocket is still spinning in oil and should supply the bearing with splashed oil. Also, I added an extra oil channel as well that supplies the bearing with oil directly from the back, just in case, it`s pictured too, if you go back to that section.
I'll have to check it out.
__________________
2002 Boxster Base - Arctic Silver - Tiptronic
2010 Subaru Forester
1980 Ford C-8000 Custom Cab Emergency-One Fire Truck
__________________
"I never lose. I either win or I learn." -Nelson Mandela
piper6909 is online now   Reply With Quote
Old 06-23-2020, 07:22 PM   #4
Registered User
 
Join Date: Oct 2018
Location: North Cali
Posts: 838
Garage
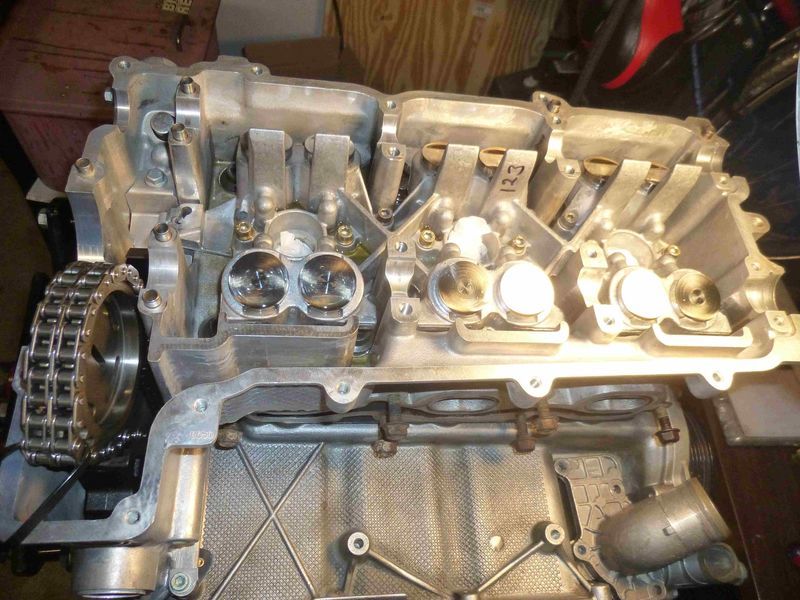
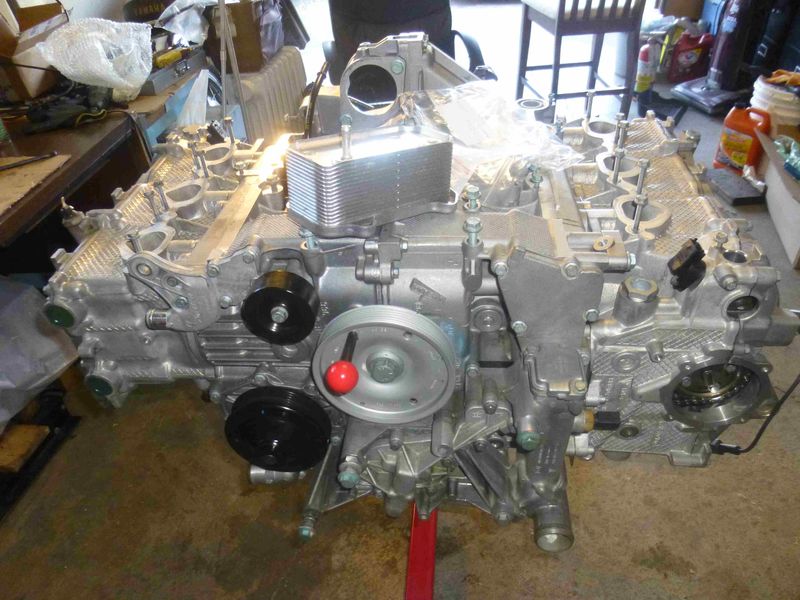
I worked a bit on the valve lifters last weekend. I`ve never seen or heard this car run, so I can`t tell if they were noisy. I didn`t want to reassemble the heads with bad lifters because pulling them out with the engine in the car seems a huge PITA. (I might still have to do that.) A plausable choice would be to replace all lifters to new ones, but when I realized that this would be over $500 I decided to rebuild them.

They were all in good condition, with no measurable wear. What usually causes problems in these is the check valve, that gets dirty over time and won`t close anymore, so the lifter collapses, resulting lifter ticking and other subsequent problems.

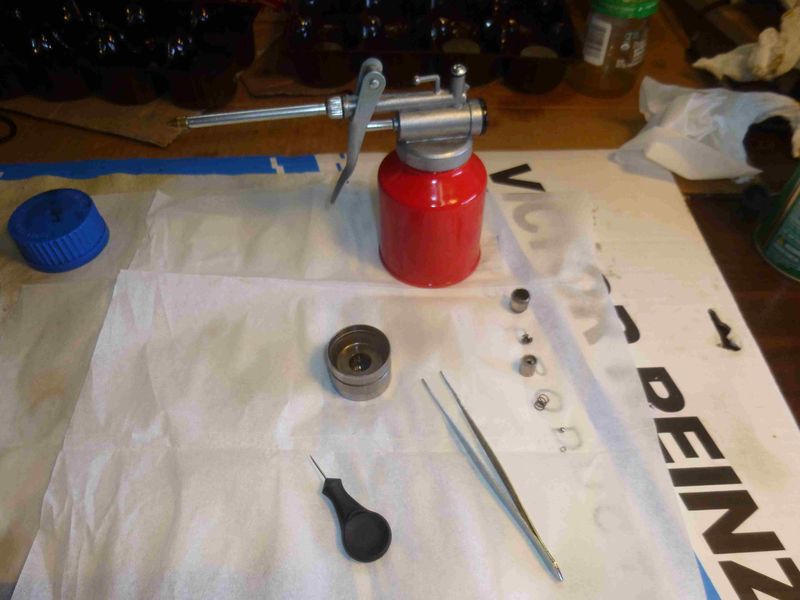
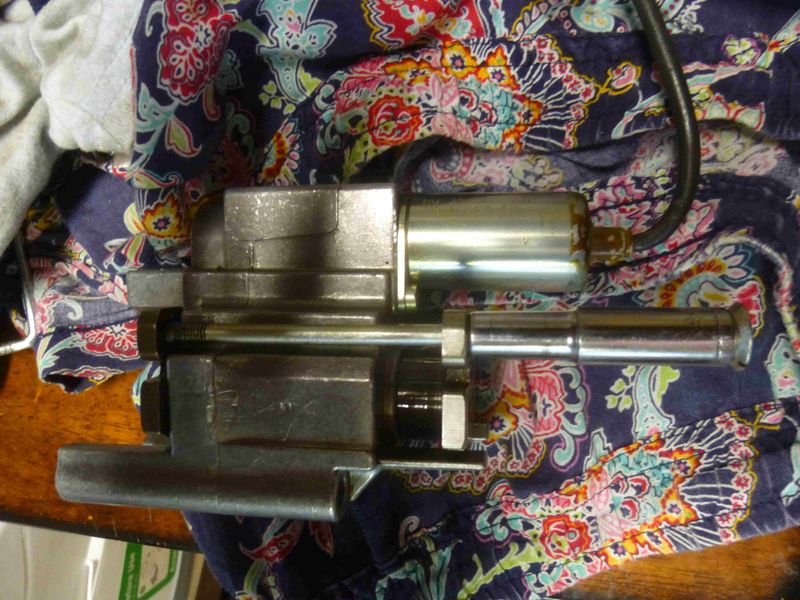
Taking them apart is not difficult but requires some patience and cautiousness so the tiny bits won`t get lost, and you need a system so you don`t mix them all up. This is all the parts you find inside a lifter, in case you were wondering:


You need a tweezer and a little pin to handle the tiny parts safely.


I cleaned all parts with gas, then with brake cleaner, then with compressed air. Disassembly and cleaning takes about half an hour at the first one. The required time gradually decreases for the next ones. The 24th will only take a few seconds


The oil that came out from the lifter housing was really dirty and used. In a few of them I found some solid gunk too, so I think it was a good decision not to just put them back like they were.


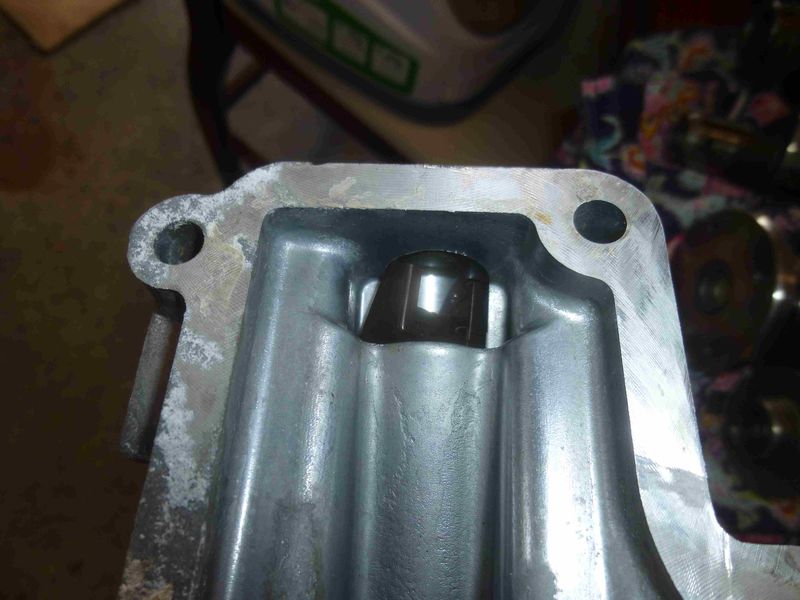
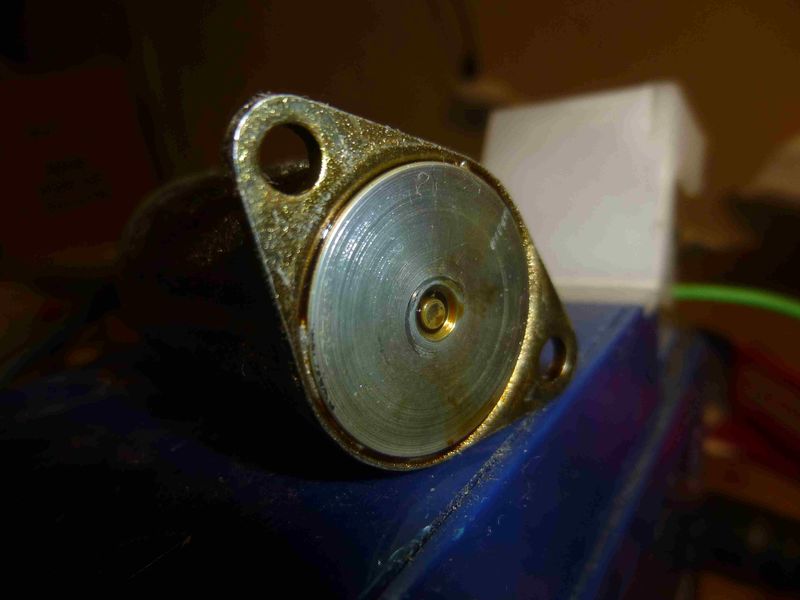
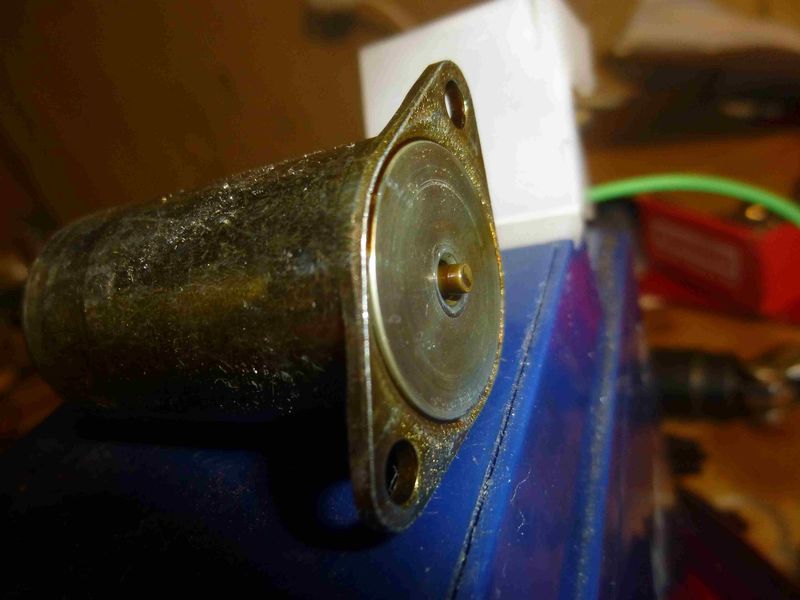
This is the seat for the ball, if it gets dirty, the valve won`t hold pressure.


After they are cleaned and reasembled, time for a good bath in fresh oil. Baby food jars serve well for this purpose, and you won`t mix up the lifters. The best is if all go back to where they originally were.

Homeoboxter is offline   Reply With Quote
Old 07-21-2020, 09:47 PM   #5
Registered User
 
Join Date: Oct 2018
Location: North Cali
Posts: 838
Garage
Camshafts been patiently waiting for almost two years now. Time to go back into the heads!


After cleaning everything meticulously, I just spot this piece of camchain guard stuck in the scavanging oil channel. Quite amazing.


Lifters back in their original positions.


Crucial parts like camshafts are marked in the factory, you just have to follow the signs to avoid mistakes. Intake camshaft for bank 1-3 is shown.


Unlike the originals, the new chains are not labeled for timing, so I copy-pasted the marks.


Six links should be left between the timing dots on the two sprockets.


Compressing the actuator.


And securing it with a 5mm bolt. Other engines need left-threaded bolts, mine needed a normal threaded bolt, thankfully.


This unit is for bank 4-6.

Homeoboxter is offline   Reply With Quote
Old 07-24-2020, 09:18 PM   #6
Registered User
 
Join Date: Oct 2018
Location: North Cali
Posts: 838
Garage
I measured the resistance of the solenoids with an Ohm-meter. Both turned out fine. This is all the distance that the solenoid`s pin travels when powered on.


Crankshaft fixed at TDC.


Camshafts pulled down and locked at TDC with the locking tool. This tool is not really necessary because the timing can be set simply with a ruler, but if the kit includes it I thought I might as well use it.


Once timing is set, the camshafts can be held down with this tool that allows for replacing the valve cover.


Long block is done.


I`m really happy with this cheap tool set from ebay. It has almost everything needed to assemble this engine. It`s worth every penny (~$80) and saves a lot of time.


Last edited by Homeoboxter; 07-24-2020 at 09:21 PM.
Homeoboxter is offline   Reply With Quote
Old 07-25-2020, 01:58 AM   #7
Registered User
 
Join Date: Jul 2019
Location: Finland
Posts: 345
Real nicely built an ddocumented project 
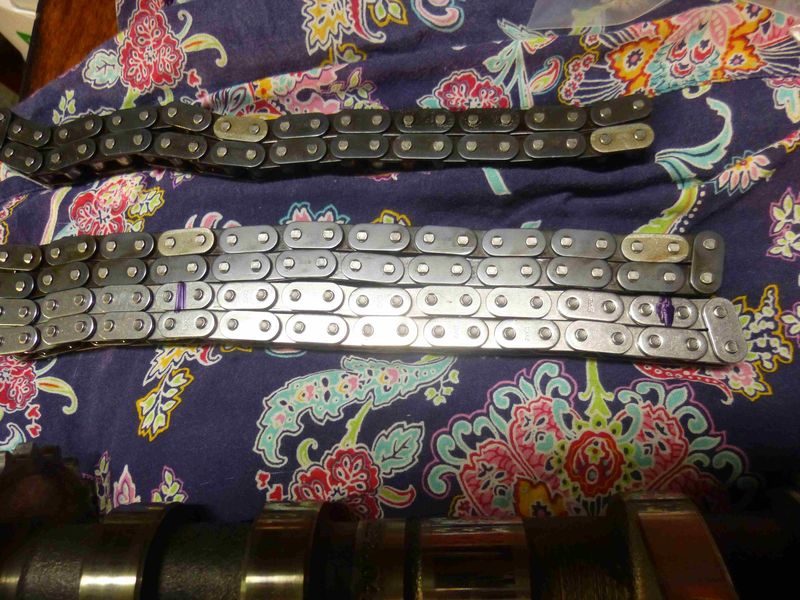
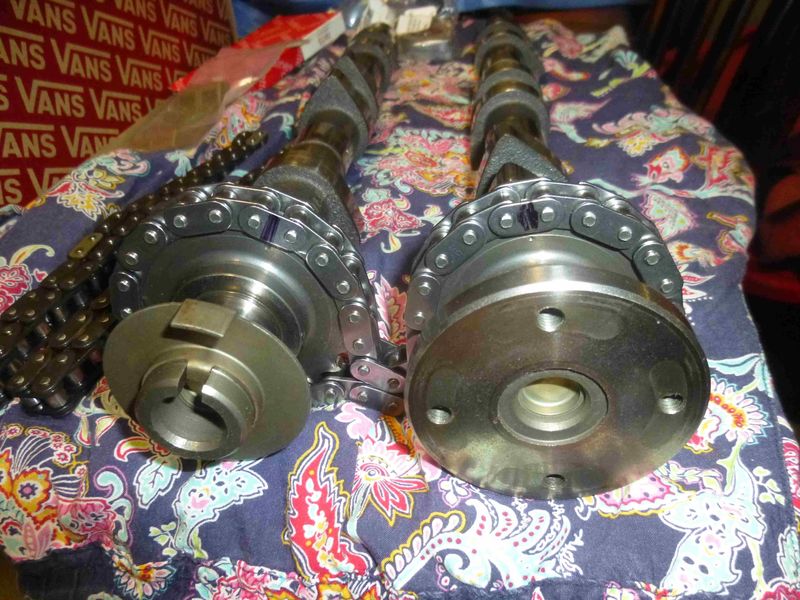
makes me want to rebuilt my 2.7 my self when it needs that one day (maybe all chain ramps, chain tensioners, IMS, cutch & FW first...), instead of having local indy to do these.
__________________
Boxster 2.7 2001 Manual
pilot4fn is online now   Reply With Quote
Post Reply


Posting Rules
You may not post new threads
You may not post replies
You may not post attachments
You may not edit your posts

BB code is On
Smilies are On
[IMG] code is On
HTML code is Off
Trackbacks are On
Pingbacks are On
Refbacks are On


All times are GMT -8. The time now is 12:08 AM.


Powered by vBulletin® Version 3.8.7
Copyright ©2000 - 2025, vBulletin Solutions, Inc.
Content Relevant URLs by vBSEO 3.6.0
Copyright 2025 Pelican Parts, LLC - Posts may be archived for display on the Pelican Parts Website -    DMCA Registered Agent Contact Page