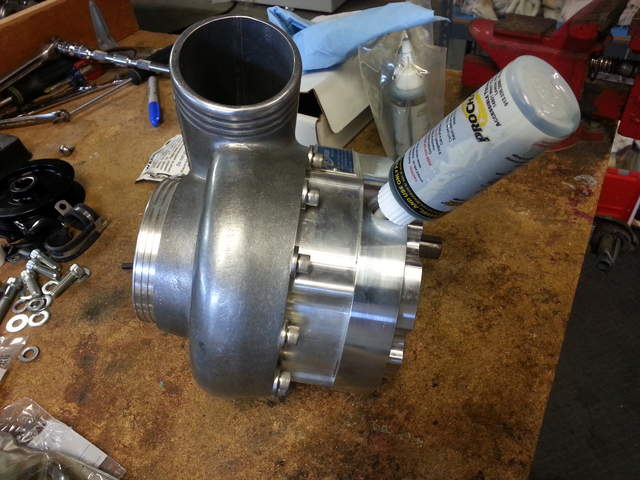
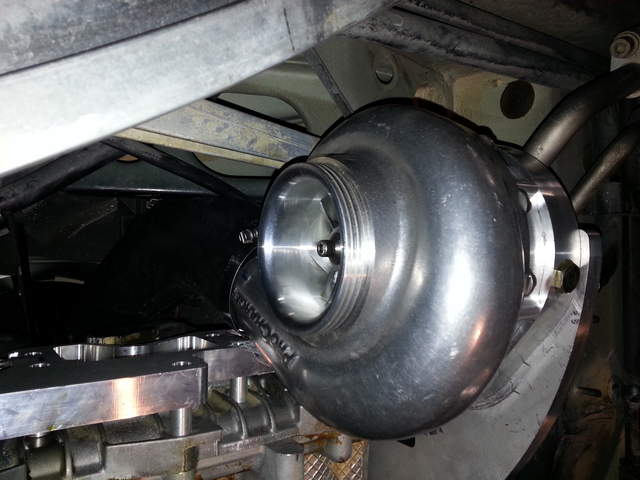
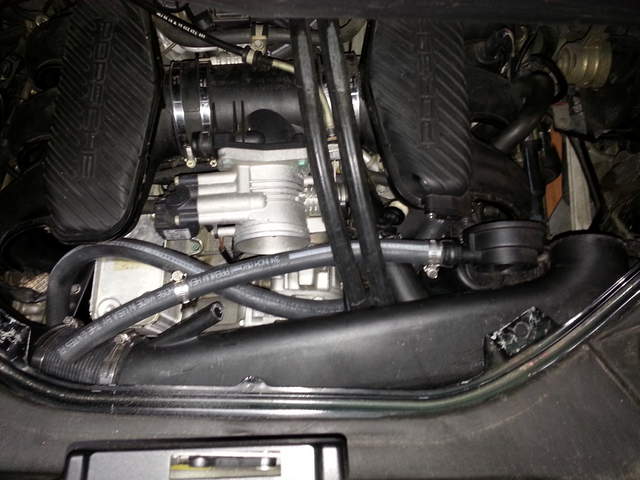
Latest update to the Supercharger install:
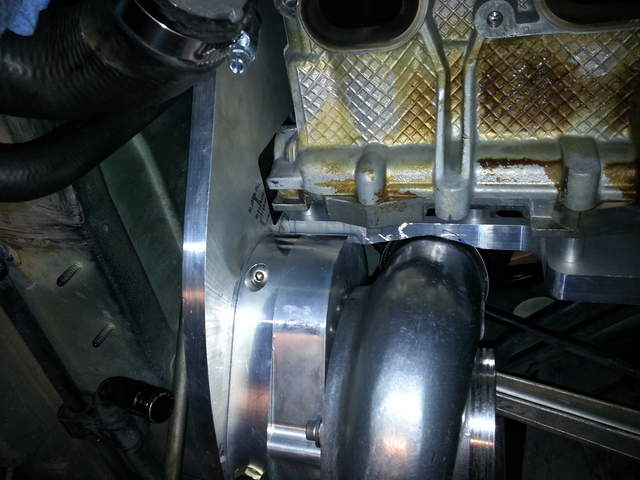
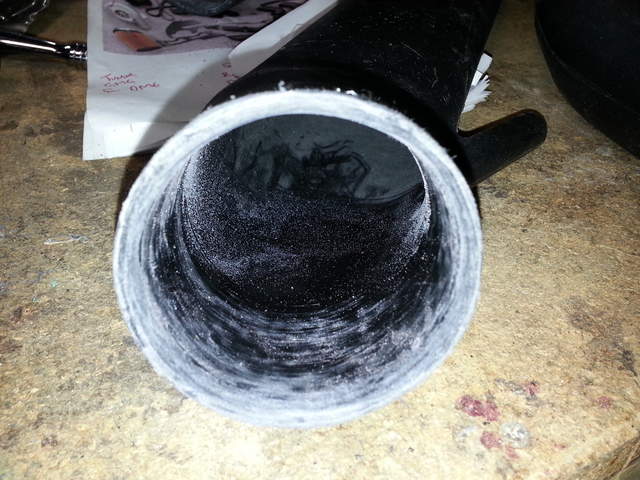
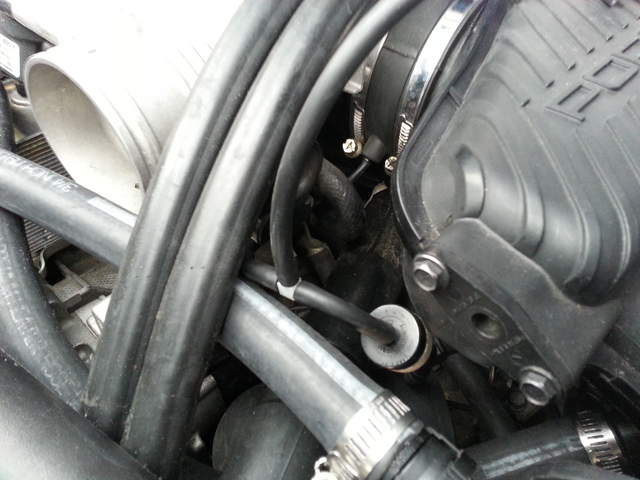
The 2.5" inlet pipe that attaches to the out port of the supercharger just does not work real well.
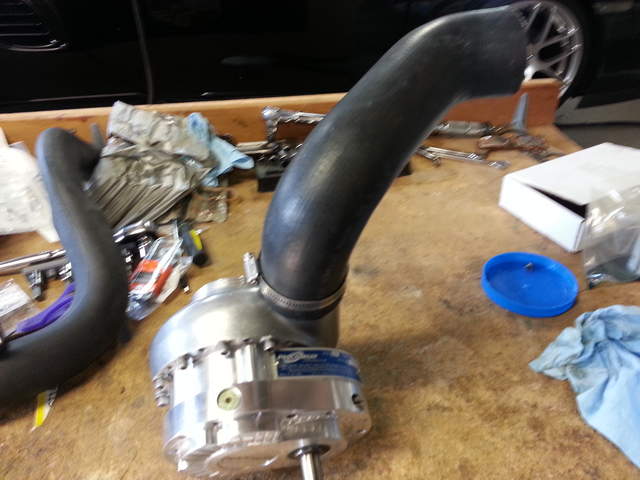
So I decided to order a 2.5 flexible hose to use instead. Won't be here till next week.
So the past few days, I've changed my focus from the SC install figuring out a way to mount my new gauges.
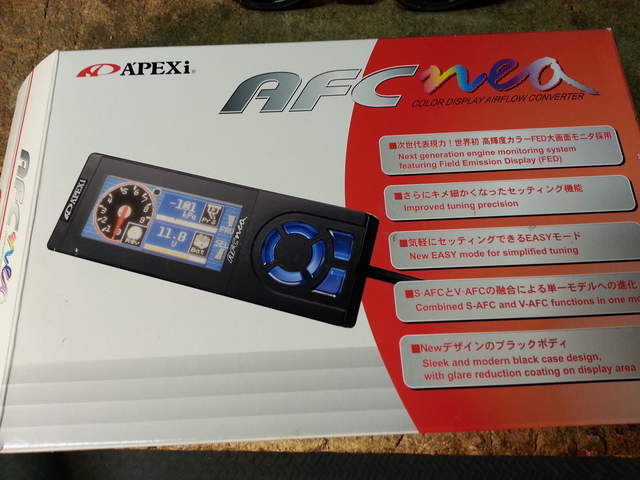
I purchased an AEM Wideband O2 Sensor and an AEM Boost Gauge. To control (tune) the air-fuel ratio, I purchased
an Apexi Neo. Thanks to JAAY and The Radium King for your earlier advice. It all makes sense now.
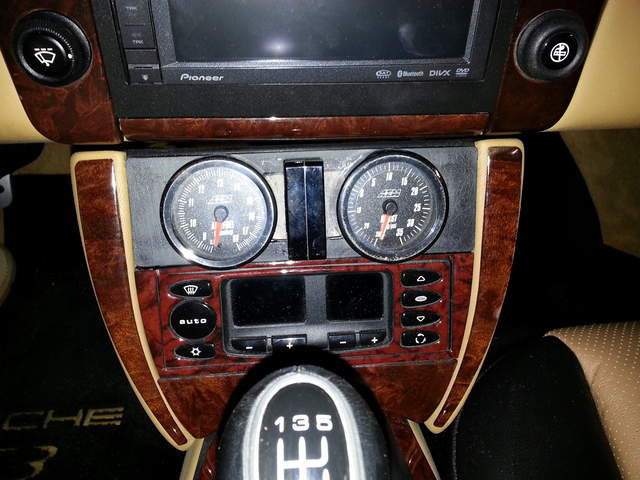
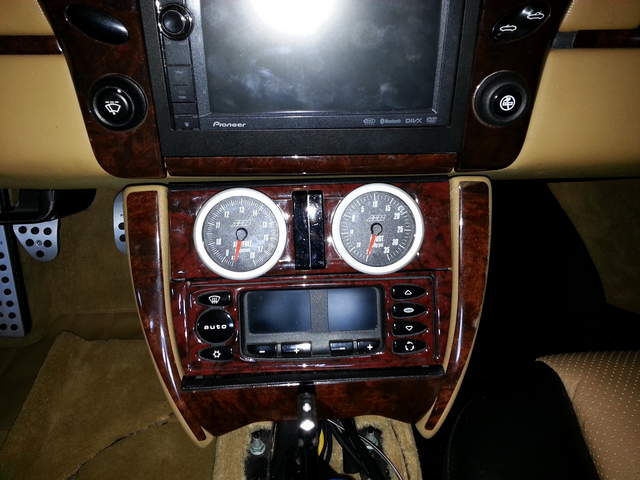
Well, I wanted to install the AEM gauges in the center console so they look factory installed. For the life of me,
I could not figure out where I could install the Neo unit, without it looking lame. I even considered leaving the
Neo in the storage compartment behind the seats.
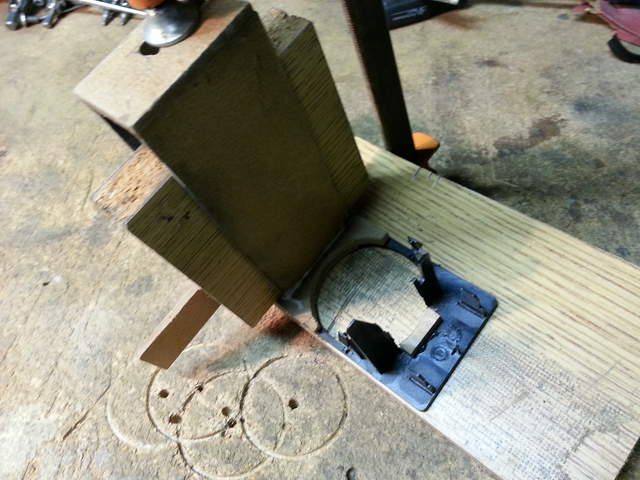
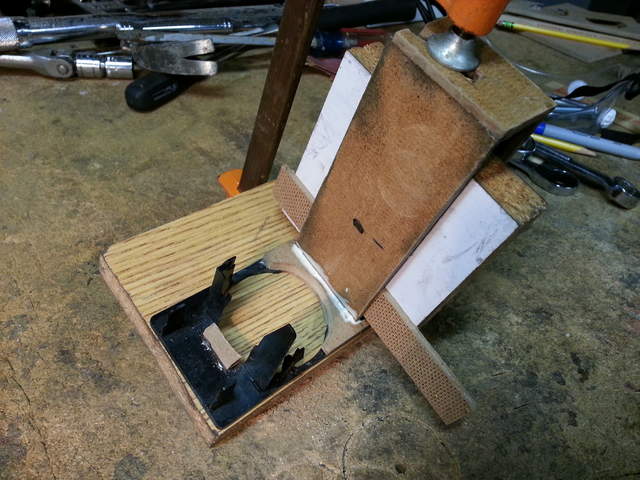
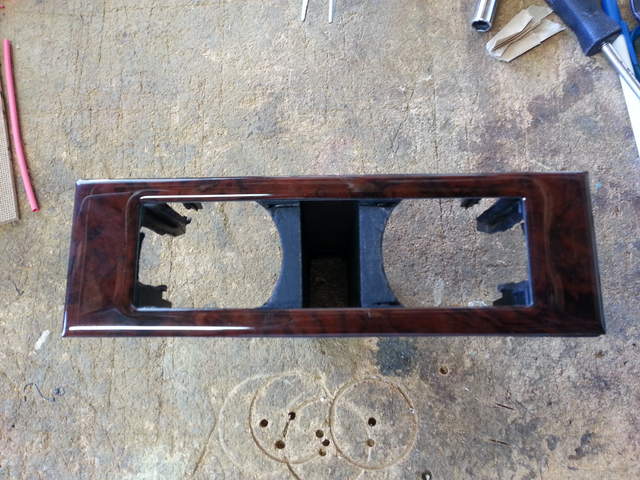
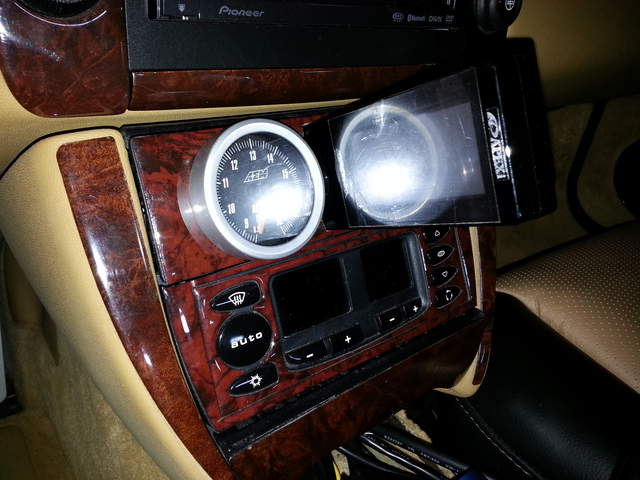
Then I came up with an idea (that I think is pretty darn cool ;-). I decided to make a hide-a-way pocket between
the AEM gauges that I could slide the Neo in and out of when needed.
I still had an old cassette tape center console insert that I modified for the job.
Take a look. I am almost done with it. Just waiting on some 3M 94 primer so I can install the Burl Wood Laminate
to finish off the factory look.
Here's a couple of shots showing the pocket I built for the Apexi Neo.

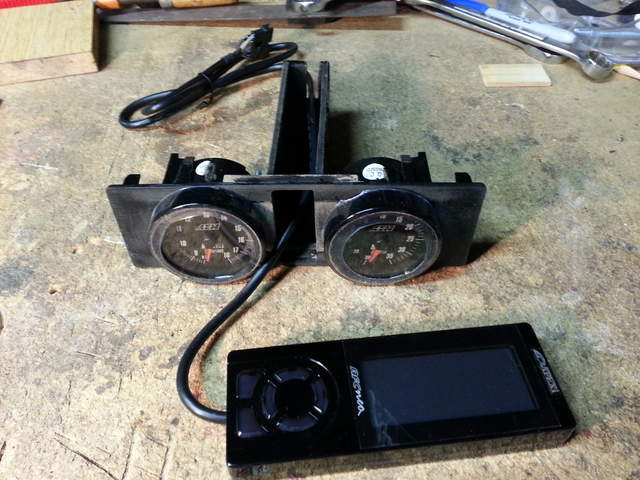
Here I'm test fitting the whole unit. Once I get the wood laminate installed, it will look factory. At least I think so


 Boxster


")


 Mean Motor Scooter
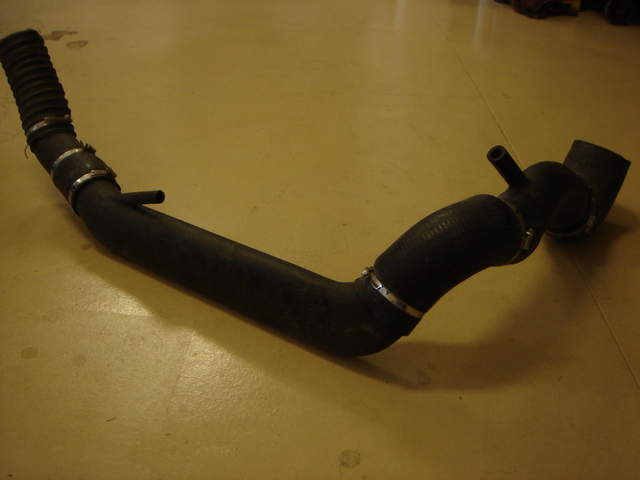


 Linear Mode


