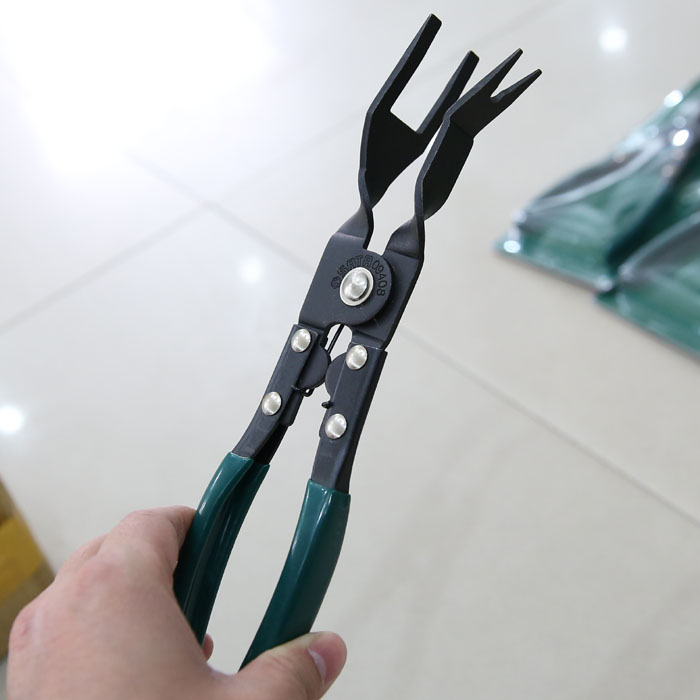
I'd like to see that tool please, yes.
Also, keep in mind what I've email you previously.
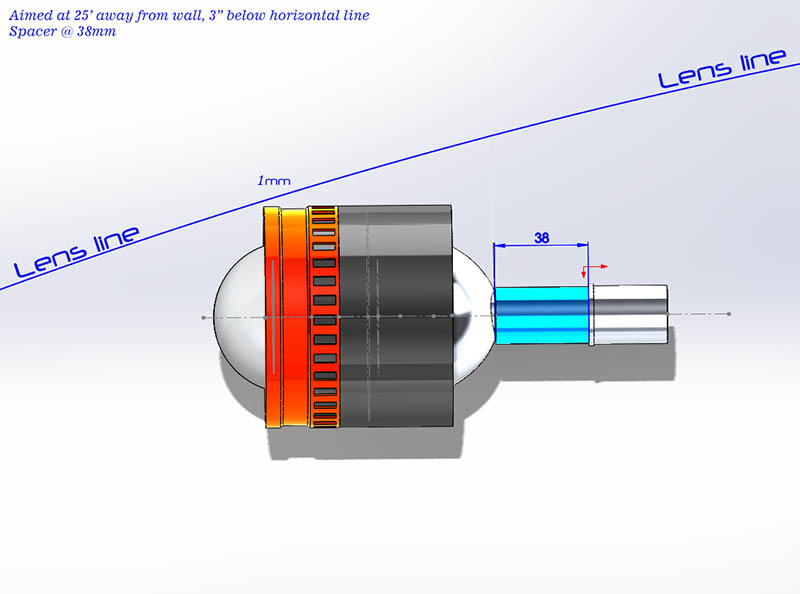
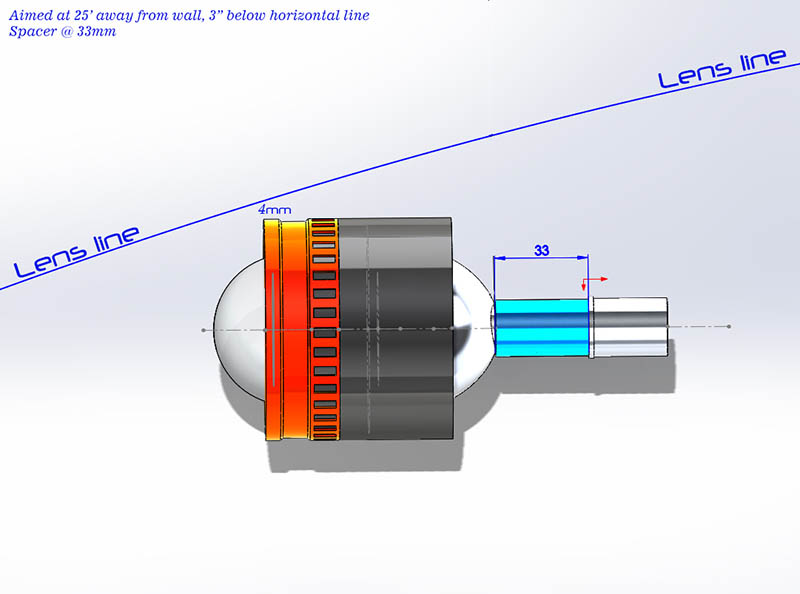
The provided spacer is 38mm in length (between the projector and the reflector). Once you aim your headlights (e.g. 25' from the wall, 3"below the line),
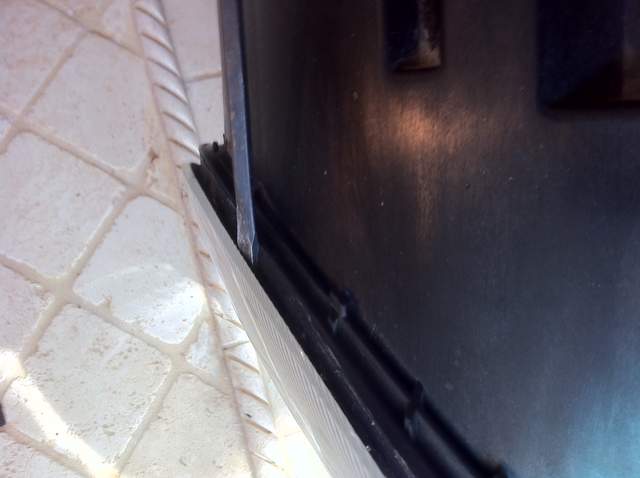
the bezel's top edge will stand 1mm away from the lens. You have to be very careful when aiming the headlight beam vertically with that Porsche HEX tool, if you lift it too high the bezel's top edge will touch the lens and potentially leave a mark on it. SO GO SLOW!
To prevent any mistakes, unscrew the spacer from the projector and file/grind it shorter down to 33mm in length. The bezel's top edge will be 4mm away from the lens. Much safer but then visually it won't be as nice e.g. it will tuck itself inside the headlight and you won't see the bezel's features as much

I provide the spacer in 38mm length just so you can have the option. Mine are at 38mm (as provided) with a 1mm space between the lens and the bezel, aimed at 25' and sitting 3" below the horizontal line. It's perfect!


 2001 Boxster S
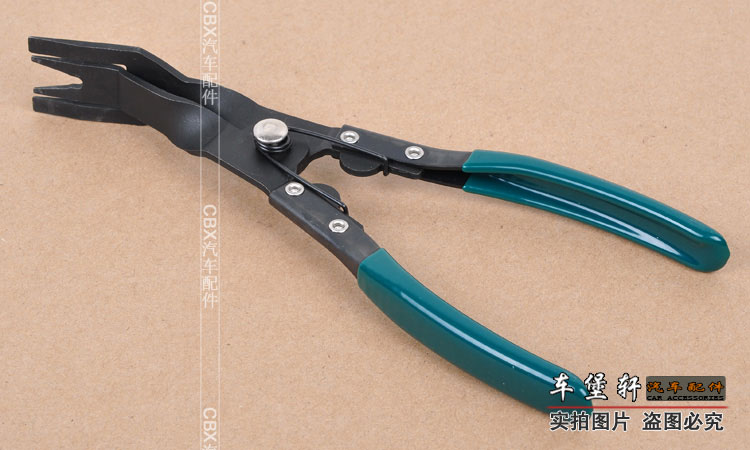

 Linear Mode


