 05-01-2018, 07:25 AM
|
#4221
|
|
Registered User
Join Date: Jul 2016
Location: Ireland
Posts: 153
|
Quote:
Originally Posted by Anker

I need the location too. Getting the brace on after changing the transmission fluid was a PITA.
|
Mine is really tight but I've found putting a ratchet strap through the wheels and a little bit of tension pulls the mounts a little closer and it will slide on easily.
__________________
Traco
_________________
Older but no wiser.
2003 Boxster S, Seal Grey
|

|

|
|
05-01-2018, 10:26 AM
|
#4222
|
|
Registered User
Join Date: Oct 2014
Location: Peterborough Ontario Canada
Posts: 148
|
Quote:
Originally Posted by xzyfsk
I took a 200 mile drive on my lunch hour. Love this car.
|
Wow! Yours is much faster than mine. 
__________________
1999 Boxster, Ocean Blue Metallic-grey top.
LN IMS dual row-, Ben's short shift kit
|
|
|
|
|
05-01-2018, 10:32 AM
|
#4223
|
|
Registered User
Join Date: Dec 2015
Location: Denver
Posts: 866
|
Quote:
Originally Posted by pilut2
Wow! Yours is much faster than mine. |
Maybe he meant 200 Kilometers and found a long road with no speed limit; that would be doable at converting KM to Miles approx 124 mph
__________________
5280 Cruising @High Altitude
Seal Gray & K&N Filter
|
|
|
|
|
05-01-2018, 11:58 AM
|
#4224
|
|
Registered User
Join Date: Feb 2017
Location: CO
Posts: 989
|
Quote:
Originally Posted by xzyfsk
I took a 200 mile drive on my lunch hour. Love this car.
|
Yours must be silver... just sayin' 
|
|
|
|
|
05-01-2018, 03:42 PM
|
#4225
|
|
Registered User
Join Date: Mar 2014
Location: So Cal
Posts: 300
|
Quote:
Originally Posted by Lucassharringtonn
First time starting it up since putting it away in November.
Battery died over winter and I didnt remember to leave hood unlatched so I had to find that cable behind the headlight to pop it , but with the new Bosch battery it stated right up !
Sent from my iPhone using Tapatalk
|
If I know I won't be driving her for a couple weeks, I just disconnect the battery. It takes 2 minutes to enter radio code and clock info.
|
|
|
|
|
05-01-2018, 03:45 PM
|
#4226
|
|
Registered User
Join Date: Mar 2014
Location: So Cal
Posts: 300
|
Quote:
Originally Posted by dghii
Very nice!!
I pulled my lug nuts a few weeks back....sanded and painted. I just did two from each wheel at a time knocked it out over a day or two without pulling any wheels off.
Looks much better.
|
I had a set of Audi lugs laying around so I was able to pull all of them and take them for sand blasting. $70 later, good or better than new! Thanks to Ernie for the locking bolts.
|
|
|
|
|
05-01-2018, 03:56 PM
|
#4227
|
|
Registered User
Join Date: Jun 2014
Location: Oregon
Posts: 455
|
Summer tires are on! Yay!
__________________
'04 Midnight Blue Metallic 986
|
|
|
|
|
05-01-2018, 05:35 PM
|
#4228
|
|
Registered User
Join Date: Aug 2011
Location: Rochester, NY
Posts: 97
|
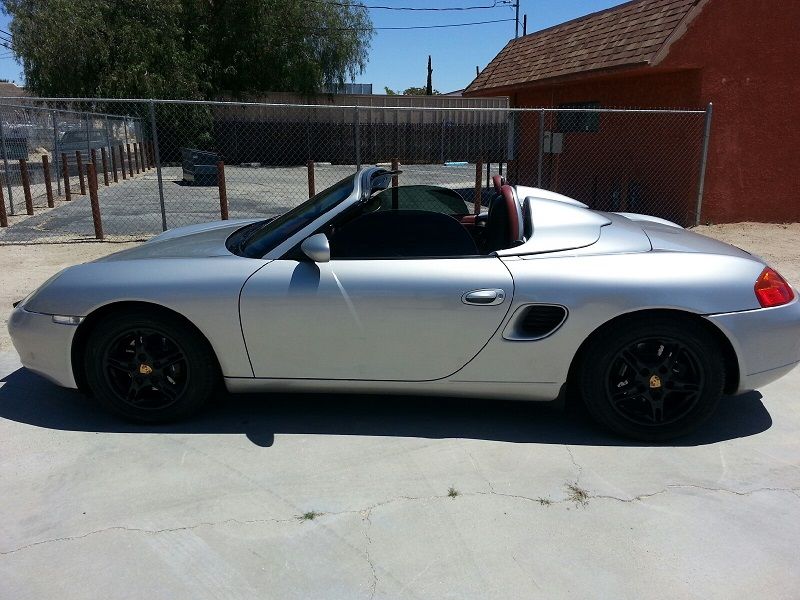
Pulled the 01 S out of its winter slumber... fired right up like it was driven yesterday!
|
|
|
|
|
05-02-2018, 03:30 AM
|
#4229
|
|
Registered User
Join Date: Aug 2015
Location: Stockholm, Sweden
Posts: 282
|
Took it to the Porsche Club Sweden Slalom (Auto-X).
Last edited by fridsten; 05-02-2018 at 12:13 PM.
|
|
|
|
|
05-03-2018, 01:53 PM
|
#4230
|
|
1998 Boxster Silver/Red
Join Date: Sep 2017
Location: 92262
Posts: 3,103
|
Installed the Humps!
Finally seated the passenger side latch.. but the driver's side latch is being stubborn. I push the latch as far as it will go down... try to secure it with the handle... don't want to break it. Ideas?
Thank you.
__________________
1998 Porsche Boxster
Last edited by Starter986; 05-03-2018 at 03:08 PM.
|
|
|
|
|
05-04-2018, 01:31 PM
|
#4231
|
|
Registered User
Join Date: Jul 2016
Location: Ireland
Posts: 153
|
On the road again
I just can't wait to get on the road again!!!
My very expensive piece of paper arrived also to keep the authorities happy and the sun is shining!
All hail the P Gods!!
Actually did a lot, cats back in with new O2 sensors. New gaskets and heat shields. Changed oil and new filter. Full wheel alignment on Hunter force thing or whatever it is and then drove it.


Sent from my iPhone using Tapatalk Pro
__________________
Traco
_________________
Older but no wiser.
2003 Boxster S, Seal Grey
|
|
|
|
|
05-04-2018, 01:52 PM
|
#4232
|
|
Registered User
Join Date: Apr 2010
Location: Canada
Posts: 3,152
|
Quote:
Originally Posted by Starter986
Finally seated the passenger side latch.. but the driver's side latch is being stubborn. I push the latch as far as it will go down... try to secure it with the handle... don't want to break it. Ideas?
Thank you.
|
determine why the latch doesn't want to close - broken, crud in the receiver, or if it is under too much tension to close. to confirm the first, unscrew the latch from the humps and see if you can get it to close ok. if it closes ok then the issue is too much tension - you can shim the latch, or get at the receiver and adjust it upwards (two screws with a lot of stuff in the way to make it not easy).
|

|
|
|
05-04-2018, 03:18 PM
|
#4233
|
|
1998 Boxster Silver/Red
Join Date: Sep 2017
Location: 92262
Posts: 3,103
|
Quote:
Originally Posted by The Radium King
determine why the latch doesn't want to close - broken, crud in the receiver, or if it is under too much tension to close. to confirm the first, unscrew the latch from the humps and see if you can get it to close ok. if it closes ok then the issue is too much tension - you can shim the latch, or get at the receiver and adjust it upwards (two screws with a lot of stuff in the way to make it not easy).
|
Thank you for the suggestion. I installed the locks a few days ago, yesterday installing the humps. It held up fine, especially with the Velcro assist. I was unable to torque the lock bolts (didn't have a proper tool), so used the allen wrench and vice grips snugging until it just wouldn't further budge. Thus, likely I overtightened.
However... the piece that slips down into the lock goes all the way down. I can push no further. It just won't slide into itself. I'll try a little lube. If that doesn't work I'll remove the panel to access the bolt. The first side took me a half hour... diligently approaching it like brain surgery. The other side... 10 minutes.
Thank you, again.
__________________
1998 Porsche Boxster
|
|
|
|
|
05-04-2018, 05:23 PM
|
#4234
|
|
Registered User
Join Date: Mar 2014
Location: So Cal
Posts: 300
|
Quote:
Originally Posted by Starter986
Finally seated the passenger side latch.. but the driver's side latch is being stubborn. I push the latch as far as it will go down... try to secure it with the handle... don't want to break it. Ideas?
Thank you.
|
Where did you get these? (excuse my ignorance...)
|
|
|
|
|
05-04-2018, 06:23 PM
|
#4236
|
|
Registered User
Join Date: Jul 2005
Location: MA
Posts: 885
|
Quote:
Originally Posted by itsnotanova
Please Let us know how you like it. I went with a miata battery and I'm having second thoughts. It starts the car very slowly and I've already burned through one. It was still under warranty and that's the only reason I'm still using it
|
Ive been running this for about a month now and its better than I expected. I thought Id have to put it on the trickle charger every night but I went a week in 40*-60* weather with no charger & no problem.
This is the Deka ETX30L.
AGM battery w/ 400CCAs and about 20lbs.
__________________
98 Arena Red 986
|
|
|
|
|
05-05-2018, 06:27 AM
|
#4237
|
|
Registered User
Join Date: Sep 2016
Location: Stow, MA
Posts: 918
|
Tire swap day. The Sumitomos on my 2004 S are going on my wife's 2002 base, then the track/AX RE-71Rs are going on my S in preparation for the Car Control Clinic tomorrow. My wife as a student, me as an instructor. While I'm at it I'll also put the summer wheels on my wife's Volt. To complete the story my Mercedes CLK 350 just got new front rubbers. There was a tire noise that I thought was coming from a wheel bearing.
__________________
2004 Boxster S Silver - FUNTOY
2002 Boxster Base Guardsy Red - FUNBOX
1987 Caterham Super 7 1700 Supersprint
2009 Mercedes Benz CLK 350 convertible
1941 Dodge Luxury Liner Coupe
|
|
|
|
|
05-06-2018, 05:03 AM
|
#4238
|
|
Registered User
Join Date: Apr 2015
Location: Massachusetts
Posts: 160
|
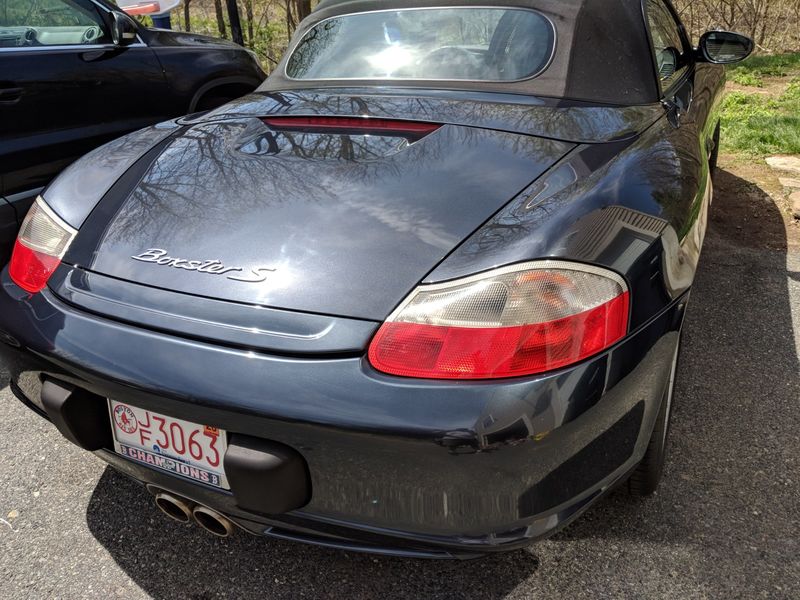
Washed & Polished
Yesterday I washed, clay bared, polished and sealed my 02 Boxster S. I was expecting to spend a lot more time doing it but it was easier and quicker than I expected.
I used Klasse All In One after washing and claying, and then finished it off with Klasse High Gloss Sealant.
I think it came out excellent

|
|
|
|
|
05-06-2018, 05:00 PM
|
#4239
|
|
Registered User
Join Date: Sep 2016
Location: Stow, MA
Posts: 918
|
Worked as an instructor and plain worker at our annual Car Control Clinic, formerly known as Autocross School. What a blast in spite of the rain that fell most of the day.
__________________
2004 Boxster S Silver - FUNTOY
2002 Boxster Base Guardsy Red - FUNBOX
1987 Caterham Super 7 1700 Supersprint
2009 Mercedes Benz CLK 350 convertible
1941 Dodge Luxury Liner Coupe
|
|
|
|
|
05-06-2018, 05:32 PM
|
#4240
|
|
Registered User
Join Date: Jan 2014
Location: New Jersey
Posts: 1,631
|
I participated in the NNJR PCA car control clinic today. The rain held off all day and I had a blast!
|
|
|
|
 Posting Rules
|
You may not post new threads
You may not post replies
You may not post attachments
You may not edit your posts
HTML code is On
|
|
|
All times are GMT -8. The time now is 06:32 AM.
| |


 Boxster
 Joy Ride
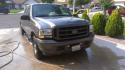 2003 Ford F250
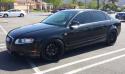 2008 Audi A4
 1999 BMW 740i M Sport
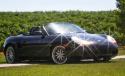 2001 Porsche Boxster
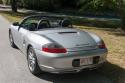 FunToy
 Linear Mode


