Go Back   986 Forum - The Community for Porsche Boxster & Cayman Owners > Porsche Boxster & Cayman Forums > Boxster General Discussions

Post Reply
 
LinkBack Thread Tools Display Modes
Old 06-05-2008, 07:18 PM   #1
Registered User
 
Join Date: Jul 2004
Location: Houston, Texas
Posts: 7,243
This was the first repair I had to make on my boxster. Everyone in front of me thought I was a prick driving a porsche and thought I should be the only guy on the road. Grrr.

You will definitely need to take your car and proof of ownership to a dealership to retrieve your radio code if you repair this yourself, and you should not pay anyone to repair it. It's too easy.

The horn pad plate can be purchased through Sunset Porsche in Oregon for near cost. Disconnect your battery's negative post, drink a couple of beers and kill a half hour, and then remove the horn pad.

You'll need a T15 torx screwdriver (or thereabouts in size) to remove it, and there's two screws behind the wheel. The horn pad comes right off when you remove them.

You'll see a squarish metal bracket with four black rubber seals on it that have worn out and are causing inertia-induced contact between the horn pad and the base of the wheel.

You can either replace that bracket or cut some garden hose and replace the black discs with it and put it back together... that would be the cheap fix and a lot of guys do it.

Buy a Bentley Boxster repair manual asap. You'll be referring to it a lot if you keep your boxster for any length of time.

I was never mechanically inclined but after a couple of trips to the dealer for service, I decided to learn how to do stuff on the car. Just rebuilt a caliper, swapped out a warped rotor, and bled the brake system. No big deal really. Just a learning curve and a new experience.
RandallNeighbour is offline   Reply With Quote
Old 12-30-2008, 09:45 AM   #2
Registered User
 
Join Date: Nov 2008
Location: Use 2B NW Ohio, now NE Ohio
Posts: 563
Dead battery and dead horn

I went to start the Boxster and it had a dead battery. It had been sitting for about 2 weeks (maybe 3). I put on the charger and the battery took the charge and starts.

Today I decided to tackle the dead horn (went to the Renntech to see how). I checked the fuse, its OK. I played with the air bag and I hear a click click as I push/pull the air bag. If I pushed in the airbag.. click, then pull out the airbag.. click. This tells me that the bushing/springs are bad in the steering wheel. But the horn never sounds.

So I conclude that the air bag may have been stuck in, causing the horn relay to stay shut. This could be enough of a draw to run the battery down in a couple of weeks. I pulled the fuse and played with the air bag, no clicks.

So I think I elminated a battery draw, but I still have a dead horn. I'll disconnect the battery charger and check again in a couple of weeks. Next I need to find the horn, test it and get a T30 screw driver to remove the airbag.
__________________
My Porsche mechanic drives a Saturn.
'98 Artic Silver w/ Tip
vath2001 is offline   Reply With Quote
Old 12-30-2008, 02:21 PM   #3
Registered User
 
Join Date: Nov 2006
Location: In the garage...
Posts: 1,736
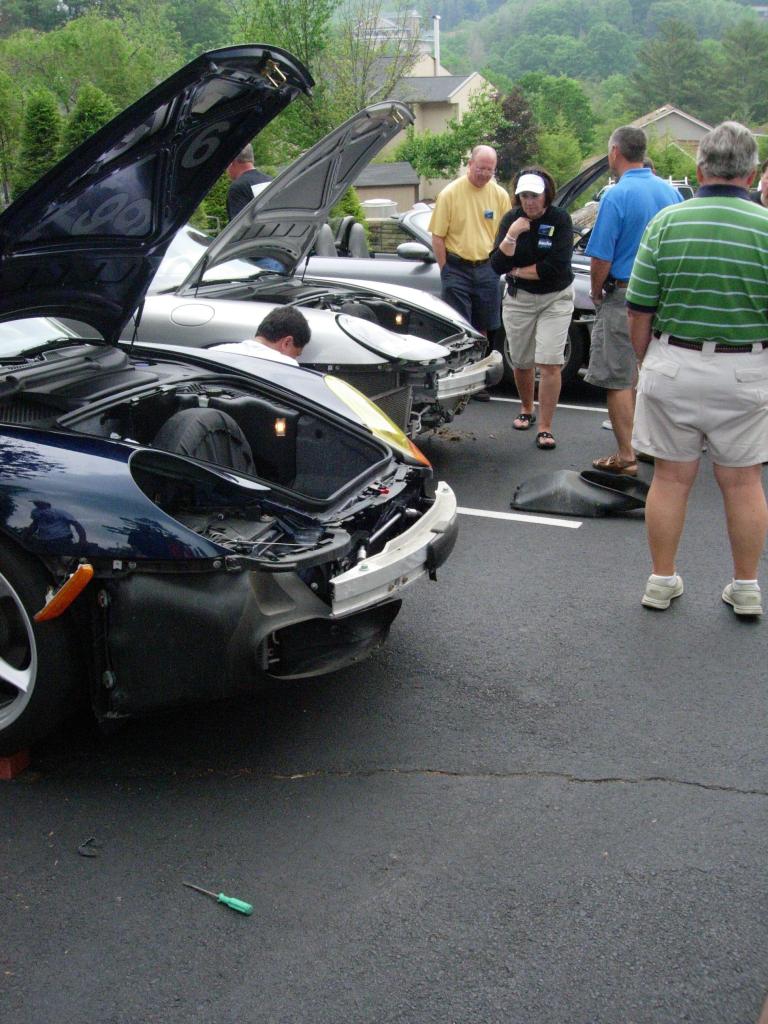
Horn failure is common and they are extremely easy to replace. To access though, you'll need to pull the front bumper skin which will take ~ 25-30min. The horns goes b/c one is angled to ingest water and subsequently rusts/corrodes. That being said, it's not uncommon for both to go out - especially if the relay was stuck on... You can replace them w/ OEM or others have replaced w/ some aftermarket super blasters.

Below is a link on how to remove the bumper skin (for radiator cleaning which you might as well do while you're in there ). Know that if you have some short sockets w/ philips and torx bits, you can forgo putting the front up on jackstands and also forgo removing the wheels. It is helpful though to drive the front wheels up onto 2x6s for some extra clearance. Subsequently, if you don't put the front up on jackstands, you also don't have to pull the whole fender liner - just the 2 anchor pins . You also don't need to pull the similar anchor pins (from wheel well liner) on the body panel underneath. Once you loosen the 7 bolts/screws (they changed based on MY) it will be free on the bottom.

In total, to remove the bumper skin it's:

4 pin/anchors (2 in each wheel well liner - to access hidden screw behind side marker)
4 screws (2 each behind the side marker lights - one visible one from behind)
2 screws topside below plastic panel by hood release
7 screws/bolts on the bottom (longest one in center, 2 mid-way out, 2 on each side outboard - one is tucked up in ~ 1/2")

Directions Here
Burg Boxster is offline   Reply With Quote
Old 12-31-2008, 04:10 AM   #4
Registered User
 
Join Date: Nov 2008
Location: Use 2B NW Ohio, now NE Ohio
Posts: 563
Thanks for the info and the link. I won't be driving until the spring anyways. We just got 2 inches of white stuff. Not enought to justify the snow blower.
__________________
My Porsche mechanic drives a Saturn.
'98 Artic Silver w/ Tip
vath2001 is offline   Reply With Quote
Old 12-31-2008, 08:41 AM   #5
Registered User
 
Join Date: Oct 2008
Location: sw ohio
Posts: 253
BURG BOXSTER

Quote "Know that if you have some short sockets w/ philips and torx bits, you can forgo putting the front up on jackstands and also forgo removing the wheels. It is helpful though to drive the front wheels up onto 2x6s for some extra clearance. Subsequently, if you don't put the front up on jackstands, you also don't have to pull the whole fender liner - just the 2 anchor pins . You also don't need to pull the similar anchor pins (from wheel well liner) on the body panel underneath. Once you loosen the 7 bolts/screws (they changed based on MY) it will be free on the bottom."

Super DYI!

Have 2000 2.7 base, short sockets w/philips and torx bits and ramps. Before I start, how can I tell if I can do job the easier way referred to above? I checked my BENTLEY Boxster 1997 thru 2004 service manual, it only detailed the whole 9 yard route. Thanks for any info and have a great NEW YEAR!

Last edited by jotoole; 12-31-2008 at 08:49 AM.
jotoole is offline   Reply With Quote
Old 12-31-2008, 03:04 PM   #6
Registered User
 
Join Date: Nov 2006
Location: In the garage...
Posts: 1,736
it's not my DIY but yes it's very thorough. If you have a Boxster, you can do the shortcut method above The only time it get's a little snug is if you have 19" wheels (it's tight w/ 18's too but not unmanageable). For reference, at the BRBS (Blue Ridge Boxster Summit) in 2007, owners with the assistance of myself and a few others were able to remove the bumper skins, clean the radiators and reinstall the bumper skins on 15 or so cars in well under 2 hours - all were first time bumper skin pullers too. Oh, did I mention we did it while all the cars were lined up perpendicular to the slope


(as you can see we used bricks or pieces of wood lying around to get a few more inches of clearance)
Burg Boxster is offline   Reply With Quote
Post Reply


Posting Rules
You may not post new threads
You may not post replies
You may not post attachments
You may not edit your posts

BB code is On
Smilies are On
[IMG] code is On
HTML code is On
Trackbacks are On
Pingbacks are On
Refbacks are On


All times are GMT -8. The time now is 01:48 AM.


Powered by vBulletin® Version 3.8.7
Copyright ©2000 - 2025, vBulletin Solutions, Inc.
Content Relevant URLs by vBSEO 3.6.0
Copyright 2025 Pelican Parts, LLC - Posts may be archived for display on the Pelican Parts Website -    DMCA Registered Agent Contact Page