Picked up a used top in OK condition except that there was no rear window.
First thing was to remove what was left of the previous windows. I discovered there was evidence of the original sewn in window and a second one that had been installed using an adhesive.
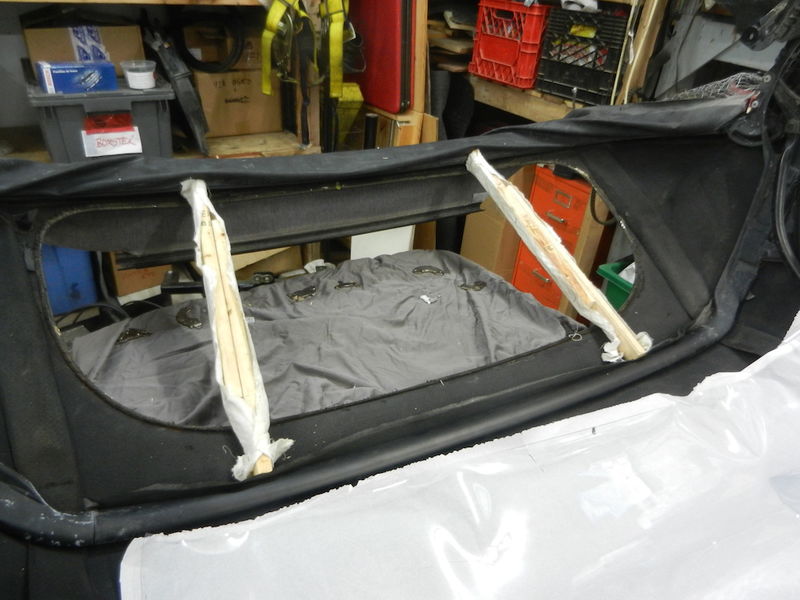
I needed a way to put tension on the top to have window opening fully open. I made a couple of braces, that I jammed between the last bow and the frame member at the bottom of the window. Note, the top is upside down in this photo.

The plan was to use an adhesive to hold the plastic in place and to seal between the top and the window and then hand sew around it using the original needle holes (more or less). I looked at several adhesives but settled on Goop, which may not be the best adhesive but it should be fine as a backup for the sewing. Also I had some Goop on hand.
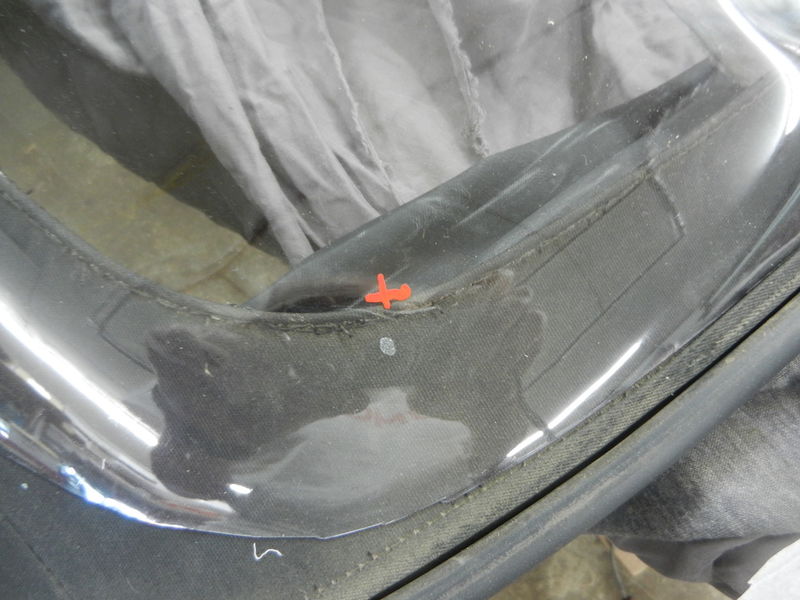
I laid the plastic over the window hole on the outside of the top and marked where to cut it, leaving lots of extra. I put marks on the plastic to help position it during installation.

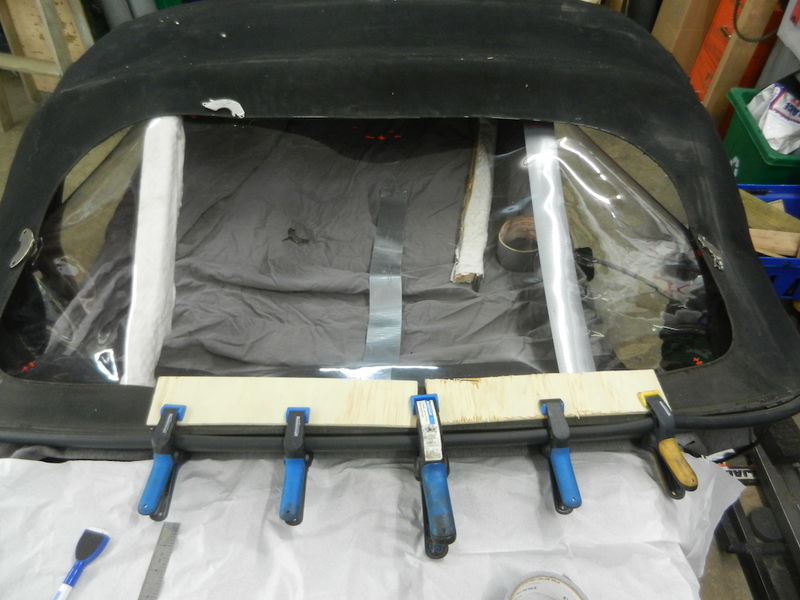
Because the bottom of the window goes between the fabric of the top and the bottom cross member I started there by pushing the plastic into the gap then putting the adhesive in. Clamps held it in place while it cured. After curing I sewed the bottom of the window in place.

Next was to glue the middle at the top, the corners and the middles of each side to get it straight in the opening. I then finished glueing all around.
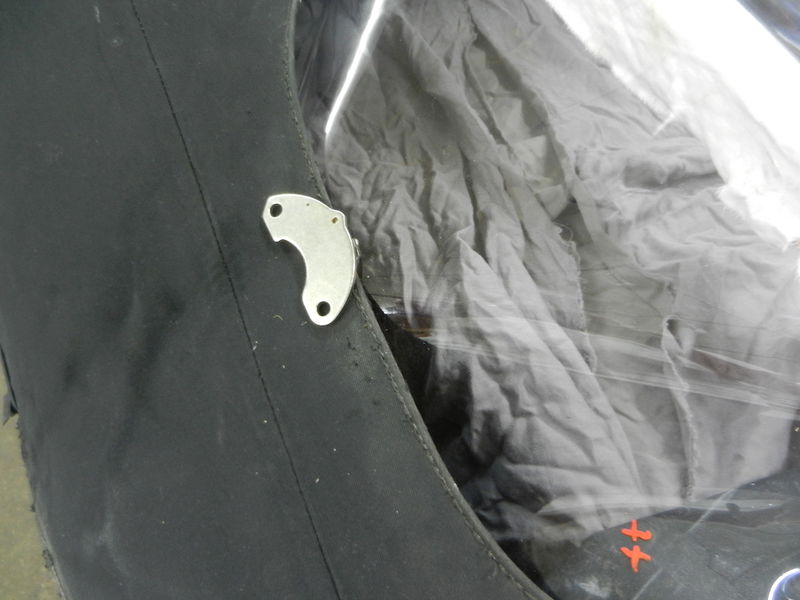
My secret for temporarily holding the window in place is to use Neodymium magnets salvaged from dead hard drives, put one on each side and the plastic is securely held in place. The magnets also functioned as clamps while the Goop cured.

Hand sewing was long and a PITA, but it is finished now. I will have to install the top to see how tight the window is. My experience with the last window I did was that it started out with lots of waves but tightened up with time and sunlight.
