I initially thought about creating a custom sub box in the space used by the rear storage cabinet, but after examining the space, I realized I'm never going to get a decent sub in that tiny space. Any space saving sub, even the factory Bose sub, is going to be a compromise. So I decided the best way to get decent base is to use the existing sub enclosures in the doors, but replacing the drivers with the ones from the component set. While plastic isn't the ideal enclosure material, there was no other way to get a decent sized enclosure in such a tight space.

Here is a comparison of the existing door sub, and the speaker that will replace it.
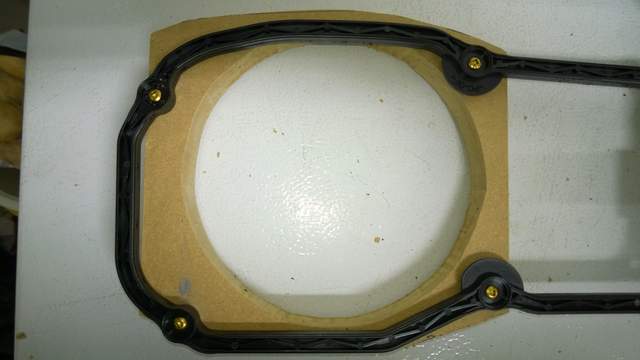
There are other threads which detail the modification the existing door enclosures, so I won't get into the details. I used 3/4" MDF to create the baffles. These baffles will be screwed into the enclosure since I don't trust any glue to withstand the constant pounding of such a large magnet. They are shaped to be as large a possible, while still fitting inside the door panels.

I used the trim piece as a template for the screw holes.

Here is a photo of the attached baffle, with plenty of Goop to ensure that it is airtight.

Here is the right-side enclosure with the wiring connector attached. I just pulled it from the front and re-drilled another hole in the side. This allows me to snap the connector back into the existing socket in the door. I used the existing wiring in the doors after I realized it is virtually impossible to run a new wire in the existing door harness without pulling out the door and harness, which would have been too much work.

Here is the finished right-side speaker enclosure installed. Note that the trim ring, which is not shown here, is used to dampen the sub enclosure. Since the baffle used up 4 of the screw holes, I cut the trim ring and attached the last 2 remaining screws to get at least some dampening.
I was a little worried that I wouldn't be able to fit the tweeter in the driver's side kick panel due to the fuse box location, but it actually doesn't get in the way. You do need to cut into the door a bit, but the space behind is empty. This was cut with a hole saw with the kick panel out of the car, but the fuse door still attached.

I used a dremel tool to slowly expand the hole until the tweeter just snapped in. The fuse door can still be removed easily without the tweeter popping out.

Here are the finished driver's side speakers.

The passenger side kick-panel didn't come out as easily, so I just pulled it back and cut the hole in-place, putting a piece of wood behind to ensure I don't drill into the wiring harness behind the panel.
Dash speakers are one of the worst locations for speakers, because the back waves reverberate through the dash producing virtually 100% harmonic distortion.

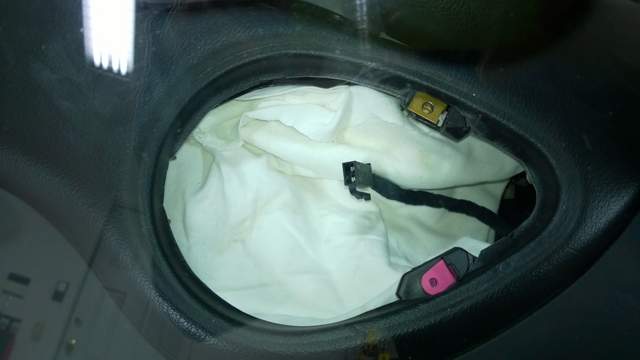
I attempted to dampen the back waves by cutting up some old T-shirts and stuffing them around the dash speakers.