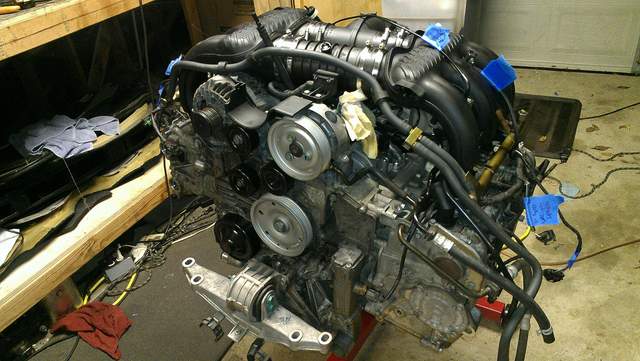
More progress made now that I can take a little time off work.

Two things I would do differently are 1) Take many more pictures. I took maybe 50 during disassembly, 3 times that amount would have been better. Wide shots of the whole engine from every possible angle, and close ups of everything before it is taken apart. 2) More blue tape - I labeled every bolt and put them into ziplocks for each item removed and labeled the items for general assembly, but I did not label every connector in the wiring harness. I'd strongly recommend doing that for assembly. I finally figured it out but took a most of an afternoon to do it. I also tried to cheap out and reuse the brittle plastic vacuum balance tube. Crack! Pelican Parts, here I come. :ah:
After receiving and replacing a few items over the next few days, it will be time to put the engine back in the car.
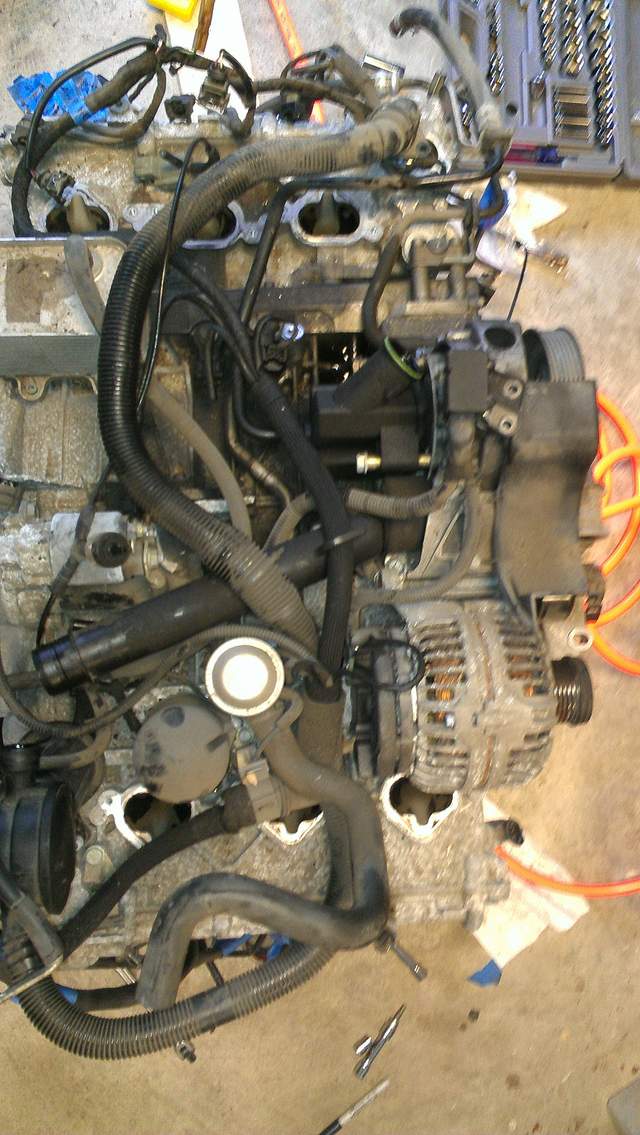
Here are "before" pictures

Note the oil on the manifold under the power steering pump and all over everything else in that area

I intend to post pictures of the installation as well.
