As of today I am drawing close to the end of the build, I have installed all but the final few parts. I have to install the rear suspension and then the new Gahh top. After today the next set of pictures will be the completed car once I get the rims back and the car polished and purty.
But, I digress, here is where I am as of today. I finally got the third tube in for the oil filler and got that installed. Oh my god that was a pain in the butt as someone decided that one of the bolts needs to be positioned such that you have little to no space to secure it down. Needless to say, it was more of an effort then I had planned. But with the oil tube finally in place, I could then install the AOS. The plan is to button the car up in reverse from the hardest parts to easiest to install. With the AOS done, I can put the transmission back. But a bright shinny caught my eye. I was looking at the power steering unit and realize I have a bleed tube that appears to be going nowhere and there is old fluid residue everywhere. So before I move on I start looking around the engine to see where it could go...no luck. I get back on line and search Pelican and come across a picture in the 101 projects, and low and behold there is a picture of of the exact thing I am looking for...
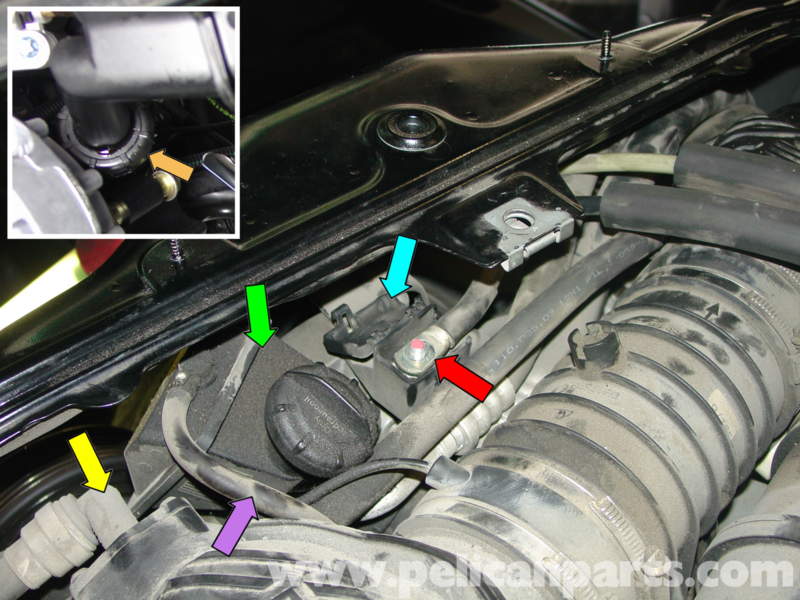
The Purple arrow Wayne shows the tube and stated he spent the better part of two hours looking for where this goes. Turns out, Porsche designed this tube to simply bleed all over the engine! I clean up the mess and install an extension to this tube and route it down around the engine so no fluid will be landing on the engine.
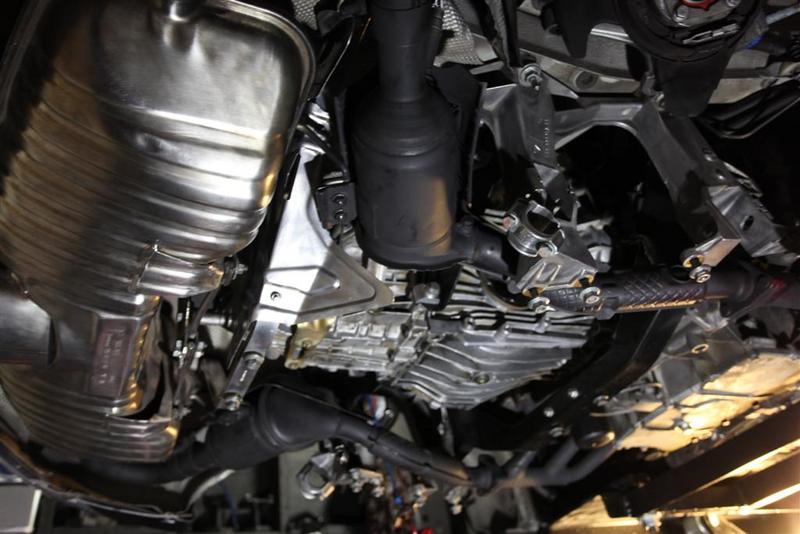
Back to installing the transmission, actually, installing it was rather simple, just need to take the time to match the splines up and using a transmission jack which allows for proper alignment and it slips right in.
Once the transmission was in, I was able to install the clutch slave. I will say that the simplest thing I have ever used was the power bleeder. It took less then 5 minutes to bleed the entire clutch...wished I had this thing years ago. Best 60 bucks I have ever spent.
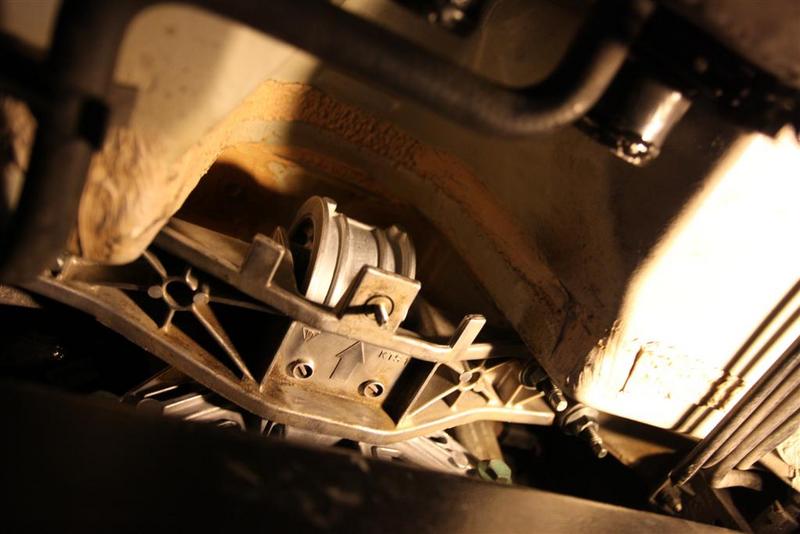
With the clutch bled, it was time to install the exhaust. Now taking it out with the bumper on was no problem as gravity was on my side all the way. Somehow it just does not seem to work the same in reverse. So to prevent from having to remove the bumper, I found that taking one side off allows the rest of the exhaust system back in place and then reattach the other side. To do this I removed the right side cat at the U junction (leaving the U connected to the muffler and then only having to slip it back on with the joint favoring an easy installation. With the muffler installed I decided that an easy installation would be the front motor mount.
OK, this was said with great tongue in cheek. Yes the task can be easy, but it seems anything I think is easy is quite the opposite and for all the wrong reasons. Why? Well, I am using a scissor lift and right where I need to remove the brace I have a cross member. A little wiggling (OK, a lot) and I was able to get the mount out. For this task I followed Wayne's directions and it worked like a "T". When I got the mount out I was torn. Did I have any indication while still driving it...nope.

With the mount done, took time for a break for lunch and decided on how far I wanted to get for the day. I would hang the axles and finish the suspension tomorrow.
These shot show where I am at (minus the axles) as the batteries ran dry on the camera.
So, getting to this point, I feel it might be helpful to post up a summary of what I did and what I have found:
Starting from the front of the car going toward the tail end:
Drivers side radiator: Small leak on at the mounting lug, symptoms occasional fluid by tire on hot days. Seems the bumper was tapped and cracked the mount.
Grill guards on radiator intake Protection from debris build up in radiators.
Canister Purge valve: Code from Durametric
Horn Old horn was to quite, replaced with Stebulis air horn
Front suspension and rear complete suspension and sway bar bushings Struts were completely shot with no dampening, bushing were worn and cracked.
Wheel bearings Replaced all four wheel bearings with a tool that allowed the job to be completed in only 5 hours for all four wheels!
Rotors and pads Worn to maximum extent possible.
Water pump and low temp thermostat: No symptoms, just an upgrade. Old components were working
Fan Belt:Replaced older belt
AOSSaw increased oil build up in the throttle body and small puffs of smoke in the morning.
Spark plugs/tube/coils Plugs were clean but replaced with new, tubes showed signs of moderate to severe leaks, coils replaced as preventative measure.
Rear Main Seal (RMS) Seal had failed and was leaking
IMS No visible leakage, but bearing was in stage 1 failure in that there was no grease and bearing was filled with engine oil.
All three cam chain tensioners Under harmonic analysis there was a large signal to noise ratio, when removed all three showed signs of internal spring failure when compared to new tensioners.
Clutch, pressure plate, throughout bearing, dual mass flywheel While there were no symptoms, they were all roasted and were close to failure.
Super clutch kit from Pelican This is offered from Pelican and replaced all the other parts associated with the clutch components
Clutch Master and Slave cylinders Replaced as part of a preventative measure
Clutch fluid line and connector This is required with upgrading the slave cylinder (will add about $320 to add these two parts)
CV joints and all boots and axle nuts Preventative replacement.
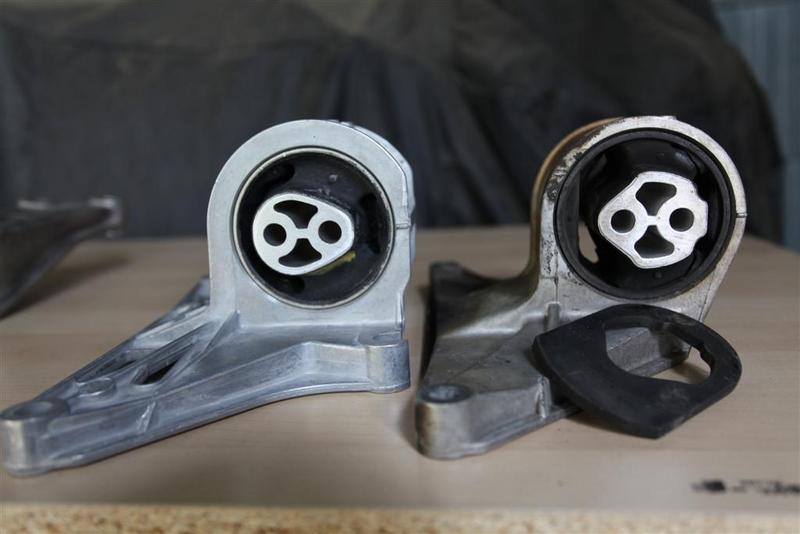
Transmission and Engine mounts All were shot but showed no signs of failure (I may not have recognized the signs???)
Oil filter housing Upgrading a 14 year old component
Radiator Reservoir While there was no leakage the tank was severely aged and showed spiderwebs cracks.
New JDM seats with lowered mounting bracket Considered to be an upgrade from OEM seats providing better seating position.
JDM performance steering wheel Personal choice allowing better driving position
Gahh new top (soft window) Replacing older top which is beginning to show cracking in window.
Conversion of top Converted top to manual while retaining power clam shell operation (personal choice).
Sirius radio Upgraded for personal choice
LCD control panel for heater/AC Replaced due to failure of switches and LCD (nice replacement for $57 verses the $750 OEM replacement cost!
Various pieces and parts as well as tools to aide in the work process
Alignment Once my wheels are back from powder coating she will get her patas set straight so she runs true.
This pretty much covers what I have done, maybe a minus a few things...
Total time to do this has run about 7 months which has involved collecting data form Mike, Pedro and Wayne. The purchase of the Bentley Manual, the UK service manual, 101 Projects and a number of threads from members on this board that have been critically important. Actual time working on the car...I am guessing based on real working time to be about 150 hours. Total cost in parts is around $7500.00 with a majority coming from Pelican but some components items were purchased new from some members here, Part Geek and a few from EBay and Casper Labs for some tooling.