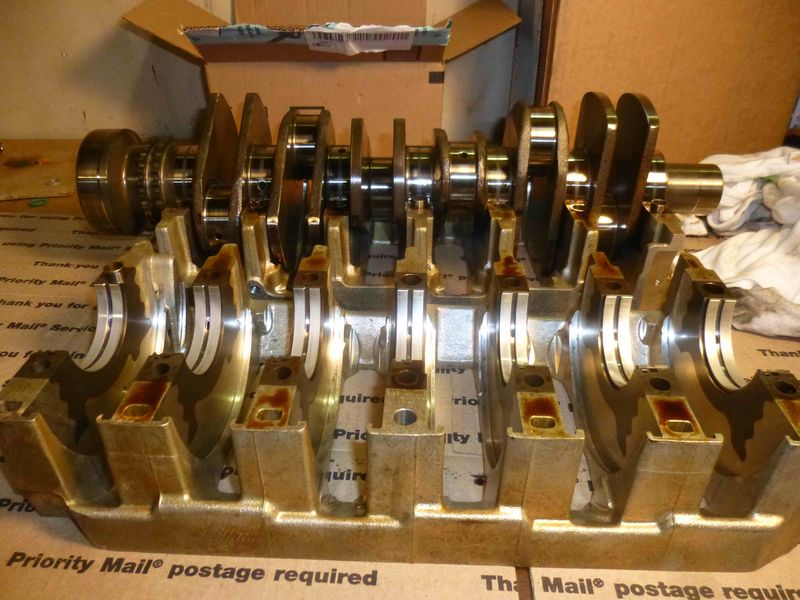
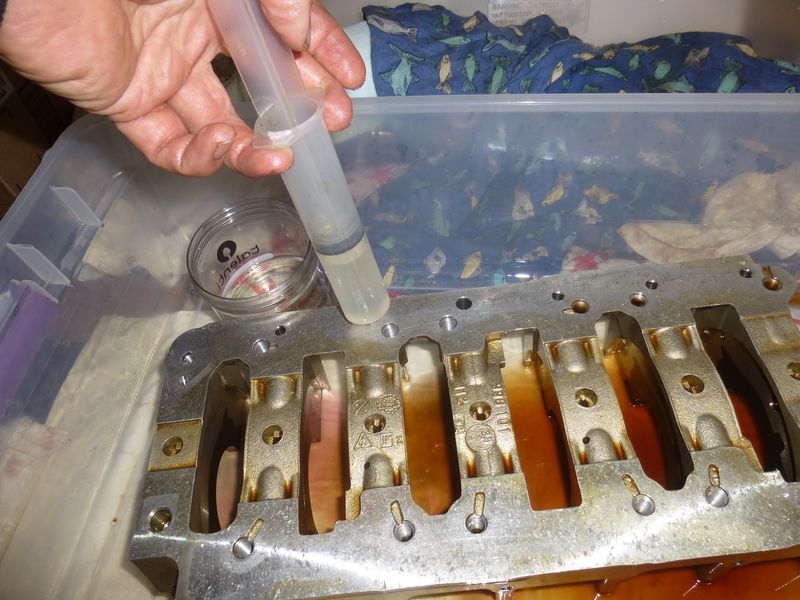
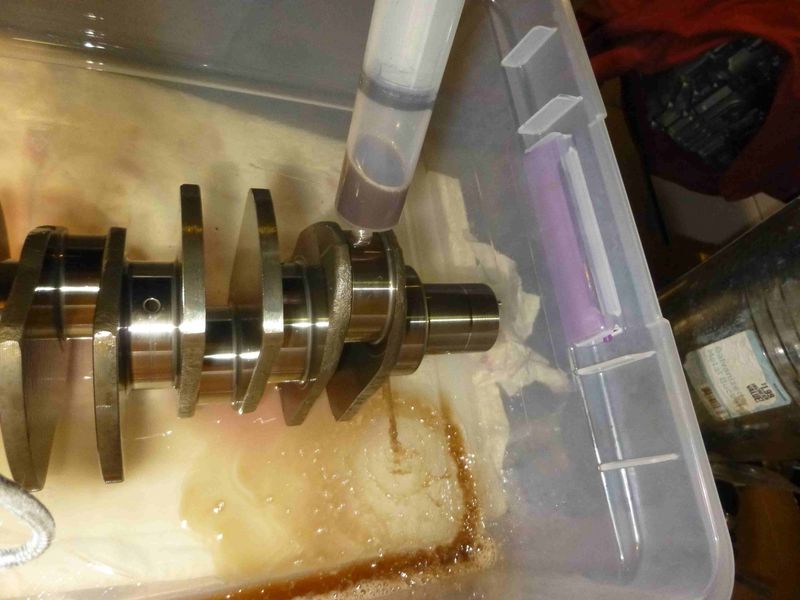
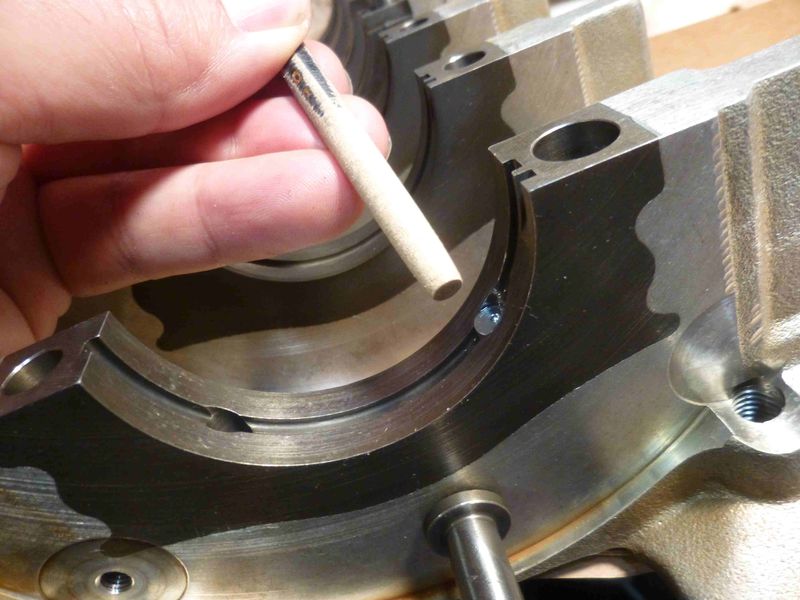
Update: I was a bit too optimistic last time when I said everything inside the crank bearing housing was in perfect condition. I lifted off the crankshaft and took a second look. I discovered a few things:
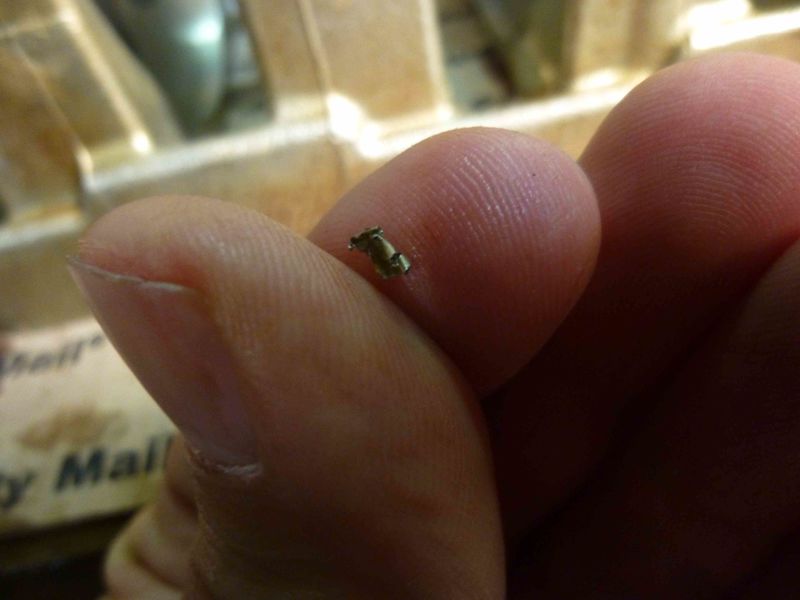
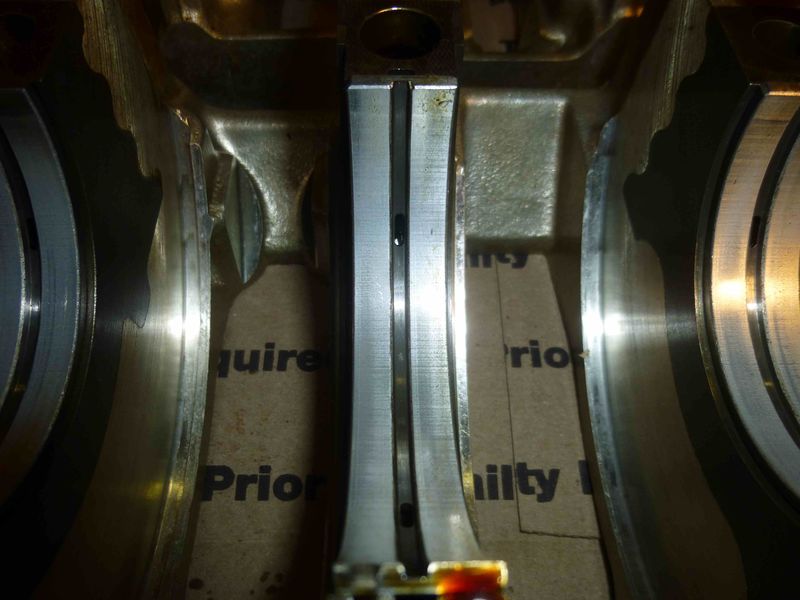
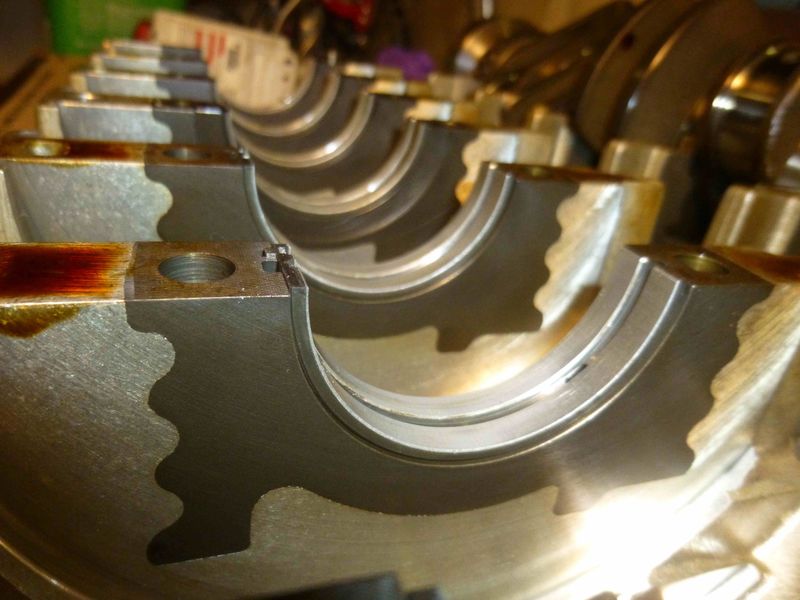
1) The most shocking is this by far:
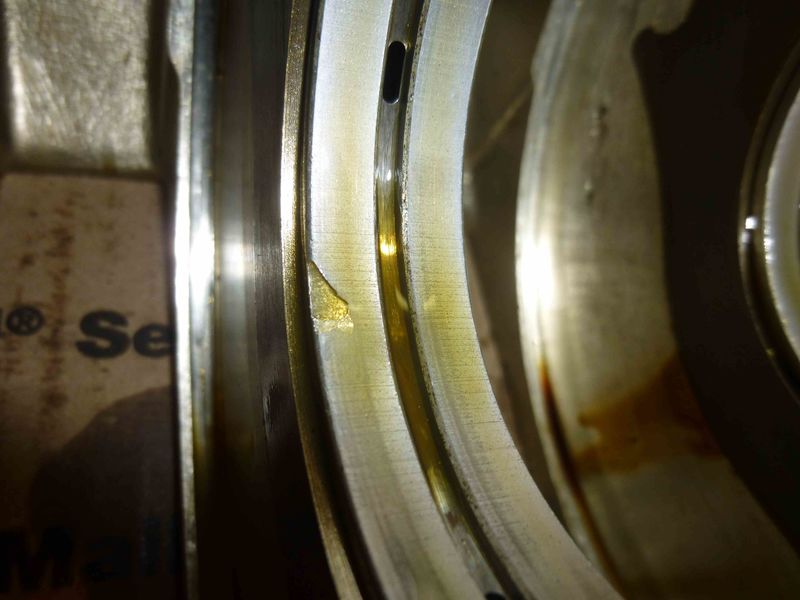
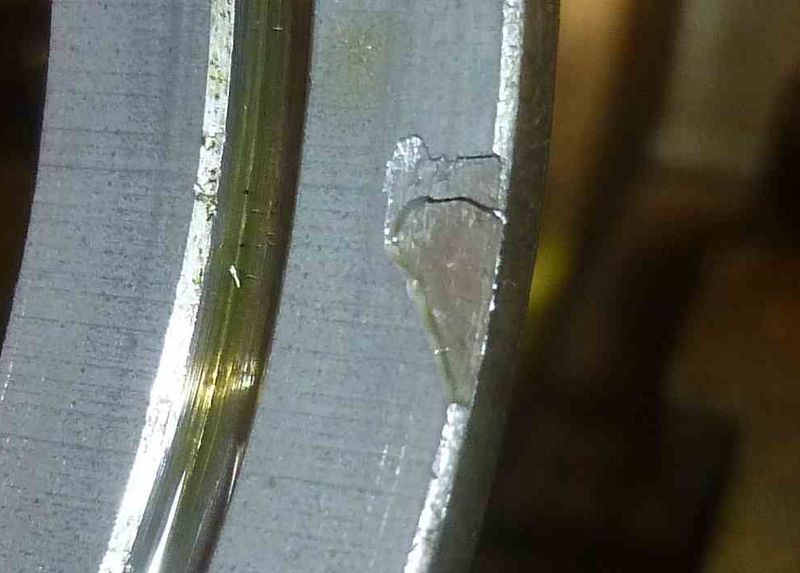
I assume this piece was already missing in the factory, otherwise I can`t really see how it could have escaped from here without getting jammed in between the journal and the bearing. Must have been a late Friday session on the assembly line when this got through quality control. Actually, if it was just fine for 100k miles, I might as well put it back, right?
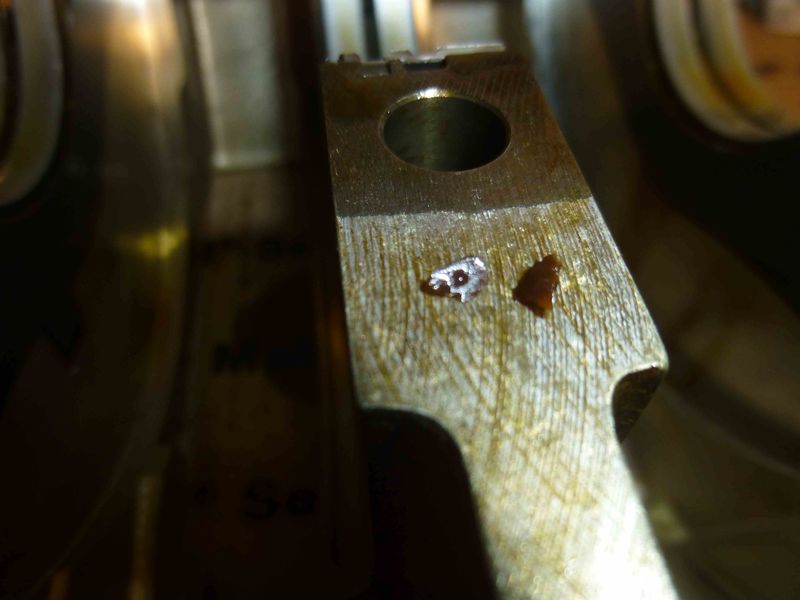
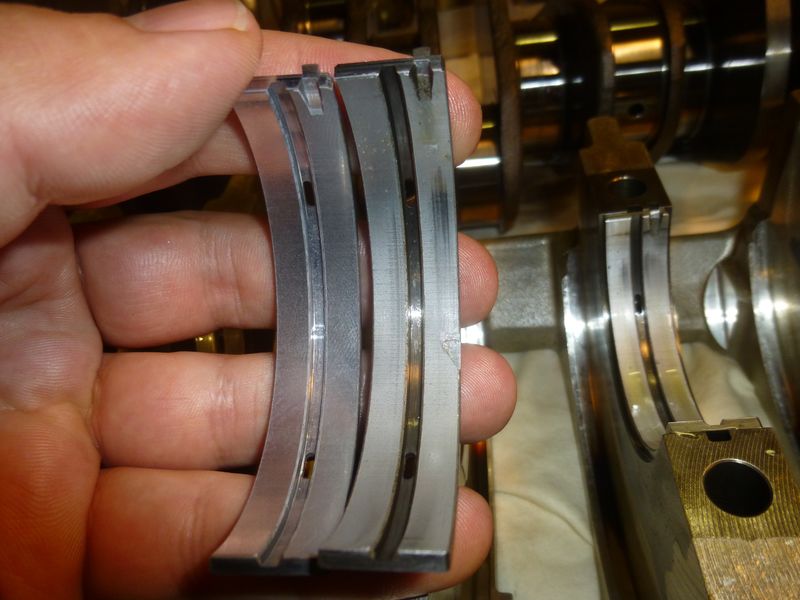
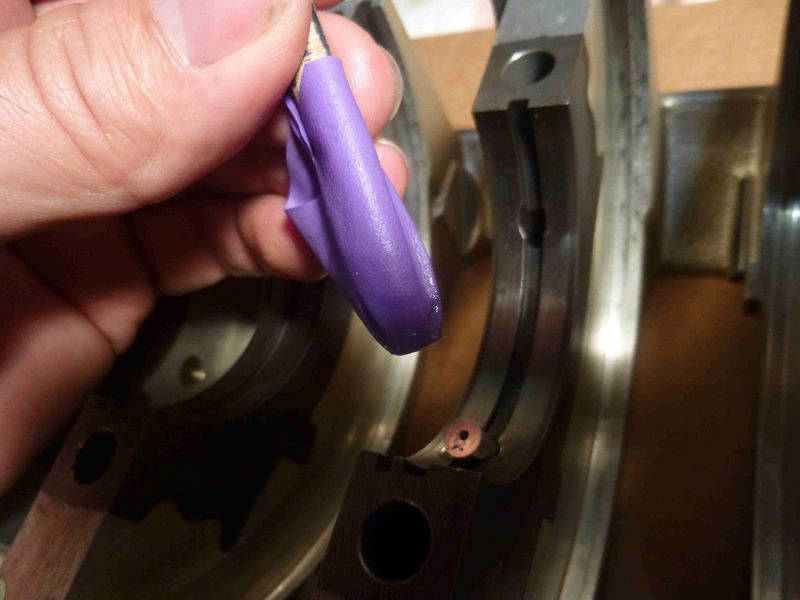
2) I still could find pieces from the plastic chain tensioner pad that fell apart. This little thingy is a real pain in the butt. Make sure you replace yours in time! Makes a lot more sense to replace these regularly than any IMS update.
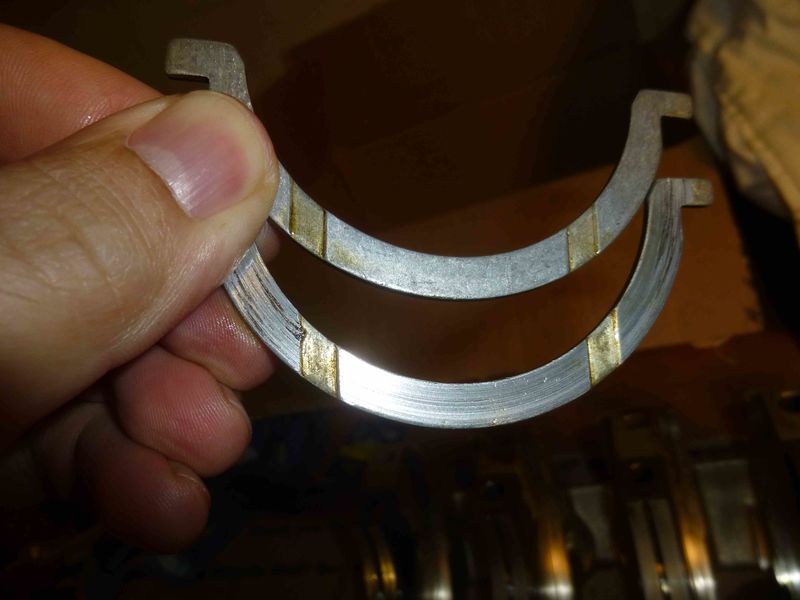
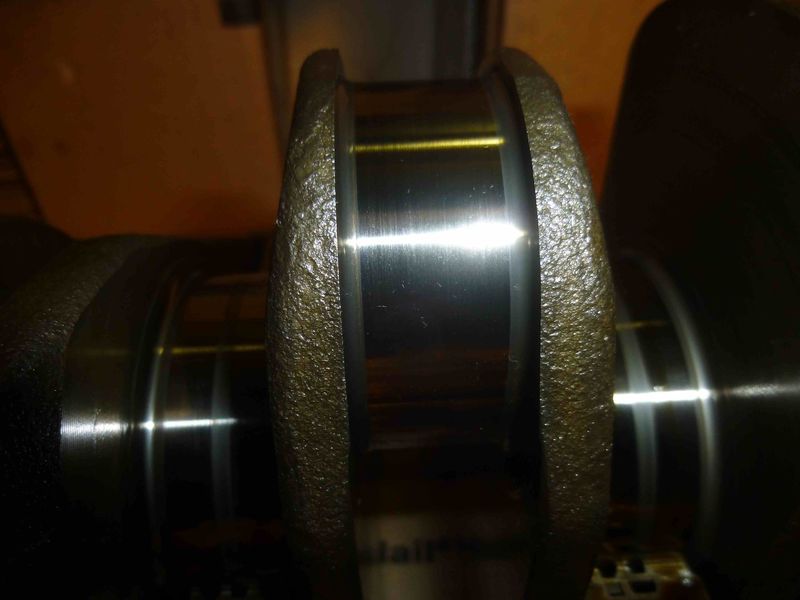
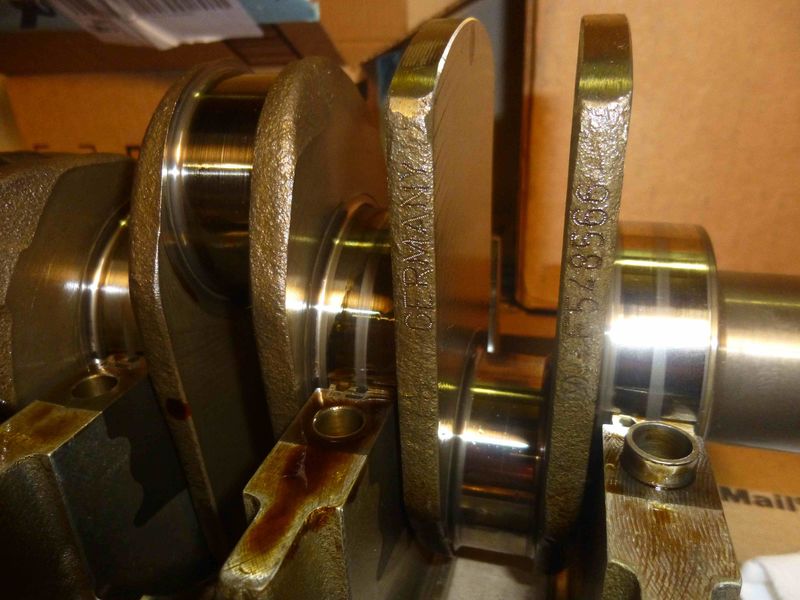
3) One of the thrust washers seems a bit more worn than it should be. Looks like it got mixed with some plastic from somewhere, or just burnt, I don`t know.
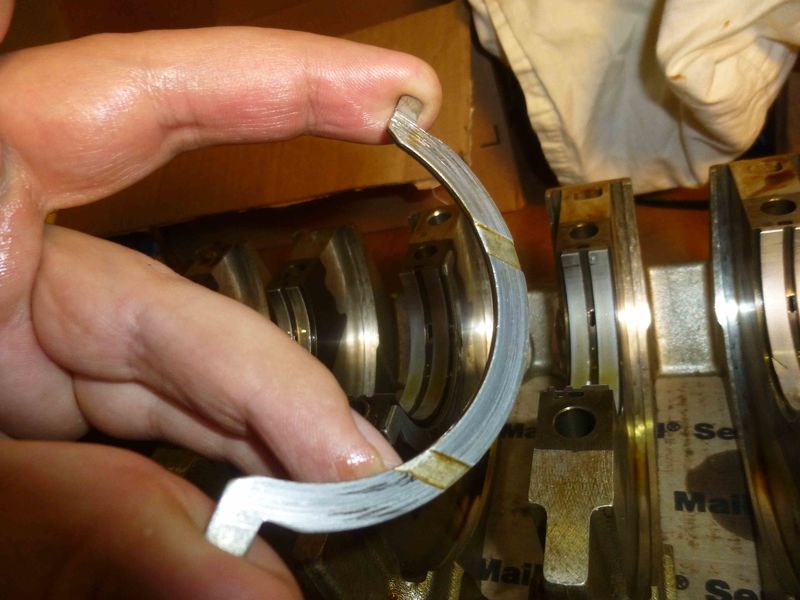

The other one, that`s not pushed by the crank when the clutch is being operated, seems brand new.
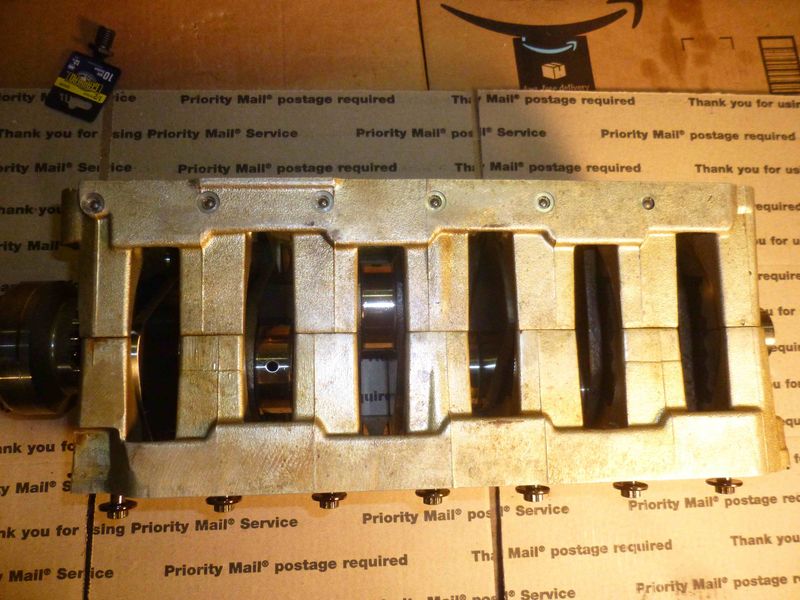
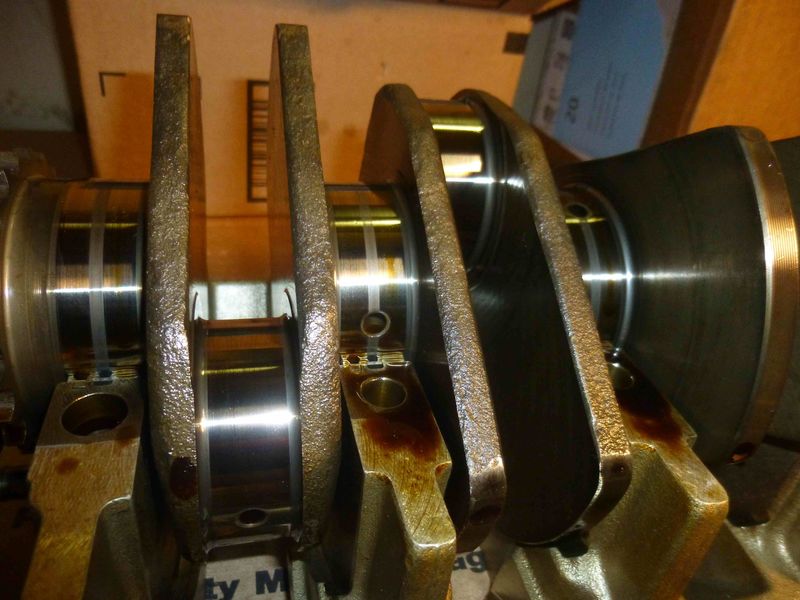
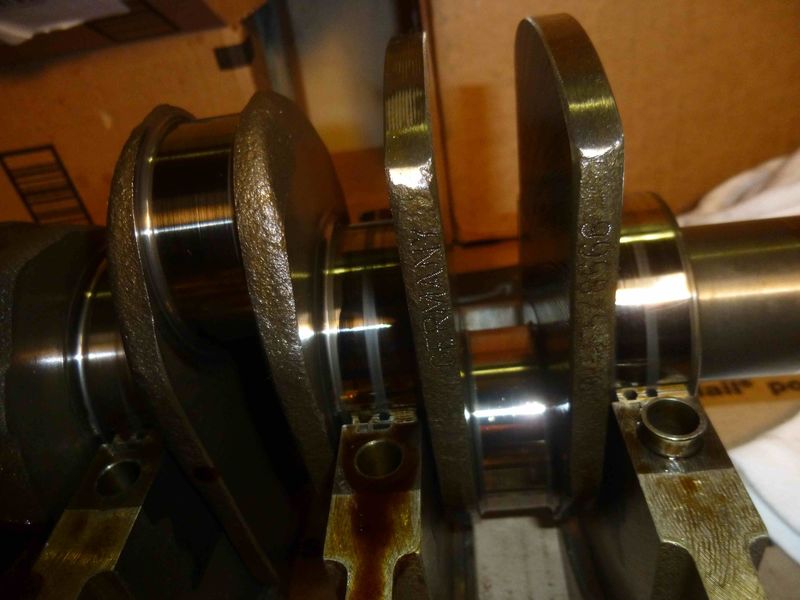
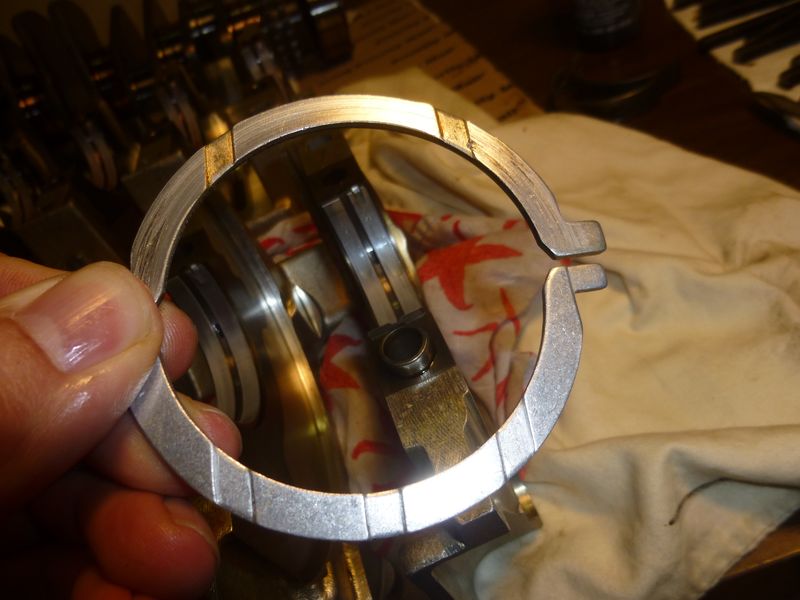
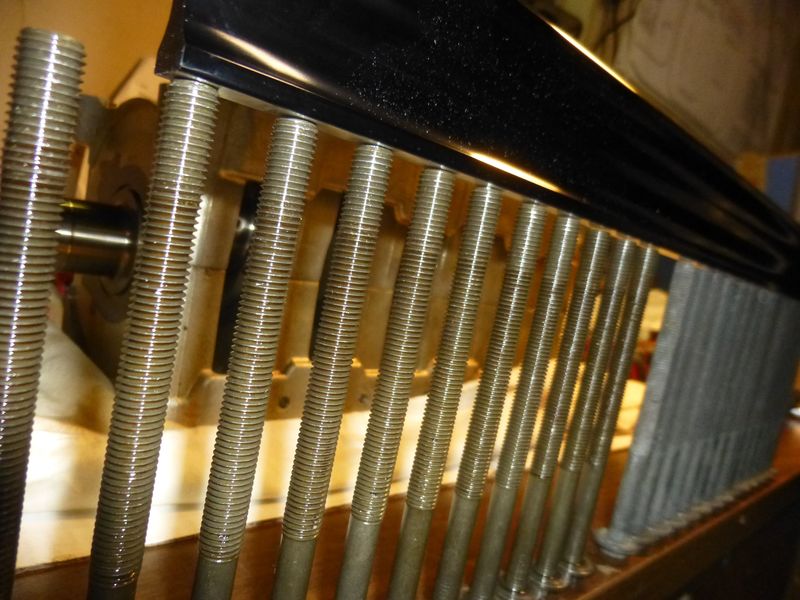
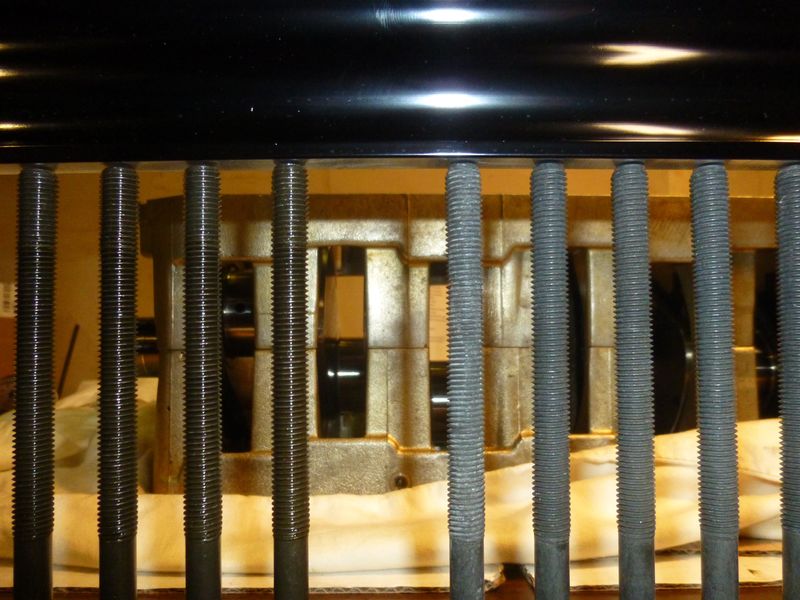
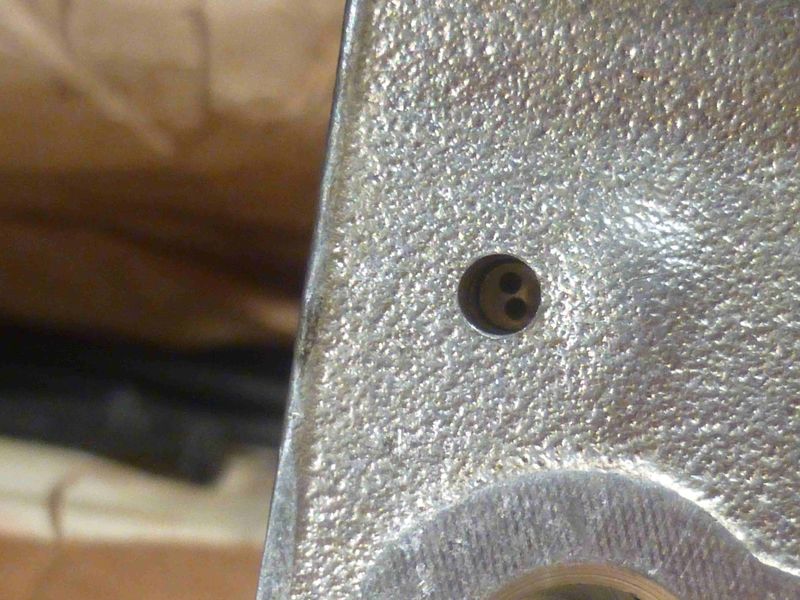
4) When the casing was machined, these ugly burrs should`ve been removed I guess. They come off easily and can cause damage anywhere they get to. German precision, where did you go?

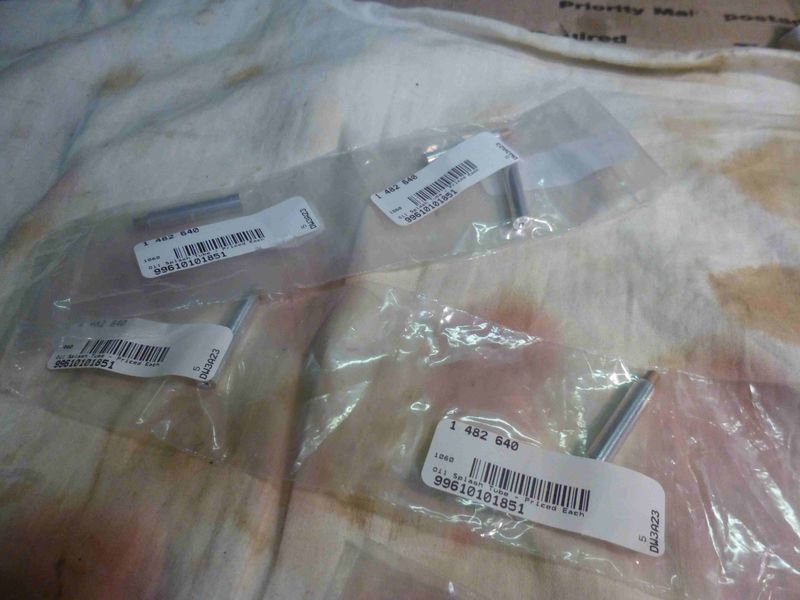
More to come once I received the parts.


 Boxster


 2017
2017  Thanks for keeping track of the progress!


 Hybrid Mode


