Go Back   986 Forum - The Community for Porsche Boxster & Cayman Owners > Porsche Boxster & Cayman Forums > Performance and Technical Chat

Post Reply
 
LinkBack Thread Tools Display Modes
Old 12-14-2018, 02:04 PM   #21
Registered User
 
Join Date: Dec 2018
Location: Earth
Posts: 109
Quote:
Originally Posted by Gilles View Post
+ 1 on locking the cams on both banks, it gives you an extra piece of mind.. :-)
Yes, but i have the ims pro tool, so that means a full lock on cylinder 1 to 4
The tool also comes equipped with 5 chain lock tool for use on flywheel side.
My plan is use the 5 chain lock on the flywheel side because i CAN.

Blackroot is offline   Reply With Quote
Old 12-15-2018, 01:15 PM   #22
Registered User
 
Join Date: Dec 2018
Location: Earth
Posts: 109
I was able to use the single lock on the 4 -6 side as extra insurance.
Question, when i pulled 1 to 3 tensioner, it gave a little pop like it was under pressure when it came out. Again 1 to 3 is locked with the cam tool and one of the cams is also locked on the 4 to 6 side. The pin was in the pulley at tdc, so locked up.
Is that pop/pressure on removal normal? It has me worried
Blackroot is offline   Reply With Quote
Old 12-15-2018, 02:44 PM   #23
Registered User
 
Join Date: Aug 2018
Location: Powell River, BC
Posts: 23
Can you take a pic for me at the single lock on bank 2? I'm curious as to how you got it in there.

Also: Yes I have heard that a pop is normal when you pull the 1-3 tensioner. Not sure if you have seen the videos by Burner's Cars on youtube but he goes through the whole IMS replacement procedure, from start to finish, and he mentions the "pop" as well.
dachrist is offline   Reply With Quote
Old 12-15-2018, 03:26 PM   #24
Registered User
 
Join Date: Dec 2018
Location: Earth
Posts: 109
Sure. That pop scared the hell out of me. I think i spent more time on the c clip removal than the lock on bank 2
Here are pics. Sure glad i had the second cam lock on

Last edited by Blackroot; 12-15-2018 at 03:29 PM.
Blackroot is offline   Reply With Quote
Old 12-15-2018, 03:54 PM   #25
Registered User
 
Join Date: Aug 2018
Location: Powell River, BC
Posts: 23
Thanks for the pic! I will crawl under mine tomorrow to make sure I can get that in there on bank 2.
dachrist is offline   Reply With Quote
Old 12-15-2018, 05:15 PM   #26
Registered User
 
Join Date: Dec 2018
Location: Earth
Posts: 109
The old l&N is finally out.
Looks like a gen 1 single. It has a little crunch when turning. Glad its out.
I noticed oil in the tube, but i think thats normal.
Im trying to get it all out before the new bearing, which is in freezer now, gets installed.


Last edited by Blackroot; 12-15-2018 at 05:19 PM.
Blackroot is offline   Reply With Quote
Old 12-15-2018, 05:22 PM   #27
Registered User
 
Join Date: Dec 2018
Location: Earth
Posts: 109
Blackroot is offline   Reply With Quote
Old 12-15-2018, 08:48 PM   #28
Registered User
 
Join Date: Mar 2014
Location: Eastern NC
Posts: 695
Garage
I removed the oil with shop rags. I wanted to be sure that there was no metal bits in the oil. I cant recall with tool kit you have for the installation. Be sure to use a dead blow hammer if it is required. The installation of the new bearing properly was my biggest concern, followed by not dropping the circle clip into the engine case. I did not have the faultless install kit for use.

I would add a big thanks to Jake Raby and LN for developing and distributing the tools to do this repair.
__________________
"YouTube Certified in Various Specialties"

Last edited by BFeller; 12-15-2018 at 08:50 PM.
BFeller is offline   Reply With Quote
Old 12-16-2018, 10:46 AM   #29
Registered User
 
Join Date: Dec 2018
Location: Earth
Posts: 109
Good news.
New ims is in, tensioners in.
Couple of items that might help you.
1. The tensioners are tough to get back in because of tension, imagine that. I had to press on with a large screwdriver while simultaneously threading until i could get it started. Torque to 59ft lbs each.
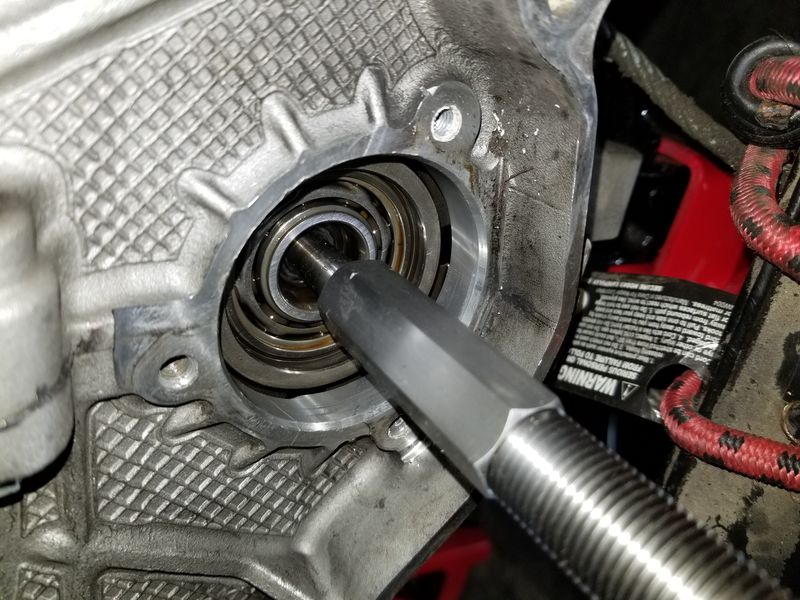
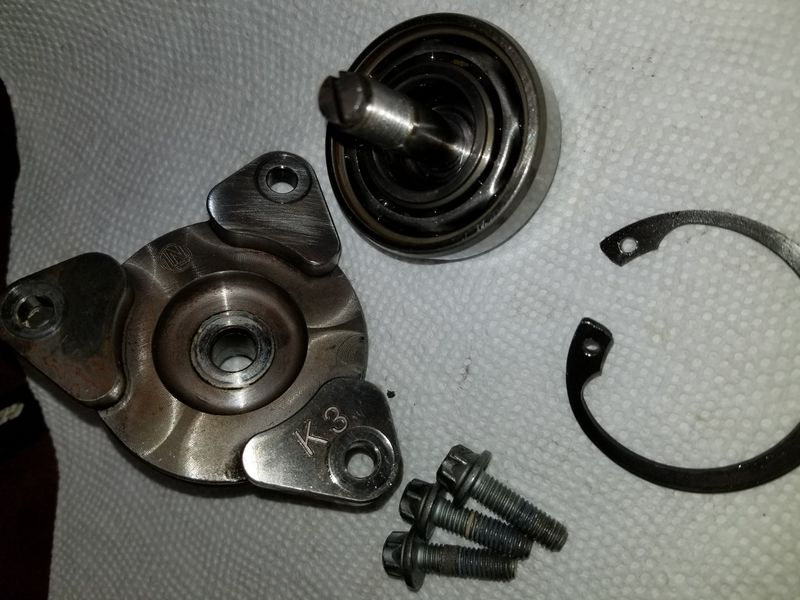
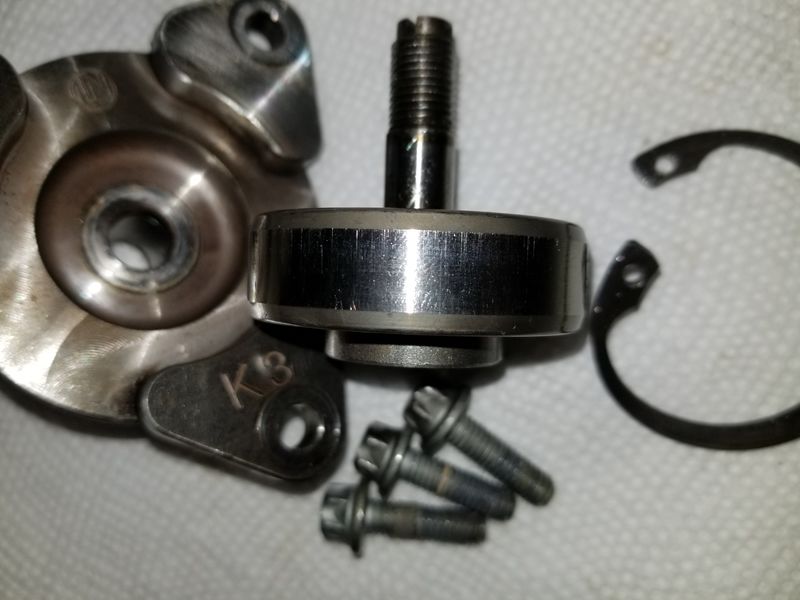
2 there is a real danger of the ims c clip flying into the engine case through the exposed lip. Mine squirted out several times. Invest in some decent c clip pliers. I fashioned a 2 inch copper pipe and sandwiched it against the IMS removal threaded tube. The diameter is greater than the gap between the c clip arms, so it is impossible to fly off. DONT just use the finger method. See picture here for example.(coming)
3. Once everything is buttoned up, rotate crank 720 degrees and check all 4 cam marks ( you should have marked them with a sharpee). Mine were dead on


Last edited by Blackroot; 12-19-2018 at 06:14 PM.
Blackroot is offline   Reply With Quote
Post Reply


Posting Rules
You may not post new threads
You may not post replies
You may not post attachments
You may not edit your posts

BB code is On
Smilies are On
[IMG] code is On
HTML code is On
Trackbacks are On
Pingbacks are On
Refbacks are On


All times are GMT -8. The time now is 06:28 AM.


Powered by vBulletin® Version 3.8.7
Copyright ©2000 - 2024, vBulletin Solutions, Inc.
Content Relevant URLs by vBSEO 3.6.0
Copyright 2024 Pelican Parts, LLC - Posts may be archived for display on the Pelican Parts Website -    DMCA Registered Agent Contact Page