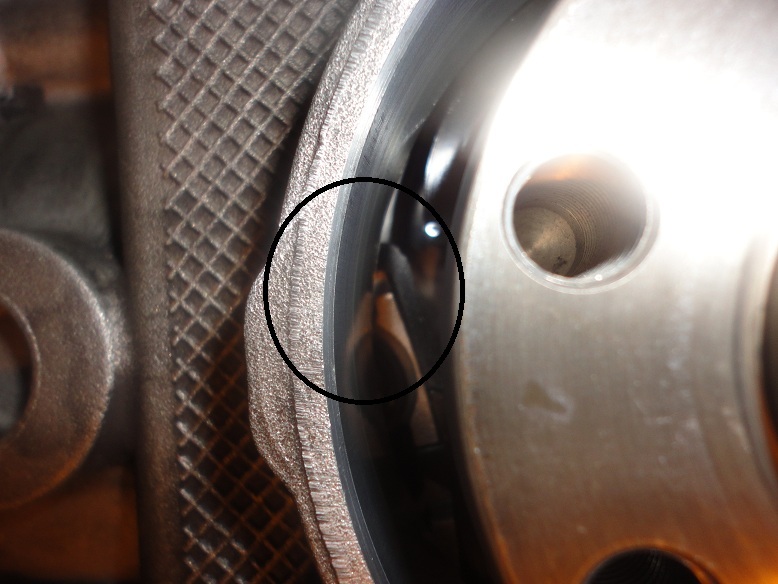
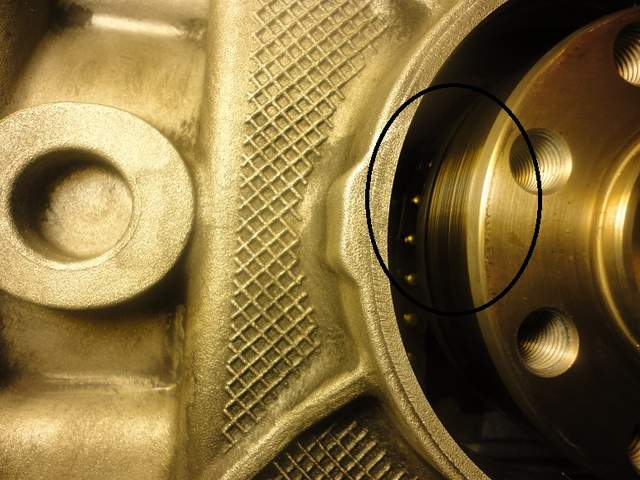
Only got the RMS done tonight. Interesting project. I measured the existing one while in and it was between 10 and 12mm from the crank, it wasn't consistent. Made a little tool that would measure about 13mm. Bentley says to insert a little more then 11m so it hits a fresh surface on the crank. From the pictures below it can be seen that there is some surface to work with both on the crank and the block.
Some more thoughts and observations for those learning along with me and for those with more knowledge to comment on:
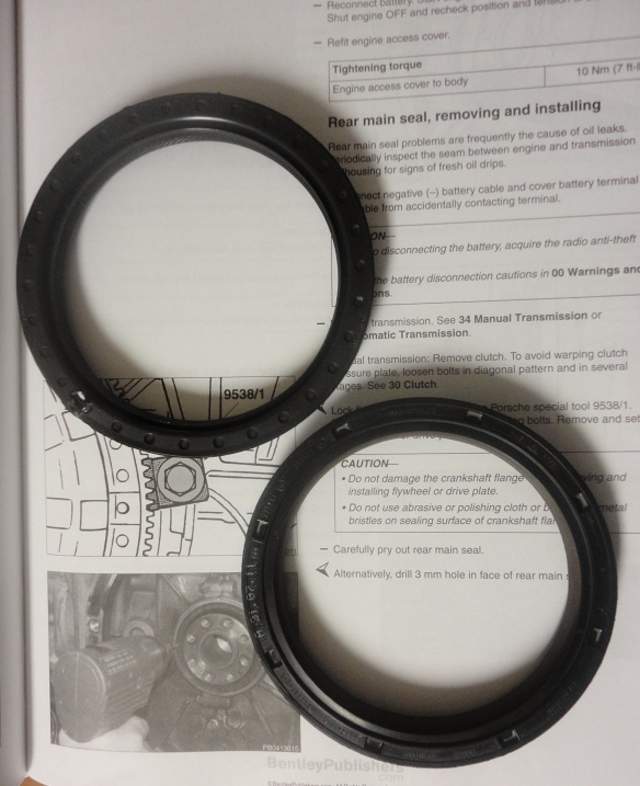
- The new seal has extra ridges on the outside, the inside (crank side) seems to have some extra ridges also and is just slightly different in design (see 3rd pic). If you are all familiar with the ridged seals that go under external doors in your house it kind of reminds me of that.
- While putting the new one on, make sure it goes on the crank side properly, it is easy to flop it over and do it wrong. I was reading elsewhere today where someone had that problem, I immediately saw what they were talking about....however once on it will be OK, Turn it back and forth a little and you'll see.
- I see why the shops have a special tool, these seals are squirmy little buggers, while gently tapping in they like to seat quickly on one outside edge and not the other. Before you go too far start over. Get it started on the outside edge completely before starting to tap it in past the point of no return. This happens because they are ridged and the fit is tight...well at least it seems that way to me.
- I used a little soft piece of wood to tap around and around to get it most of the way, then I used a perfect fitting piece of PVC to get it to the right depth. Since they do like to go in easier on one side then the other I generally used the PVC to just work the section that was not being so nice. In the end it was a perfect 13mm from crank side in. I will say that extra 2mm is very noticeable on the outside edge.
- Take your time, I can see it would be easy to seat it in too far.
- As a beginner on this it is amazes me that crank can spin on this for so long and not leak more. Also I'm not surprised that they ooze a little. I also can see how leaks could form.
Think I'll do the nasty messy oil fill tube next. My parts guy had that part handy, said they have to replace them all the time. Not a lot of room to get at it, but I"ll ******************** and gripe a bunch and get it done. Then do my best to clean up what only a few hundred drops can do over 57k miles...dirt magnets.


 Whip986S - SOLD but will live the good life!
 Peter Jr - SOLD but not forgotten!
 The Silver Surfer (SOLD)
 The Black Widow
 Nite
Nite


 Hybrid Mode


