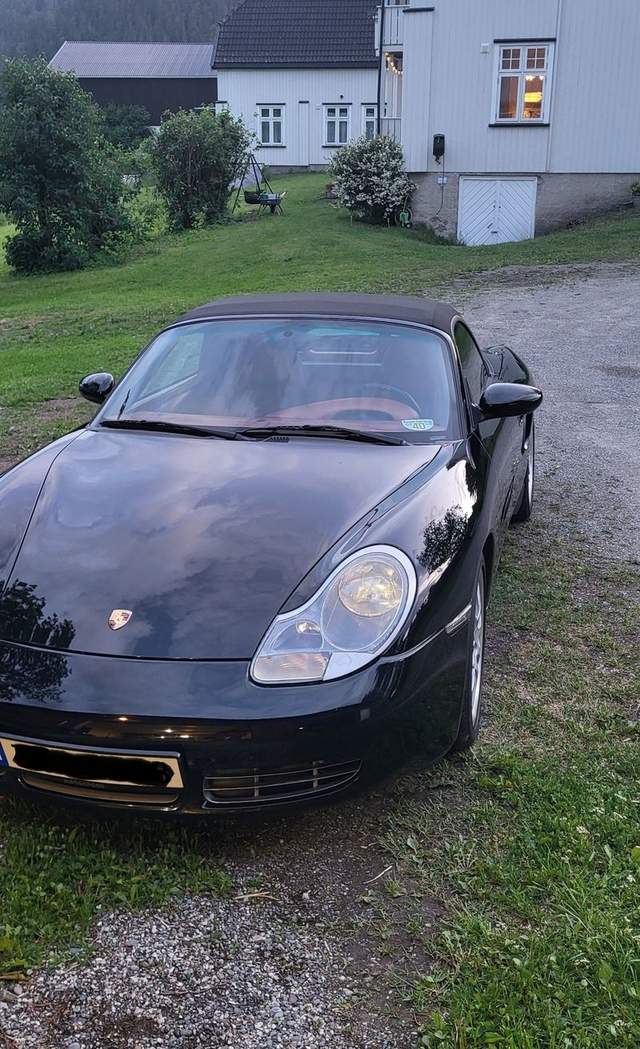
Hi all. I have used this forum a long time even before getting my boxster S, and found tons of useful information here. I therefore decided to try give something back and decided to log my latest DIY project here.

A long time ago a read a thread about de-ambering the yellow blinker on the headlights, and decided I wanted to do that. The original thread was by particlewave and is linked at the end of this post. My approach and tools was slightly different, but the principle is very much the same. So here is another de-amber DIY:
The blinker on amber headlights is constructed with layers of different plastics. When the headlight is moulded, a approx 2mm layer of yellow plastic is moulded on top of the clear plastic underneath. This layer can be removed with the help of grinding tools, and sanded/polished to a finish. This process does remove a fair amount of thickness to the glass, so be careful, and try to remove as little as possible of the clear lens.

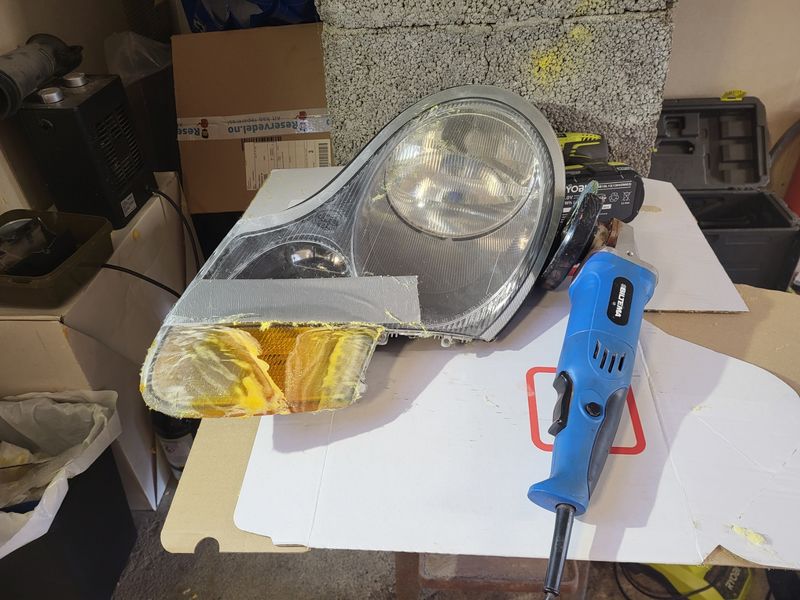
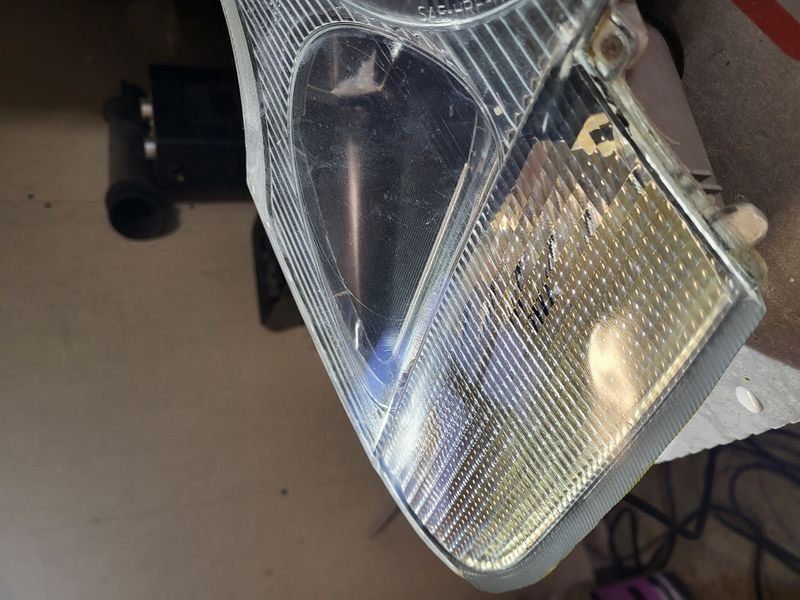
I choose to use a angle grinder with 240 grit flapdisc. The yellow came of in spider web like wool, but it did produce a bit of heat and melted some yellow plastic. The trick is to move the grinder quickly with a sweeping motion over the entire length of the blinker to avoid melting the plastic, instead of what is shown in this picture (first light, learning process). You can also use water/quick detaler on a spray bottle to keep temperatures down as i did on the next headlight. Result:
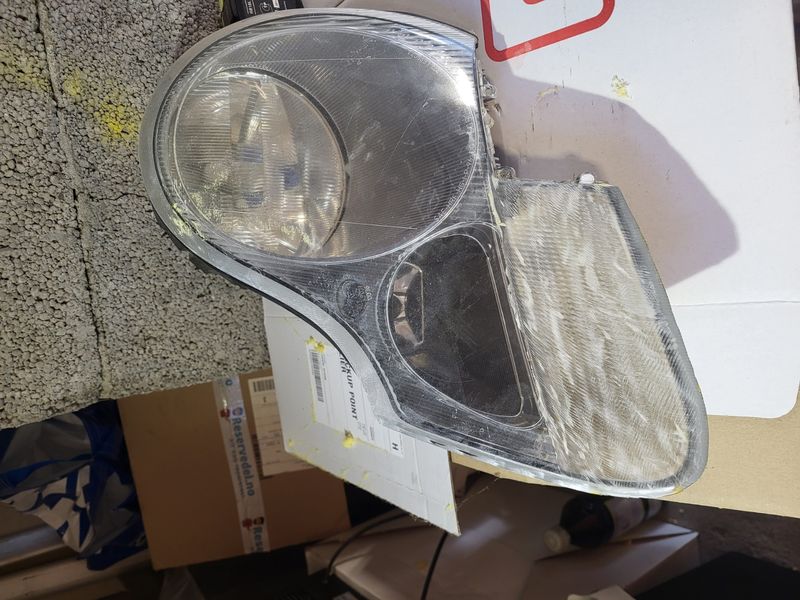

A coarse flapdisc on an angle grinder does produce pretty rough surface. Therefore you need to sand it down with sandpaper, or an orbital sander like i used here, with 220 grit paper. On the first light I removed all amber with the angle grinder, but I recommend to leave a slight amber tint left after using the angle grinder as the next steps in the sanding process also removes quite a bit of material, and therefore will take care of the last of the amber. This is to avoid removing more of the clear plastic than necessary.
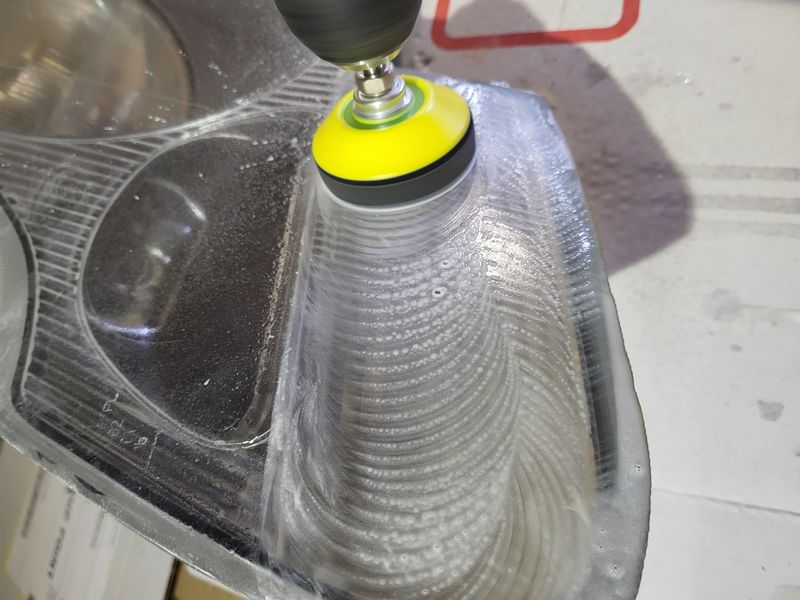
Next step is water sanding. Using a mix of car soap and water as lube and coolant, I went through the steps with a power drill, and different grit water sanding paper on a soft pad. Started with 600 grit ->1000->2500->5000 until the lens was free of grinding marks.
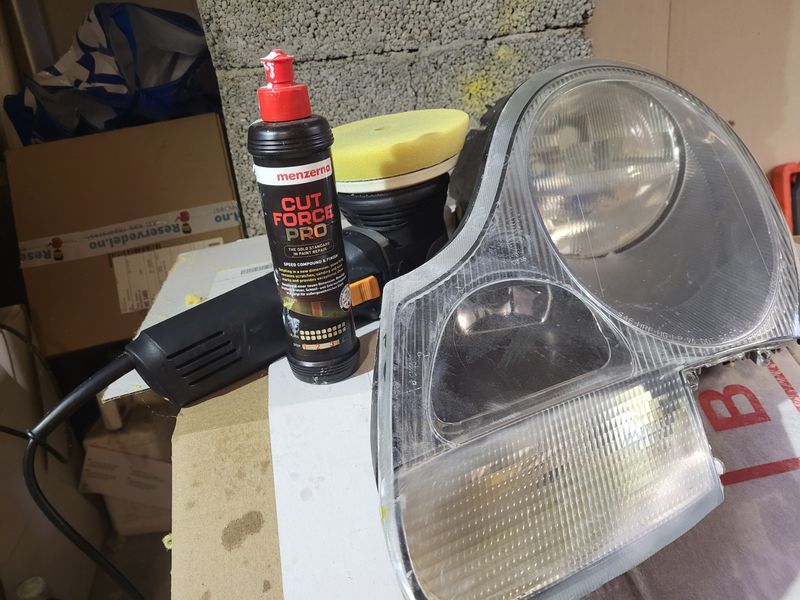
Last step was DA polisher with medium pad, with a one step diminishing compound. voila! finished with a pretty good finish. It took about 2.5 hours per headlight. I used spray paint on the corner piece until I can source a clear corner or make one with lexan. The now clear blinker lens will also need a clear coat on top to avoid yellowing and damage from UV sunlight.
Original post that lead me to this project:
https://986forum.com/forums/boxster-general-discussions/51810-our-amber-headlights-can-de-ambered.html