 12-08-2021, 02:01 PM
|
#61
|
|
Registered User
Join Date: Feb 2005
Location: It's a kind of magic.....
Posts: 6,663
|
A close approximation of the crank journal sizes could be obtained by torquing empty new bearing shells in the rod and mains carrier, then inside mic them.
__________________
Anything really new is invented only in ones youth. Later, one becomes more experienced, more famous and more stupid. - Albert Einstein
|

|

|
|
12-09-2021, 04:08 AM
|
#62
|
|
Registered User
Join Date: May 2021
Location: Stansted
Posts: 67
|
Quote:
Originally Posted by JFP in PA

A close approximation of the crank journal sizes could be obtained by torquing empty new bearing shells in the rod and mains carrier, then inside mic them.
|
Good call 
|

|
|
|
12-10-2021, 10:18 AM
|
#63
|
|
Registered User
Join Date: Oct 2018
Location: North Cali
Posts: 858
|
It`s even easier to measure the clearance with plastigauge. You can check the old and new set and compare.
Last edited by Homeoboxter; 12-10-2021 at 10:22 AM.
|
|
|
|
|
12-10-2021, 04:01 PM
|
#64
|
|
Registered User
Join Date: Jan 2014
Location: New Jersey
Posts: 1,631
|
OldManMo you inspired me to clean up my souvenir piston from my engine before it was rebuilt as a 3.6. A week in a gallon of carburetor cleaner was all it took! Keep posting updates, I love following your progress! 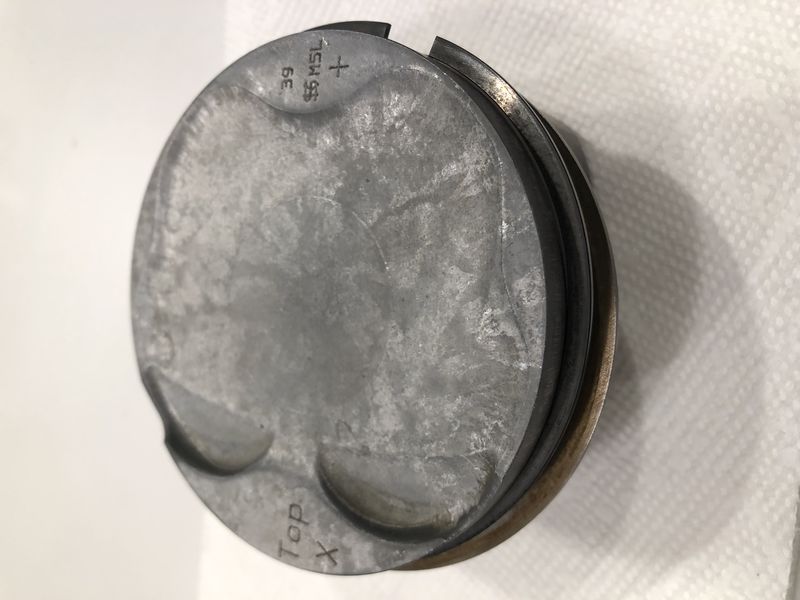
__________________
Current: 2022 718 Cayman GT4, PDK bone stock (the dark side).
Former: 2003 S, 3.6 LN Nickies, ARP rod bolts, under-drive pulley, Fabspeed sport headers, Softronic tune, 987 airbox 987 motor mount, Function-First Sport motor mount insert, Ben's short shifter, Nine8Six projector headlights & center caps, ROW M030, stainless flexible brake lines, B-K rollbar extension & fire extinguisher mount, hardtop
|
|
|
|
|
12-10-2021, 05:57 PM
|
#65
|
|
Registered User
Join Date: Sep 2018
Location: Illinois
Posts: 324
|
Quote:
Originally Posted by Homeoboxter
It`s even easier to measure the clearance with plastigauge. You can check the old and new set and compare.
|
So, my question is: how do you use this when the bolts have to be torqued and then taken to the proper angle--and are one-time use?
__________________
A cynic is a man who, when he smells flowers, looks around for a coffin.
-H. L. Mencken
|
|
|
|
|
12-10-2021, 06:24 PM
|
#66
|
|
Registered User
Join Date: Oct 2018
Location: North Cali
Posts: 858
|
Quote:
Originally Posted by Newsguy
So, my question is: how do you use this when the bolts have to be torqued and then taken to the proper angle--and are one-time use?
|
Easy: you use the old bolts for plastigauging/mic-ing and use the new ones for reassembly.
|
|
|
|
|
12-12-2021, 03:56 AM
|
#67
|
|
Registered User
Join Date: May 2021
Location: Stansted
Posts: 67
|
Quote:
Originally Posted by PaulE
OldManMo you inspired me to clean up my souvenir piston from my engine before it was rebuilt as a 3.6. A week in a gallon of carburetor cleaner was all it took! Keep posting updates, I love following your progress! |
Thanks PaulE and others for the words of encouragement and really makes my day that I am helping others. My son and I are having lots of fun so far learning and seeing the progress. We had a great evening in the other day watching Jakes DVDs with a bag of popcorn and a slushy. Me more than him mins you
Nothing so far has been daunting but that said I do believe I did the tear down at the right time before any damage.
Will share more progress in the next few days
Thank you all
|
|
|
|
|
12-13-2021, 09:40 AM
|
#68
|
|
Registered User
Join Date: May 2021
Location: Stansted
Posts: 67
|
|
|
|
|
|
12-13-2021, 09:43 AM
|
#69
|
|
Registered User
Join Date: May 2021
Location: Stansted
Posts: 67
|
I use an Ultrasonic bath to do the cleaning and interesting what you fine on the bottom. This is from the Crank, which wasnt bad even though its what is all that.
I didnt take a picture after the carrier but there were loads of little bits of plastic once cleaning had finished
|
|
|
|
|
12-13-2021, 11:57 AM
|
#70
|
|
Registered User
Join Date: Jul 2019
Location: Finland
Posts: 356
|
Brilliant, very interesting thread and how you document the progress. Thank you and keep up the fantastic work 
__________________
2001 996 C2 Manual
|
|
|
|
|
12-24-2021, 12:13 PM
|
#71
|
|
Registered User
Join Date: Feb 2017
Location: Stockholm
Posts: 375
|
May I ask, the parts that where mediablasted, eg the gearbox. Did you clear coat them after? Any trick to make them stay that clean?
|
|
|
|
|
12-26-2021, 03:41 PM
|
#72
|
|
Registered User
Join Date: May 2021
Location: Stansted
Posts: 67
|
Quote:
Originally Posted by Robert986
May I ask, the parts that where mediablasted, eg the gearbox. Did you clear coat them after? Any trick to make them stay that clean?
|
Hi Robert986
Different parts had a different finish. For the gearbox, I didnt mediablast as it was too big for my machine, but I cleaned it with degreaser, then wire bushes, then used a lot of carb and brake cleaner, scotch pads, then I gave it a light coat of alloy wheel silver paint. One year it is still holding up. With hindsight, I probably sent this out to be media and vapour blasted then had a anti-corrosion coating applied.
For other parts such as suspension parts I did media blast with soda and fine glass beads (taken care for smooth finished areas) then applied either silver alloy paint or anti-corrosion coating. For the exhaust,, this was a couple of hours spent using a fine scotch brite wheel then a polishing wheel with a polishing compound like autosol
I need to do the front suspension and brakes so I will share what I do, again not to say this is the right way to do this but just what I did/do
|
|
|
|
|
02-25-2022, 01:24 PM
|
#73
|
|
Registered User
Join Date: May 2021
Location: Stansted
Posts: 67
|
Latest
Hi all
I know, its been ages. Lots of reasons, Christmas, holidays, work, home, waiting on parts, waiting on parts, waiting on funds and so on
Spent most of the time since my last post cleaning, measuring, investigating, learning while I waited to order and receive parts. I should hopefully be in a position to start the rebuild in the next month or so. Dont get me wrong, I currently have a small mountain of nice new engine parts, but still quite a bit more to get.
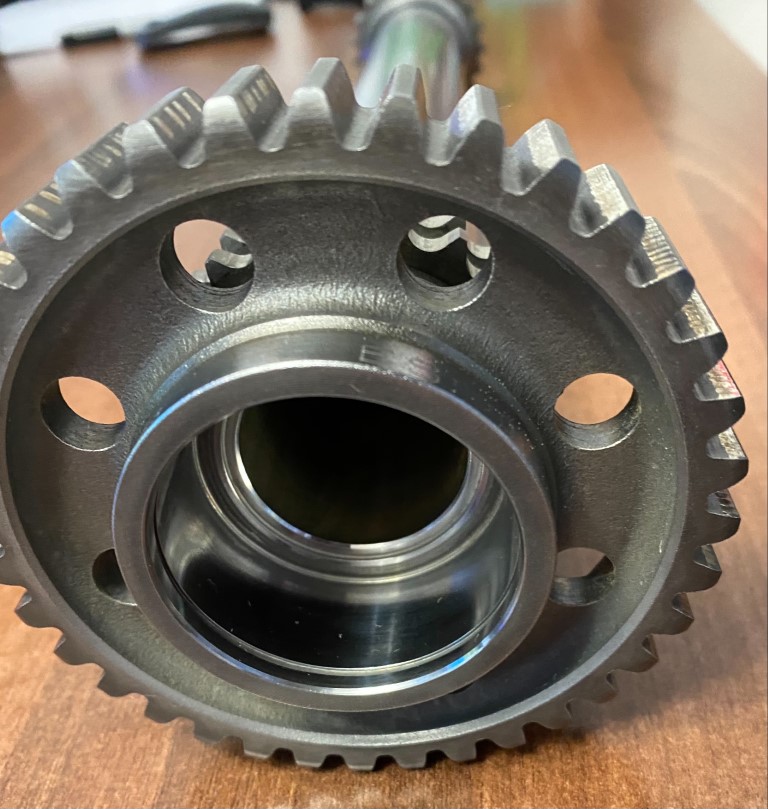
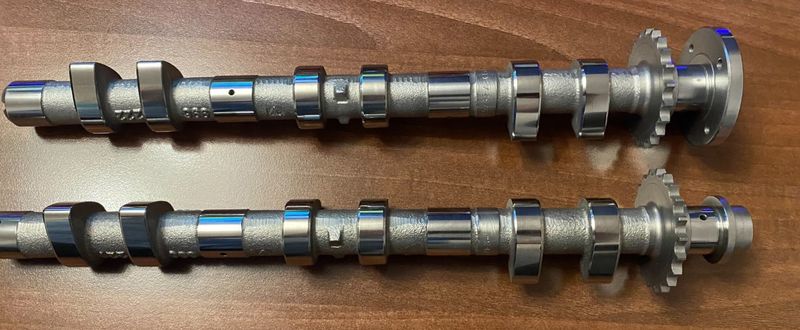
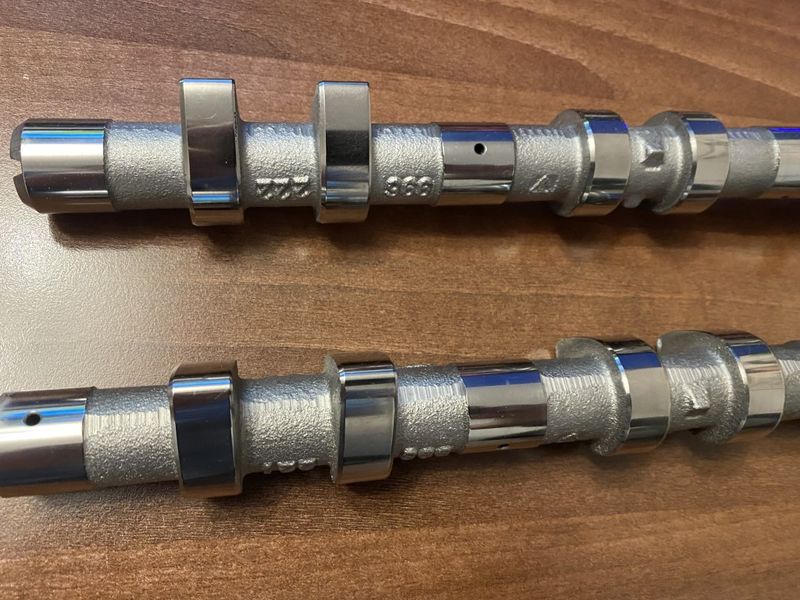
While cleaning the many parts in the ultrasonic tank, I could clearly see particulates fallen to bottom. These were mostly plastic from the chain guides and some pieces of carbon. There was however, lots of pieces and they came out from almost everything that was cleaned, Crank, Cams, lifters, lifter housing, IMS itself once the bearing was removed.
All honesty, I am not sure I didn't find lots of damage as it does look (and maybe I am fooling myself) as I caught it in time
So while I get ready to start the rebuild here is some photos from what has been done so far.
In almost all cases parts started in the tank, then cleaned and polished by hand, then back to the tank, then cleaned with carb cleaner, then back into the tank, then polished by hand again, then back to the tank...well you get it. BTW, I dont mind cleaning and polishing by hand, I find it therapeutic and I get up close and personal with the part
|
|
|
|
|
02-25-2022, 01:26 PM
|
#74
|
|
Registered User
Join Date: May 2021
Location: Stansted
Posts: 67
|
The IMS took lots of nice gentle work but ha come up nice. Lots of nasty sludge came out from the inside but more so when I used a bottle brush to get to the end

Will still go through one more round of cleaning before I fit it
|
|
|
|
|
02-25-2022, 01:32 PM
|
#75
|
|
Registered User
Join Date: May 2021
Location: Stansted
Posts: 67
|
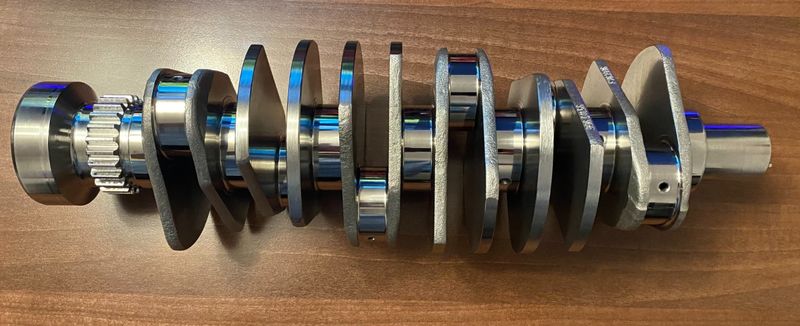
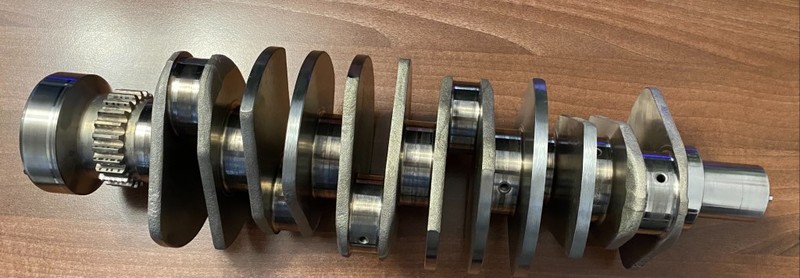
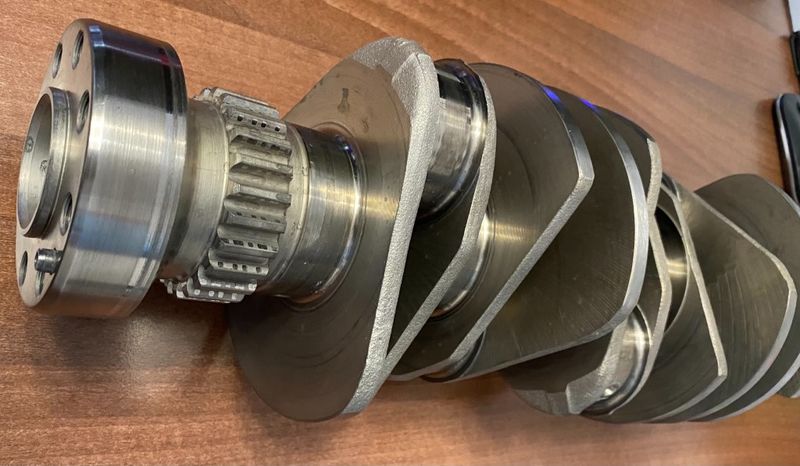
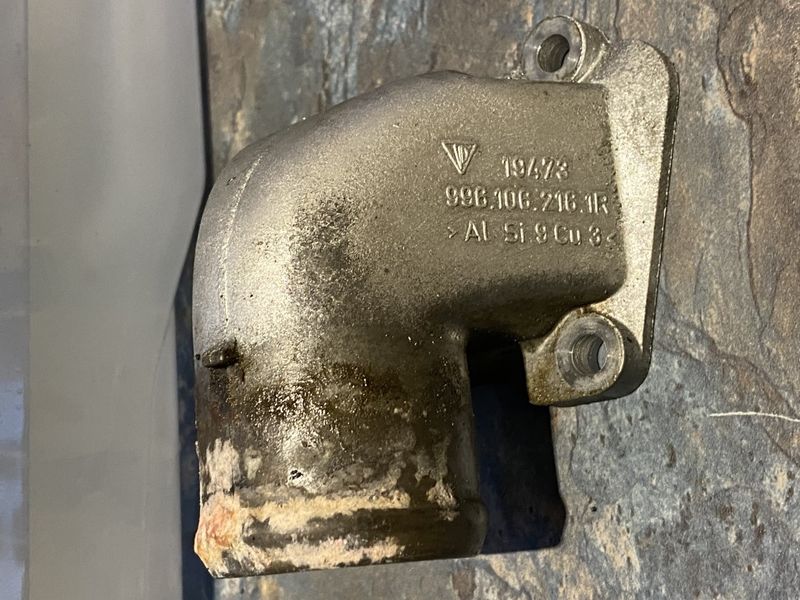
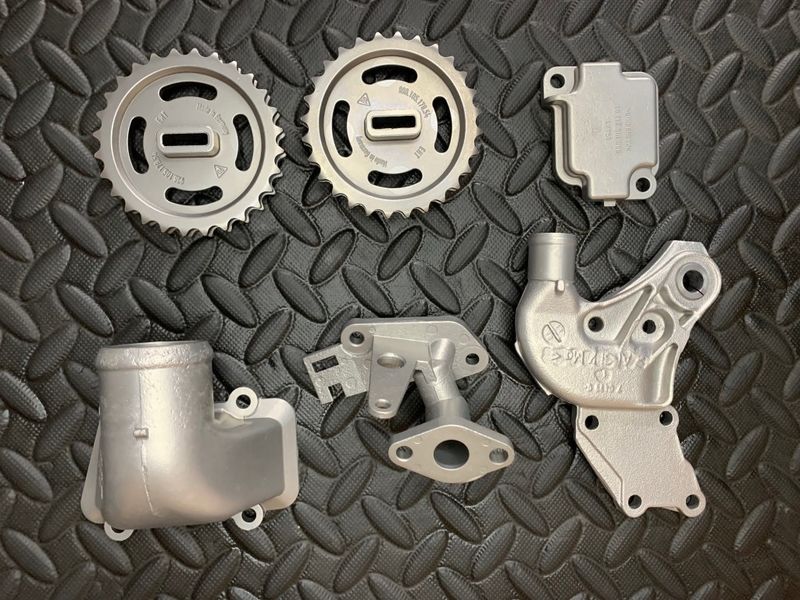
Crank took some time also and I found a lot of sludge and a small piece of plastic in the oilways. The journals where hand polished. I used 10,000 grit wet and dry on the heavily soiled journals. The specs where in line with what is published else where on the net. It has been crack tested, but will have it tested once more and run through final cleaning just before fitting
This is how I started
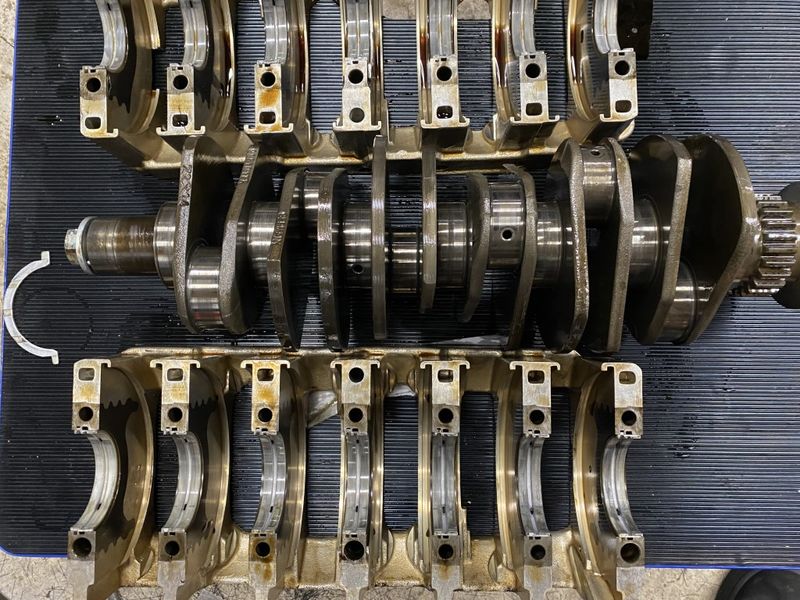
after a few round in the ultrasonic bath

And a number of hours later by hand

|
|
|
|
|
02-25-2022, 01:37 PM
|
#76
|
|
Registered User
Join Date: May 2021
Location: Stansted
Posts: 67
|
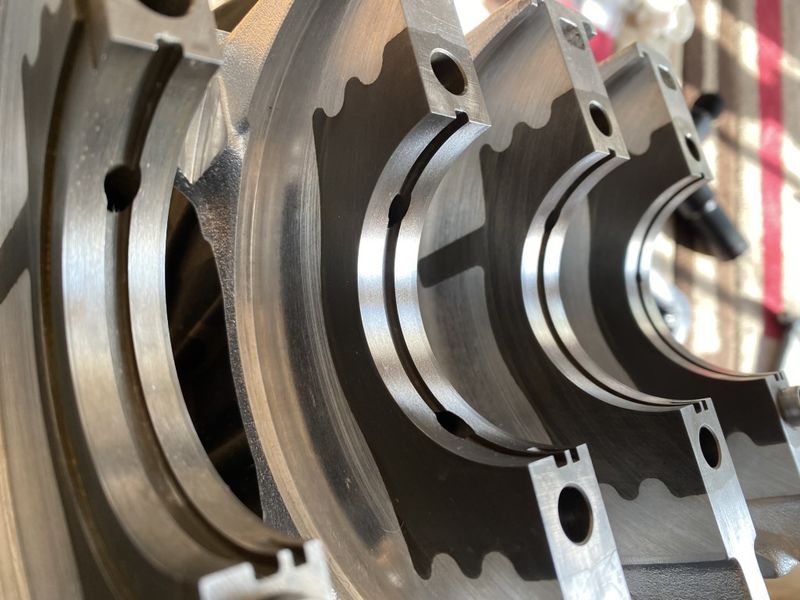
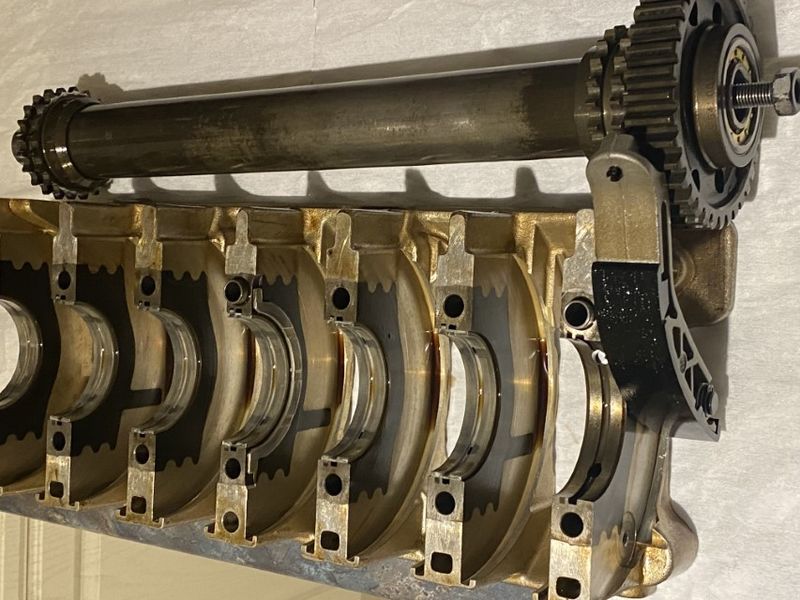
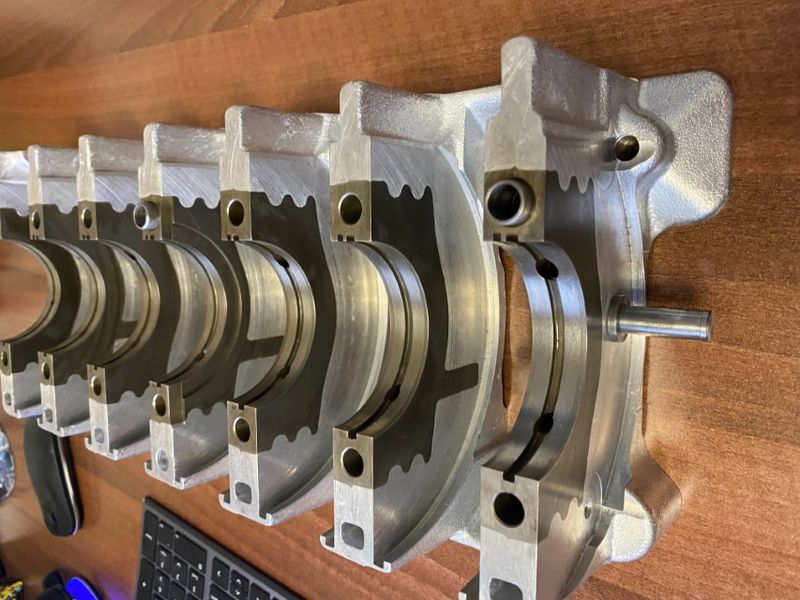
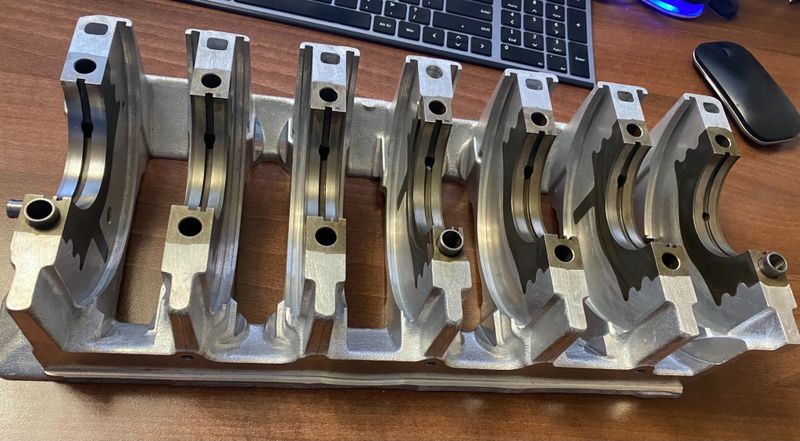
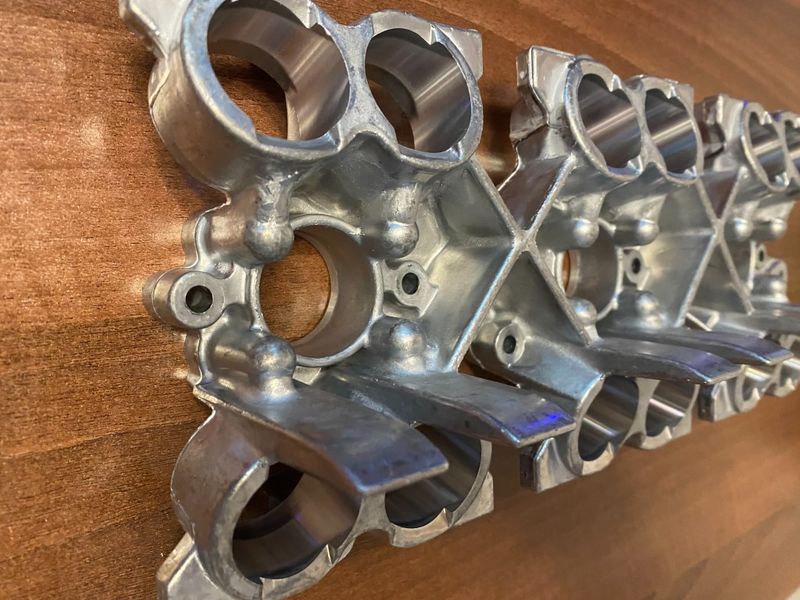
Crank carrier also had the tank and hand polishing treatment. Had a strange one here as I reassembled without the bearing to torque to measure the roundness of the bearing seats and was seeing about 0.01-0.02mm differences across the face. I found that there were deposits of carbon/oil/stuff that I didn't notice the first time.
Spent some more time cleaning and polishing the seats and was seeing, sometimes only 0.01mm differences. Didn't think that the build up could be as much as that, but it could have dried on when I removed the bearing I guess.
You can see it a little in the phot below between the first seat on the left and the next ones
|
|
|
|
|
02-25-2022, 01:41 PM
|
#77
|
|
Registered User
Join Date: May 2021
Location: Stansted
Posts: 67
|
|
|
|
|
|
02-25-2022, 01:43 PM
|
#78
|
|
Registered User
Join Date: May 2021
Location: Stansted
Posts: 67
|
|
|
|
|
|
02-25-2022, 01:46 PM
|
#79
|
|
Registered User
Join Date: May 2021
Location: Stansted
Posts: 67
|
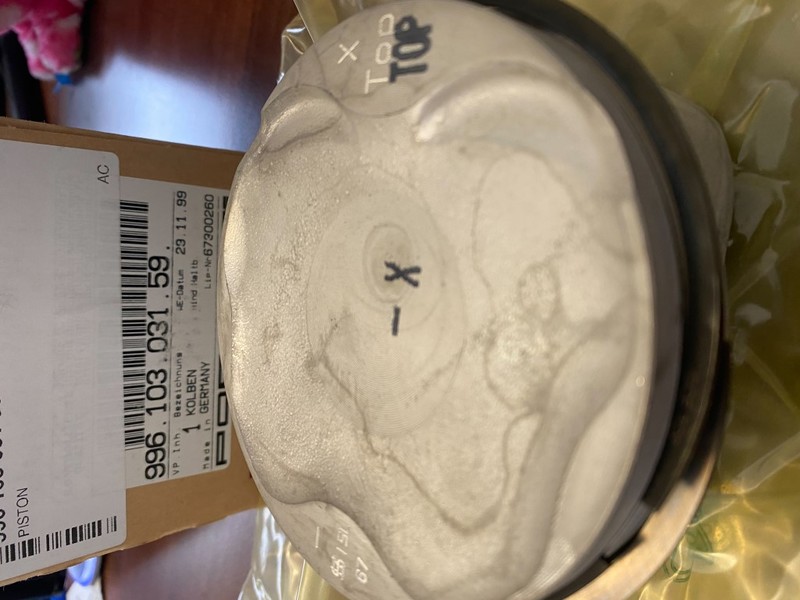
also got some new pistons
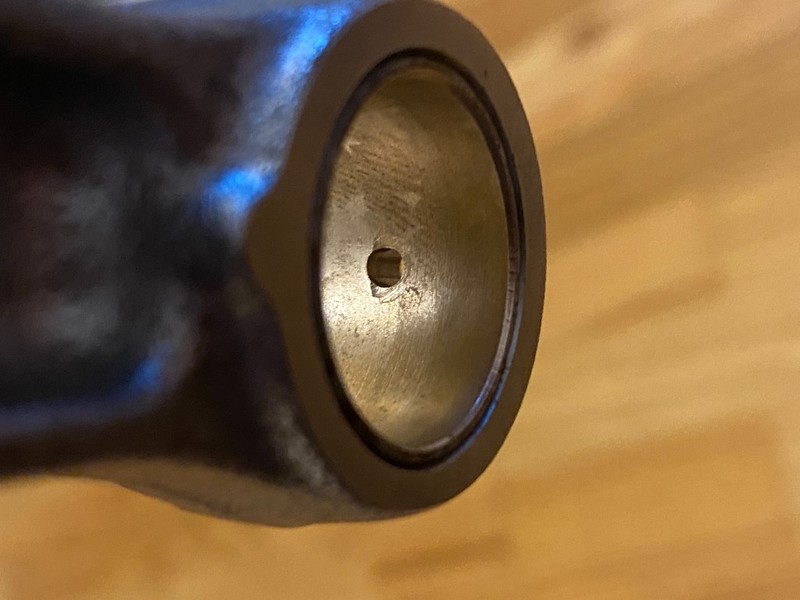
And will be replacing the rod bushings as there was noticeable play and didn't like the look of them.
I assume these are pressed in as per normal, nothing special needed with them?
|
|
|
|
|
02-26-2022, 12:29 PM
|
#80
|
|
Registered User
Join Date: Jan 2020
Location: Washington State
Posts: 3
|
Love watching the progress. What type of ultrasonic machine do you use?
|
|
|
|
 Posting Rules
|
You may not post new threads
You may not post replies
You may not post attachments
You may not edit your posts
HTML code is On
|
|
|
All times are GMT -8. The time now is 06:17 AM.
| |


 Boxster
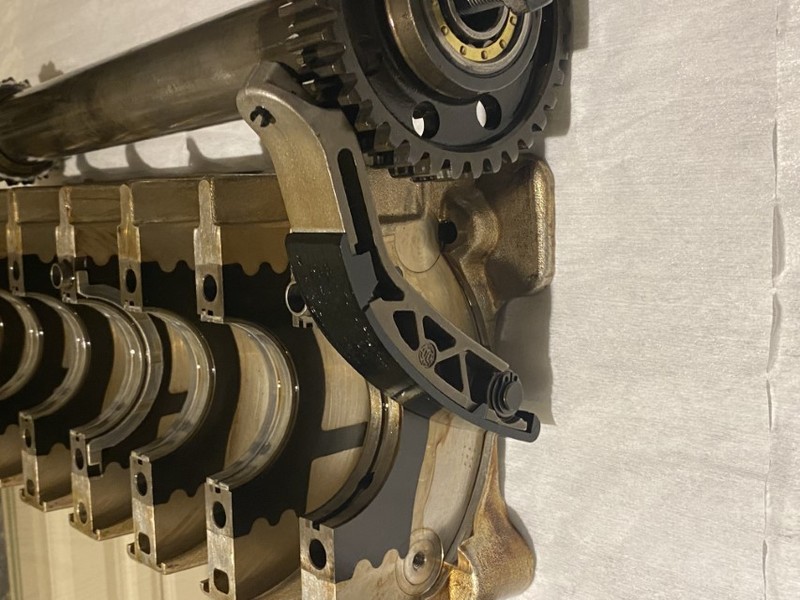


 Boxster S

 Linear Mode


