Quote:
Originally Posted by all_mota

Do you by chance have any pictures of how you wired the switch
|
I do not at the moment. It is a tight enough squeeze in the driver floor board for me and I was down there enough I did not even think about taking pictures with my back hurting as bad as it was with my 4 bulged discs. I will do a better breakdown on where to tap into.
1) Remove lower AC/heating duct from its location right by the OBD II port. Easily done by pulling to the left or right and pull down.
2) Pull the ignition harness away from the ignition switch.
3) Locate solid yellow wire. If you look at the end of the harness plug this wire the (50) wire.
4) I took a razorblade and removed insulation from the copper wire from that solid yellow wire.
5) Solder the wire that the instructions states to tap the blue wire from relay to the (50) wire to the solid (50) yellow wire. I placed electrical tape over the solder.
6) Find one of the red with white stripped wires (there is two) and strip the insulation like you did for the yellow wire.
7) Take the red and blue wires from the relay (both 15's) and twist them together.
8) Solder the red and blue wire to the exposed copper on the (15) red and white wire and cover with electrical tape.
9) I then took the black ground wire from the harness and tapped that into the brown wire on my cigarette lighter for the ground.
That is the basic wiring for the push button I installed. Do not try to use the clamping splice connectors, the insulation is way to hard and thick to get a good connection off the ignition harness. That was my mistake at first to try and get away from soldering the wires. Jus go ahead and strip the insulation and solder, you will save a good amount of frustration doing it this way.


 My car
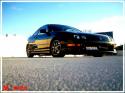 2000 Acura Integra Type R
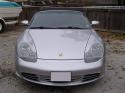
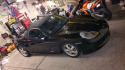 1999 Porsche Boxster
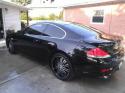 2004 BMW 645ci
 2005 kawasaki Ninja Zx-10R
 2003 Yamaha Yzf-R6
 "all_mota" budget build
 1994 Pontiac Firebird Formula
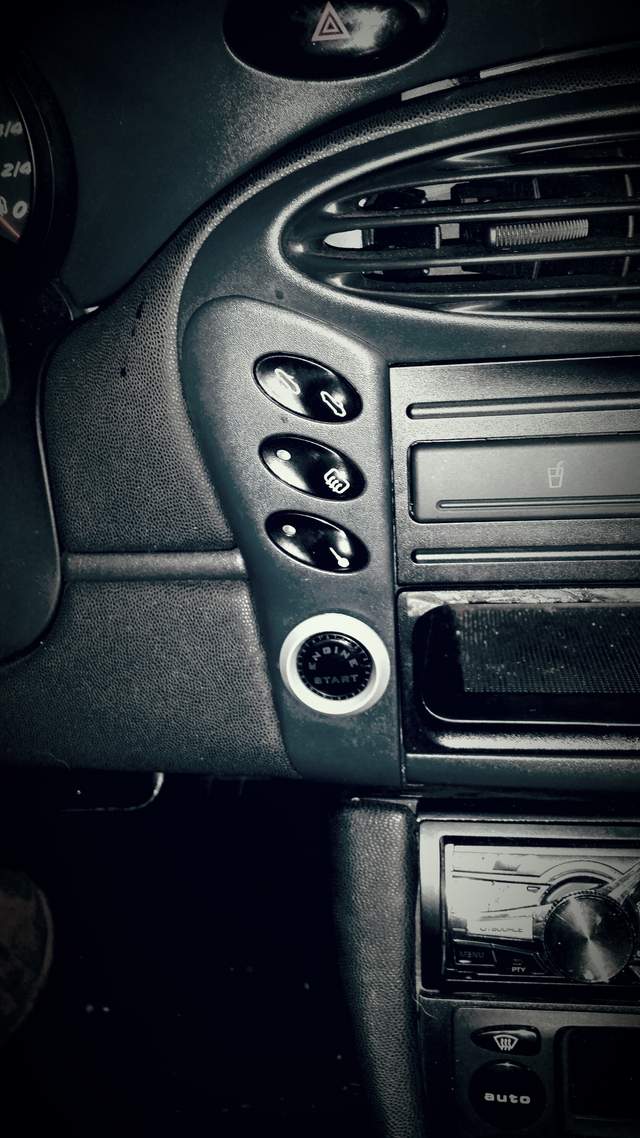

 Parts Car, car parts
 Honda Del Sol(s)
 "Hers"
 My Original '99
 The 78 F350
 This
This That
That The S 2.5
 Other
Other Linear Mode


