I wanted to install the Flash2Pass system in both of our cars - the Boxster and the new X5 - so we can do away with garage door openers.
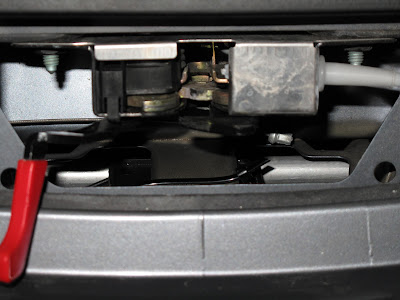
First step is to remove enough of the fasteners holding the frunk lining so you can access one of the headlight harnesses. I tapped the passenger-side harness as shown here. The Flash2Pass system comes with the wiretaps. The white wire is the high-beam +12v (though it tested at 11v), and the brown is the fat common ground for the harness. The Flash2Pass instructions advised against chassis grounding.
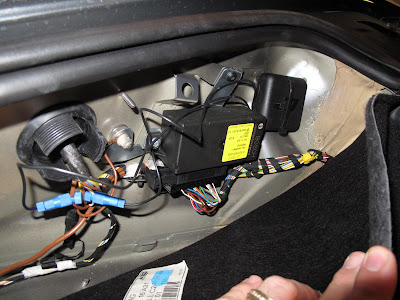
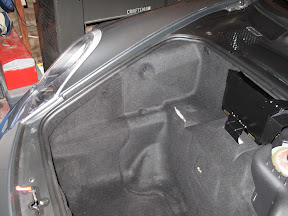
The black box in the top right corner is the transmitter. As you can see, I had initially planned to leave it mounted behind the liner, but the frunk provides too much RF shielding, so I had to move the unit to the front bumper.
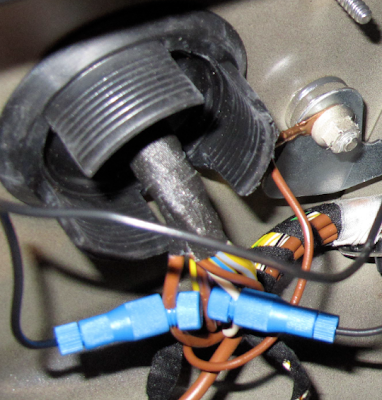
Closer view of the wires tapped:
There is a wire grommet that leads from the frunk to the area behind the front bumper. This image shows the precision tool I inserted into the existing wire grommet.
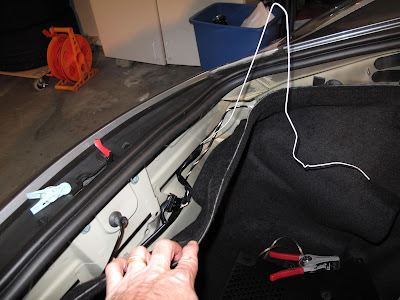
Closer view...
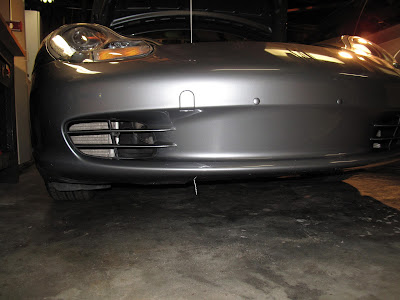
With a little manipulation, the hanger is now protruding through one of the holes in the bottom of the front bumper. To backpull the transmitter wires, I electrical taped the wires to the end of the hanger and gently pulled them back into the frunk.
I did have to lengthen the leads for the transmitter by about three feet. I soldered the extension wire on and used shrink tube around each lead, and then shrink-tubed around both - but I tend to err on the side of caution with wiring.
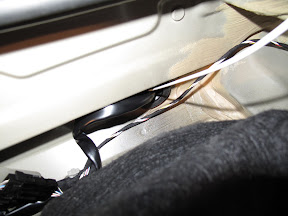
There is a bracket below the hood catch that I used to zip-tie the transmitter. Hopefully you can make it out in this image... the transmitter is the small black box you can only partially see. Getting my hand far enough up into the front bumper was the hardest part of the install.
Here's the frunk, put back to rights...
Here's a
YouTube video showing how the system operates.
This is a very cool gadget, though the range is shorter than I'd hoped.

Google up Flash2Pass for pricing and further information if you're interested.


 Threaded Mode


