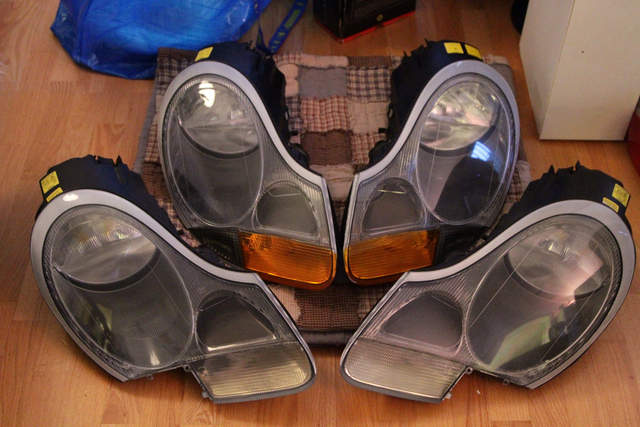
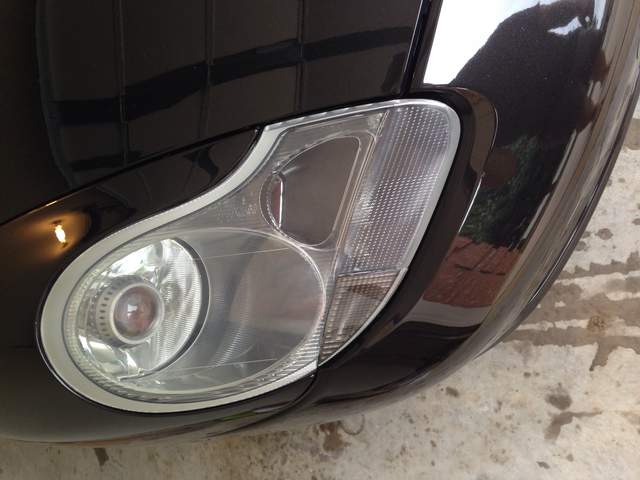
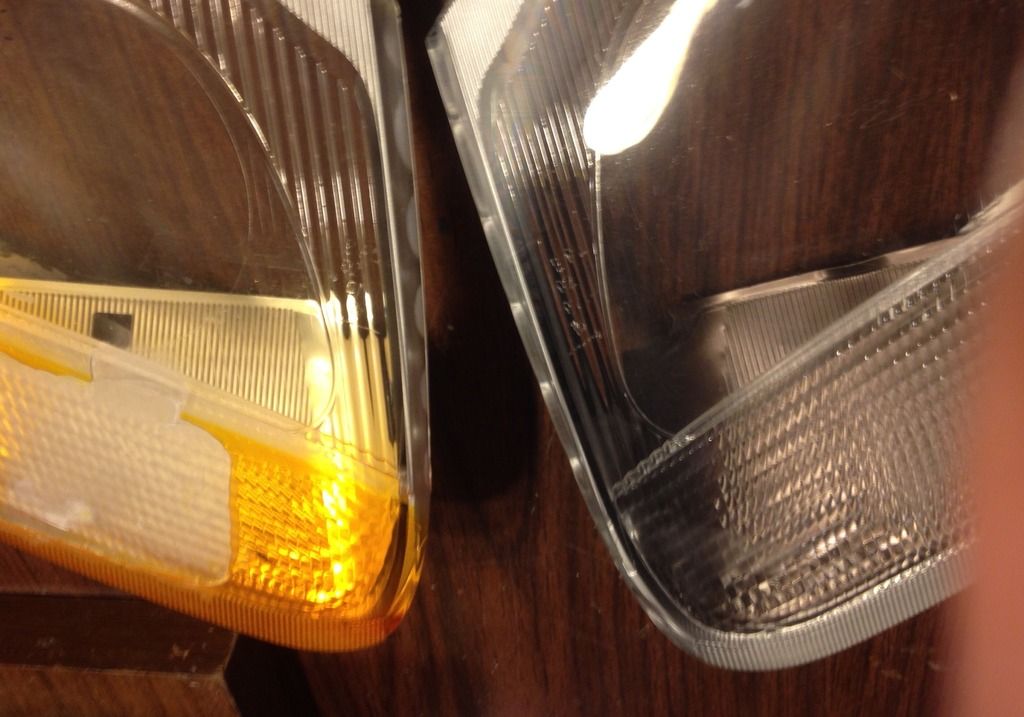
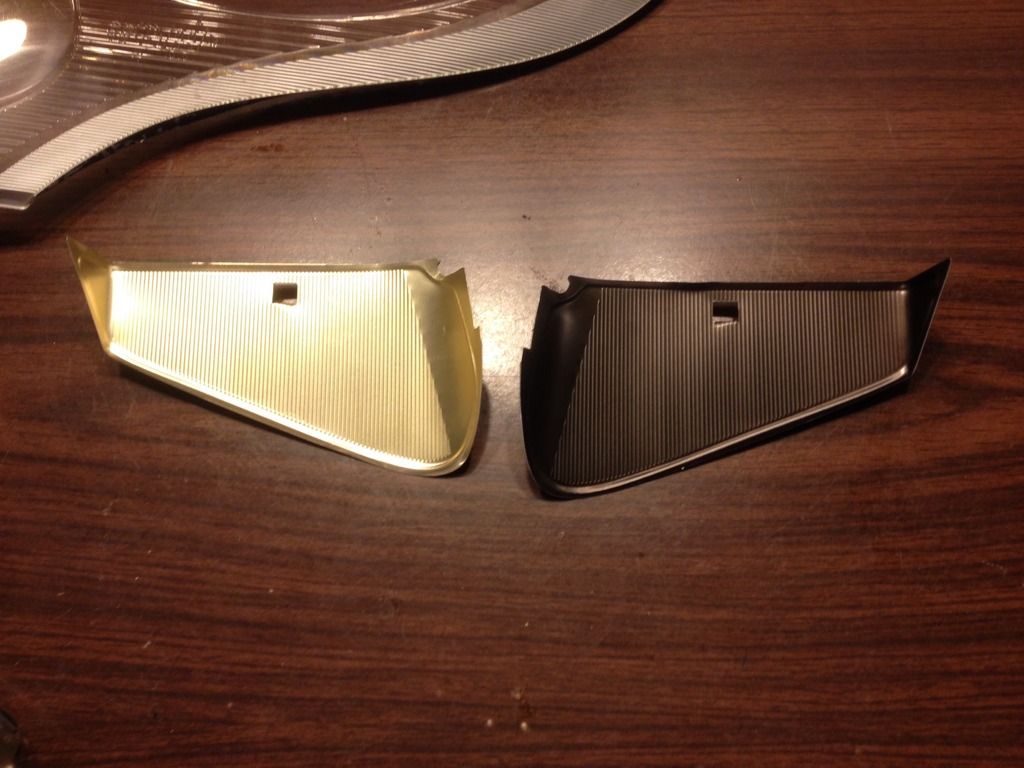
I finally took the chance when i found a extra set of front headlights in mint condition for a real bargain price, as a backup.
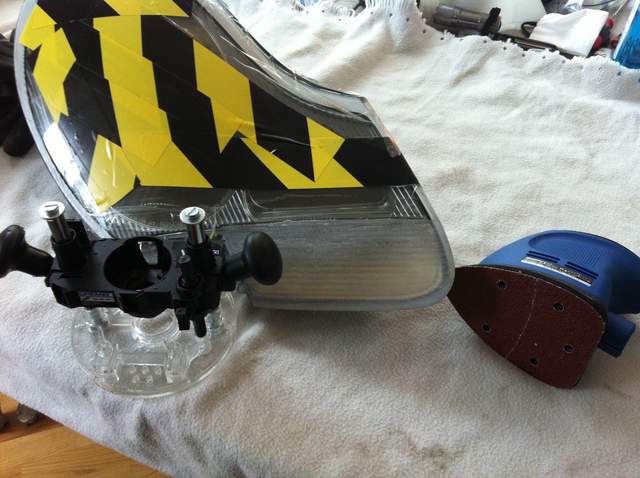
So i did this Project with my old headlights. It went well if u have the right Tools.
The router from Dremel, is a little big and difficult for grinding as the headlight is not plain. I'm happy With the result, so, as for the extra headlight set i have, i will do the same in the future.
Some tips: cover rest of the headlightglas for accidental machine scratches's, don't rush and the result will be fine.
Thanks to Particelwave and other here for the great tip and DIY.

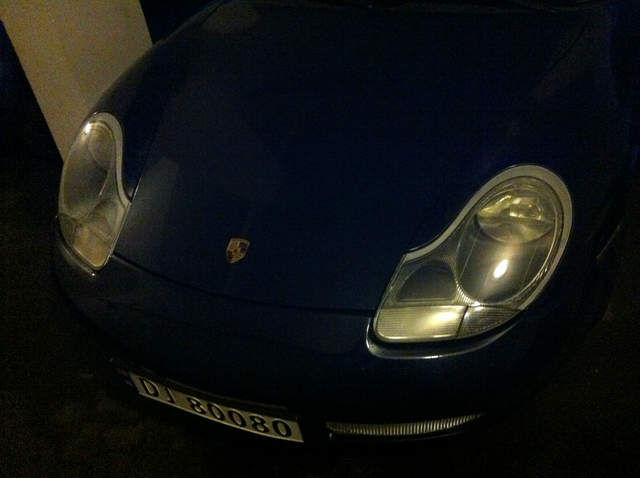


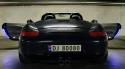 986 Boxster


 Hybrid Mode


