The body - colored painted metal piece fits into two depressions in the black metal piece below. I have attached a picture with the body-colored piece removed. 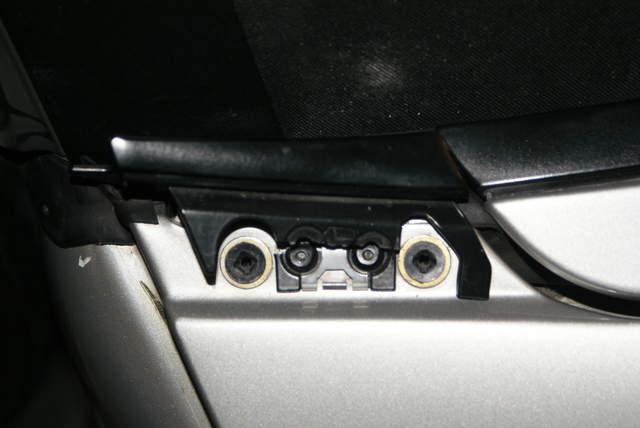
(I broke this part when I was installing a used top and frame.) You can press the painted trim piece down for a better fit. Just don't use too much force.
__________________
2000 Arctic Silver/Black, Hard Top, On Board Computer
PNP Rear Speakers, HAES 6-Channel Amp, Avic Z140BH,
Painted Bumperettes, 2004 (OEM) Top, Homelink integrated in dash with Targa switch, 997 Shifter, Carrera Gauge Cluster with silver gauge faces, heated 997 adaptive sports seats, Litronics, silver console
|


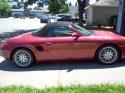 2001 Porsche 986 Boxster


 Linear Mode


