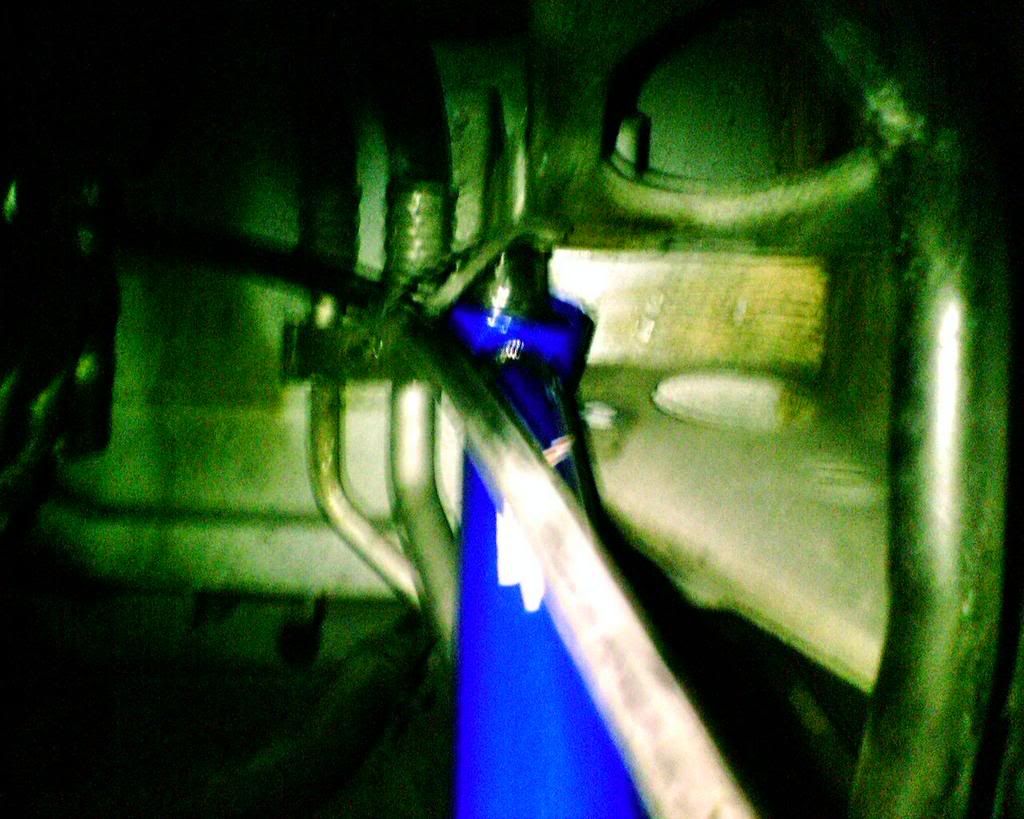
11) Now slide the Adjustable Control Arm into place by first aligning the Bearing Cartridge side first and screwing the 18mm bolt in only 4 turns. Now Slide the Fork-End over the mounting point and align it with the bolt hole. FYI- If the Fork-End appears to be too far back or forward, Remove the 18mm bolt from the Bearing-Side and Remove the arm and rotate the Fork-End in half turn intervals and re-install and repeat as needed until the Fork End is very close to perfect.
If needed, You may slide a screw driver into the hole to align the holes to better install the 18mm bolt.
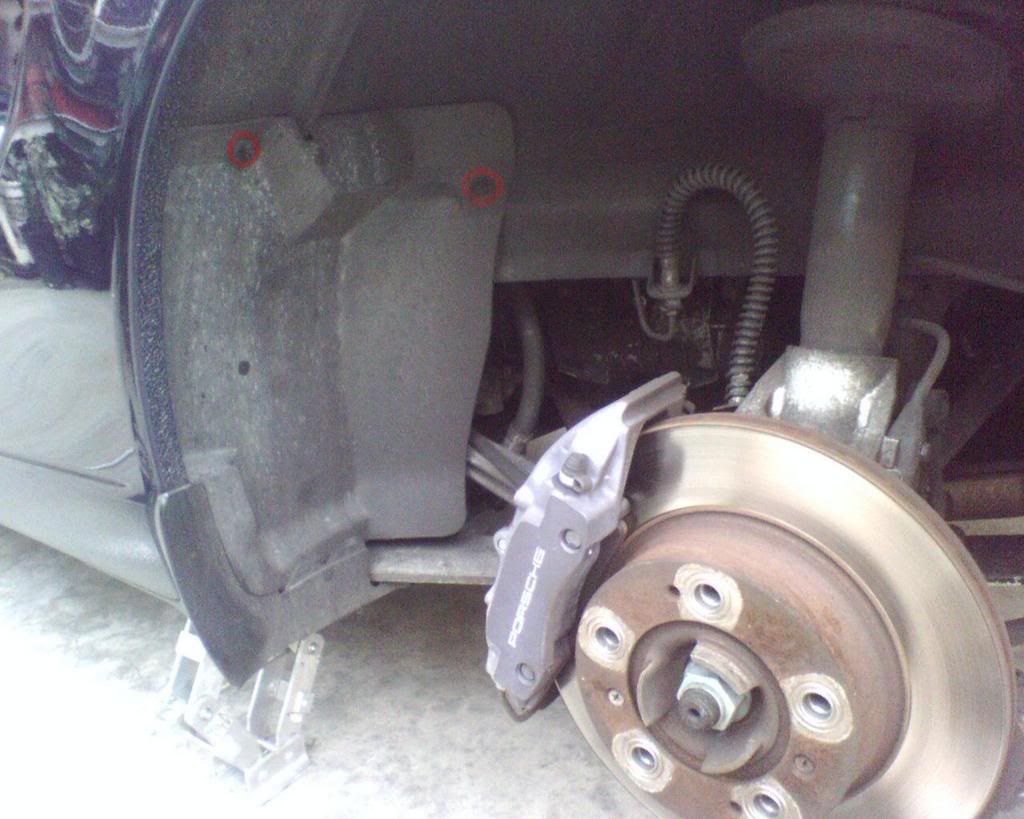
12) Once the bolt is through the Fork-End, Install the 21mm nut and snug down the bolt, Dont torque it yet.
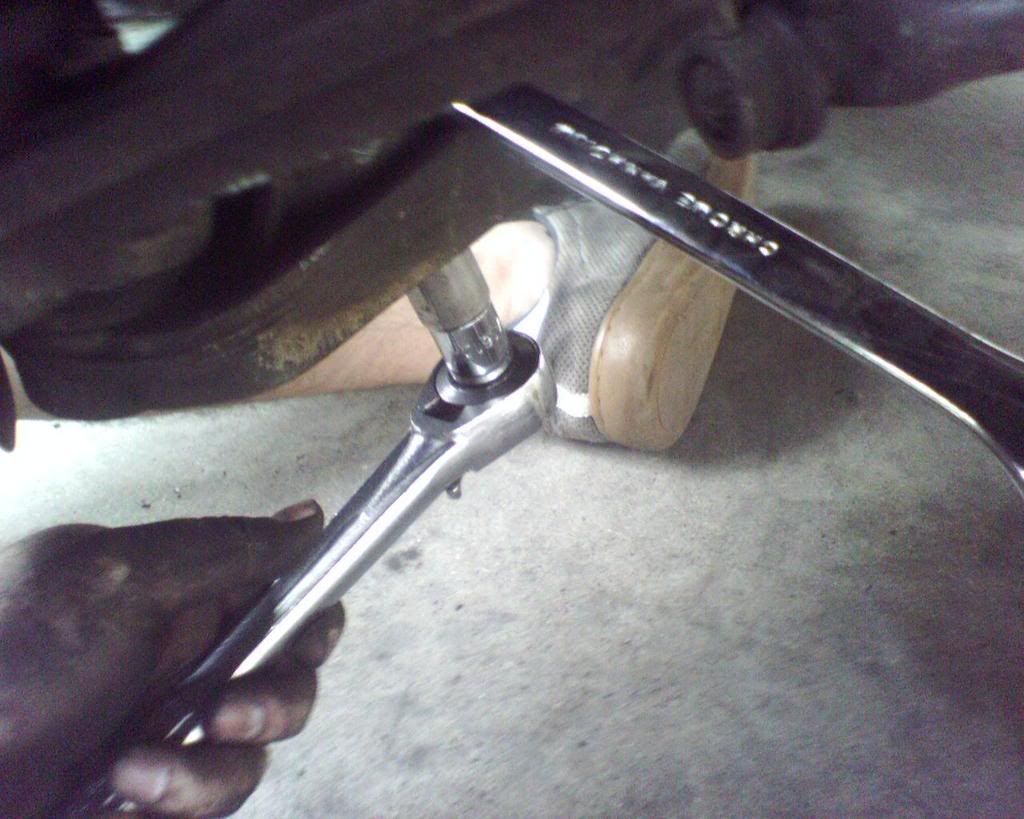
13) Use your Ratchet to tighten the 18mm bolt that is holding the Bearing-End of the Control Arm to the Chasis. Get it as close as you can to 160NM / 118lb-ft of torque with your ratchet cause you cannot get a torque wrench in that confined area.
14) Now using your 21mm closed wrench and 18mm socket on a torque wrench, tighten the bolt to 160NM / 118lb-ft of torque.
15) Now tighten the adjustment nut on the Fork-End of the Control Arm as tight as you can without having the Vise Grip Pliers slip off.
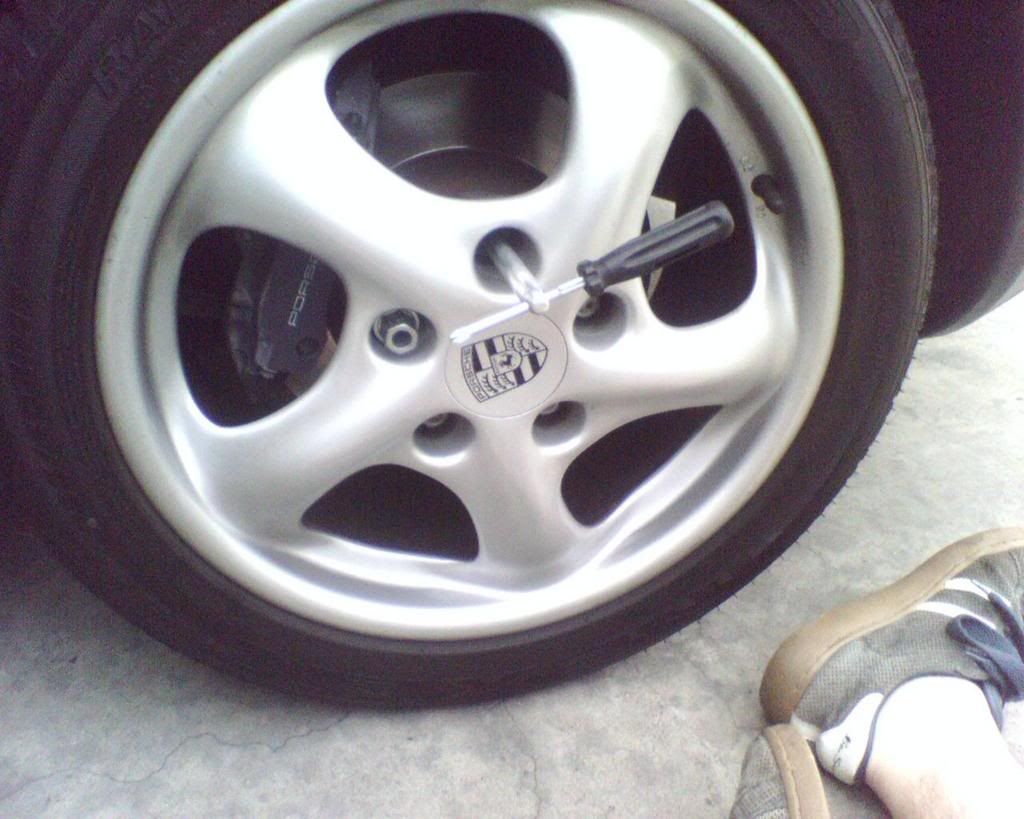
16) Now reinstall the Plastic Cover and its 2 plastic nuts and Place the Guide Rod back in the Top Lug Hole & Reinstall the Wheel with 130NM of torque on the lug bolts.
Now go for a drive and enjoy the sound of the other noises you have in your interior like rattling windstop, dash rattles, leaf in your ventalation system and convertible top rattles
