I began the week by reassembling the interior and engine compartment with items laying in my basement and garage. It always takes longer to reassemble because you have to clean everything before replacing it. It was fun and enjoyable to see both the interior and engine bay back together. You get used to seeing her with no carpets or air cleaners.
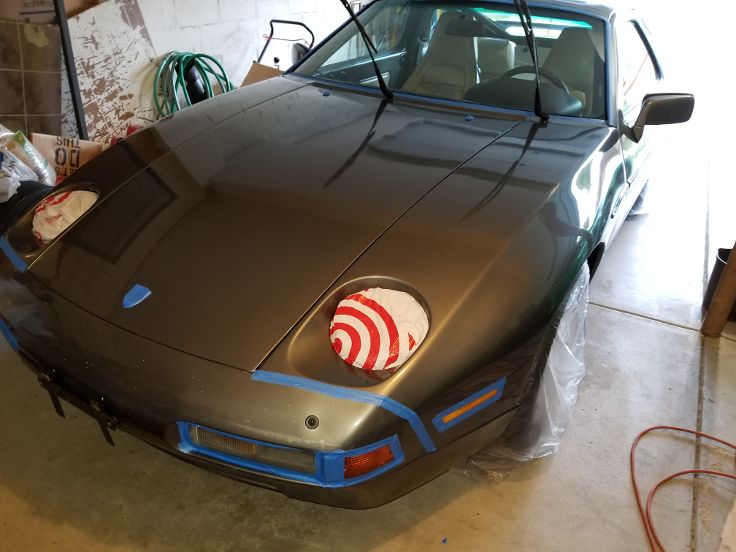
The exterior make-over is next. Started with clay barring everything, followed by taping all the areas that dont need to be hit by the buffer or its slop. The Mistress is ready for step 2.


Next up is buffing with mild rubbing compound. I normally do this step to remove swirl marks and minor scratches on my Wheeler Dealer cars but this was more of a shine restoration attempt. She came out looking pretty good. Step 3 is a polish. Wow, shes starting to look really good. Final step is wax. Dang, I think Ive knocked at least 2 feet off that 10 footer paint job. Shes looking very shiny. Once again, Im so used to seeing her dull and covered in dust, it was nice to see an actual shine. Ill add pics in the next post.
A while back I looked at the rear lights, investigating several outages. I had a left brake light and right turn signal light not working. I also discovered the 4 tail lights were out too. The tail lights are single filament bulbs and 3 of the 4 bulb tabs in the sockets were rusted off. I decided on Fri to tackle this job, but first...
***DISCLAIMER***
I am not an electrician. I am not very good with electricity. I dont play an electrician on TV and I didnt stay at a Holiday Inn Express. At times electricity baffles me. I got chastised on RL for using an emery board on my fuses. They said I should just go ahead and replace all of them since Ive probably ruined them. I have a friend who has been encouraging me to start YT channel to document my WD adventures. The RL chastisement is why I dont want to do my own channel. I do things my way and it might not always be correct. I dont want to deal with being told Im an idiot. OK, now back to our regularly scheduled program
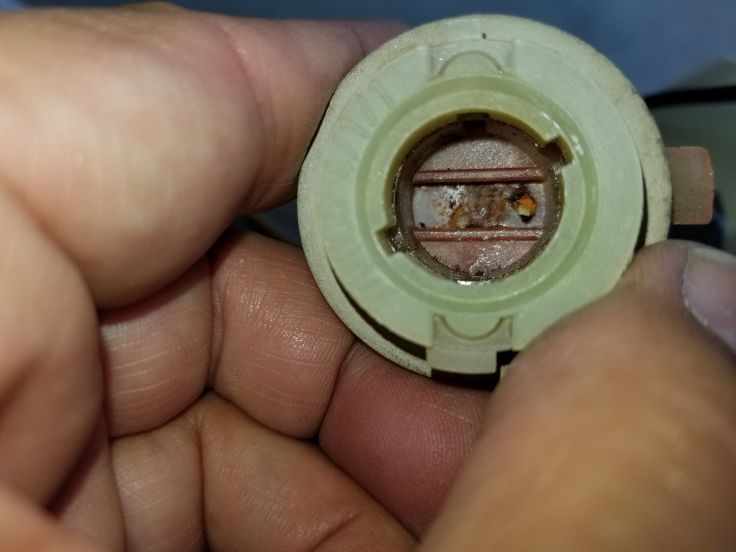
Heres what 3 of my single filament sockets looked like. The tab is missing.
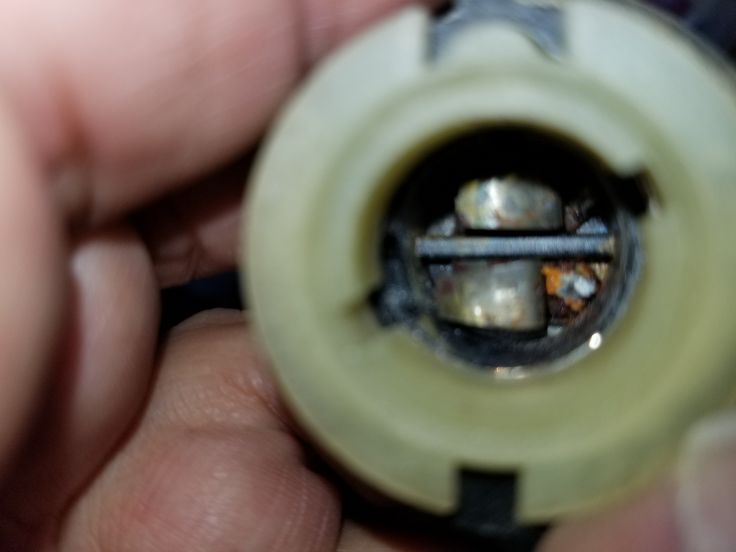
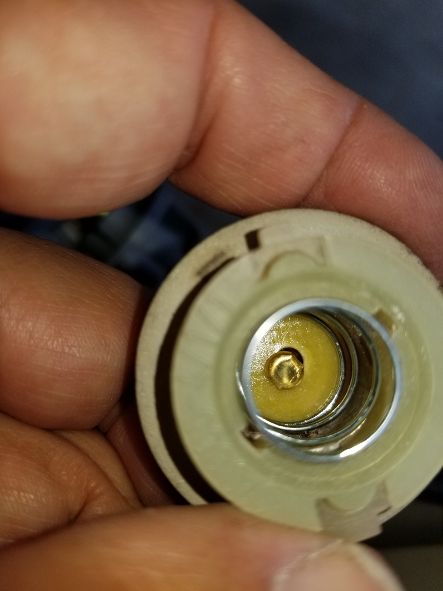
Heres what a dual filament socket looks like. The tabs are still in this one.
Heres the replacement single filament socket I bought.
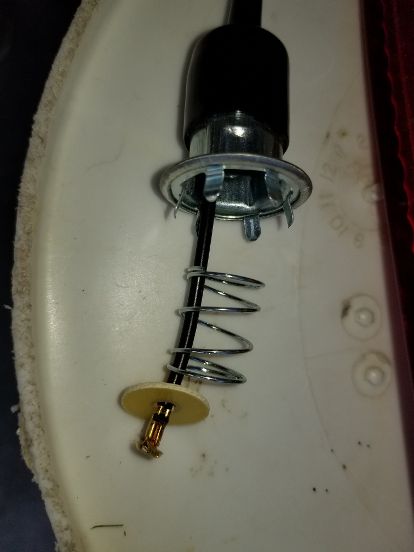
Not exactly what I need, but I devised a way to make it work. I pulled the wire, plastic washer, and spring out of the replacement socket. I then drilled a hole thru the center of the 928 socket and fed the wire with the washer thru the hole. Put the spring in the socket and tried putting the bulb into socket. Couldnt get to the latch portion of the socket, so I needed to remove the two ridges in the bridge across the socket (see 3 pics back). Dremelled them down and tried again. Success! The bulb caught and was tight. I clipped the hot wire on the back side of the socket and soldered my new wire to it. Heres what my handywork looked like (2nd pic is before I soldered the wires together).

I repeated the process on the 2nd tail light socket. Then plugged the light back into the pigtail, connected the battery, and turned on the lights. They worked! Undid everything and shot a few drops of glue on the wires to keep them solid in the hole. It was getting to a point in the day where I had to decide if I wanted to do the other 1 after supper or wait until Sat afternoon. I chose Sat afternoon. Got the 3rd one done easily now that I have the process down. Was looking at the 4th socket. It had a tab in it and I was debating whether I should upgrade it or not. I got my answer when I pulled the bulb out the tab came with it. So I fixed it too. The test went well all tail lights are glowing. Not bad for an idiot electrician. Still have the brake light and turn signal to track down. The brake light is vexing as the socket looks good and I have a new bulb installed. Have to give it more thought. I now have a turn signal on the left side (which I didnt have before) but the right side is still inoperable. I think it might be the front bulb / socket, so thats my next place to investigate.